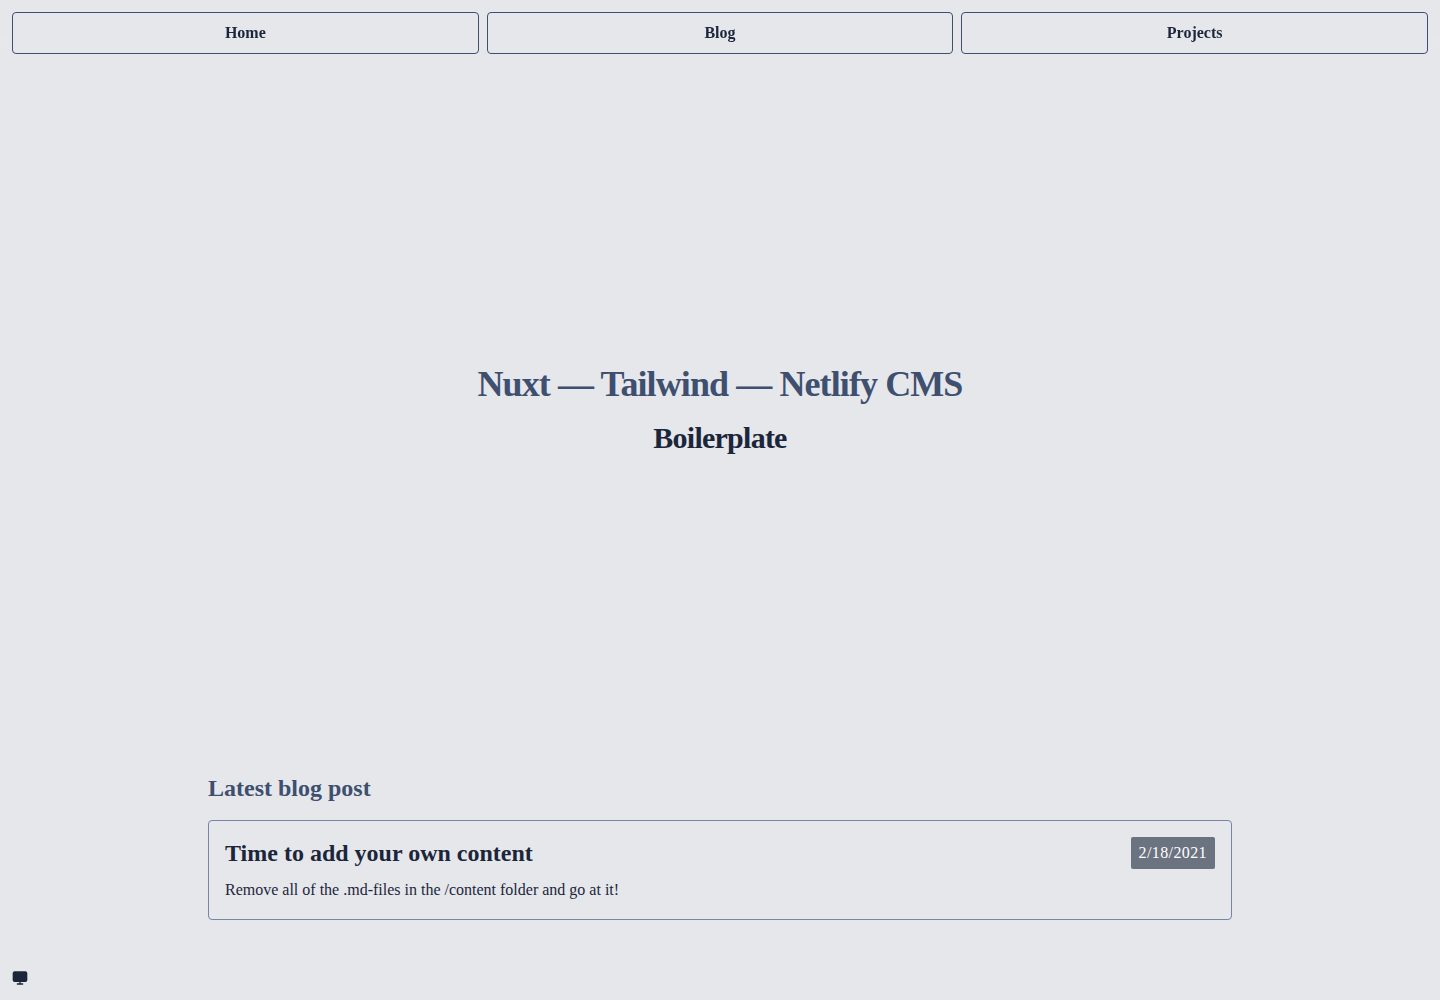
Built-in Nuxt 3 universal mode, Vue 3, and Tailwind 3, including PostCSS and Prettier
NuxtVueStarter
ntn-boilerplate — Nuxt Starter Template
By Knogobert
A starter template for Nuxt, Tailwind, and Netlify CMS, offering content management, dark mode, and Markdown content support, deployable to Netlify.
Explore the design
Compare the page layouts and mobile experience. Open any screenshot for a closer look.
Desktop homepage1 / 3
Desktop captureTop of page
Actual screenshot captured by the server browser.
All pages & views 3
Screenshots show visual appearance; interactive behavior may differ.
Recorded 2026-10-02View source
What stands out
A quick read of the recorded project description.
Integrates Netlify CMS, with content managed in /admin, no separate backend server required
Dark mode by default, with a ColorModePicker theme-switching component
Uses Nuxt Content to support Markdown and code block content
Provides a Netlify Deploy button to copy the repository and configure continuous deployment and Netlify Identity in one click
Optional Git LFS and Netlify LM support to store large media files outside the main repository
Template Details
ntn-boilerplate is a Nuxt-based starter template that the author positions as an "opinionated base template" for quickly building sites with Nuxt, Tailwind, and Netlify CMS. The repository is MIT-licensed, and the demo site is deployed on Netlify.
The template includes Nuxt 3 universal mode, Vue 3, Tailwind 3, PostCSS, Prettier, and Nuxt Content, and integrates Netlify CMS as a content backend without requiring a separate server. It defaults to "dark mode first" and includes a ColorModePicker for switching themes. Vuex can be enabled by adding files to the /store directory, but no specific store is implemented in the template.
For usage, the README recommends copying the repository via Netlify's Deploy button and setting up continuous deployment, then inviting yourself as a user in Netlify Identity, registering with an email and generated password (not OAuth) to access /admin for content management. Customization requires modifying .env, the site_url and logo_url in public/admin/config.yml, the site name and description in content/site/info.json, the metadata in package.json, and the pages/index.vue start page. Colors are adjusted in assets/css/_vars.pcss and tailwind.config.js, the favicon is generated via @vite-pwa/assets-generator, and fonts must be configured in nuxt.config.js's head.link and tailwind.config.js's font family.
Optional steps include Git LFS and Netlify LM to store uploaded large media files outside the main repository; the README notes that adding these later is easier than undoing them, so it's best to decide early. To use Netlify CMS locally with local Git, you need to additionally run netlify-cms-proxy-server. The template was originally based on Henry Desroches' nuxt-netlify-cms-starter.
NuxtVueStarter
Is it right for your project?
Use Cases
- Quickly building a Nuxt site with a content backend and deploying it to Netlify
- Managing Markdown articles or page content with Netlify CMS and Nuxt Content
- Needing a Nuxt starter project with dark mode by default and switchable themes
- Starting development from an existing template by replacing site information, colors, fonts, and homepage content
Suitable For
- Developers familiar with Nuxt and Tailwind who want to reduce initial configuration work
- Teams planning to use Netlify hosting and manage CMS users via Netlify Identity
- Personal sites or blog projects needing Markdown content and dark mode basics
Getting started & customization
Use these recorded setup notes alongside the repository instructions for your chosen version.
- 1
After copying the repository via the Netlify Deploy button and completing deployment, invite yourself in Netlify Identity, register with an email and generated password, and do not use OAuth login
- 2
Customization requires modifying .env, the site_url and logo_url in public/admin/config.yml, the site information in content/site/info.json, the package.json metadata, and pages/index.vue
- 3
Colors are adjusted in assets/css/_vars.pcss and tailwind.config.js; the favicon requires replacing public/icon.png and running npm run generate-pwa-assets
- 4
To use Netlify CMS locally with local Git, open another terminal and run npx netlify-cms-proxy-server before logging in
- 5
To upload large media, install git-lfs and configure Netlify LM, and set the GIT_LFS_ENABLED environment variable to true in Netlify
License & source material
Usage conditions & limitations
Free to use · keep license noticeThis entry covers the free version under the MIT license in the public repository; the free scope is the code of this version and does not imply that external services or third-party assets are free.
Must comply with when using
- Free use, modification, commercial use, and distribution of this version's code are permitted.
- When distributing copies or substantial portions of the code, retain the original author's copyright notice and the full MIT license notice.
- The code is provided as-is; warranties and limitations of liability are governed by the original license and applicable law.
Additional costs & items to verify
- Content management depends on Netlify CMS, requiring the Netlify platform and its Identity/Git Gateway services, and is not fully self-hosted.
- User and access control depend on Netlify Identity, requiring creating a site on Netlify and configuring authentication.
- Deploying via the Deploy button creates a repository in your GitHub account, requiring a GitHub account.
- Continuous deployment depends on Netlify's CDN network, requiring Netlify hosting services.
- Initial registration requires an email and generated password; the README explicitly requires not using OAuth login for now.
- Uploading large media requires additional configuration of Git LFS and Netlify LM, which is optional but requires extra setup.
- Using Netlify LM requires installing a plugin, logging in, and linking a Netlify account, depending on external services.
- Using Netlify CMS locally with local Git requires additionally running netlify-cms-proxy-server to log in.
- CMS login and saving depend on correctly enabling Netlify Identity and configuring Git Gateway.
- Using Git LFS on Netlify requires setting the GIT_LFS_ENABLED environment variable to true.
- Demo images, fonts, icons, and other third-party assets must be checked against their respective licenses; the code's MIT license alone is not sufficient to judge.
- External services such as domains, hosting, databases, payments, or AI may incur additional charges.
View Original Text Basis
Permission is hereby granted, free of charge
Original License Text
Netlify CMS (no need for a separate server)
Original README
Control users and access with Netlify Identity
Original README
A new repository in your GitHub account with the code
Original README
Full Continuous Deployment to Netlify's global CDN network
Original README
Start with by registering a regular email-account (not OAuth yet!) with a [generated password](https://passwordwolf.com/).
Original README
These extra steps are only necessary if you want to upload large media in Netlify CMS:
Original README
**Setup Netlify LM** by following [these steps](https://docs.netlify.com/large-media/setup/).
Original README
Open up a new terminal and run `npx netlify-cms-proxy-server`, the login again.
Original README
It may be that you haven't [enabled Netlify Identity](https://app.netlify.com/sites/YOUR_NETLIFY_SITE_SLUG/settings/identity) or [setup the Git Gateway](https://app.netlify.com/sites/YOUR_NETLIFY_SITE_SLUG/settings/identity#services) correctly
Original README
https://github.com/Knogobert/ntn-boilerplate/blob/master/LICENSEhttps://github.com/Knogobert/ntn-boilerplate/blob/master/README.mdset the environment variable `GIT_LFS_ENABLED` : `true`
Original README
Compiled by DeepSeek based on repository license and README ·2026-10-02. Results only cover the materials read; dependencies, images, fonts, and subsequent term changes are subject to their respective original texts.
Project checks & description sources
Template Information
- Source platforms
- GitHub
- Documentation and maintenance reference score
- More documented · 77 / 100
- Technologies
- Nuxt · Vue
- Website type
- Starter
How this score is calculated
Our heuristic uses license records (up to 30), a demo link (12), a preview (10), stars (15), recorded maintenance (15), description completeness (8), feature records (5) and classification data (5). It is not a code, security or performance test, or a Google score. A link does not establish tested functionality.
What to verify for this project
- Repository update recorded
- 2024-04-11
- Screenshot last checked
- 2026-10-02
A demo link is listed. Check it with your own content and viewport sizes; its presence does not confirm that forms, authentication or payments work.
The catalog identifies Nuxt as the primary stack. Check the actual dependency manifest and lockfile for versions and hosting requirements. These notes use recorded metadata, not a code audit or a deployment test.
Use a selection guide →How this description was prepared
AI-assisted description based on catalog records and repository material. Repository authors are not automatically the reviewers of this description.
Automatically checked against source and license rules; no manual editorial review.
Inspect the recorded source material
SHA-256: a2e6f78f6b72fd2b29c63e200afb5804f57da7b3861ad1288fce10e6a105cb41
2026-10-02T10:29:03.548Z
Source file / repository# 🏗️ Boilerplate for Nuxt, Tailwind & NetlifyCMS
[](https://app.netlify.com/sites/ntn-boilerplate/deploys) ← replace with [your own](https://app.netlify.com/sites/YOUR_NETLIFY_SITE_SLUG/settings/general#deploy-status-badge)
**[Live Demo](https://ntn-boilerplate.netlify.app/)**
An opinionated starter template for a quick start with the following technologies up on a site after only 5 minutes!

## 🔋 Batteries included
- Nuxt 3 (in "universal mode", where both SEO and speed is great)
- Vue 3
- Vuex (supported by adding to `/store`, but not implemented)
- PostCSS (no SCSS)
- Tailwind 3
- Dark mode & ColorModePicker (Set to "dark mode first")
- Netlify CMS (no need for a separate server)
- Prettier
- Nuxt-content (w/ exensible support for markdown and code-blocks)
##### Optional extra setup
- Git LFS (store uploaded images outside the main repo)
- Netlify LM (Netlify’s Git LFS support)
## 🎉 Getting Started
Use the deploy button to get your own copy of the repository.
[](https://app.netlify.com/start/deploy?repository=https://github.com/Knogobert/ntn-boilerplate&stack=cms)
This will setup everything needed for running the CMS:
- A new repository in your GitHub account with the code
- Full Continuous Deployment to Netlify's global CDN network
- Control users and access with Netlify Identity
- Manage content with Netlify CMS and Nuxt-content
Once the initial build finishes, you can invite yourself as a user. Go to the Identity tab in your new site, click "Invite" and send yourself an invite. Start with by registering a regular email-account (not OAuth yet!) with a [generated password](https://passwordwolf.com/).
You should be up and running, ready for personalization!
### These extra steps are only necessary if you want to upload large media in Netlify CMS:
This way it doesn't clutter up your repo with large unmanageable files. But *do know* that it is easier to add later than undoing it later.
1. **[Install git-lfs](https://git-lfs.github.com/)** on your computer and remove the `#` in the project's `.gitattributes`
2. **Setup Netlify LM** by following [these steps](https://docs.netlify.com/large-media/setup/). (In short: `netlify plugins:install netlify-lm-plugin` → `netlify lm:install` → `netlify login` → `netlify link` → `netlify lm:setup` → commit the `.lfsconfig` file.)
---
## Project commands
1. 📦 Install dependencies.
```bash
npm install
```
2. 🏗 Run the project for local dev. This will start a hot-reloading server at `localhost:3000`.
```bash
npm run dev
```
3. 🌌 Build the app for server-side rendered deployment. See more about **Universal SSR** in the [Nuxt.js docs](https://nuxtjs.org/guide#server-rendered-universal-ssr-).
```bash
npm run build
# And to serve that deployment...
npm run start
```
4. ⚡️ Generate a fully pre-rendered static site. See more [in the docs](https://nuxtjs.org/guide#static-generated-pre-rendering-).
```bash
npm run generate
```
### Personalize setup
1. Copy and change the .env-file
- `cp .env-example .env`
- Then change the values
2. Change the value on these lines
- `public/admin/config.yml` — `site_url` & `logo_url`
- `content/site/info.json` — `sitename`, `sitedescription` & `sitelang`
- `package.json` — `name`, `description`, `author` & `repository.url`
- `pages/index.vue` — The start page of your new website!
3. Change colors, favicon, content & content collections
- Colors are managed in `assets/css/_vars.pcss` & `tailwind.config.js`
- Favicon is generated by [@vite-pwa/assets-generator](https://vite-pwa-org.netlify.app/assets-generator/). You should change the `public/icon.png` to something new, and then `npm run generate-pwa-assets`. Replace the preview.jpg as well.
- Content is managed mainly in [local Netlify CMS](http://localhost:3000/admin) by going to your `/admin`, in development mode by double-clicking on a post or by hand in `/content`
- Content collections are managed in `public/admin/config.yml`
4. Change font
1. Add/change your font link in `nuxt.config.js` under `head.link`. You can add a `<link rel="stylesheet" href="font.css">` as `link: [{ rel: 'stylesheet', href: 'font.css' }]`, like [this](https://vue-meta.nuxtjs.org/api/#link)
2. Then append your font name in `tailwind.config.js` under `theme.extend.fontFamily.sans` (or other).
3. Then if you've uncommented the included netlify plugin "[Subfont](https://github.com/Munter/netlify-plugin-subfont#readme)" in `netlify.toml`, it will automatically post-processes your web page to use an optimal font loading strategy.
## More info
> This project was bootstrapped with `create-nuxt-app`. There are more detailed explanations of how everything works in the [Nuxt.js docs](https://nuxtjs.org).
### Netlify Identity
Make sure to set to "registration invite only" [here](https://app.netlify.com/sites/YOUR_NETLIFY_SITE_SLUG/settings/identity#registration-preferences) if you don't want spam.
When you create your first account, _don’t_ sign up using OAuth, generate a new password and sign in that way locally, otherwise a successful login will send you to the URL you typed in instead of keeping you on localhost.
If you want the Netlify signup emails to work with this boilerplate, you need to either add the 'netlify-identity-widget' to `nuxt.config.js` under `head`, [Follow the advice here](https://answers.netlify.com/t/common-issue-netlify-cms-git-gateway-email-not-confirmed/10690). Or enable the fixed and included email-templates’ paths in Netlify, under [Site Settings > Identity > Emails](https://app.netlify.com/sites/YOUR_NETLIFY_SITE_SLUG/settings/identity) and there you can set `/public/emails/THE_TEMPLATE_NAME.html` for each template.
---
Originally based on [Henry Desroches' nuxt-netlify-cms-starter](https://github.com/xdesro/nuxt-netlify-cms-starter).
---
## Troubleshooting
- > I can’t log in to `/admin` on localhost and use my local git as CMS
- Open up a new terminal and run `npx netlify-cms-proxy-server`, the login again.
- > I tried logging into/saving in Netlify CMS, but I can't
- It may be that you haven't [enabled Netlify Identity](https://app.netlify.com/sites/YOUR_NETLIFY_SITE_SLUG/settings/identity) or [setup the Git Gateway](https://app.netlify.com/sites/YOUR_NETLIFY_SITE_SLUG/settings/identity#services) correctly, [check the docs](https://www.netlifycms.org/docs/git-gateway-backend/)
- > I get Netlify emails but can't use them to login etc.
- It is probably because the 'netlify-identity-widget' is only included in the `/admin`-page. [Follow the advice here](https://answers.netlify.com/t/common-issue-netlify-cms-git-gateway-email-not-confirmed/10690) or enable the included email-templates’ paths in Netlify, under [Site Settings > Identity > Emails](https://app.netlify.com/sites/YOUR_NETLIFY_SITE_SLUG/settings/identity) and there you can set `/public/emails/THE_TEMPLATE_NAME.html` for each template. This will make sure to use the correct links inside the emails. Look at @audetcameron’s [screenshot here](https://github.com/Knogobert/ntn-boilerplate/issues/8#issuecomment-841469850).
- > "This repository is configured for Git LFS but 'git-lfs' was not found on your path."
- Install git-lfs then run `git lfs install` in project root. Then to download the images, run `git lfs pull`. Or if you don't want to download the files/can't login to the lfs server, run `git lfs install --skip-smudge` instead.
- > I can’t get Git LFS to run correctly on Netlify
- Make sure that you have in your [Netlify build settings](https://app.netlify.com/sites/YOUR_NETLIFY_SITE_SLUG/settings/deploys#environment-variables), set the environment variable `GIT_LFS_ENABLED` : `true`. Then also make sure that Netlify LM is setup as [their docs](https://docs.netlify.com/large-media/setup/) specify.
Explore similar templates
Compare previews and descriptions within the same stack and category.
laravel-nuxt
A Laravel + Nuxt decoupled starter kit with built-in login, registration, email verification, password reset, and Socialite third-party login (GitHub example), switchable between SPA and SSR.
Nuxt · Starter
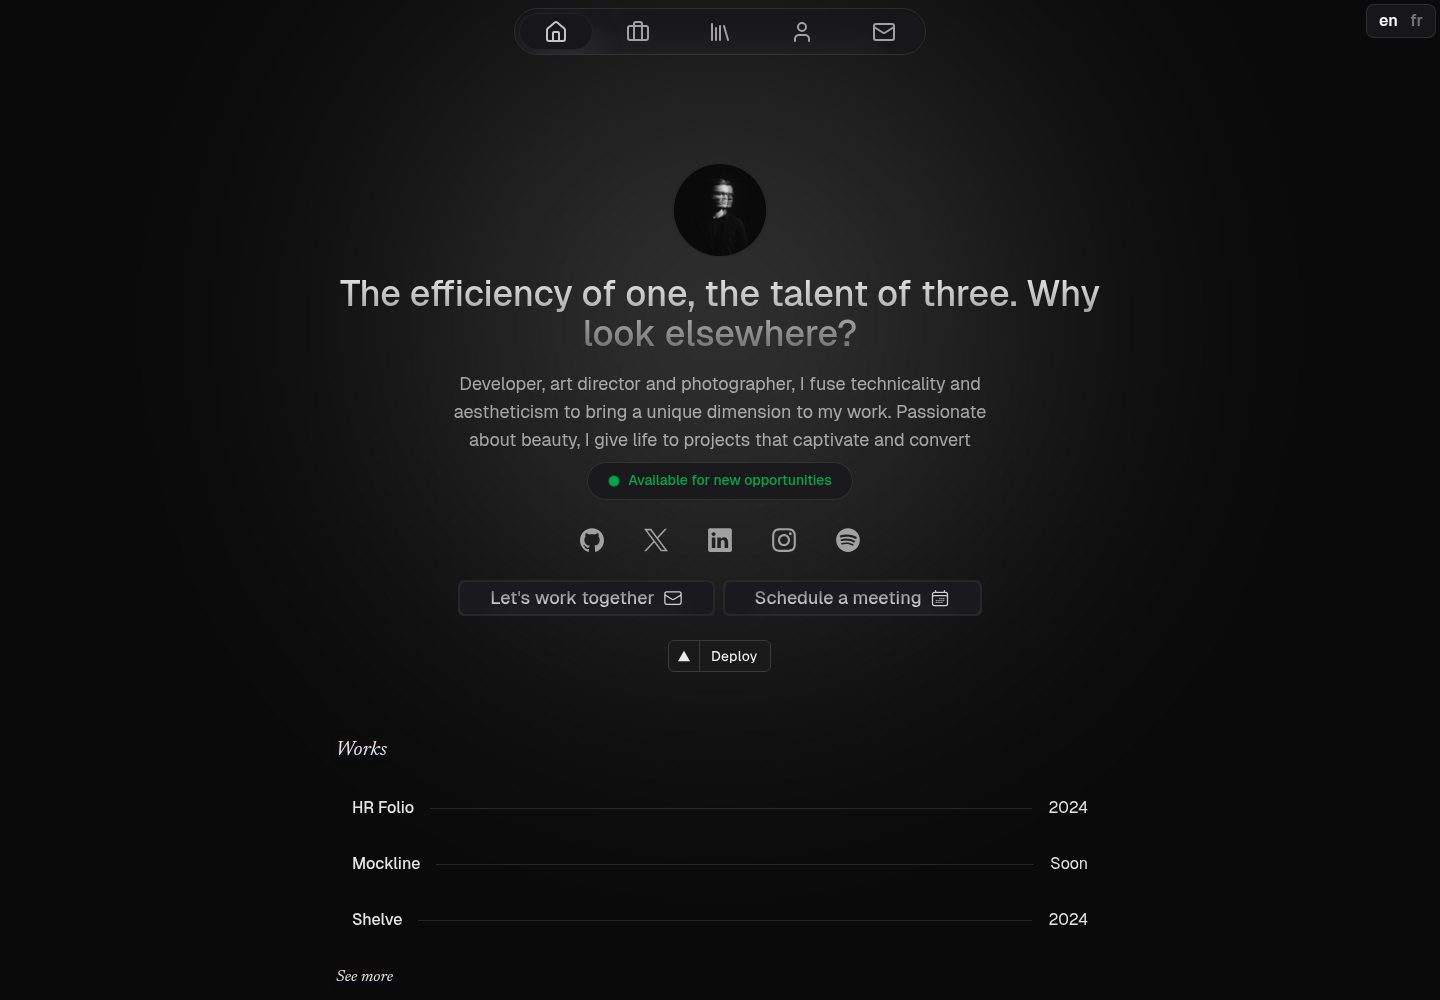
canvas
Canvas is a Nuxt-based portfolio template that uses Nuxt Content for content management and Nuxt UI with Tailwind CSS for pages.
Nuxt · Portfolio
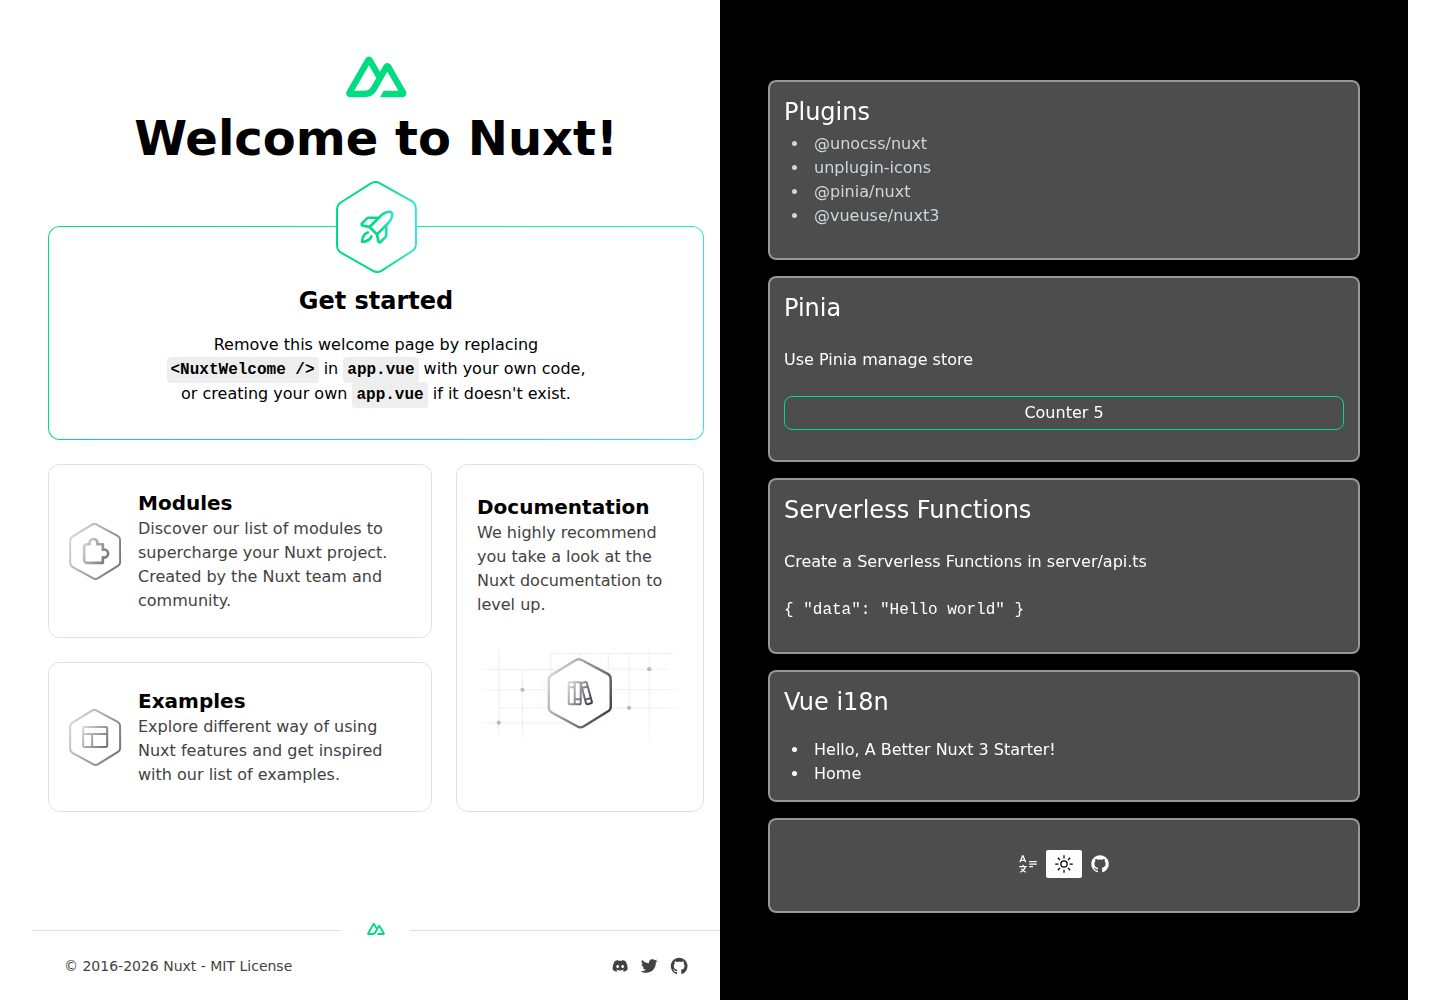
nuxt3-starter
A Nuxt 3 starter template generated by nuxi, preconfigured with UnoCSS, unplugin-icons, Pinia, and VueUse. It suits developers who need a quick Nuxt 3 project skeleton with atomic CSS and auto-import workflows, and is available under the MIT license.
Nuxt · Starter
starter
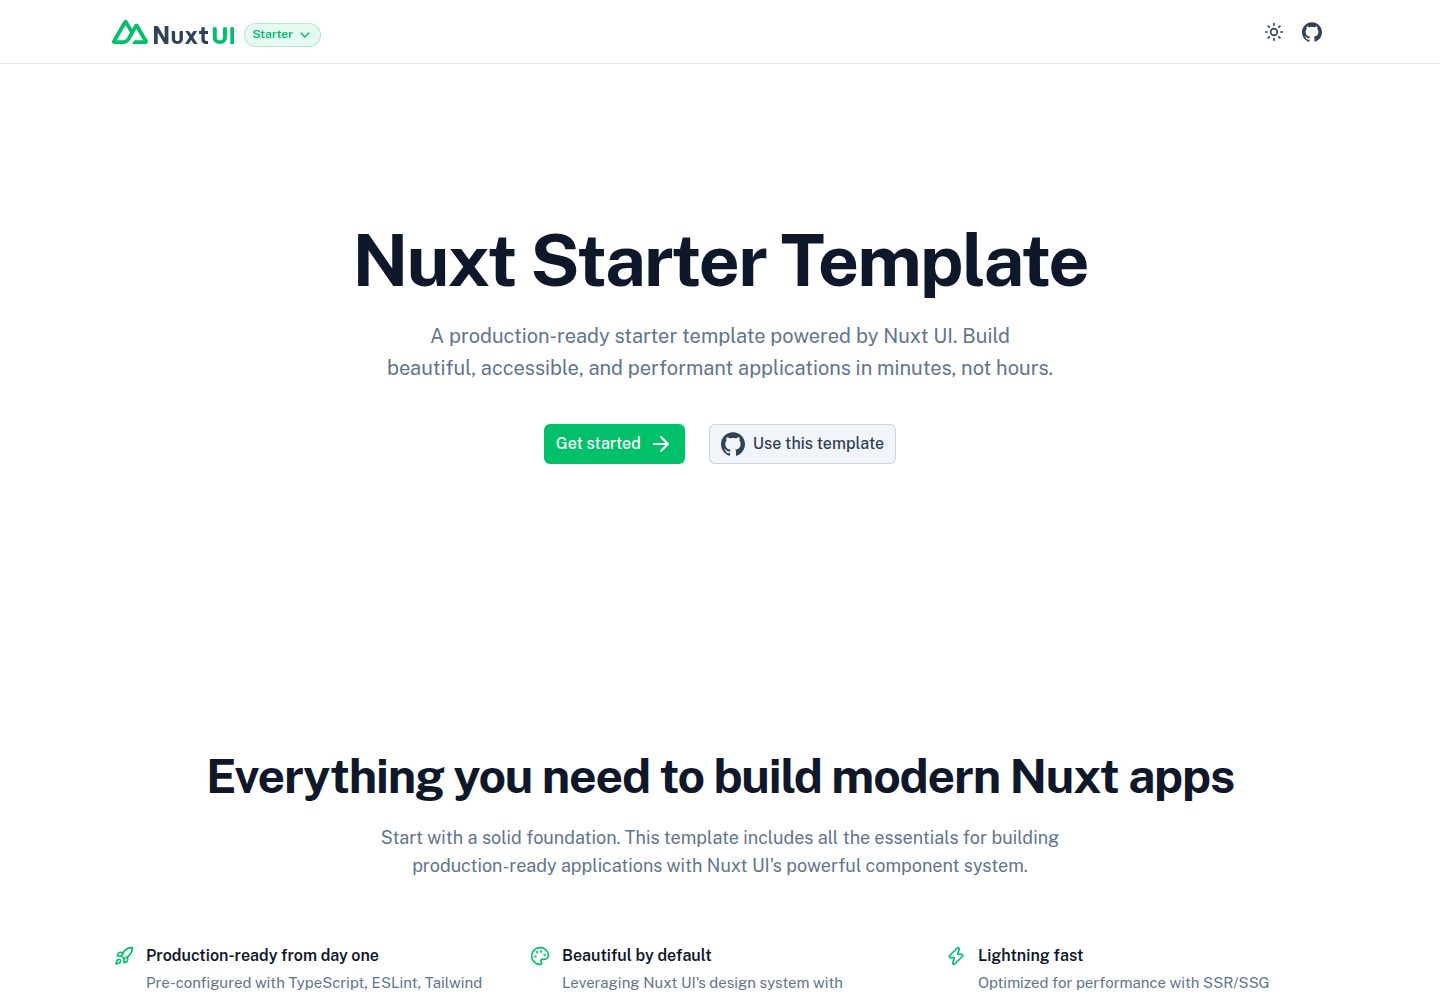
The official Nuxt starter template for Nuxt UI, based on Nuxt and Vue. It provides a runnable project skeleton, an online demo, and Nuxt UI installation documentation, with README commands for creating, installing, developing, building, and previewing.
Nuxt · Starter
bloggrify
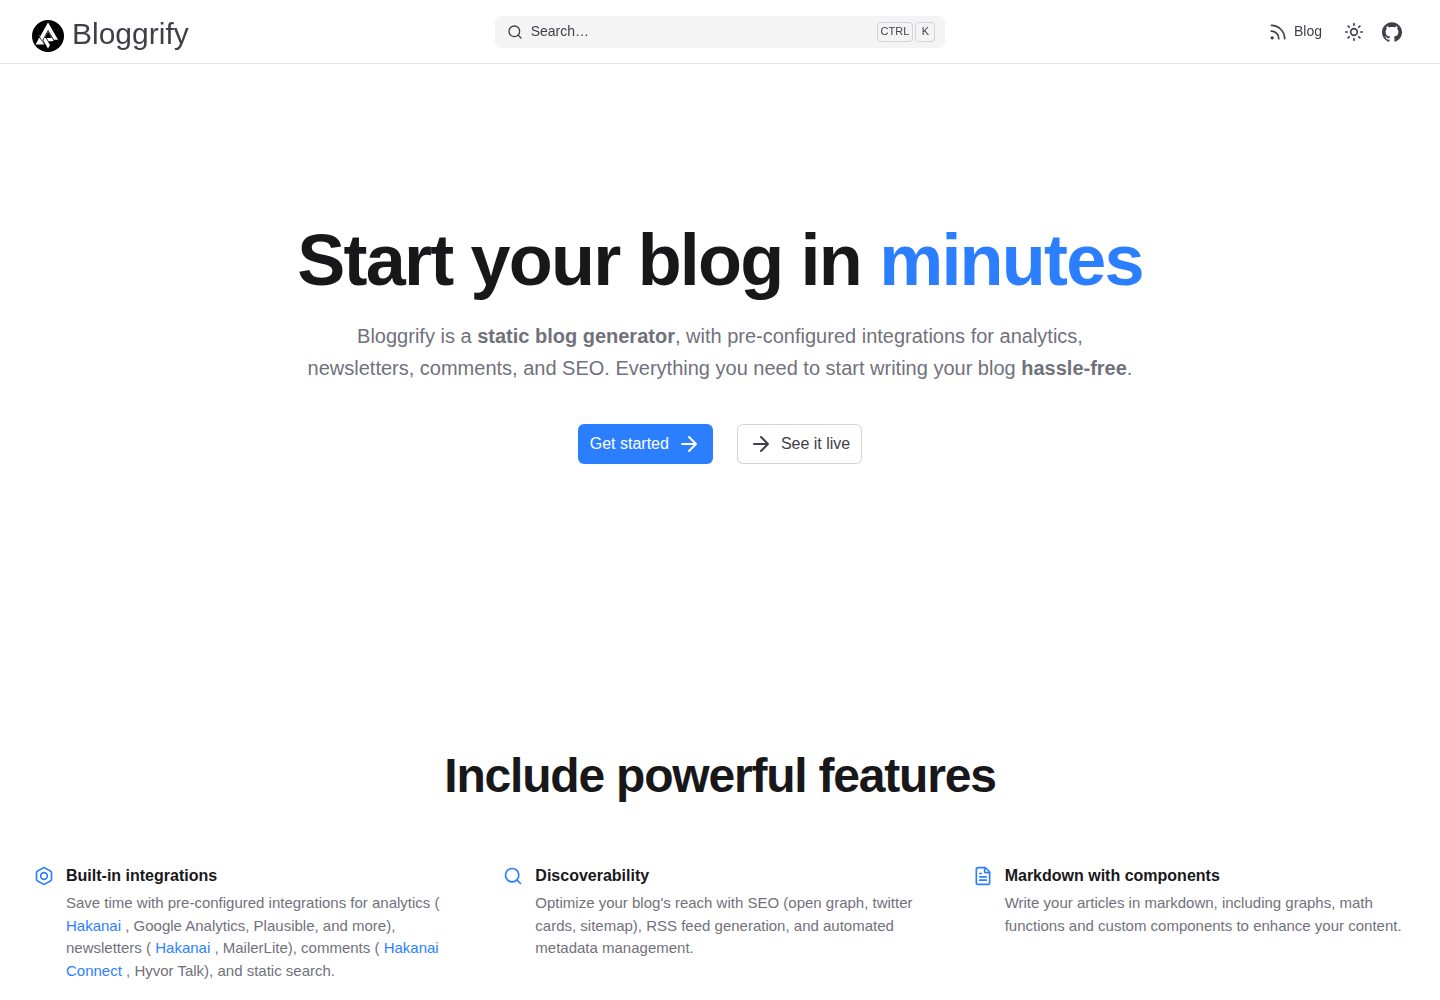
Bloggrify is a Nuxt layer that turns Markdown files into a blog site, built on Nuxt Content with preconfigured analytics, newsletter, comments, SEO, RSS, and content components.
Nuxt · Blog
vitify-nuxt
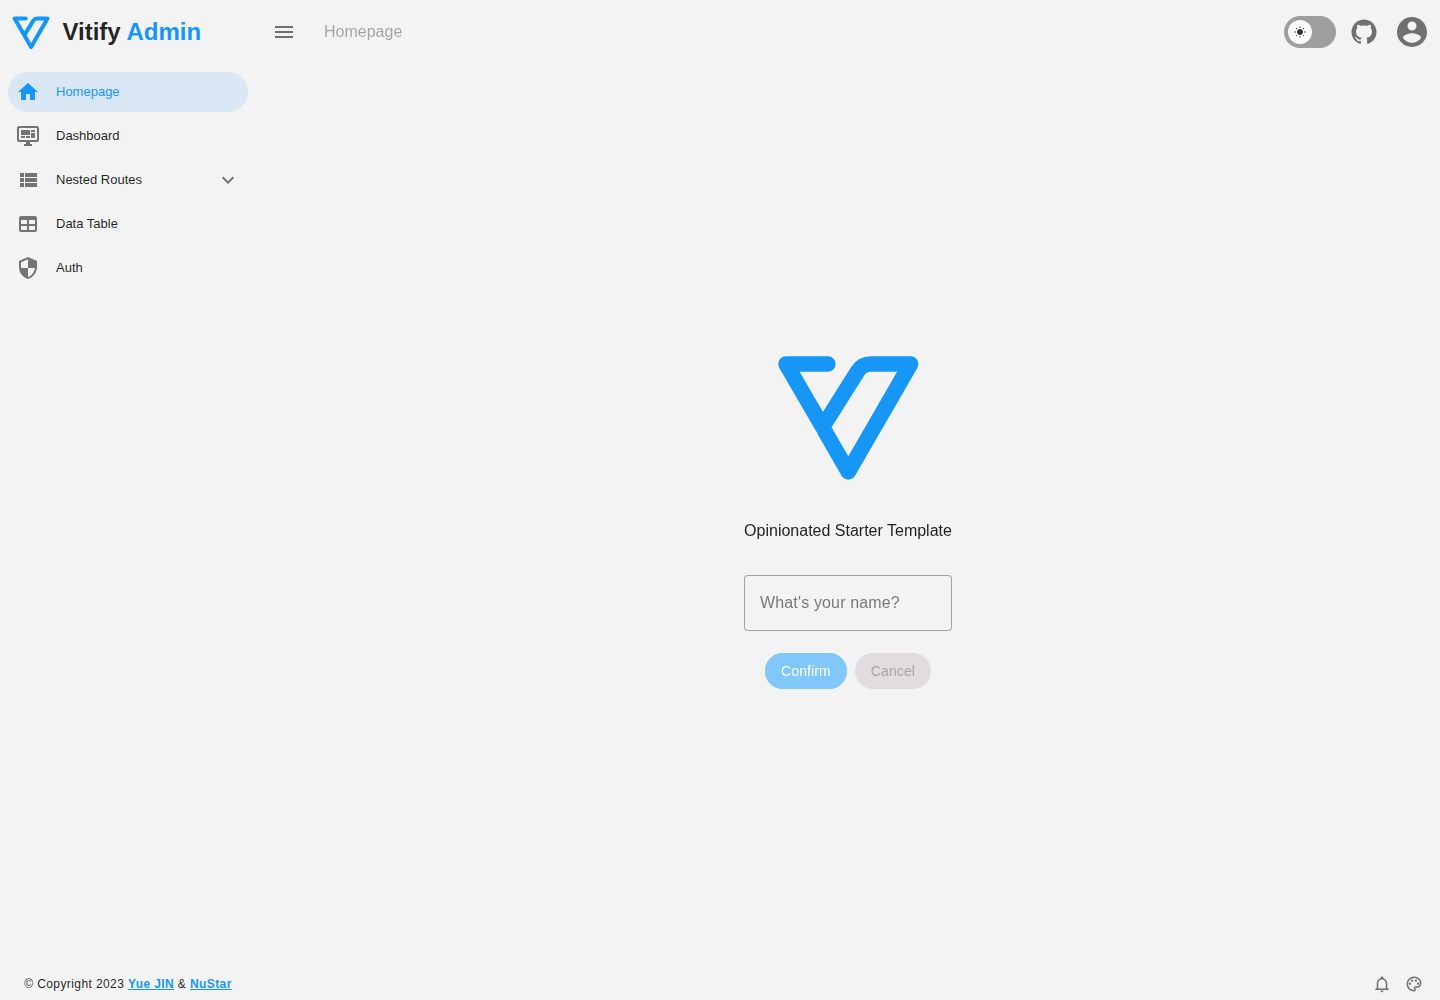
Vitify Nuxt is an admin dashboard starter template built on Nuxt and Vuetify, featuring a drawer layout, automatic navigation and breadcrumbs, notification state, ECharts charts, theming and dark mode, and authentication via nuxt-auth-utils.
Nuxt · Admin dashboard