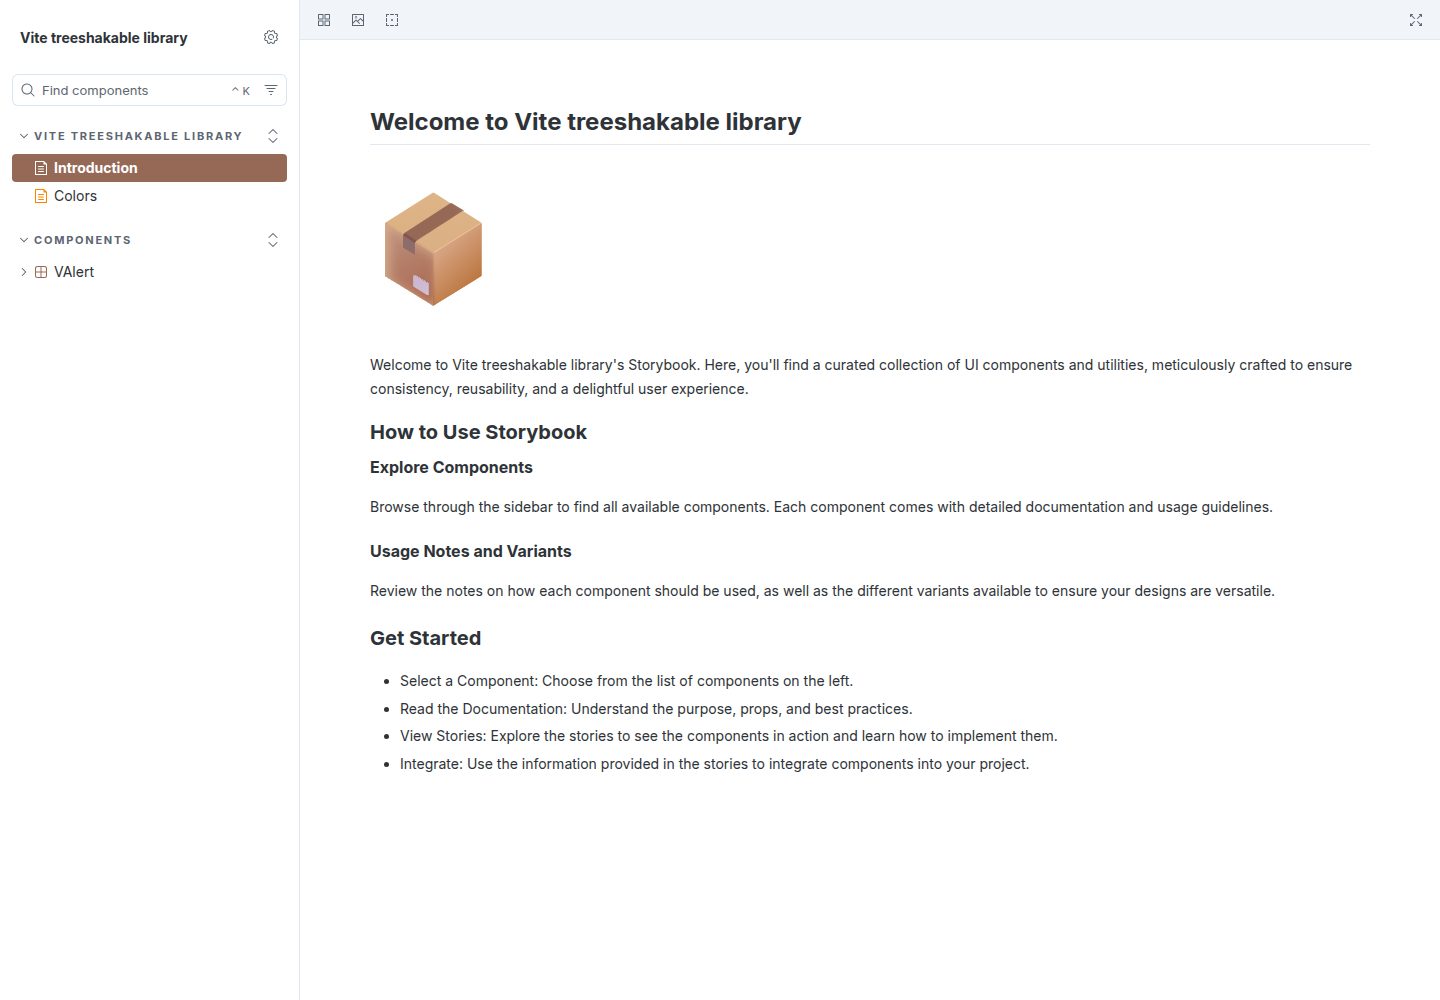
Vite 构建配置通过 createEntries 为 lib 目录下每个文件生成独立入口,便于 Rollup 拆分并实现 tree-shaking
VueVite启动器
vite-treeshakable-library — Vue 启动器模板
作者 kouts
一个基于 Vite 的库开发启动器模板,预配置 Vue 3、Tailwind CSS、Storybook 与 TypeScript,用于构建支持 tree-shaking 的 npm 组件库。
看看你的网站会是什么样
浏览真实页面截图,比较内容排版与手机效果。点击下方缩略图切换,放大查看整页细节。
全部页面与视图 2
截图用于了解视觉与布局,交互效果请以实际项目为准。
采集于 2026-10-04查看来源
值得关注的模板亮点
从已有项目资料中,快速了解它的特点。
默认集成 Vue 3 与 Tailwind CSS,示例组件为 VAlert
构建时输出 TypeScript 声明文件到 dist 目录
集成 Storybook 用于组件开发与文档,并附带部署到 GitHub Pages 的 GitHub Actions 工作流
使用 Vitest 进行单元测试,并提供 Playwright 对 Storybook 故事做视觉回归测试
通过 semantic-release 与 npm Trusted Publishers(OIDC)自动完成版本发布
模板详细介绍
该模板面向需要发布到 npm 的 JavaScript 库作者,仓库本身是一个 Vite 模板,默认集成 Vue 3 与 Tailwind CSS,但文档说明也可替换为 React、原生 JavaScript 或其他框架。
模板提供 playground 目录用于隔离预览组件,lib/components 目录用于放置组件、单元测试与 Storybook 故事,并通过 vite.config.ts 中的 createEntries 函数为 lib 目录下每个文件生成独立入口,以便 Rollup 拆分 chunk,让使用方只打包实际引用的代码。构建时输出 TypeScript 声明文件到 dist 目录。
样式方面采用 Tailwind CSS 的 @theme 指令在 lib/assets/lib.css 中定义设计令牌,该 CSS 会随库一起导出,消费方需自行安装 Tailwind CSS 与对应 Vite 插件并导入该样式文件。发布流程使用 semantic-release 配合 GitHub Actions 与 npm Trusted Publishers(OIDC)自动完成版本判定与发布。
模板的示例组件为 VAlert,仓库名称与标题需要在克隆后手动替换。使用前需自行核对演示图片、字体、图标等第三方素材的许可,外部托管或服务可能另行收费。
VueVite启动器
适合你的项目吗?
适用场景
- 开发并发布支持 tree-shaking 的 Vue 3 组件库到 npm
- 在 playground 目录中隔离预览和调试尚未集成到库中的组件
- 使用 Storybook 编写组件文档并部署到 GitHub Pages
- 通过 conventional commit 与 GitHub Actions 自动完成版本判定和 npm 发布
- 在 lib/assets/lib.css 中集中维护设计令牌,供消费方导入使用
适合人群
- 需要将 Vue 3 组件或工具函数打包为 npm 库并关注 tree-shaking 效果的开发者
- 希望模板已包含 TypeScript、Storybook、Vitest、ESLint 与 Prettier 配置的团队
- 计划使用 semantic-release 和 OIDC 自动发布流程维护版本的项目
- 愿意在克隆后手动替换库名并调整配置以适配 React 或原生 JavaScript 的使用者
上手与定制指南
结合仓库当前版本的说明,按下面的资料检查内容、配置与运行要求。
- 1
使用 npx degit @kouts/vite-treeshakable-library my-library 克隆模板,并替换 package.json、README.md、vite.config.ts 等文件中的库名与标题
- 2
使用 pnpm install 安装依赖,pnpm run dev 启动 playground,pnpm run build 构建库并生成 TypeScript 声明文件
- 3
消费方需安装 Tailwind CSS 及其 Vite 插件,并在项目 CSS 中导入 @kouts/vite-treeshakable-library/assets/lib.css 以使用主题令牌与组件样式
- 4
发布前需在 npm 包设置中配置 Trusted Publisher,选择 GitHub Actions 并填写组织或用户、仓库与工作流文件名,工作流需包含 id-token: write 权限
- 5
提交信息需遵循 conventional commit 规范,以便 semantic-release 判定版本并生成变更日志
授权与来源资料
使用条件与限制
免费使用 · 保留许可声明本次收录的是公开仓库中采用 MIT 许可的免费版本;免费范围为该版本代码,不代表外部服务或第三方素材免费。
使用时需要遵守
- 允许免费使用、修改、商用和分发该版本代码。
- 分发代码副本或实质性部分时,保留原作者版权声明和完整 MIT 许可声明。
- 代码按现状提供;担保与责任限制以原许可证及适用法律为准。
额外费用与待核对事项
- 消费方项目需自行安装 Tailwind CSS v4 及其 Vite 插件,模板本身不包含该依赖。
- 自动发布需在 npmjs.com 配置 Trusted Publisher,并依赖 GitHub Actions 与 OIDC 权限,属于外部服务与账号要求。
- 发布工作流必须包含 id-token: write 权限,否则无法通过 OIDC 生成令牌完成发布。
- 提交信息必须遵循 conventional commit 规范,否则 semantic-release 无法正确判定版本。
- 演示图片、字体、图标及其他第三方素材需按各自许可核对,不能仅凭代码的 MIT 许可判断。
- 域名、托管、数据库、支付或 AI 等外部服务可能另外收费。
查看原文依据
Permission is hereby granted, free of charge
许可证原文
Install Tailwind CSS v4 and its Vite plugin
README 原文
Navigate to your package settings on [npmjs.com](https://www.npmjs.com/) and find the "Trusted Publisher" section.
README 原文
Ensure your GitHub Actions workflow includes the `id-token: write` permission
README 原文
https://github.com/kouts/vite-treeshakable-library/blob/main/LICENSEhttps://github.com/kouts/vite-treeshakable-library/blob/main/README.mdEnsure all changes are committed using **conventional commit messages**
README 原文
DeepSeek 根据仓库许可证和 README 整理 ·2026-10-04。结果仅覆盖已读取资料,依赖、图片、字体及后续条款变更以各自原文为准。
项目核对记录与介绍依据
模板资料
- 来源平台
- GitHub
- 资料与维护参考分
- 资料较完整 · 88 / 100
- 技术栈
- Vue · Vite
- 网站类型
- 启动器
这个分数如何计算
本站按许可资料(最高30分)、演示链接(12分)、预览图(10分)、Star数(15分)、记录的维护时间(15分)、描述完整度(8分)、功能记录(5分)和分类资料(5分)计算。它不是代码、安全或性能测试,也不是 Google 评分;有链接不代表已实测可用。
这个项目需要核对什么
- 记录的仓库更新时间
- 2026-06-07
- 截图检查日期
- 2026-10-04
已收录演示链接。请用你的内容与屏幕尺寸检查;有演示不代表表单、认证或支付已经可用。
目录记录的主要技术栈是 Vue。请通过依赖清单和锁文件核对实际版本与托管要求。这些说明基于收录资料,不代表代码审计或部署实测。
查看具体选型方法 →介绍的制作与核对状态
介绍由 AI 辅助整理目录与仓库资料。仓库作者不等于这篇介绍的审核者。
审核声明: [email protected] · 2026-10-04
查看当时使用的来源资料
SHA-256: 117ad5616a31bf0fba1614aacab3cea4a83d705f327d59814eab27db393a2e79
2026-10-04T02:31:22.263Z
来源文件 / 仓库# vite-treeshakable-library <a href="https://npm.im/@kouts/vite-treeshakable-library"><img src="https://badgen.net/npm/v/@kouts/vite-treeshakable-library"></a> 
This repository provides a [Vite](https://vite.dev/) template for creating JavaScript libraries optimized for tree-shaking. While it is pre-configured to support [Vue 3](https://vuejs.org/) and [Tailwind CSS](https://tailwindcss.com/), it is flexible enough to be adapted for React, vanilla JavaScript, or other frameworks. The goal of this template is to simplify the process of building, documenting, testing, and publishing modern libraries to [npm](https://www.npmjs.com/).
## Features
- **Vite-Powered Development:**
- Fast development and optimized builds.
- Pre-configured for tree-shaking to reduce bundle sizes.
- **TypeScript Support:**
- TypeScript setup for type safety and better developer experience.
- Emits TypeScript declaration files for strong type support.
- **Component Library Support:**
- Out-of-the-box support for Vue 3 components and utilities.
- Includes example components such as `VAlert`.
- **Tailwind CSS Integration:**
- Includes Tailwind theme and custom styles for shared design tokens and utility classes.
- **Storybook Integration:**
- Documentation and components preview via [Storybook](https://storybook.js.org/).
- Storybook deployment to GitHub Pages.
- Visual regression testing with Playwright for Storybook stories.
- **Playground Environment:**
- A playground setup for testing and previewing your components in isolation.
- **Path Aliases:**
- Simplify imports with path aliases for library development.
- **Testing:**
- Unit testing with [Vitest](https://vitest.dev/).
- Starting with 100% test coverage.
- **Code Quality:**
- Pre-configured [ESLint](https://eslint.org/) and [Prettier](https://prettier.io/).
- [Lint-staged](https://github.com/lint-staged/lint-staged) and [Husky](https://typicode.github.io/husky/) for pre-commit hooks.
- **Automated Releases:**
- [Semantic-release](https://github.com/semantic-release/semantic-release) and GitHub Actions to automate versioning and `npm` publishing.
---
## Getting Started
### Clone the Repository
Clone the repository using `degit`:
```bash
npx degit @kouts/vite-treeshakable-library my-library
```
### Rename the Library
The template uses the name `vite-treeshakable-library` in various files and also `Vite treeshakable library` as the title. Replace this with your desired library name:
1. Update `name` and other relevant fields in `package.json`.
2. Replace occurrences of `vite-treeshakable-library` in:
- `README.md`
- `vite.config.ts`
- Any other relevant files.
This ensures your library is correctly identified during builds and deployment.
### Install Dependencies
```bash
pnpm install
```
### Playground
The template includes a **playground** for testing and previewing your components in an isolated environment. To launch the playground:
```bash
pnpm run dev
```
The playground can be found in the `playground` directory. Add pages or components there to test them independently before integrating them into the library.
### Building the Library
To build the library for production and check the output files in the `dist` directory:
```bash
pnpm run build
```
### Storybook
Run Storybook for interactive component development:
```bash
pnpm run storybook
```
Visit the Storybook UI at `http://localhost:6006`.
To deploy Storybook to GitHub Pages, this template includes a pre-configured GitHub Actions workflow. Simply push your changes to the `main` branch, and the workflow will:
1. Build the Storybook static files.
2. Deploy the `storybook-static` directory to GitHub Pages automatically.
No manual steps are needed to deploy Storybook.
### Adding Components
It is recommended to co-locate components with their tests and stories for better organization. Components are located in the `lib/components` directory.
To add a new component:
1. Create a new component file e.g. `lib/components/{component-name}/{component-name}.vue`
2. Add unit tests in the corresponding `lib/components/{component-name}/{component-name}.spec.ts` file.
3. Create Storybook stories for the component under `lib/components/{component-name}/{component-name}.stories.ts`.
4. Export your component in `lib/components/index.ts`.
### Vite Configuration / Tree-Shaking
In `vite.config.ts`, the `build.lib.entry` option defines the entry points for the library. The `createEntries` function dynamically generates an entry point for each file in the `lib/` directory (such as `.ts` and `.vue` files), allowing Rollup to split them into separate chunks. This approach ensures effective tree-shaking by including *only* the used code in the final bundle. It also excludes unnecessary files, such as tests or Storybook stories, avoiding the creation of redundant chunks and optimizing the output. This method offers greater flexibility and control over the chunking process compared to using `output.preserveModules`. For more details, see the [Rollup documentation](https://rollupjs.org/configuration-options/#input).
### Tailwind Theme and Styles
This library uses [Tailwind CSS v4](https://tailwindcss.com/), which introduces a CSS-first configuration approach using the `@theme` directive.
The library's design tokens (colors, fonts, etc.) are defined in `lib/assets/lib.css` using the `@theme` directive. This file can also include any custom utility classes or component styles:
```css
@theme {
--color-midnight: #1e293b;
--color-ocean: #0ea5e9;
/* ... more tokens */
}
```
This CSS file is automatically bundled and exported as `@kouts/vite-treeshakable-library/assets/lib.css`. Consumer projects import this CSS to access the library's theme tokens, custom utility classes, and component styles.
To use the library's Tailwind theme and styles in a consumer project:
1. Install Tailwind CSS v4 and its Vite plugin:
```bash
pnpm i -D tailwindcss @tailwindcss/vite
```
2. Add the Tailwind plugin to your `vite.config.ts`:
```ts
import tailwindcss from '@tailwindcss/vite'
export default defineConfig({
plugins: [tailwindcss()],
})
```
3. Import the library's styles in your project's main CSS file:
```css
@import 'tailwindcss';
@import '@kouts/vite-treeshakable-library/assets/lib.css';
```
This gives your project access to the library's theme tokens (e.g., `bg-midnight`, `text-ocean`), custom utility classes, and component styles.
---
## Using Path Aliases
This template supports path aliases for cleaner imports. When building the project, path aliases will get replaced with relative paths (using [resolve-tspaths](https://github.com/benyap/resolve-tspaths)) so that the resulting code can be consumed correctly without any errors.
The aliases are configured in the following files:
- **`vite.config.ts`:**
```ts
resolve: {
alias: {
'@': resolve(__dirname, 'playground'),
'@lib': resolve(__dirname, 'lib'),
'@assets': resolve(__dirname, 'playground/assets'),
},
},
```
- **`tsconfig.json` and `tsconfig.lib.json`:**
```json
{
"compilerOptions": {
"paths": {
"@/*": ["playground/*"],
"@lib/*": ["lib/*"],
"@assets/*": ["playground/assets/*"]
}
}
}
```
Use these aliases in your code to simplify imports, e.g., `import { VAlert } from '@lib/components'`.
---
## TypeScript Declaration Files
The build process emits TypeScript declaration files to ensure strong type support. These files are generated into the `dist` directory during the build step. Ensure your components and utilities are properly typed for better developer experience.
To build and emit the TypeScript declaration files, run:
```bash
pnpm run build
```
Verify the `dist/lib/index.d.ts` file for the declarations.
---
## Using the Template for other Frameworks
To adapt this template for frameworks like React or vanilla JavaScript:
1. Replace Vue-specific dependencies with those for your framework.
2. Update `vite.config.ts` and other configuration files as needed.
3. Modify the example components and utilities to match your framework.
---
## Publishing Your Library
This repository uses **semantic-release** for automated `npm` publishing with [Trusted Publishers](https://docs.npmjs.com/trusted-publishers) (OIDC authentication). This eliminates the need for long-lived npm tokens, providing enhanced security through short-lived, workflow-specific credentials.
### Setting Up Trusted Publishing
1. Navigate to your package settings on [npmjs.com](https://www.npmjs.com/) and find the "Trusted Publisher" section.
2. Select "GitHub Actions" as your provider.
3. Configure the following fields:
- **Organization or user**: Your GitHub username or organization name
- **Repository**: Your repository name
- **Workflow filename**: `release.yml` (or your release workflow filename)
- **Environment name** (optional): If using GitHub environments for deployment protection
For more details, refer to the [npm Trusted Publishers documentation](https://docs.npmjs.com/trusted-publishers).
### Release Process
Follow these steps for a seamless release:
1. Ensure all changes are committed using **conventional commit messages**:
- Example commit message: `feat: add new button component`
- For guidance, refer to the [Conventional Commits](https://www.conventionalcommits.org/) specification.
2. Push your changes to the `main` branch. The GitHub Actions workflow will:
- Run tests and validate your code.
- Determine the next version based on your commit messages.
- Publish the package to npm automatically using OIDC authentication.
- Generate provenance attestations for your package.
- Update the changelog and create a GitHub release.
3. Monitor the Actions tab in your repository to ensure the release completes successfully.
**Note:** Ensure your GitHub Actions workflow includes the `id-token: write` permission, which is required for OIDC token generation. Refer to the [semantic-release documentation](https://semantic-release.gitbook.io/semantic-release/) for more information.
---
## Contributing
Contributions are welcome! Please ensure that your code adheres to the following:
- **Conventional Commits:** Use conventional commit messages for versioning and changelog generation.
- **Testing:** Add tests for all new components and features.
- **Code Style:** Run `pnpm run lint-fix` before committing.
---
## Feedback
If you find this template useful or have suggestions for improvement, feel free to open an issue or submit a pull request.
---
> Use the following boilerplate for the README.md file of your library.
# README boilerplate
The [Vite treeshakable library](https://github.com/kouts/vite-treeshakable-library) is a comprehensive suite of feature-rich UI components and utilities.
The library is built using [Vue 3](https://vuejs.org/) and [Tailwind CSS](https://tailwindcss.com/) and is designed to be used in Vue 3 projects.
[Vite](https://vitejs.dev/) is used as the build tool for the library and [Storybook](https://storybook.js.org/) is used for component development and documentation.
## Installation and Usage
Install the package and its dependencies using `pnpm`:
```bash
pnpm i vue @kouts/vite-treeshakable-library
```
Install Tailwind CSS v4 and its Vite plugin:
```bash
pnpm i -D tailwindcss @tailwindcss/vite
```
Add the Tailwind plugin to your `vite.config.ts`:
```ts
import tailwindcss from '@tailwindcss/vite'
export default defineConfig({
plugins: [tailwindcss()],
})
```
Import Tailwind and the library's styles in your project's `main.css` file:
```css
@import 'tailwindcss';
@import '@kouts/vite-treeshakable-library/assets/lib.css';
```
Import and use the components you need in your Vue 3 project:
```html
<template>
<VAlert type="success">This is a success alert</VAlert>
</template>
<script setup lang="ts">
import { VAlert } from '@kouts/vite-treeshakable-library';
</script>
```
If you are using Jest for unit testing in your consumer project, you will need to add the following to your Jest configuration:
```js
{
moduleNameMapper: {
'^@kouts/vite-treeshakable-library$': '<rootDir>/node_modules/@kouts/vite-treeshakable-library/dist/cjs',
}
}
```
## Contributing
:fire: **HEADS UP!** This repo uses [conventional commits](https://www.conventionalcommits.org/en/v1.0.0/) and [semantic-release](https://github.com/semantic-release/semantic-release) to automate the whole package release workflow including: determining the next version number, generating the release notes, and publishing the package to npm.
Commit messages have to follow the commit message format when contributing.
---
When adding a new component to the library, please make sure to add unit tests and Storybook stories for it.
We strive to maintain a high level of code quality and test coverage in this project.
## Project setup for development
This project uses [pnpm](https://pnpm.io/) as the package manager.
### Install dependencies
```bash
pnpm install
```
### Start the dev server
```bash
pnpm run dev
```
### Run Storybook
```bash
pnpm run storybook
```
### Run Storybook tests
```bash
pnpm run test-storybook
```
## Run unit tests
```bash
pnpm run test:unit
```
## Run unit tests and generate coverage report
```bash
pnpm run test:unit-coverage
```
### Lint files
```bash
pnpm run lint
```
### Lint and fix files
```bash
pnpm run lint-fix
```
### Run Typechecks
```bash
pnpm run typecheck
```
看看同类模板
对比同技术栈与用途的模板,找到更适合的视觉与内容结构。
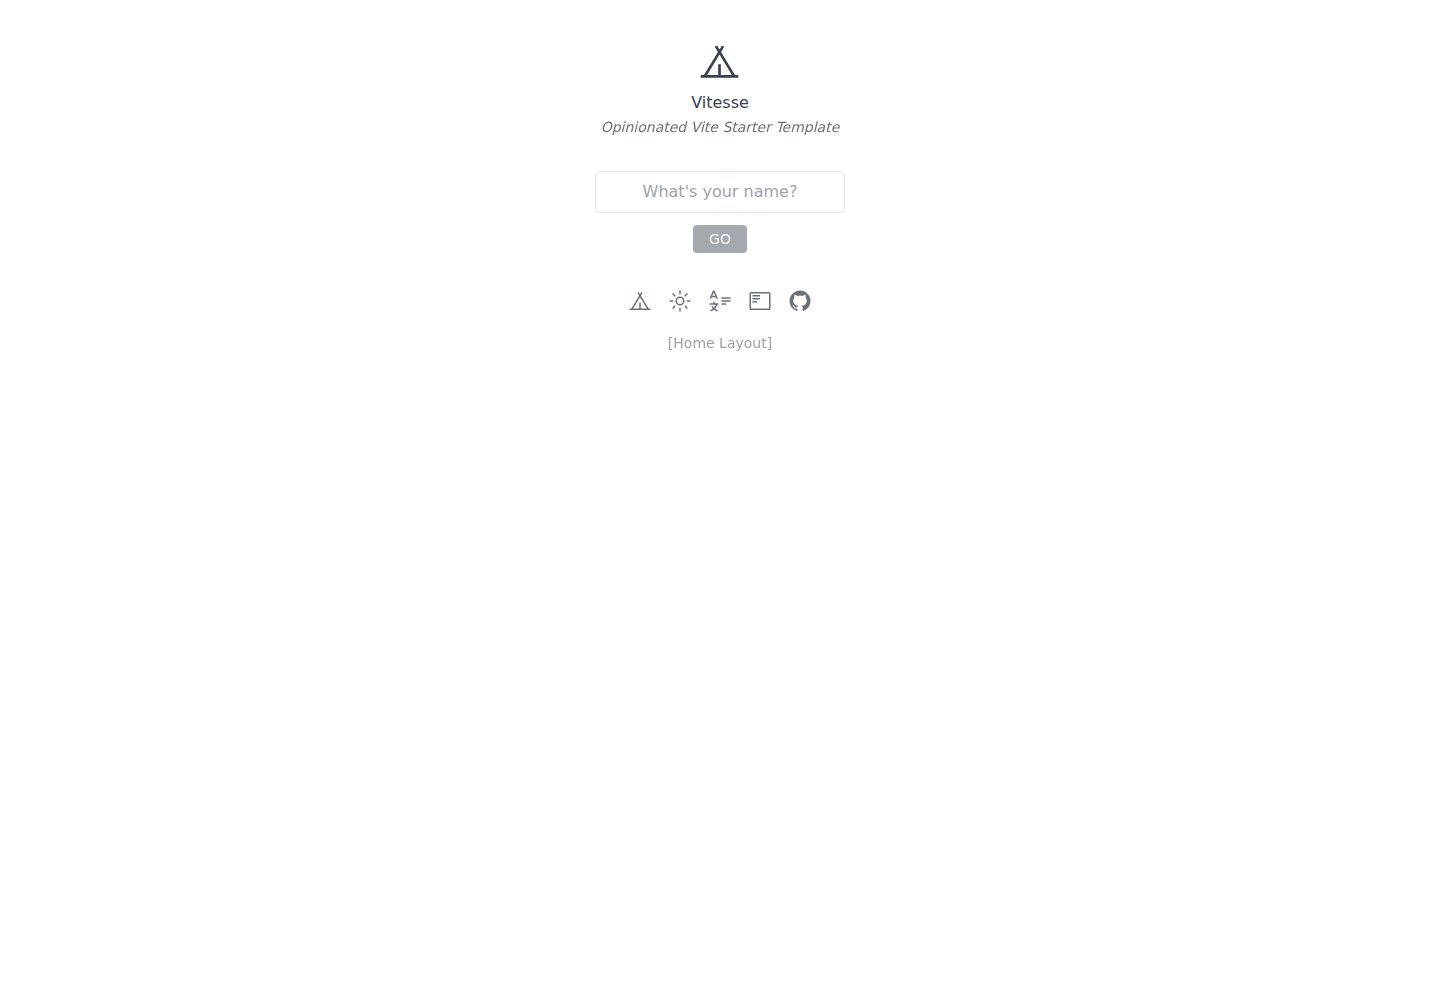
vitesse
🏕 Opinionated Vite + Vue Starter Template
Vue · 启动器
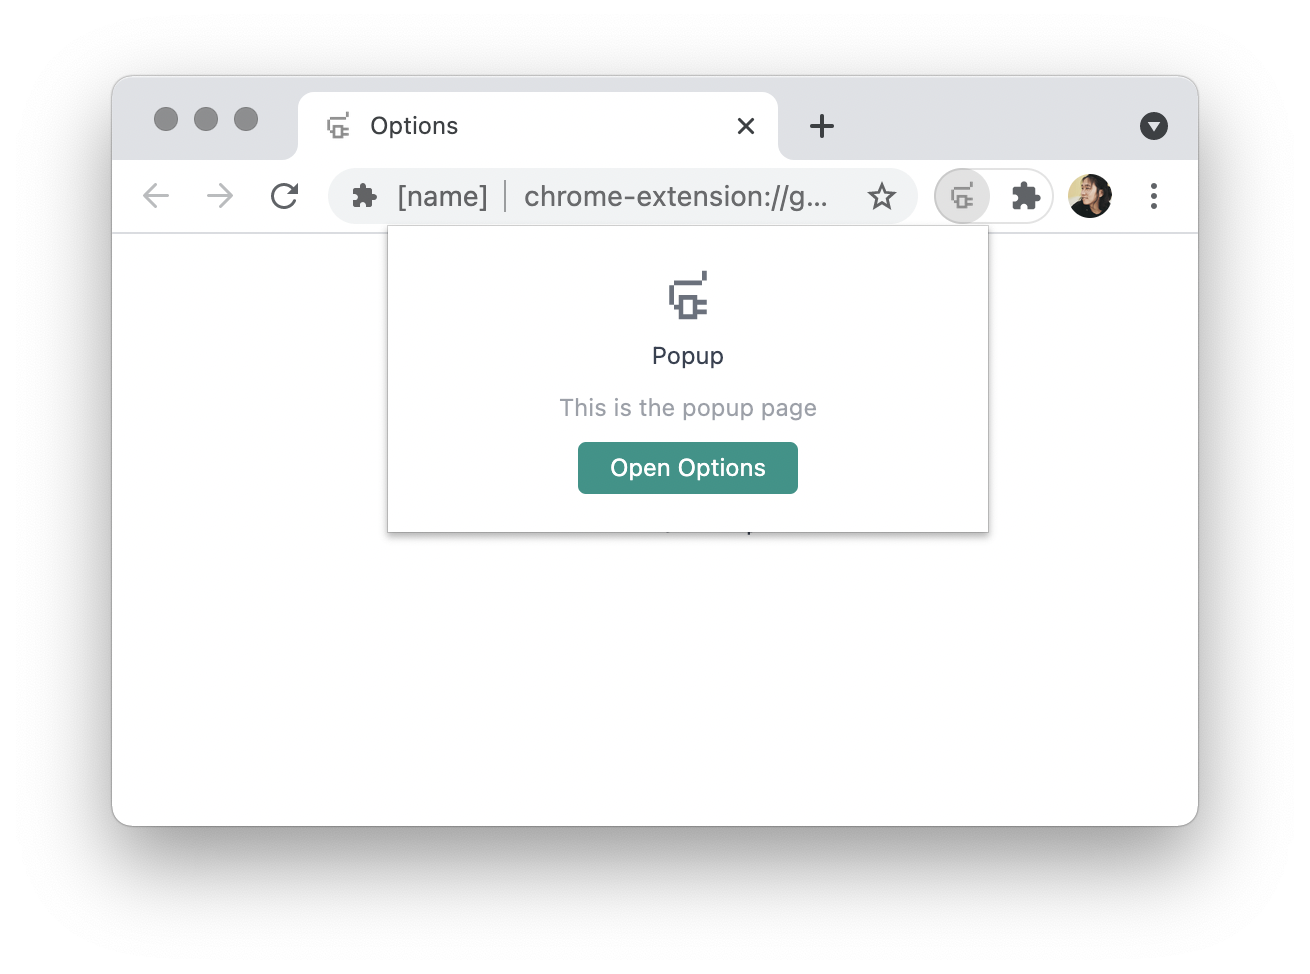
vitesse-webext
⚡️ WebExtension Vite Starter Template
Vue · 启动器

laravel-vue-spa
A Laravel-Vue SPA starter kit.
Vue · 启动器
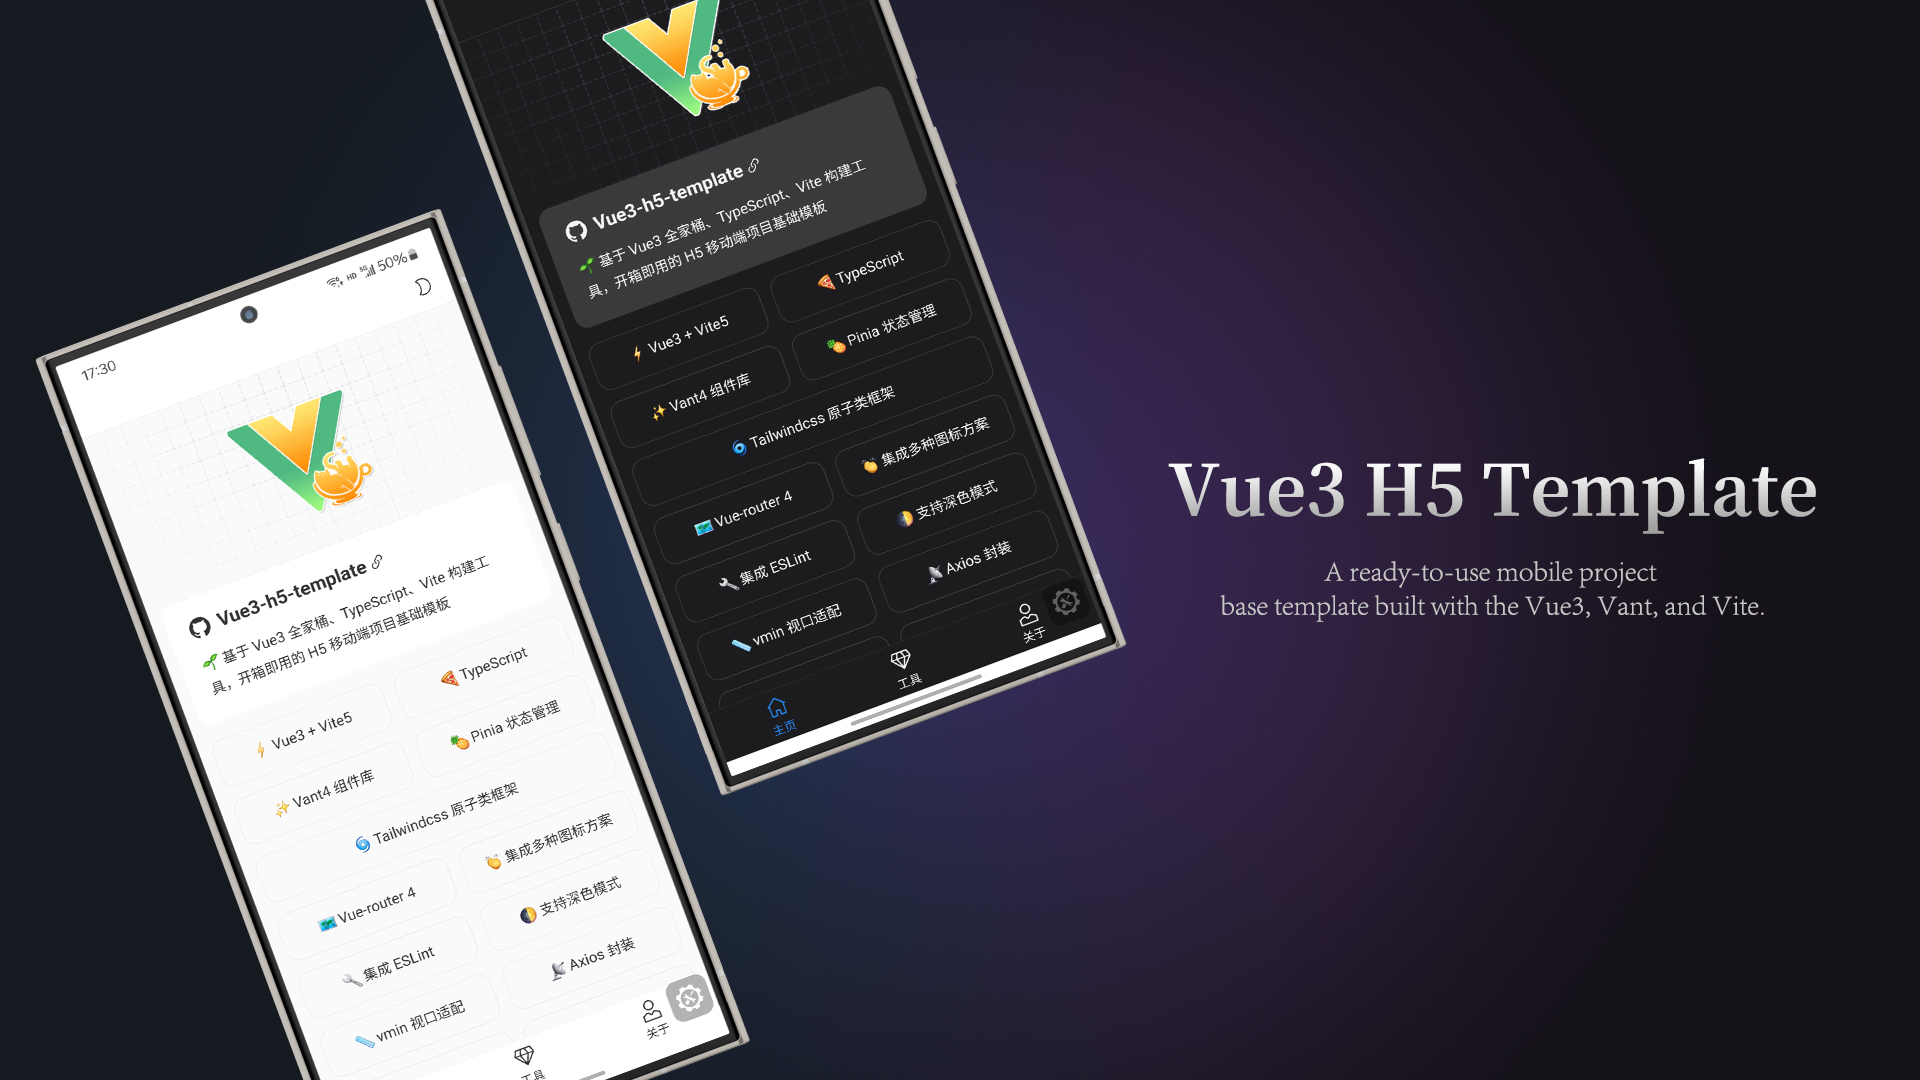
vue3-h5-template
vue3-h5-template 是一个面向移动端 H5 项目的启动模板,基于 Vue3、Vite 和 Vant4 构建,同时集成了 TypeScript、Tailwindcss、Pinia、Vue-router 等常用…
Vue · 启动器
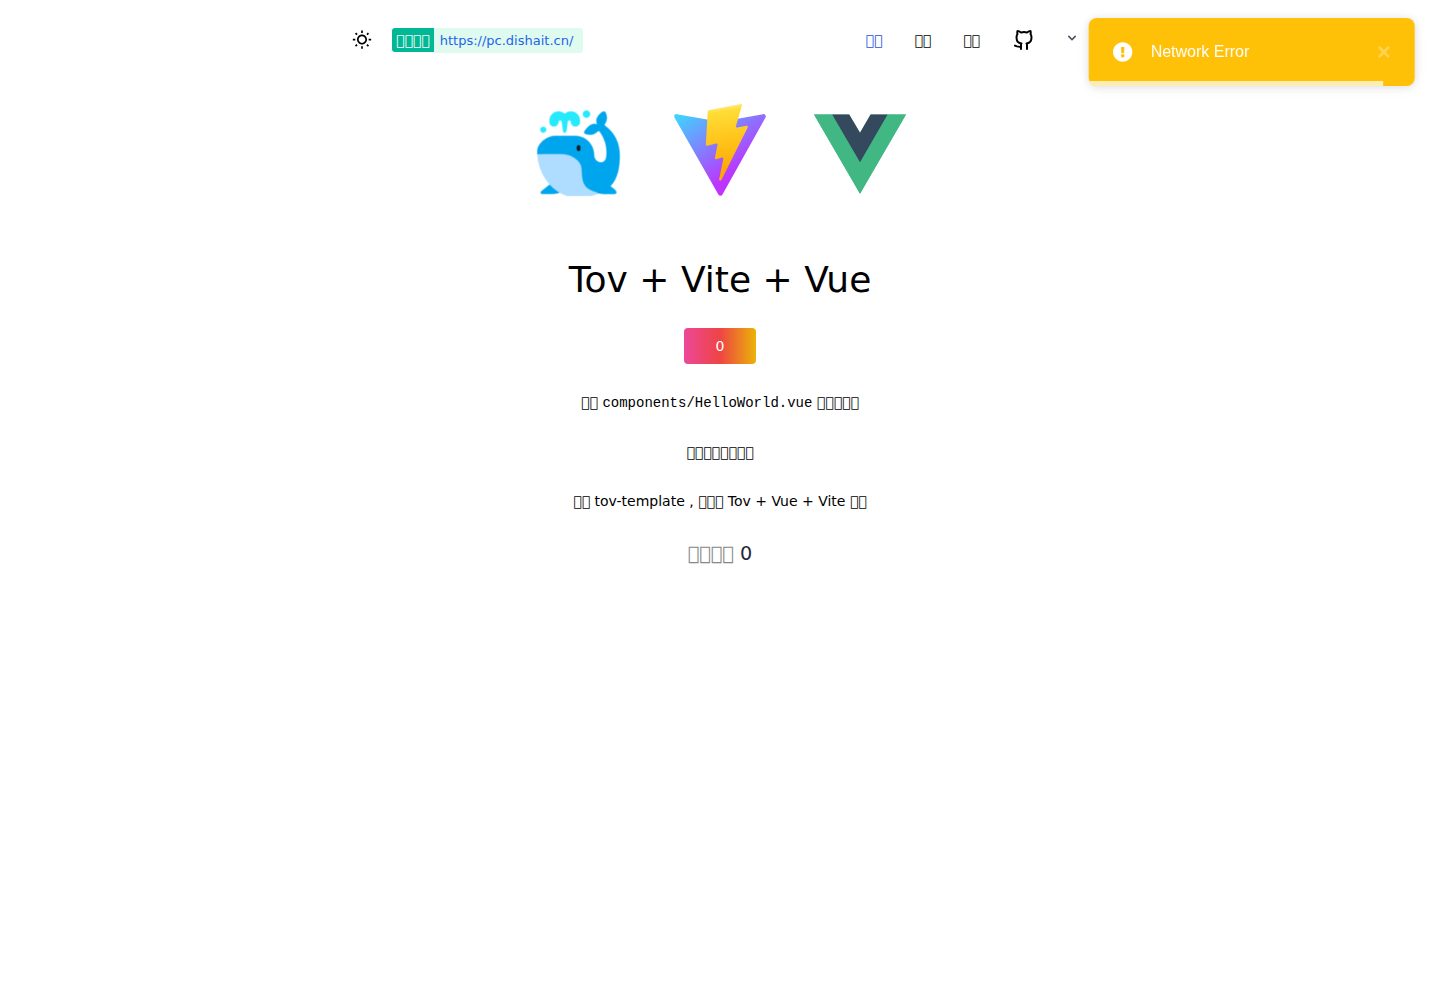
tov-template
vite + vue3 + ts 开箱即用现代开发模板 | vite + vue3 + ts out-of-the-box modern development template
Vue · 启动器
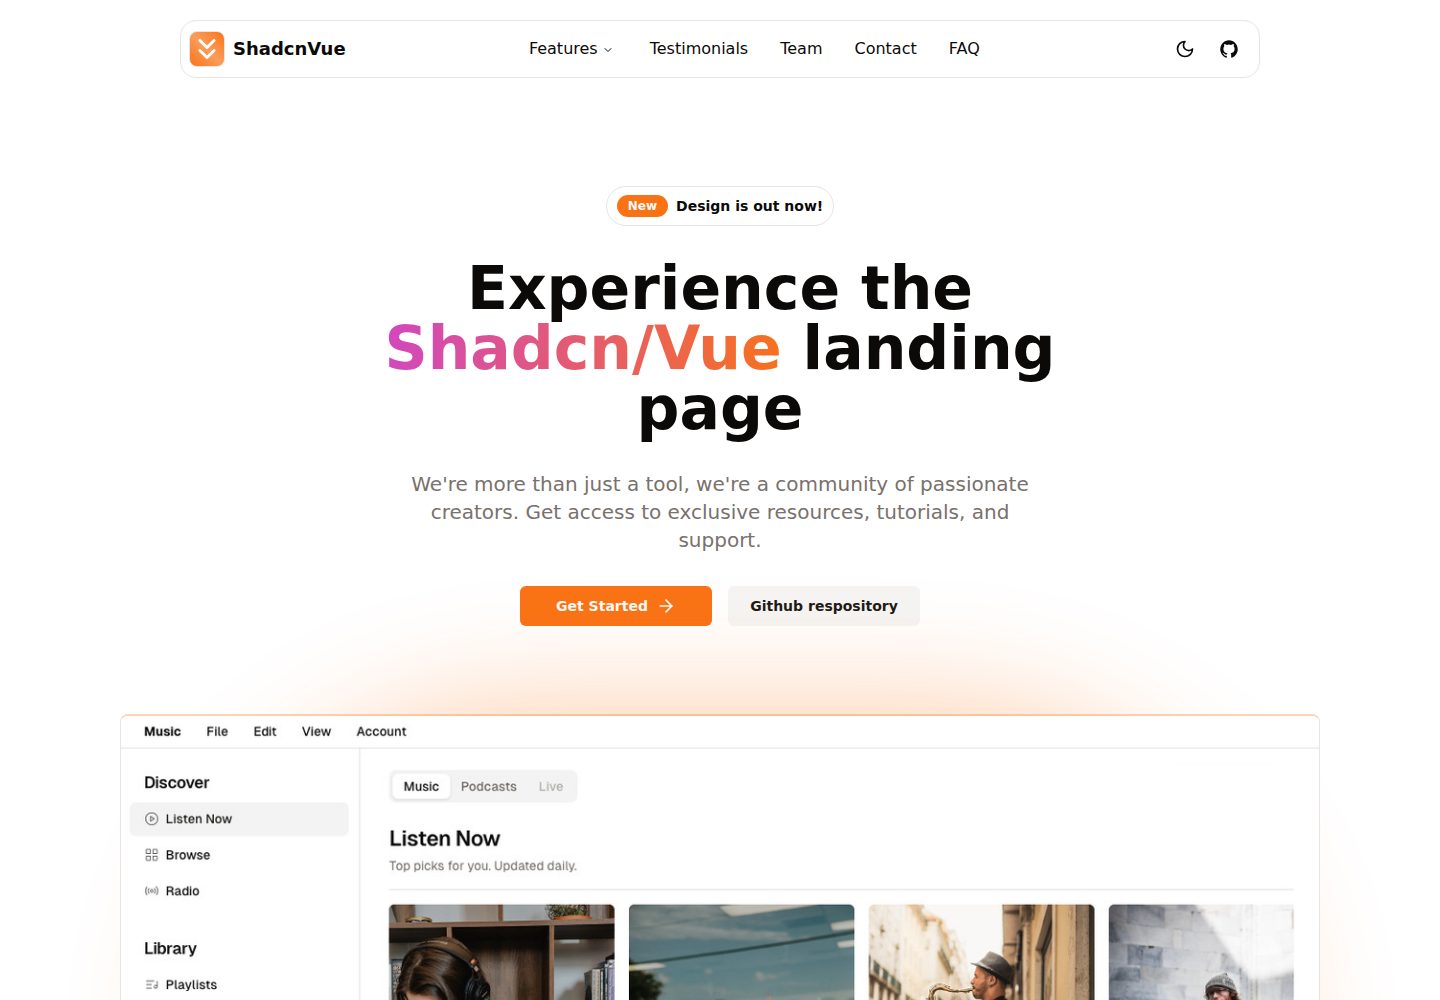
shadcn-vue-landing-page
New design 🎉 Vue + Shadcn-vue + TypeScript + Tailwind. Landing page template ease-to-use
Vue · 企业官网