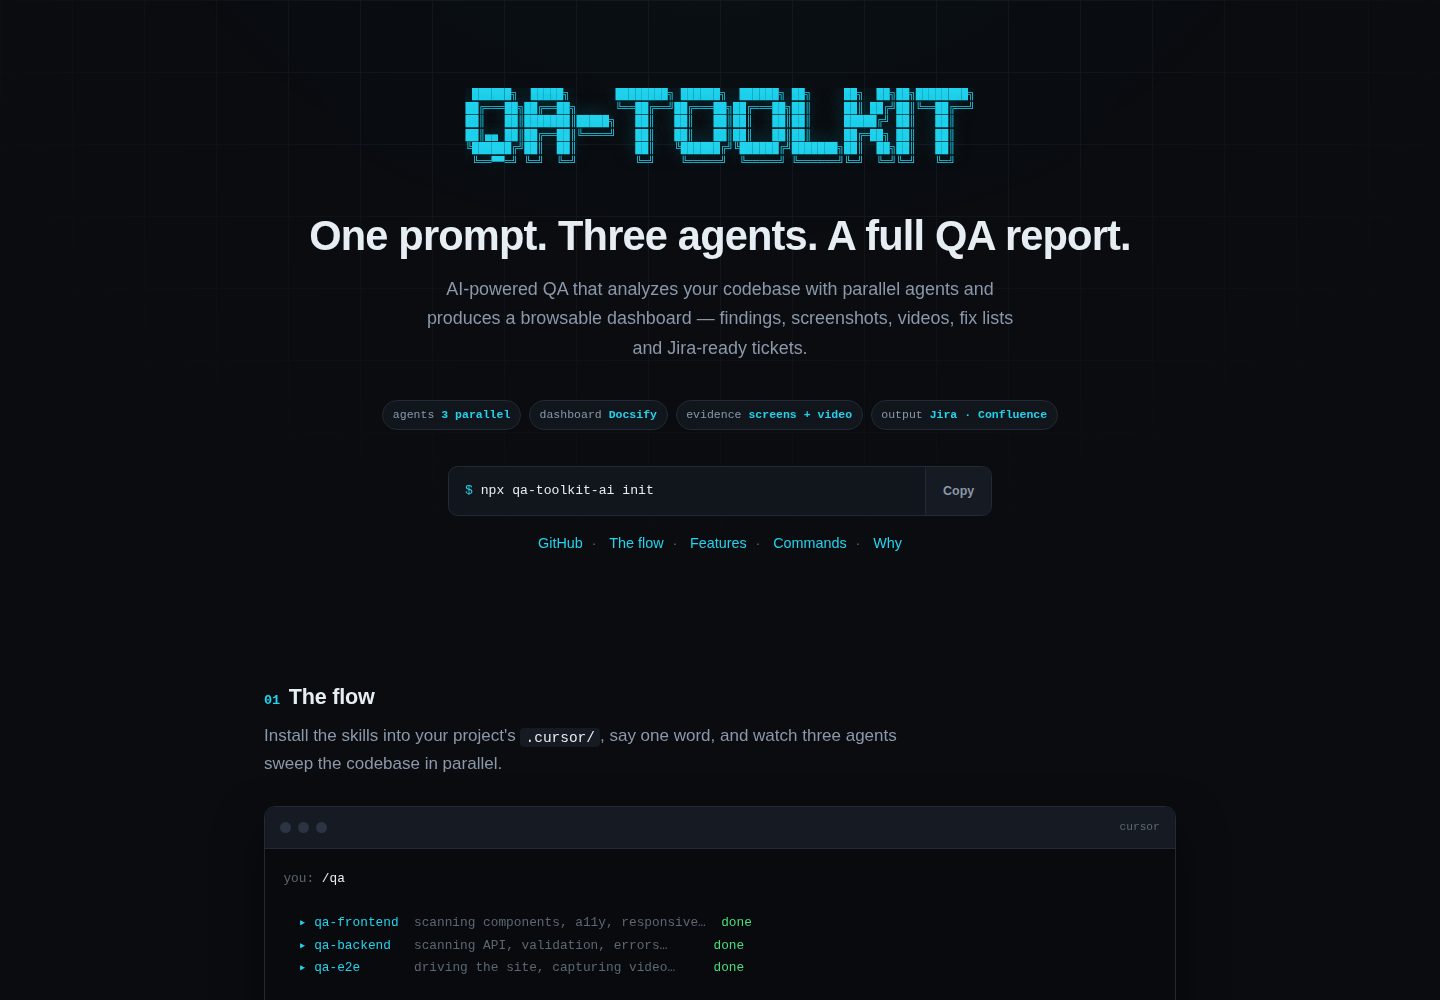
三个并行 QA 代理分别覆盖前端、后端与 E2E 流程分析
HTML后台
qa-toolkit — HTML 后台模板
作者 L-ubu
面向 Cursor 的 QA 工具包,通过技能、报告模板与 Docsify 仪表盘,对代码库执行前端、后端与 E2E 的自动化质量分析并输出可浏览报告。
看看你的网站会是什么样
浏览真实页面截图,比较内容排版与手机效果。点击下方缩略图切换,放大查看整页细节。
全部页面与视图 2
截图用于了解视觉与布局,交互效果请以实际项目为准。
采集于 2026-10-05查看来源
值得关注的模板亮点
从已有项目资料中,快速了解它的特点。
输出 Docsify 仪表盘,支持按 P0–P3 严重级别筛选和一键打印为 PDF
报告区分功能视角(PM/客户)与技术视角(开发者),并生成修复清单和 Jira 工单格式
采集桌面、平板、移动三种视口的截图与 E2E 视频,支持灯箱缩放和内嵌播放
提供 npx qa-toolkit-ai 的 init、scaffold、serve、share 命令,可本地服务或经 Cloudflare 隧道分享
通过 .cursor/qa-reference/ 中的 markdown 文件可按项目定制功能区域与测试场景
模板详细介绍
QA Toolkit 是一套以 Cursor 为运行环境的 QA 工具包,仓库主体由技能定义、报告格式规则、Docsify 仪表盘模板和 CLI 脚本组成。它通过三个并行 QA 代理(Frontend、Backend、E2E)分析代码库,将发现的问题按严重级别 P0–P3 分类,并生成 Docsify 仪表盘,支持按严重级别筛选、截图灯箱查看和视频内嵌播放。报告分为面向 PM/客户的功能报告与功能检查清单,以及面向开发者的技术报告、修复清单和 Jira 工单格式。媒体证据包括桌面(1280px)、平板(768px)、移动(375px)三种视口的截图,以及三种视口下的 E2E 视频。安装方式有三种:通过 npx qa-toolkit-ai init 将技能、规则和 Docsify 模板复制到项目的 .cursor/ 目录;克隆仓库后运行 install.sh 指定项目路径;或直接以该仓库作为 GitHub 模板复制内容。使用方式是在 Cursor 中执行 /qa、/qa-frontend、/qa-backend、/qa-e2e 等命令,代理会分析代码库、生成报告并在 qa-output/ 下构建仪表盘,随后可本地服务或通过 Cloudflare 隧道生成公开分享链接。CLI 提供 init、scaffold、serve、share 子命令。自定义方面,可在 .cursor/qa-reference/ 下放置描述项目功能区域、测试场景与 Confluence 结构的 markdown 文件,供代理组织发现结果;也可编辑 .cursor/qa-docsify-template/index.html 调整主题。仓库采用 MIT 许可,代码可免费使用、修改、商用和分发,但演示图片、字体、图标等第三方素材需单独核对许可,域名、托管、数据库、支付或 AI 等外部服务可能另外收费。
HTML后台
适合你的项目吗?
适用场景
- 在 Cursor 中打开项目并执行 /qa 命令,对代码库做一轮前端、后端与 E2E 质量分析
- 为 PM 或客户生成通俗语言的功能报告与按功能区域排序的功能检查清单
- 为开发者生成包含代码路径、文件引用和修复建议的技术报告与修复清单
- 将发现的问题整理成预格式化的 Jira 工单,或通过 MCP 创建
- 把 qa-output/ 仪表盘本地服务或经 Cloudflare 隧道生成公开链接分享给团队
适合人群
- 使用 Cursor 并希望以技能和命令方式组织 QA 流程的开发团队
- 需要同时向 PM/客户和开发者输出不同视角质量报告的团队
- 希望用 Docsify 仪表盘集中浏览截图、视频和分级问题的项目
- 需要在代码库中按功能区域和测试场景定制 QA 参考结构的项目
上手与定制指南
结合仓库当前版本的说明,按下面的资料检查内容、配置与运行要求。
- 1
推荐安装方式为在项目目录执行 npx qa-toolkit-ai init,将技能、规则和 Docsify 模板复制到 .cursor/ 目录
- 2
也可克隆仓库后运行 install.sh 并传入项目路径,或以该仓库作为 GitHub 模板复制内容
- 3
使用前需在 Cursor 中打开项目,通过 /qa、/qa-frontend、/qa-backend、/qa-e2e 等命令触发分析
- 4
仪表盘默认由 npx qa-toolkit-ai serve 在 3333 端口提供,可传入自定义端口;share 命令经 Cloudflare 隧道生成公开链接
- 5
如需按项目组织发现结果,可在 .cursor/qa-reference/ 下添加描述功能区域、测试场景和 Confluence 结构的 markdown 文件
授权与来源资料
使用条件与限制
免费使用 · 保留许可声明本次收录的是公开仓库中采用 MIT 许可的免费版本;免费范围为该版本代码,不代表外部服务或第三方素材免费。
使用时需要遵守
- 允许免费使用、修改、商用和分发该版本代码。
- 分发代码副本或实质性部分时,保留原作者版权声明和完整 MIT 许可声明。
- 代码按现状提供;担保与责任限制以原许可证及适用法律为准。
额外费用与待核对事项
- 演示图片、字体、图标及其他第三方素材需按各自许可核对,不能仅凭代码的 MIT 许可判断。
- 域名、托管、数据库、支付或 AI 等外部服务可能另外收费。
- 使用该工具包需在 Cursor 编辑器中打开项目并通过 /qa 等命令触发分析,运行环境依赖 Cursor。
- 生成公开分享链接依赖 Cloudflare 隧道这一外部服务,可能涉及第三方服务可用性与费用。
- share 命令通过公共隧道对外暴露本地仪表盘,使用该功能需依赖外部隧道服务。
- 生成 Jira 工单若通过 MCP 创建,需自行配置相应的 MCP 与 Jira 外部服务。
查看原文依据
Permission is hereby granted, free of charge
许可证原文
Open your project in Cursor and say:
README 原文
Creates a **shareable public link** via Cloudflare tunnel
README 原文
# Share via public tunnel npx qa-toolkit-ai share
README 原文
https://github.com/L-ubu/qa-toolkit/blob/main/LICENSEhttps://github.com/L-ubu/qa-toolkit/blob/main/README.md- **Jira Tickets** — pre-formatted, ready to create via MCP or copy-paste
README 原文
DeepSeek 根据仓库许可证和 README 整理 ·2026-10-05。结果仅覆盖已读取资料,依赖、图片、字体及后续条款变更以各自原文为准。
项目核对记录与介绍依据
模板资料
- 来源平台
- GitHub
- 资料与维护参考分
- 资料较完整 · 83 / 100
- 技术栈
- HTML
- 网站类型
- 后台
这个分数如何计算
本站按许可资料(最高30分)、演示链接(12分)、预览图(10分)、Star数(15分)、记录的维护时间(15分)、描述完整度(8分)、功能记录(5分)和分类资料(5分)计算。它不是代码、安全或性能测试,也不是 Google 评分;有链接不代表已实测可用。
这个项目需要核对什么
- 记录的仓库更新时间
- 2026-10-05
- 截图检查日期
- 2026-10-05
已收录演示链接。请用你的内容与屏幕尺寸检查;有演示不代表表单、认证或支付已经可用。
目录记录的主要技术栈是 HTML。请通过依赖清单和锁文件核对实际版本与托管要求。这些说明基于收录资料,不代表代码审计或部署实测。
查看具体选型方法 →介绍的制作与核对状态
介绍由 AI 辅助整理目录与仓库资料。仓库作者不等于这篇介绍的审核者。
审核声明: [email protected] · 2026-10-06
查看当时使用的来源资料
SHA-256: 613c3887f325ff98f56c7e0135fdc81be5a251e990faf4efda7029f6a518a2b0
2026-10-05T15:52:00.630Z
来源文件 / 仓库# QA Toolkit
AI-powered QA toolkit that runs automated quality analysis on your codebase and produces a browsable dashboard with findings, screenshots, and videos.
```
___ _ _____ _ _ _ _
/ _ \ / \ |_ _|__ ___ | | | _(_) |_
| | | |/ _ \ | |/ _ \ / _ \| | |/ / | __|
| |_| / ___ \ | | (_) | (_) | | <| | |_
\__\_\_/ \_\ |_|\___/ \___/|_|_|\_\_|\__|
```
## What it does
- Runs **3 parallel QA agents** (Frontend, Backend, E2E) that analyze your codebase
- Produces a **Docsify dashboard** with all findings, organized and filterable
- Splits findings into **Functional** (for PM/client) and **Technical** (for devs)
- Generates fix lists, Jira-ready tickets, Confluence checklists
- Captures **screenshots** at desktop/tablet/mobile and **E2E videos**
- Creates a **shareable public link** via Cloudflare tunnel
## Install
### Option A: npm (recommended)
```bash
npx qa-toolkit-ai init
```
This copies the QA skills, rules, and Docsify template into your project's `.cursor/` directory.
### Option B: Clone + install script
```bash
git clone https://github.com/L-ubu/qa-toolkit.git /tmp/qa-toolkit
bash /tmp/qa-toolkit/install.sh /path/to/your/project
```
### Option C: GitHub template
Use this repo as a template and copy the contents into your project's `.cursor/`.
## Usage
### Run QA (in Cursor)
Open your project in Cursor and say:
```
/qa
```
Or be specific:
```
/qa-frontend
/qa-backend
/qa-e2e
```
The agent will:
1. Analyze your codebase (Frontend, Backend, E2E flows)
2. Generate reports with severity classification (P0–P3)
3. Build a Docsify dashboard in `qa-output/`
4. Serve it locally and create a shareable link
### CLI Commands
```bash
# Install QA skills into your project
npx qa-toolkit-ai init
# Scaffold a new qa-output/ from template
npx qa-toolkit-ai scaffold "My Project" "feature/branch"
# Serve the dashboard
npx qa-toolkit-ai serve # default port 3333
npx qa-toolkit-ai serve 4000 # custom port
# Share via public tunnel
npx qa-toolkit-ai share
```
## What you get
### For the PM / Client
- **Functional Report** — plain-language descriptions of what users see and experience
- **Functional Checklist** — checkbox list sorted by feature area for budget decisions
- **Severity filter** — toggle P0/P1/P2/P3 visibility in the dashboard
- **PDF export** — one-click print to PDF
### For Developers
- **Full Technical Report** — code paths, file references, fix suggestions
- **Frontend / Backend / E2E Reports** — detailed per-area analysis
- **Fix List** — grouped by component (Frontend → JS/React → Backend)
- **Jira Tickets** — pre-formatted, ready to create via MCP or copy-paste
### Media Evidence
- **Screenshots** at desktop (1280px), tablet (768px), mobile (375px)
- **E2E videos** at all three viewports
- **Lightbox** for screenshot zoom, inline video playback
## Project structure
```
qa-toolkit/
├── bin/cli.js # CLI tool (init, serve, share, scaffold)
├── skills/
│ ├── qa-run/SKILL.md # Orchestrator — runs all agents
│ ├── qa-frontend/SKILL.md # Frontend/UI analysis
│ ├── qa-backend/SKILL.md # Backend/API analysis
│ ├── qa-e2e/SKILL.md # E2E flow analysis
│ └── qa-merge-report/SKILL.md # Merges findings, builds dashboard
├── rules/
│ └── qa-report-format.mdc # Report format rules for Cursor
├── docsify-template/ # Reusable Docsify dashboard template
│ ├── index.html # Themed dashboard with filter + PDF
│ ├── setup-docsify.sh # Scaffold script
│ ├── README.md # Dashboard template
│ ├── _sidebar.md # Navigation template
│ ├── media.md # Screenshots/videos template
│ ├── qa-functional-report.md # Functional report template
│ └── qa-functional-checklist.md # Functional checklist template
├── install.sh # Standalone install script (no npm needed)
├── package.json
└── README.md
```
## Customisation
### Project-specific QA structure
Add a `.cursor/qa-reference/` directory with a markdown file describing your project's feature areas, test scenarios, and Confluence structure. The QA agents will use it to organise findings.
Example: `.cursor/qa-reference/my-project-structure.md`
### Docsify theme
Edit `.cursor/qa-docsify-template/index.html` to change colors, fonts, or add features. The template uses CSS custom properties for easy theming.
## License
MIT
看看同类模板
对比同技术栈与用途的模板,找到更适合的视觉与内容结构。
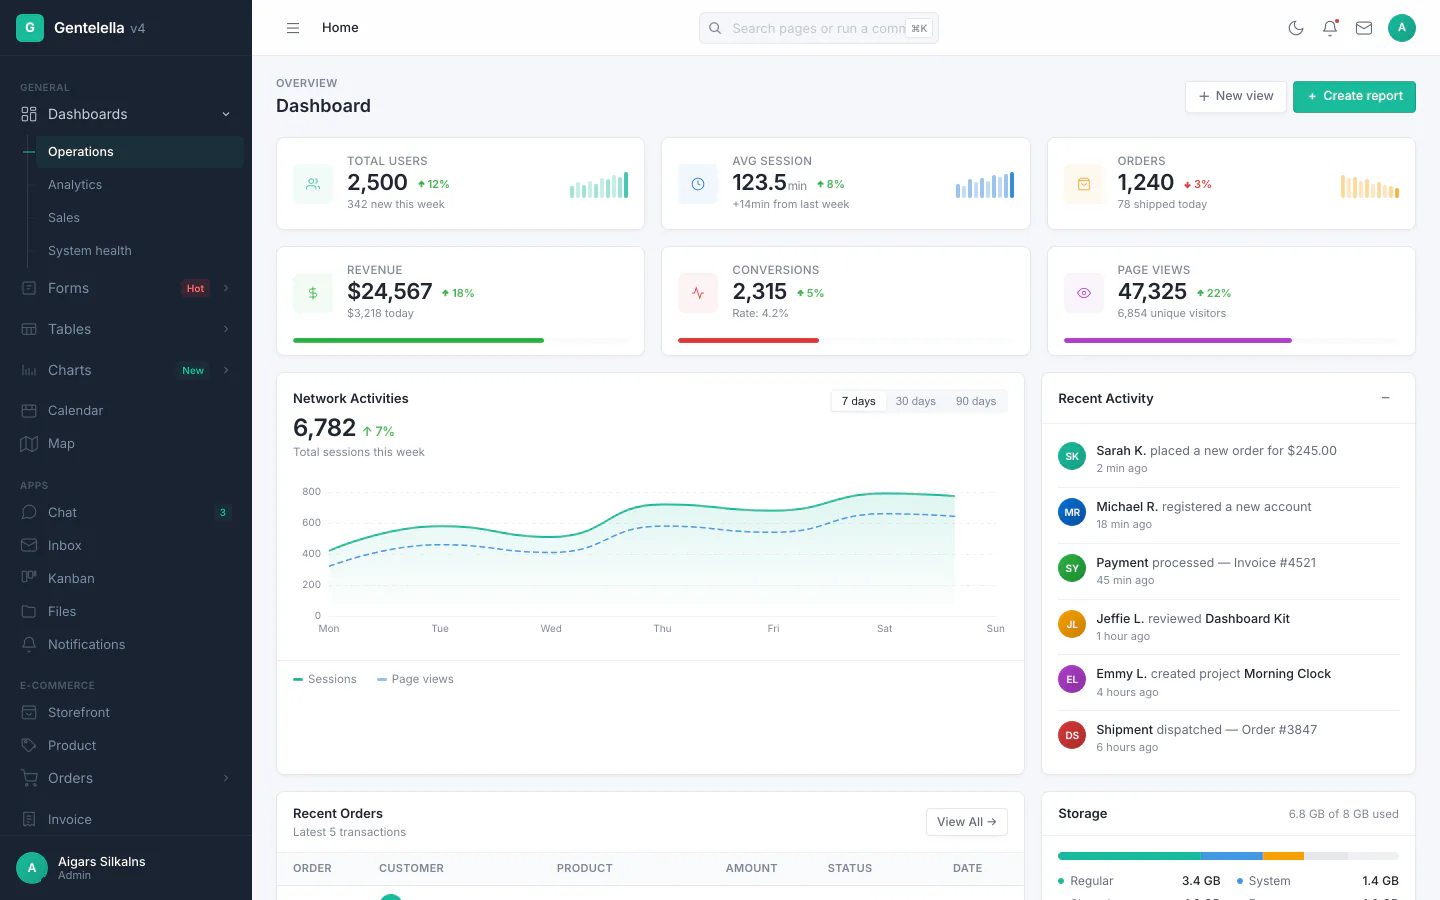
gentelella
Free admin dashboard template — vanilla JS, SCSS, Vite 8. No Bootstrap, no jQuery.
HTML · 后台
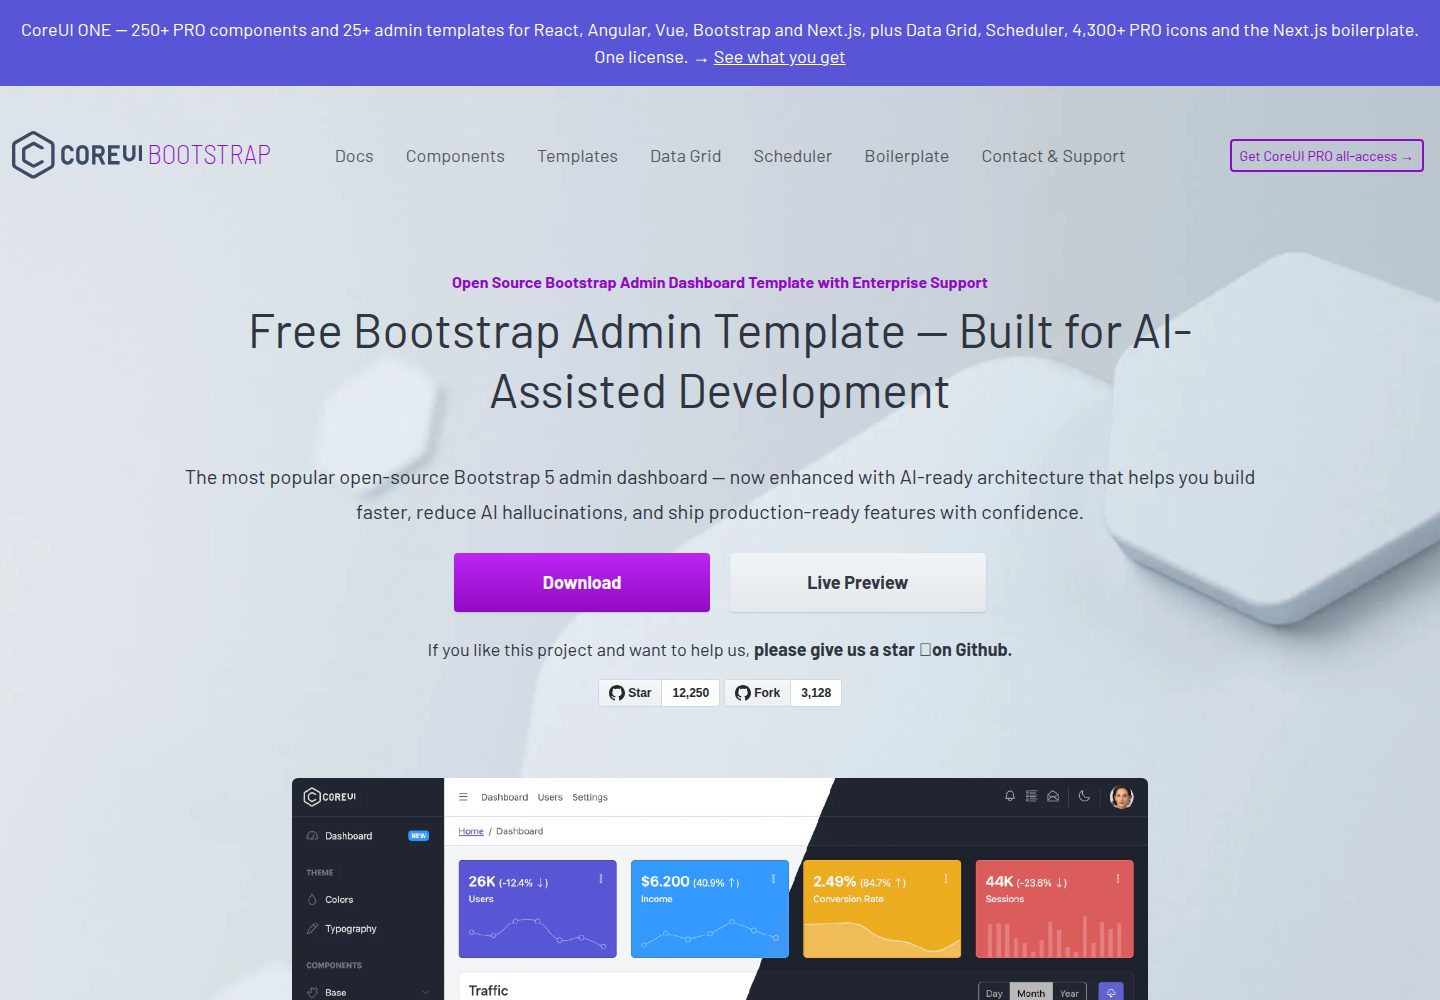
coreui-free-bootstrap-admin-template
Free Bootstrap Admin & Dashboard Template Built for AI-Assisted Development
HTML · 后台
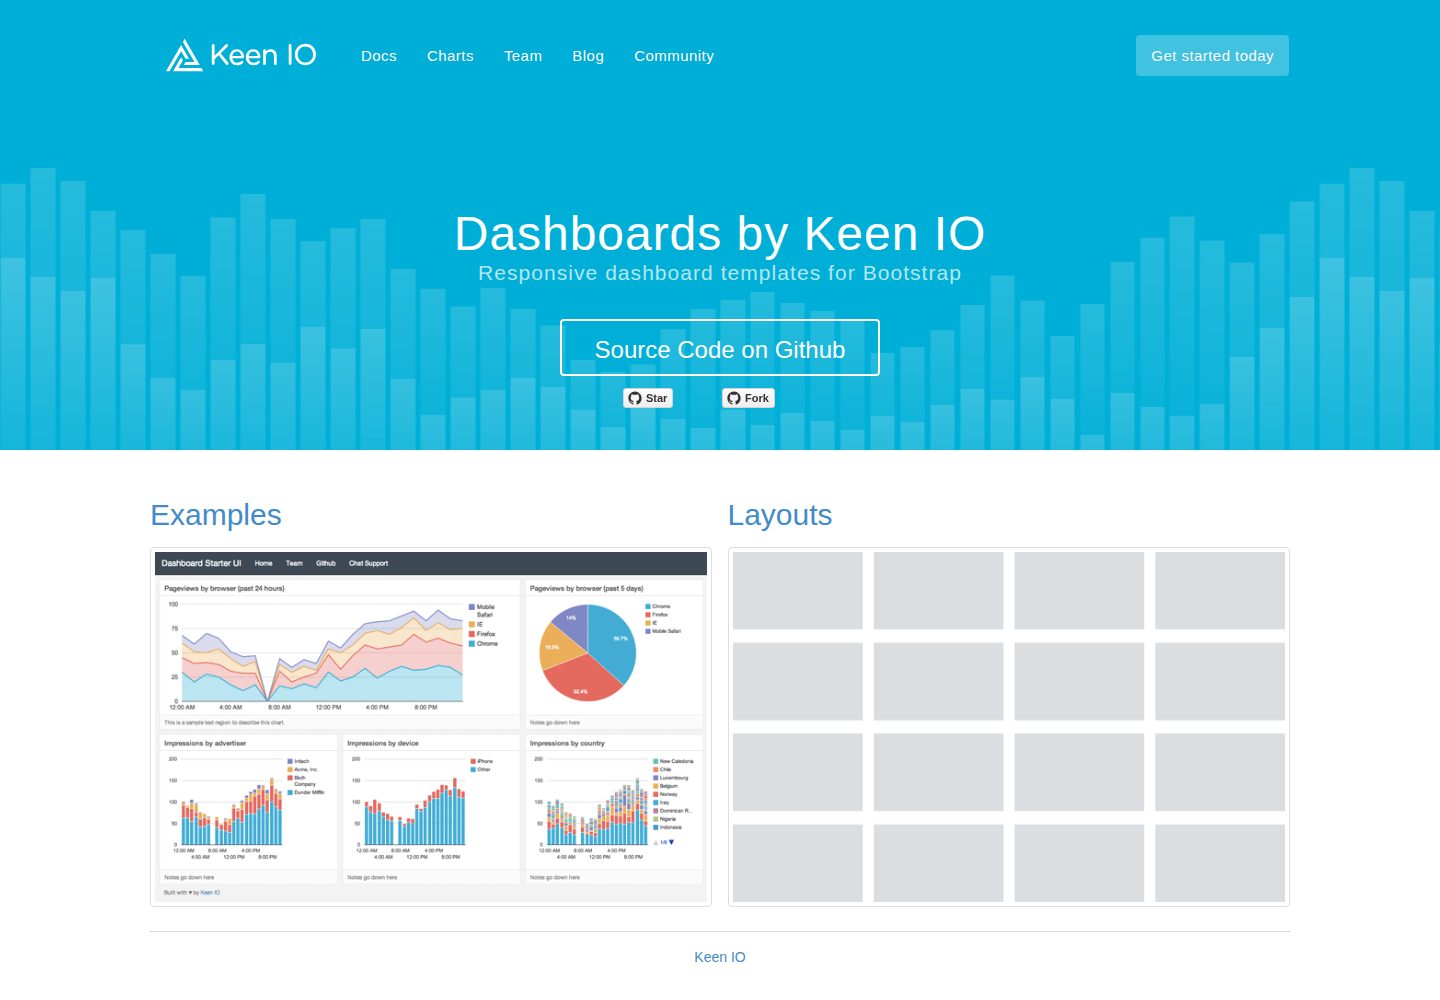
dashboards
Responsive dashboard templates 📊✨
HTML · 后台
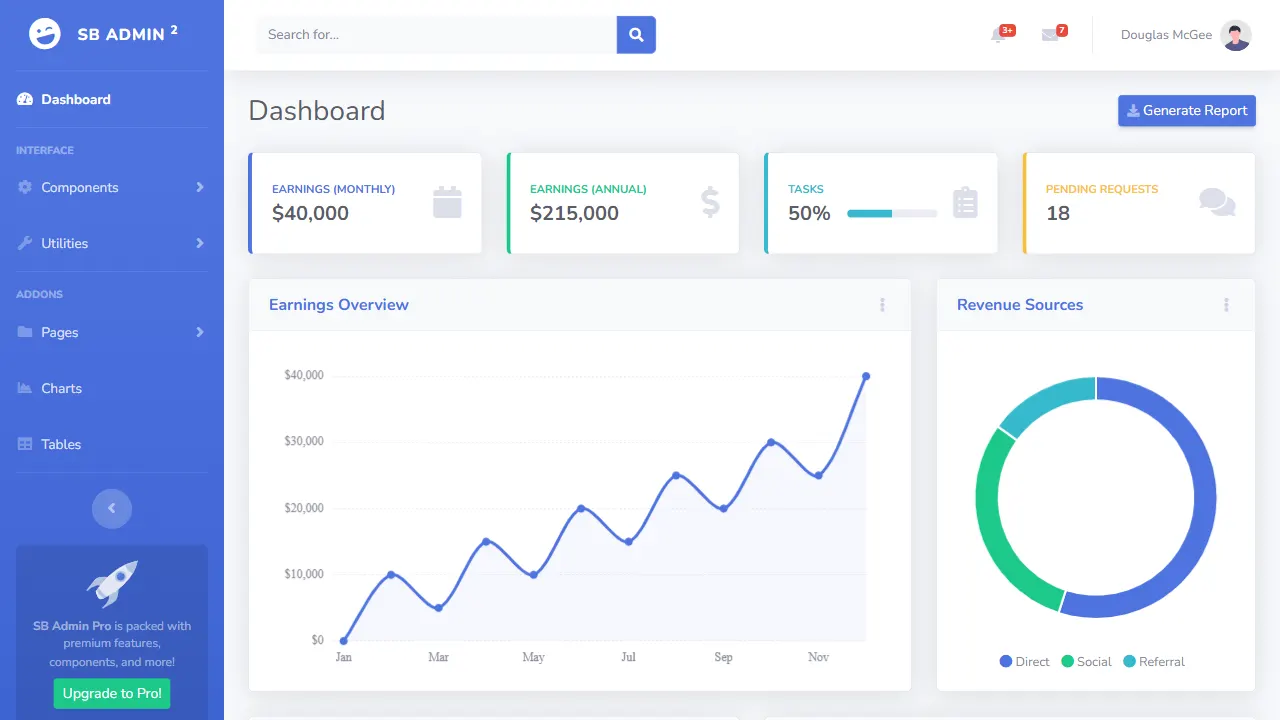
SB Admin 2
SB Admin 2 是 Start Bootstrap 推出的开源后台模板,基于 Bootstrap 构建,整体风格偏向经典管理界面。
HTML · 后台
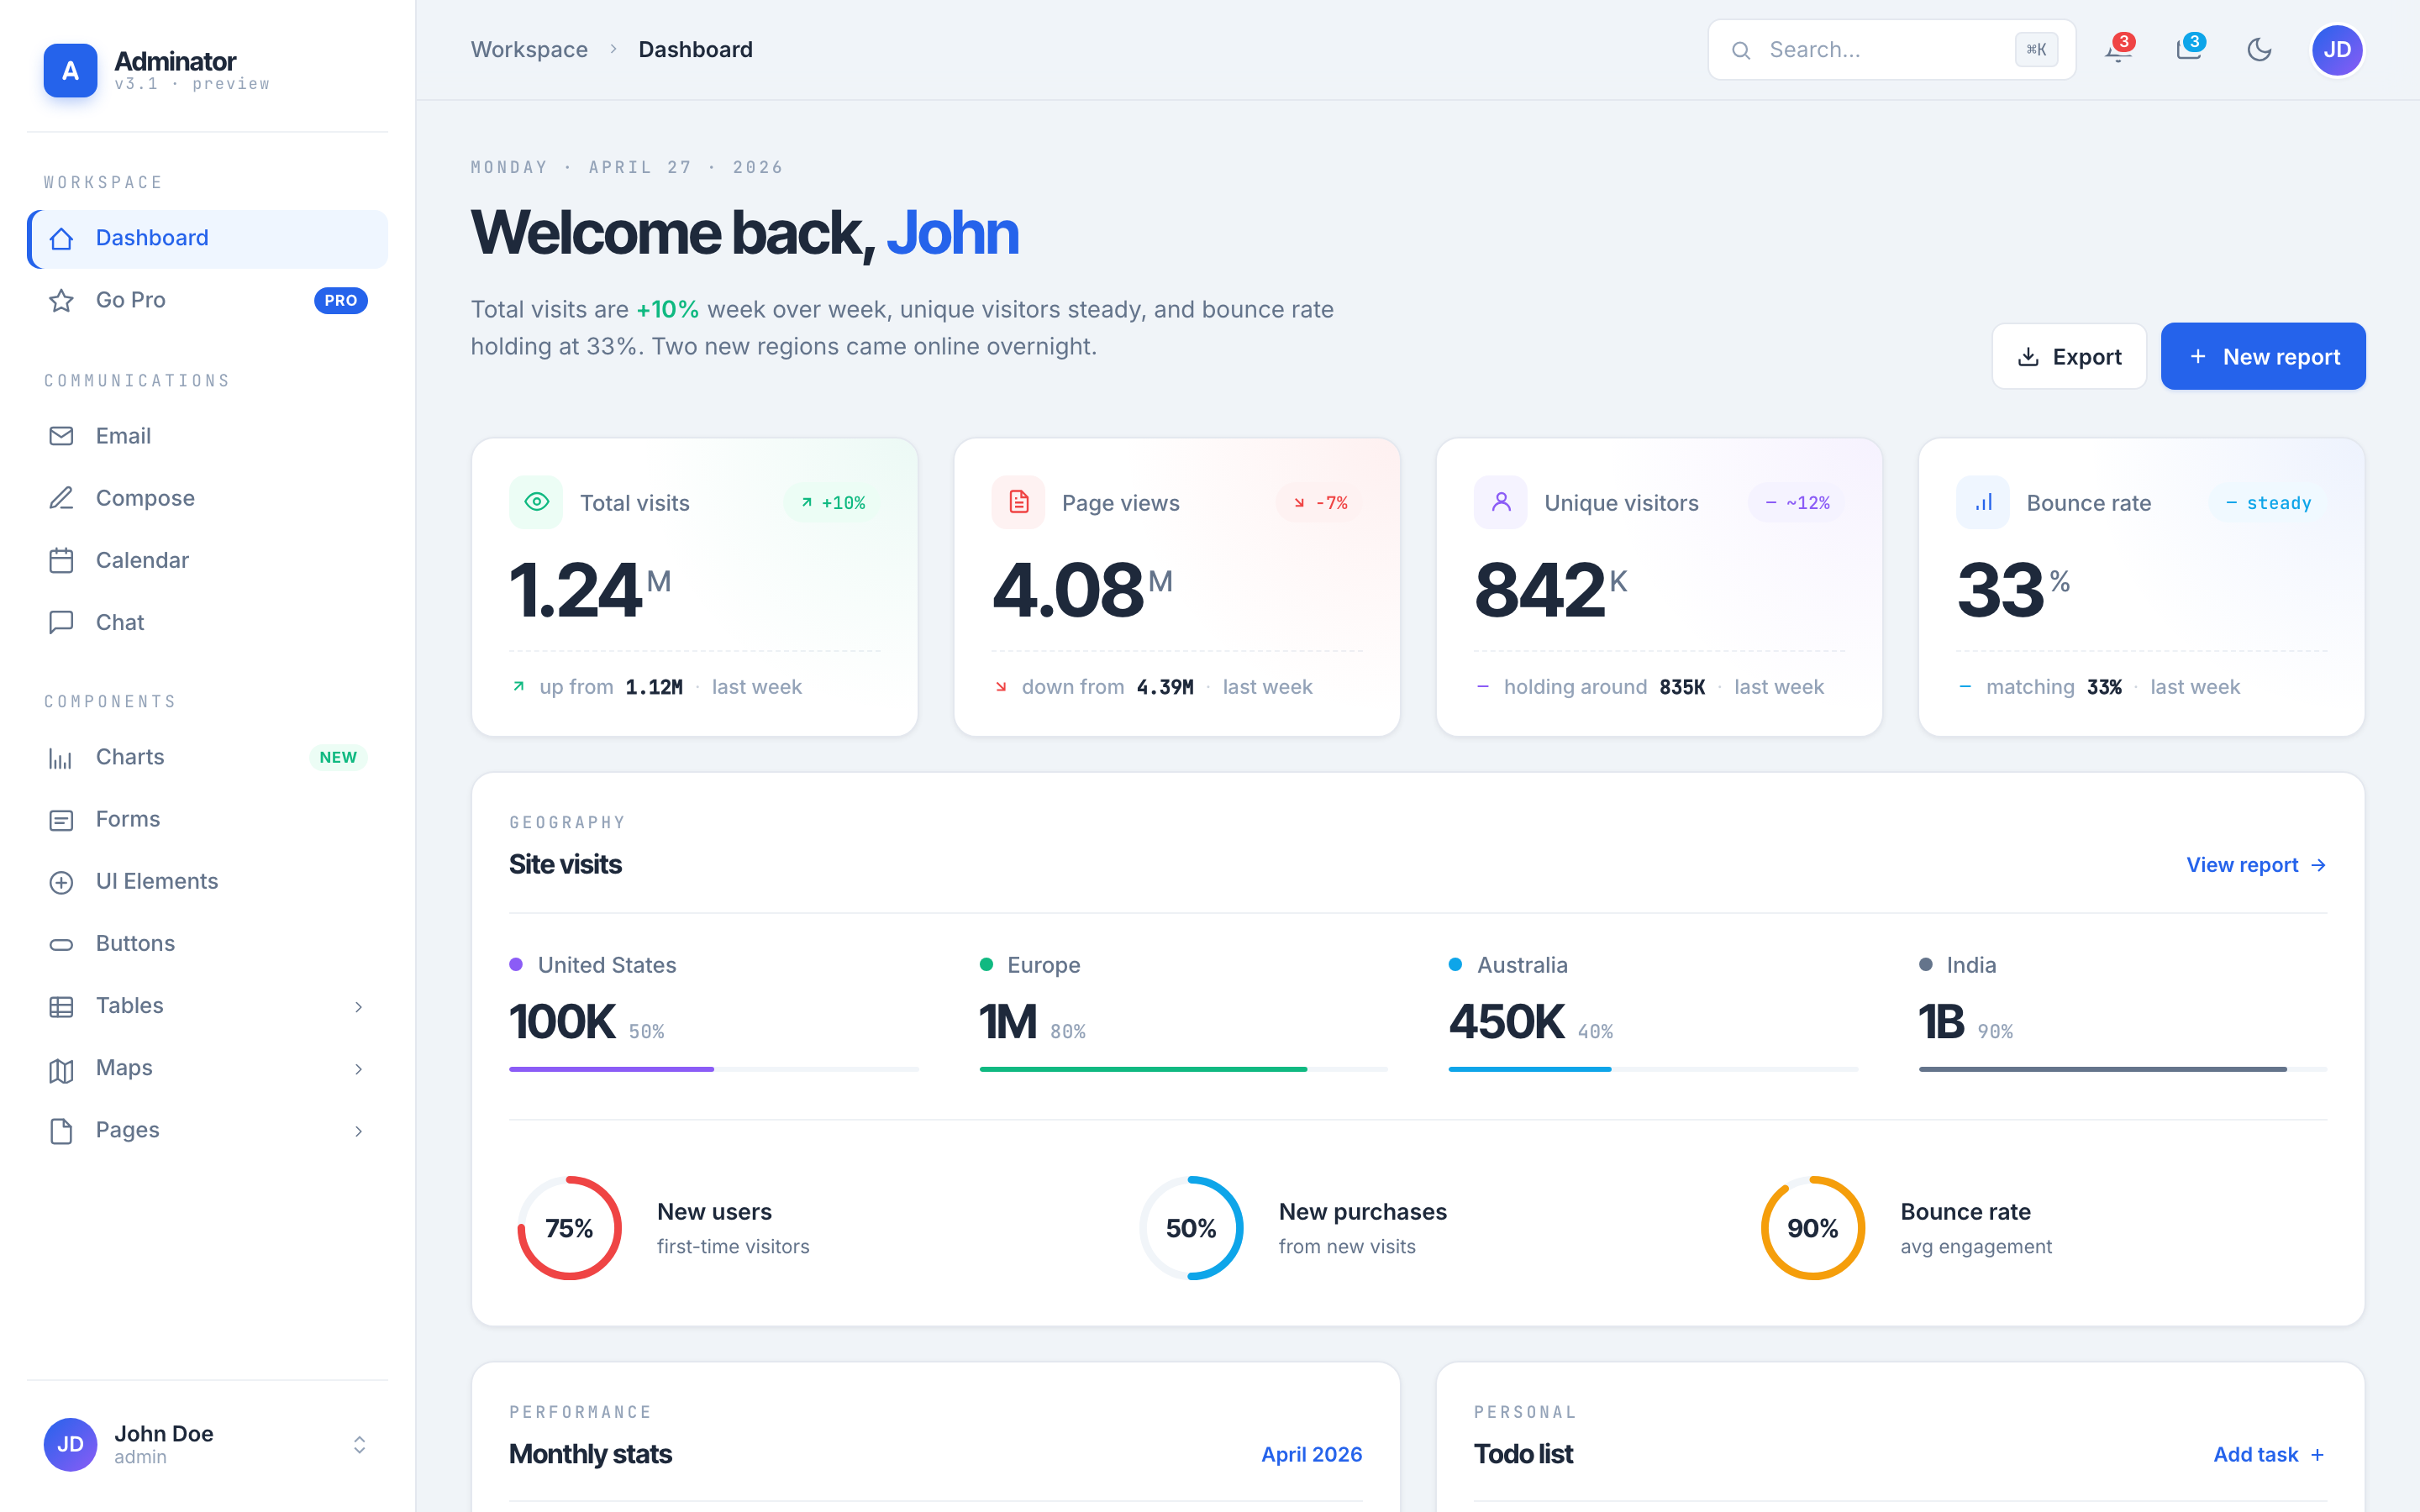
Adminator-admin-dashboard
Adminator is easy to use and well design admin dashboard template with dark mode for web apps, websites, servi…
HTML · 后台
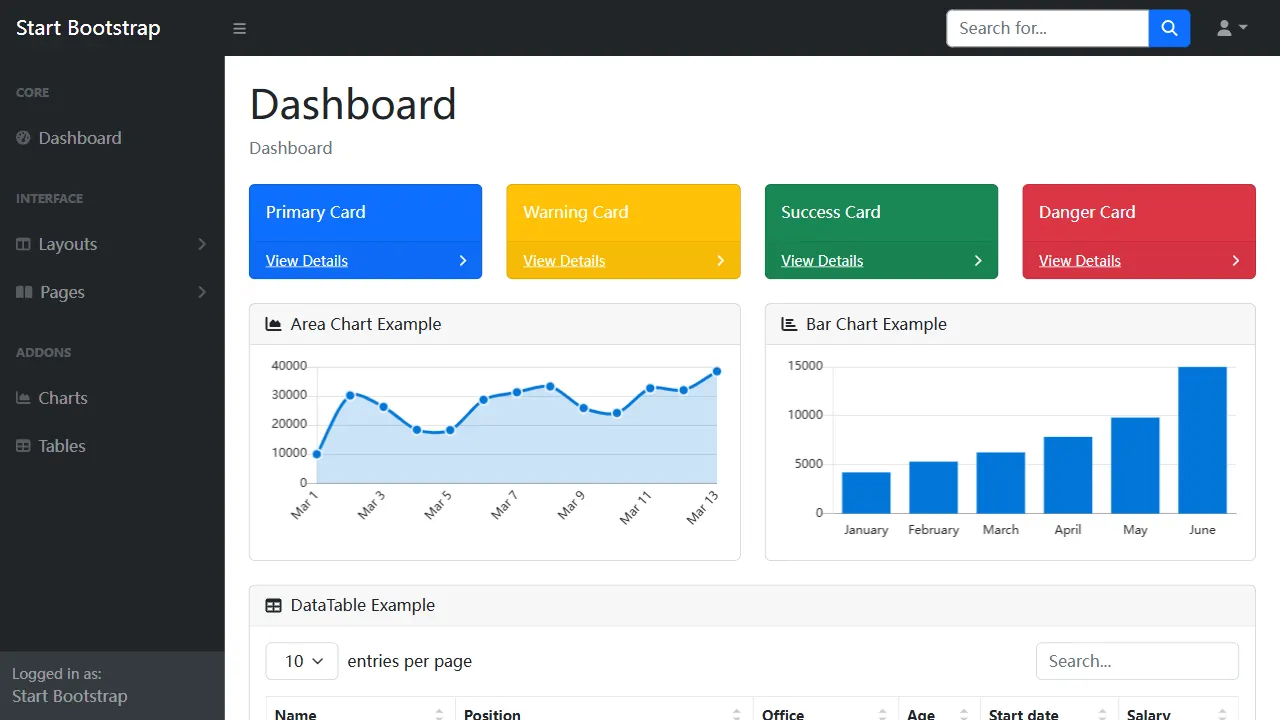
SB Admin
SB Admin 是 Start Bootstrap 推出的开源后台管理模板,基于 Bootstrap 构建,定位是简洁、实用的管理界面。
HTML · 后台