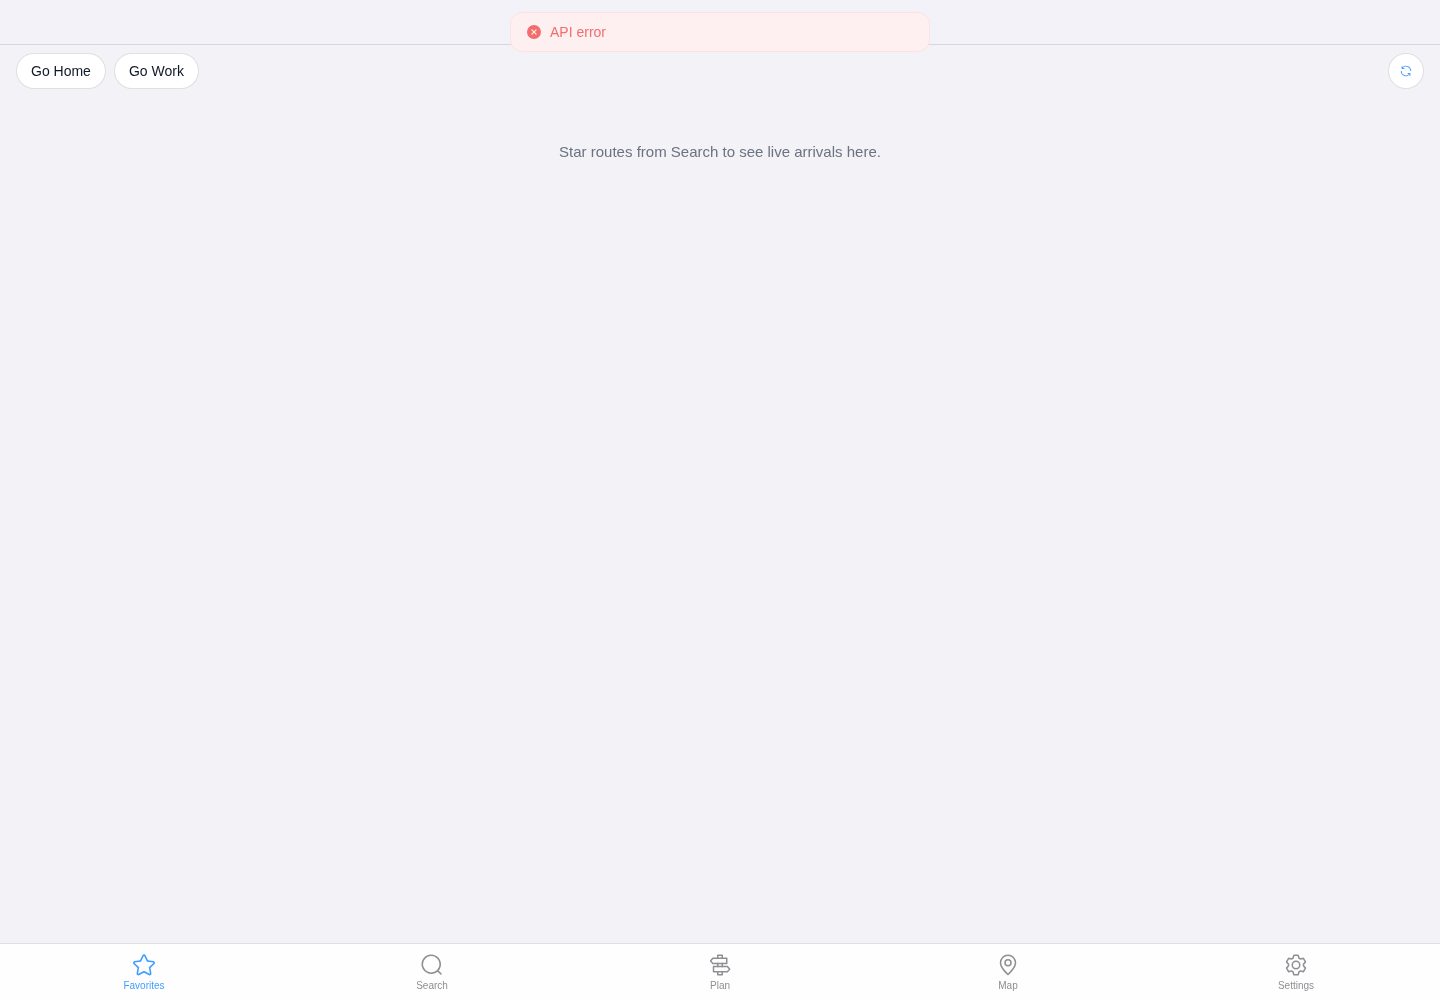
集成 Vue 3、Vite 与 TypeScript,提供启动器基础结构
VueVite启动器
i-go-to-home-by-bus — Vue 启动器模板
作者 lkflkf99
基于 Vue 3 与 Vite 的启动器模板,集成 TypeScript、Pinia、TailwindCSS、自动导入、国际化与测试配置,适合作为新 Vue 项目的起点。
看看你的网站会是什么样
浏览真实页面截图,比较内容排版与手机效果。点击下方缩略图切换,放大查看整页细节。
全部页面与视图 2
截图用于了解视觉与布局,交互效果请以实际项目为准。
采集于 2026-10-07查看来源
值得关注的模板亮点
从已有项目资料中,快速了解它的特点。
内置 Pinia 状态管理、TailwindCSS 与 HeadlessUI
支持组件与 API 自动导入,减少手动引入
包含明暗主题切换、图标组件与 I18n 国际化配置
提供 Vitest 单元测试、Cypress 端到端测试与 GitHub Actions CI/CD 配置
附带 axios 请求封装示例与 Netlify 部署说明
模板详细介绍
该模板是一个 Vue 3 + Vite 启动器,用于快速搭建新的 Vue 项目。仓库采用 MIT 许可,README 说明其包含组件与 API 自动导入、Pinia 状态管理、TailwindCSS 与 HeadlessUI 样式方案、明暗主题切换、图标组件、TypeScript、ESLint/Prettier、Vitest 单元测试与 Cypress 端到端测试、GitHub Actions CI/CD、Netlify 部署以及 I18n 国际化与 axios 请求封装。
使用方式上,README 要求 Node 版本不低于 14,通过 yarn 安装依赖并运行开发服务器,同时提供单元测试、端到端测试与构建命令。模板还给出 VSCode + Volar 的推荐 IDE 配置,以及 Netlify 的两种部署路径(GitHub Actions 自动部署或直接同步仓库部署)。
需要注意,README 中的预览部分标注为 WIP,未提供完整的功能演示说明;模板的样式与主题、HTTP 请求、国际化、图标和自动导入等配置均以代码示例形式给出,实际使用需按项目情况调整。
VueVite启动器
适合你的项目吗?
适用场景
- 作为新 Vue 3 项目的起始模板,快速搭建开发环境
- 需要 TypeScript、Pinia 与 TailwindCSS 组合的前端项目
- 希望使用自动导入、国际化与主题切换等常见配置的 Vue 应用
- 需要单元测试与端到端测试基础配置的 Vue 项目
适合人群
- 熟悉 Vue 3 与 Vite 的前端开发者
- 需要快速启动 Vue 项目并自带常用工具链的团队
- 希望参考自动导入、国际化与测试配置的开发者
上手与定制指南
结合仓库当前版本的说明,按下面的资料检查内容、配置与运行要求。
- 1
README 要求 Node 版本不低于 14
- 2
使用 yarn 安装依赖,并通过 yarn dev 启动开发服务器
- 3
单元测试使用 yarn test:unit,端到端测试使用 yarn test:e2e
- 4
构建使用 yarn build,生产启动使用 yarn start
- 5
推荐使用 VSCode + Volar 并禁用 Vetur
授权与来源资料
使用条件与限制
免费使用 · 保留许可声明本次收录的是公开仓库中采用 MIT 许可的免费版本;免费范围为该版本代码,不代表外部服务或第三方素材免费。
使用时需要遵守
- 允许免费使用、修改、商用和分发该版本代码。
- 分发代码副本或实质性部分时,保留原作者版权声明和完整 MIT 许可声明。
- 代码按现状提供;担保与责任限制以原许可证及适用法律为准。
额外费用与待核对事项
- 演示图片、字体、图标及其他第三方素材需按各自许可核对,不能仅凭代码的 MIT 许可判断。
- 域名、托管、数据库、支付或 AI 等外部服务可能另外收费。
- 使用该模板要求 Node.js 版本不低于 14,低于该版本的运行环境无法按 README 说明安装与启动项目。
- 自动部署流程依赖 Netlify 账号与项目,需要创建 Netlify 站点并配置相关凭据,属于外部服务依赖。
- 使用 GitHub Actions 自动部署时,需从 Netlify 后台获取站点 API ID 等凭据,涉及外部平台账号配置。
- 自动部署需在 Netlify 生成个人访问令牌,属于外部服务账号与密钥要求。
- 自动部署需生成 GitHub 个人访问令牌,涉及账号权限与密钥管理。
查看原文依据
Permission is hereby granted, free of charge
许可证原文
> This template requires Node version >=14
README 原文
- Create new Netlify project and add your repository to it
README 原文
- Inside Netlify dashboard, go to site settings and copy `API ID` inside Site Information menu (save it on notepad or anything else)
README 原文
- Click your profile -> open `user settings` -> Applications -> Click `New access token` -> genereate -> and copy the token
README 原文
https://github.com/lkflkf99/i-go-to-home-by-bus/blob/main/LICENSEhttps://github.com/lkflkf99/i-go-to-home-by-bus/blob/main/README.md- Go to Github profile settings -> Developer Settings -> Personal access token -> Generate new token -> copy it
README 原文
DeepSeek 根据仓库许可证和 README 整理 ·2026-10-07。结果仅覆盖已读取资料,依赖、图片、字体及后续条款变更以各自原文为准。
项目核对记录与介绍依据
模板资料
- 来源平台
- GitHub
- 资料与维护参考分
- 资料较完整 · 85 / 100
- 技术栈
- Vue · Vite
- 网站类型
- 启动器
这个分数如何计算
本站按许可资料(最高30分)、演示链接(12分)、预览图(10分)、Star数(15分)、记录的维护时间(15分)、描述完整度(8分)、功能记录(5分)和分类资料(5分)计算。它不是代码、安全或性能测试,也不是 Google 评分;有链接不代表已实测可用。
这个项目需要核对什么
- 记录的仓库更新时间
- 2026-10-07
- 截图检查日期
- 2026-10-07
已收录演示链接。请用你的内容与屏幕尺寸检查;有演示不代表表单、认证或支付已经可用。
目录记录的主要技术栈是 Vue。请通过依赖清单和锁文件核对实际版本与托管要求。这些说明基于收录资料,不代表代码审计或部署实测。
查看具体选型方法 →介绍的制作与核对状态
介绍由 AI 辅助整理目录与仓库资料。仓库作者不等于这篇介绍的审核者。
审核声明: [email protected] · 2026-10-07
查看当时使用的来源资料
SHA-256: de37c3e9e0b384470b6ae3ac665b2ab340358f14907dcee06c1ac640040e2dc8
2026-10-07T04:35:38.427Z
来源文件 / 仓库# Vue 3 Vite Starter
A Vue 3 starter template or boilerplate for your new Vue projects using Vite.
<br>
## Features
- [x] ⚡️ [Vue 3](https://github.com/vuejs/vue-next), [Vite 2](https://github.com/vitejs/vite), and [yarn](https://yarnpkg.com/)
- [x] 📦 [Components auto importing (unplugin-vue-components)](https://github.com/antfu/unplugin-vue-components)
- [x] 🍍 [State Management via Pinia](https://pinia.esm.dev/)
- [x] 🎨 [TailwindCSS](https://tailwindcss.com/) and [HeadlessUI](https://headlessui.dev/)
- [x] 🌙 Switch Theme (light and dark)
- [x] 😃 [Icon Pack Component (unplugin-icons)](https://github.com/antfu/unocss/tree/main/packages/preset-icons)
- [x] 🔥 Use the [new `<script setup>` syntax](https://github.com/vuejs/rfcs/pull/227)
- [x] 📥 [APIs auto importing (unplugin-auto-import)](https://github.com/antfu/unplugin-auto-import)
- [x] 🗂️ [Vue Composition Collection (Vueuse)](https://vueuse.org/)
- [x] 🦾 [TypeScript](https://www.typescriptlang.org/)
- [x] Code Styling with Eslint and Prettier
- [x] ⚙️ Unit Testing with [Vitest](https://github.com/vitest-dev/vitest) and E2E Testing with [Cypress](https://cypress.io/)
- [x] 🚀 CI/CD with [GitHub Actions](https://github.com/features/actions)
- [x] ☁️ Deploy on Netlify, zero-config
- [x] 🌍 Internationalization with I18n
- [x] 📡 Http request with [axios](https://axios-http.com/)
<br>
## Preview
WIP
## Quick Start
> This template requires Node version >=14
- Clone this project to local `https://github.com/RSurya99/vue3-vite-starter.git`
- Install all dependencies `yarn install`
- Start development server `yarn dev` and open `http://localhost:3000` in your browser
- Unit test using `yarn test:unit` and E2E test using`yarn test:e2e`
- Build the project using `yarn build` and use `yarn start` to start production server
## Recommended IDE Setup
[VSCode](https://code.visualstudio.com/) + [Volar](https://marketplace.visualstudio.com/items?itemName=johnsoncodehk.volar) (and disable Vetur) + [TypeScript Vue Plugin (Volar)](https://marketplace.visualstudio.com/items?itemName=johnsoncodehk.vscode-typescript-vue-plugin).
## Deploy on Netlify
There are 2 way to upload to netlify within this project. You can use CI/CD for auto deploy, or deploy it directly to netlify
### Using Github Actions to Deploy
- Create new Netlify project and add your repository to it
- Inside Netlify dashboard, go to site settings and copy `API ID` inside Site Information menu (save it on notepad or anything else)
- Click your profile -> open `user settings` -> Applications -> Click `New access token` -> genereate -> and copy the token
- Go to Github profile settings -> Developer Settings -> Personal access token -> Generate new token -> copy it
- Then, go to your github project repository -> Settings -> Secrets -> Actions -> and add 3 new repository secret
1. NETLIFY_AUTH_TOKEN = YOUR_NETLIFY_PERSONAL_ACCESS_TOKEN
2. NETLIFY_SITE_ID = YOUR_NETLIFY_PROJECT_API_ID
3. PERSONAL_TOKEN = YOUR_GITHUB_ACCESS_TOKEN
- Save it, and try to push new commit to your repository (the CI/CD scripts will automatically run, and if there's no error in testing, it will automatically deploy your project to netlify)
### Direct Deploy in Netlify
- Go to Netlify dashboard and create new project
- Sync it with your repo and wait a minute for netlify to auto-deploy the project
<br>
## Notes
### Styles
You can find Tailwindcss import in :
```bash
/path/to/assets/css/vendor.css
```
For custom styles, you can add it in :
```bash
/path/to/assets/sass/app.css
```
### Theme Changer
We are using Vueuse to toggle DarkMode, you can find it in :
```bash
/src/composables/dark.ts
```
How to use :
```vue
<script setup lang="ts">
import { toggleDark } from '@/composables'
</script>
<template>
<div>
<button @click="toggleDark()">Toggle Theme</button>
</div>
</template>
```
### HTTP Request (Axios)
We use axios for HTTP request, because it's more easy to use then javascript `fetch()` method.
To use this you need to create a service and then you can call it in store or component
Example use :
`services/ApiService.ts`
```ts
import axios from 'axios'
const instance = axios.create({
baseURL: 'https://jsonplaceholder.typicode.com',
timeout: 10000,
headers: {
'Access-Control-Allow-Origin': '*',
},
})
export default {
apiGetAllUsers() {
return instance.get('/users')
},
}
```
call `apiGetAllUsers` in store
`stores/User.ts`
```ts
import { defineStore } from 'pinia'
import ApiService from '@/services/ApiService'
import { User } from '../types'
export const useUserStore = defineStore({
id: 'user',
state: () => ({
users: [] as User[],
}),
actions: {
getAllUser() {
return ApiService.apiGetAllUsers()
.then((response) => {
this.users = response.data
})
.catch((error) => {
throw error
})
},
},
})
```
### Internationalization
Internationalization is a plugin that allows you to switch between languages. this lib in :
```bash
/path/to/modules/i18n.ts
```
To use this plugin, is quite easy, you just need to add new translation on locales (if you want to add another language just create a new file), and then you can import it and use it in component like this:
`locales/en.yml`
```yml
app:
title: Vue 3 Vite Starter
```
`App.vue`
```vue
<script setup lang="ts">
const { t } = useI18n()
</script>
<template>
<h1>{{ t('app.title') }}</h1>
</template>
```
here are the config in `vite.config.js`
```ts
import VueI18n from '@intlify/vite-plugin-vue-i18n'
export default defineConfig({
plugins: [
vue(),
AutoImport({
imports: [
'vue',
// add vue-i18n for auto importing
'vue-i18n',
],
dts: 'src/auto-imports.d.ts',
eslintrc: {
enabled: true, // Default `false`
},
}),
// vue i18n config here
// https://github.com/intlify/bundle-tools/tree/main/packages/vite-plugin-vue-i18n
VueI18n({
runtimeOnly: true,
compositionOnly: true,
include: [path.resolve(__dirname, 'locales/**')],
}),
],
resolve: {
alias: {
'@': fileURLToPath(new URL('./src', import.meta.url)),
},
},
})
```
### Icons
This project is using unplugin-icons with unplugin-vue-components for auto importing
You can see collection icon list in : https://icones.js.org/
In this project, prefix is configured to "Icon", here are example use of it :
```vue
<IconProviderIconName />
<IconMdiChevronDown />
<IconLogoGoogleIcon />
```
you can see the config of this in `vite.config.js`
```ts
export default defineConfig({
plugins: [
vue(),
Components({
resolvers: [
IconsResolver({
prefix: 'Icon',
}),
],
directoryAsNamespace: true,
dts: 'src/components.d.ts',
}),
Icons(),
],
})
```
### API Auto Importing
We use `unplugin-auto-import` for API auto importing, you can also use this to import API in package. Here are the example of configuration :
```ts
AutoImport({
// targets to transform
include: [
/\.[tj]sx?$/, // .ts, .tsx, .js, .jsx
/\.vue$/,
/\.vue\?vue/, // .vue
/\.md$/, // .md
],
// global imports to register
imports: [
// presets
'vue',
'vue-router',
// custom
{
'@vueuse/core': [
// named imports
'useMouse', // import { useMouse } from '@vueuse/core',
// alias
['useFetch', 'useMyFetch'], // import { useFetch as useMyFetch } from '@vueuse/core',
],
'[package-name]': [
'[import-names]',
// alias
['[from]', '[alias]'],
],
},
],
// Generate corresponding .eslintrc-auto-import.json file.
// eslint globals Docs - https://eslint.org/docs/user-guide/configuring/language-options#specifying-globals
eslintrc: {
enabled: false, // Default `false`
filepath: './.eslintrc-auto-import.json', // Default `./.eslintrc-auto-import.json`
globalsPropValue: true, // Default `true`, (true | false | 'readonly' | 'readable' | 'writable' | 'writeable')
},
// custom resolvers
// see https://github.com/antfu/unplugin-auto-import/pull/23/
resolvers: [
/* ... */
],
})
```
## License
This project is licensed under the MIT license, Copyright (c) 2022 Rafli Surya Pratama. For more information see the [LICENSE](./LICENSE) file.
看看同类模板
对比同技术栈与用途的模板,找到更适合的视觉与内容结构。

vitesse
🏕 Opinionated Vite + Vue Starter Template
Vue · 启动器
vitesse-webext
⚡️ WebExtension Vite Starter Template
Vue · 启动器

laravel-vue-spa
A Laravel-Vue SPA starter kit.
Vue · 启动器
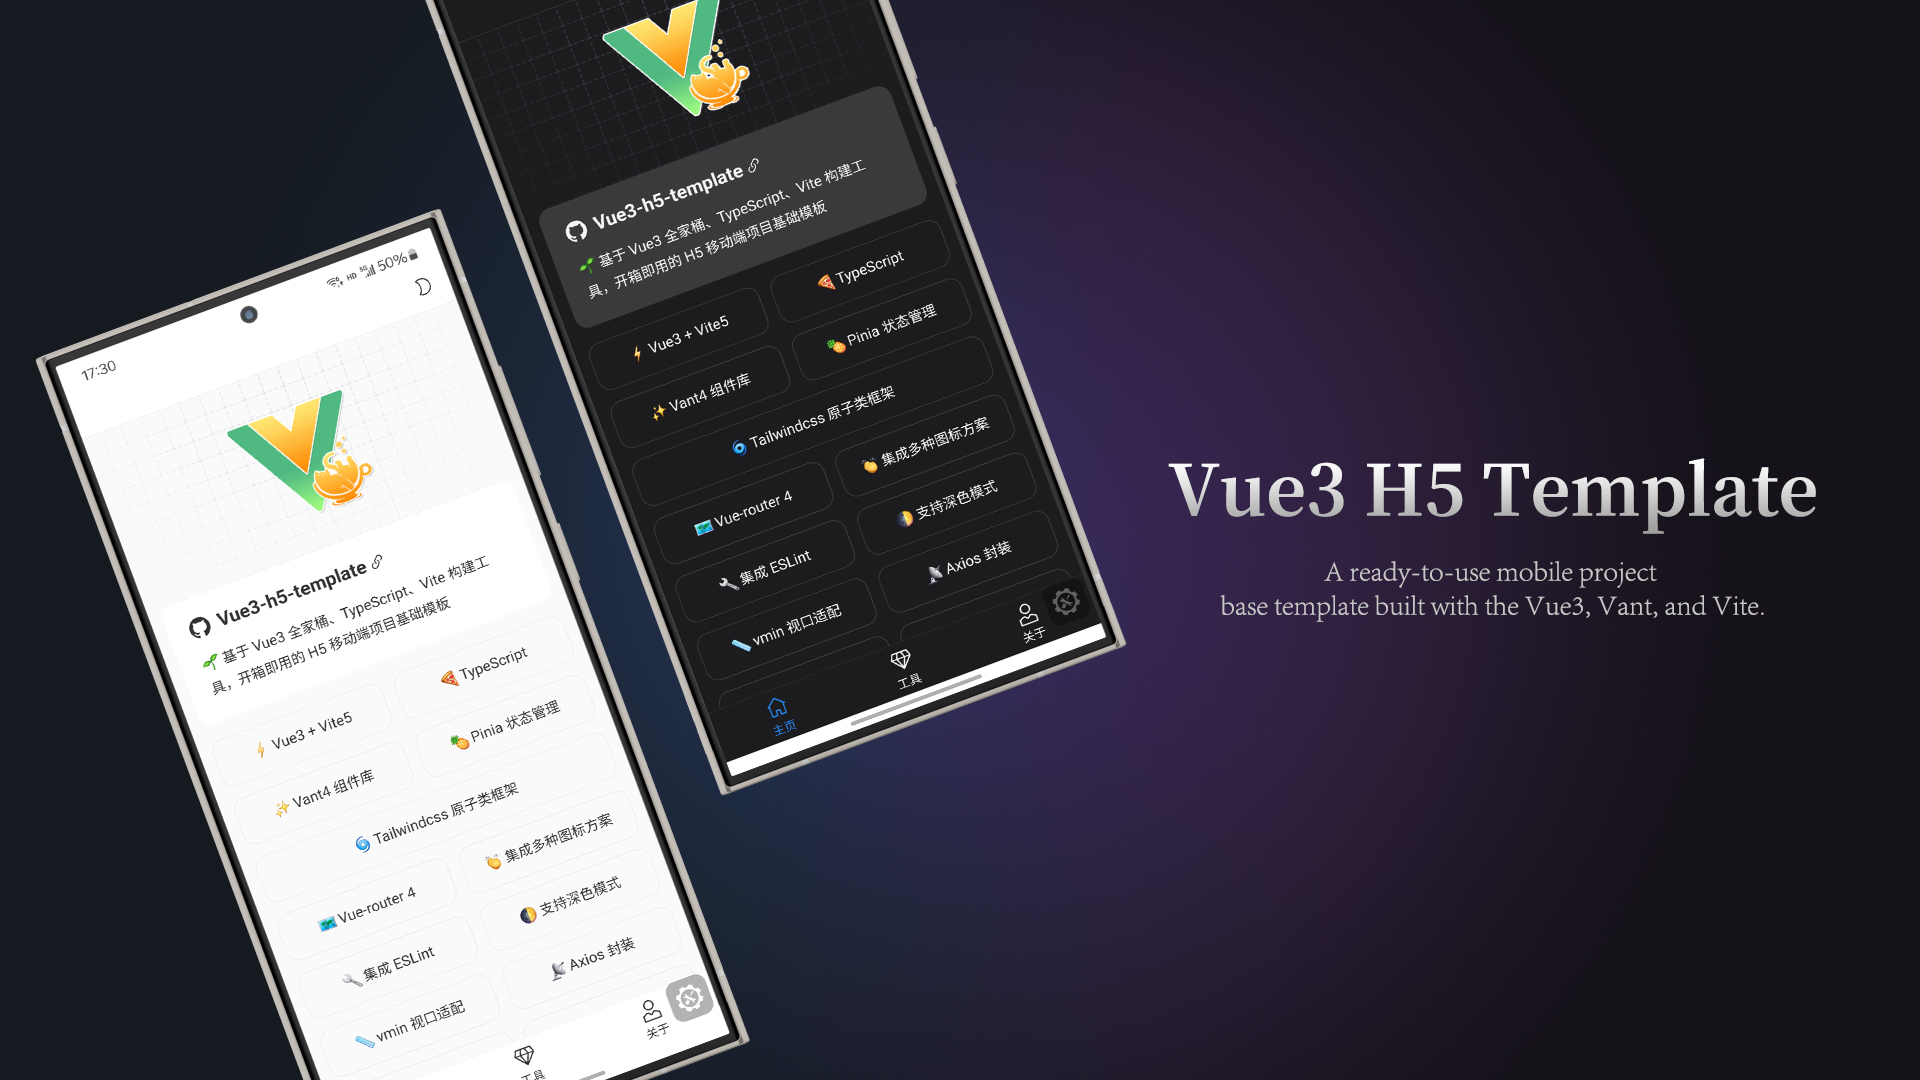
vue3-h5-template
vue3-h5-template 是一个面向移动端 H5 项目的启动模板,基于 Vue3、Vite 和 Vant4 构建,同时集成了 TypeScript、Tailwindcss、Pinia、Vue-router 等常用…
Vue · 启动器
tov-template
vite + vue3 + ts 开箱即用现代开发模板 | vite + vue3 + ts out-of-the-box modern development template
Vue · 启动器
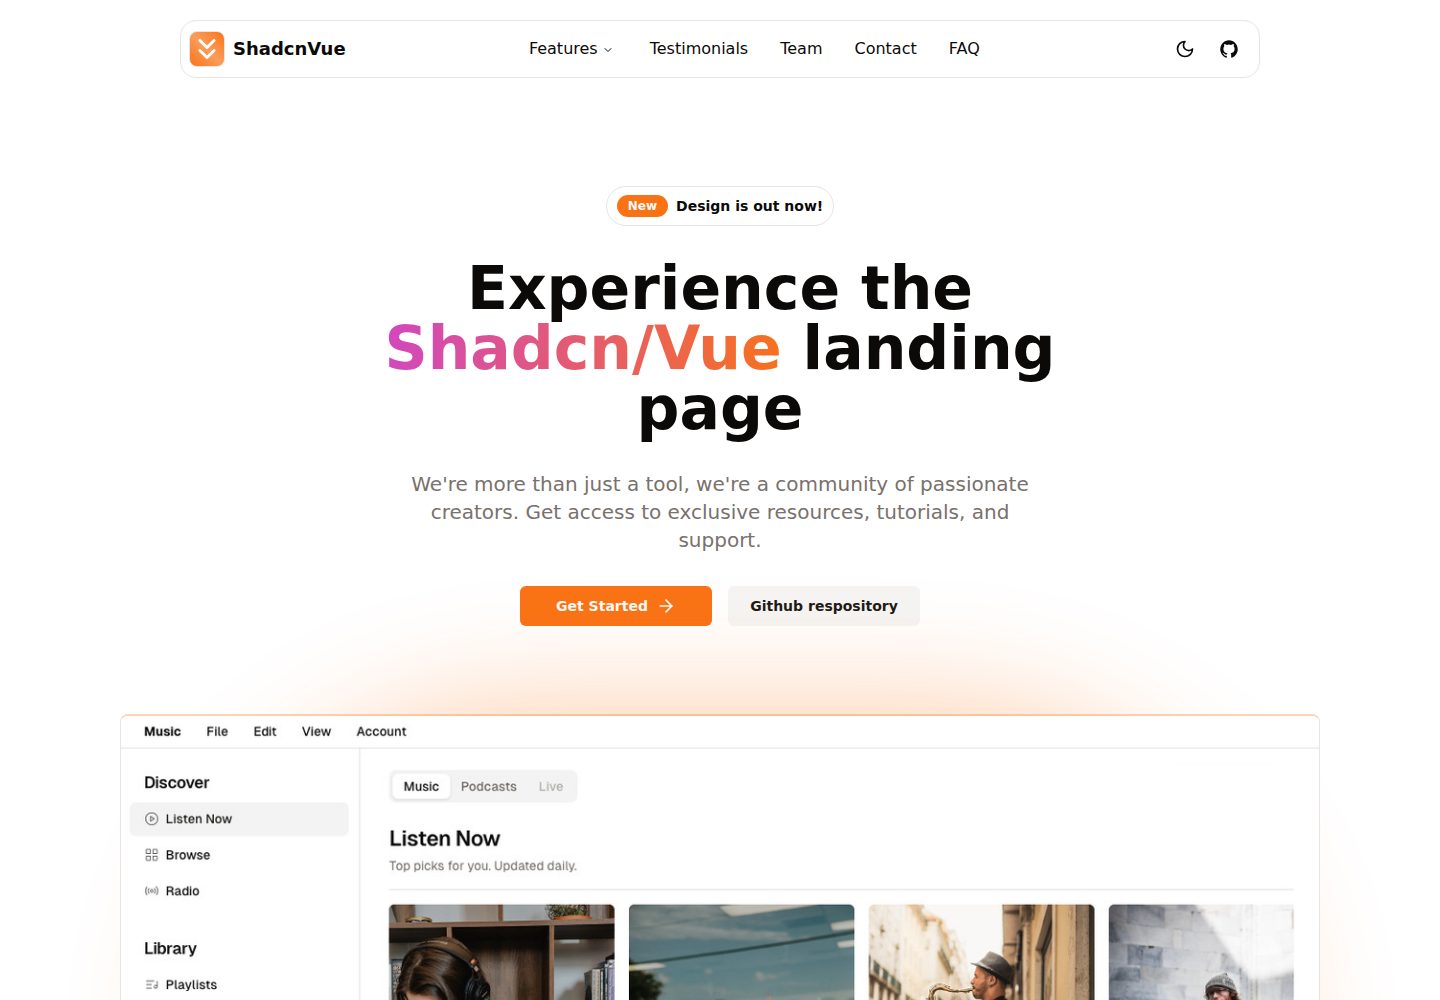
shadcn-vue-landing-page
New design 🎉 Vue + Shadcn-vue + TypeScript + Tailwind. Landing page template ease-to-use
Vue · 企业官网