预置 Flask-SQLAlchemy、Flask-WTF、Fabric、Coverage 与 Bootstrap 前端
FlaskHTML启动器
flask-boilerplate — Flask 启动器模板
作者 realpython
Real Python 出品的 Flask 应用启动模板,预置 Flask-SQLAlchemy、Flask-WTF、Fabric、Coverage 与 Bootstrap 前端,并附 Heroku 与 PythonAnywhere 部署说明。
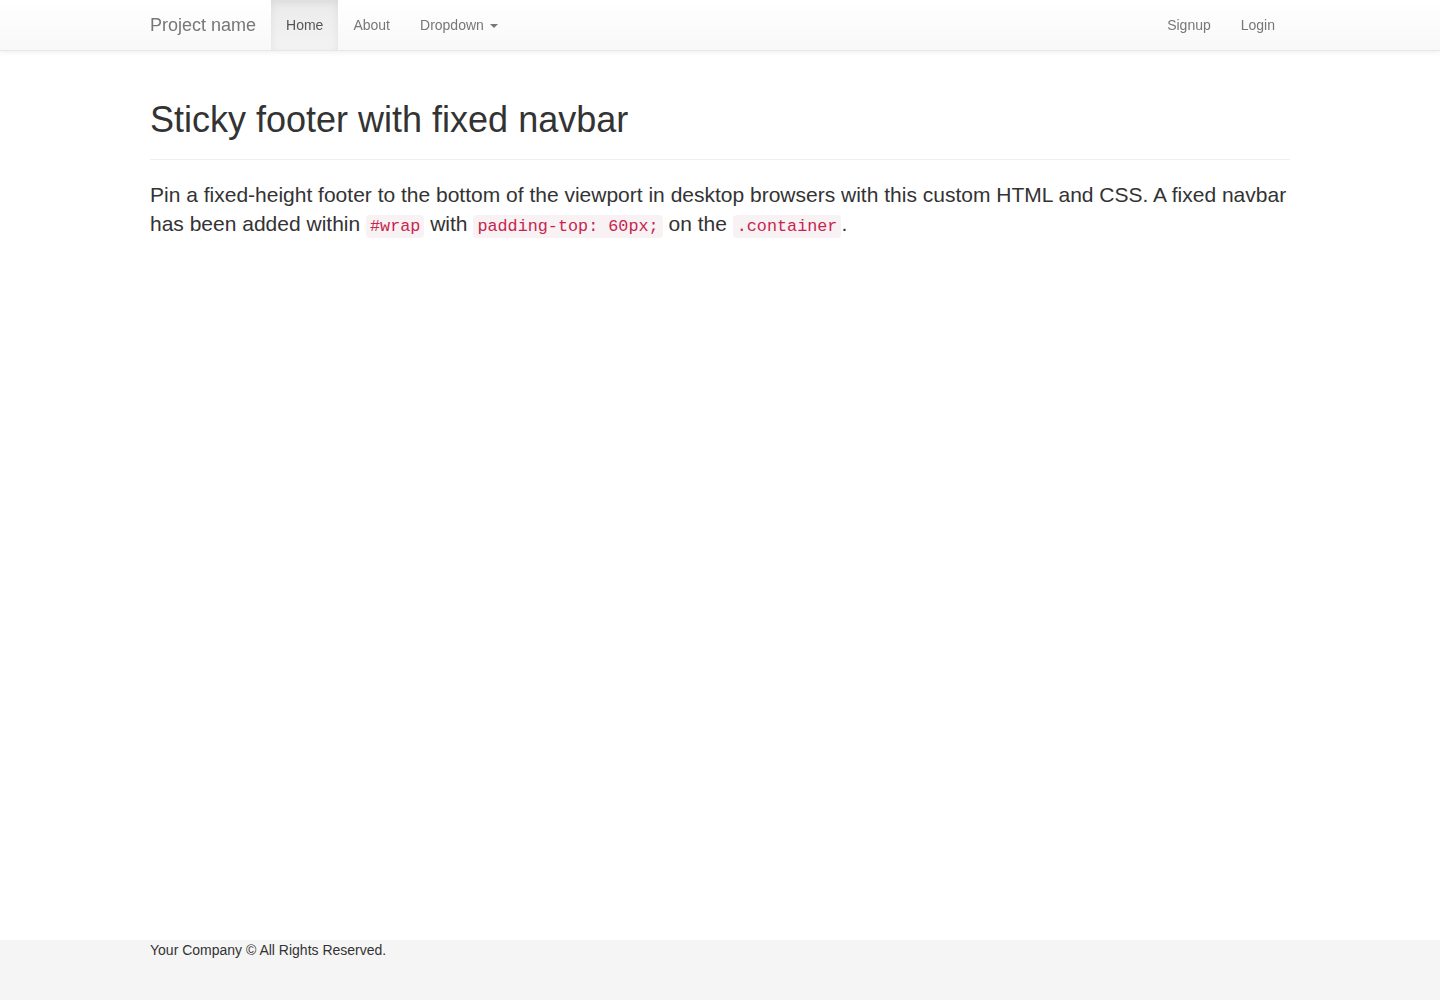
看看你的网站会是什么样
浏览真实页面截图,比较内容排版与手机效果。点击下方缩略图切换,放大查看整页细节。
全部页面与视图 3
截图用于了解视觉与布局,交互效果请以实际项目为准。
采集于 2026-10-01查看来源
值得关注的模板亮点
从已有项目资料中,快速了解它的特点。
templates 目录按 errors、forms、layouts、pages 分类,含登录、注册、找回密码与 404/500 页面
static 目录自带 Bootstrap、Font Awesome、jQuery、Modernizr、Respond 等静态资源
README 提供 Heroku 与 PythonAnywhere 两条部署路径及 Procfile、WSGI 配置示例
采用 Apache-2.0 许可,允许修改、商用与分发
模板详细介绍
这是一个面向 Python Flask 项目的启动器模板,由 Real Python 为课程配套整理。仓库把常见的后端与前端依赖预先接好:Flask-SQLAlchemy 负责数据库访问,Flask-WTF 处理表单,Fabric 用于命令与部署脚本,Coverage 用于测试覆盖率统计,前端使用 Bootstrap,并附带 Font Awesome 图标与 jQuery、Modernizr、Respond 等静态库。
项目结构清晰:app.py 为应用入口,config.py 存放配置,models.py 与 forms.py 分别定义数据模型和表单,templates 目录按 errors、forms、layouts、pages 分类,包含 404/500 错误页、登录/注册/找回密码表单页,以及首页与关于页的占位模板;static 目录集中放置 CSS、字体、图标与 JS。README 给出了本地运行步骤(克隆仓库、创建虚拟环境、安装 requirements.txt、运行 app.py 并访问 localhost:5000),以及部署到 Heroku 和 PythonAnywhere 的完整流程,包括 Procfile 写法、WSGI 文件配置和 Git 推送。
模板定位是骨架而非成品应用:页面内容为占位符,需要自行替换;README 中提到的示例应用(flasktaskr)是另一个独立项目。资料未说明数据库迁移、认证安全策略或生产环境配置,使用前应自行核对依赖版本与部署环境。
FlaskHTML启动器
适合你的项目吗?
适用场景
- 快速搭建一个带数据库与表单的 Flask 项目骨架
- 作为 Real Python 课程练习的起始代码
- 在 Heroku 或 PythonAnywhere 上部署并验证 Flask 应用
- 学习 Flask 项目的目录组织与模板分层方式
适合人群
- 熟悉 Python 基础、准备开始 Flask 项目的开发者
- 需要现成登录/注册表单与错误页模板的团队
- 希望参考 Heroku 或 PythonAnywhere 部署步骤的人
上手与定制指南
结合仓库当前版本的说明,按下面的资料检查内容、配置与运行要求。
- 1
克隆仓库后创建并激活虚拟环境,再执行 pip install -r requirements.txt
- 2
运行 python app.py,浏览器访问 http://localhost:5000 查看骨架页面
- 3
部署 Heroku 需创建 Procfile(web: gunicorn app:app --log-file=-)并推送代码
- 4
部署 PythonAnywhere 需在 WSGI 文件中激活虚拟环境并把 project_home 指向项目目录
- 5
模板页面为占位内容,使用前需替换为实际业务页面并核对依赖版本
授权与来源资料
使用条件与限制
免费使用 · 保留许可声明本次收录的是公开仓库中采用 Apache-2.0 许可的免费版本;免费范围为该版本代码,不代表外部服务或第三方素材免费。
使用时需要遵守
- 允许免费使用、修改、商用和分发;分发时需随附 Apache-2.0 许可证。
- 修改过的文件需显著标明改动,并保留相关版权、专利、商标及归属声明。
- 若原项目附有 NOTICE 文件,分发衍生作品时需保留其中适用的归属声明。
- 许可包含适用的贡献者专利授权;发起许可所述专利诉讼会终止该专利授权,且不授予商标使用权。
- 代码按现状提供;担保与责任限制以原许可证及适用法律为准。
额外费用与待核对事项
- 该模板是为 Real Python 课程设计的配套启动代码,主要面向课程学员使用。
- 部署到 Heroku 需要先注册 Heroku 账号,并安装 Heroku Toolbelt 命令行工具。
- 部署到 PythonAnywhere 需要注册账号;免费账号使用其子域名,自定义域名需付费的 Web Developer 账户。
- 如需统计访问数据,需自行申请 Google Analytics ID 并填入 main.html,属于可选的外部服务。
- 演示图片、字体、图标及其他第三方素材需按各自许可核对,不能仅凭代码的 Apache-2.0 许可判断。
- 域名、托管、数据库、支付或 AI 等外部服务可能另外收费。
查看原文依据
no-charge, royalty-free, irrevocable copyright license
许可证原文
**Designed for the [Real Python](http://www.realpython.com) course.**
README 原文
Signup for [Heroku](https://api.heroku.com/signup)
README 原文
Sign up for [PythonAnywhere](https://www.pythonanywhere.com/pricing/), if you haven't already
README 原文
https://github.com/realpython/flask-boilerplate/blob/master/LICENSEhttps://github.com/realpython/flask-boilerplate/blob/master/README.mdAdd your Google Analytics ID to the *main.html* file
README 原文
DeepSeek 根据仓库许可证和 README 整理 ·2026-10-01。结果仅覆盖已读取资料,依赖、图片、字体及后续条款变更以各自原文为准。
项目核对记录与介绍依据
模板资料
- 来源平台
- GitHub
- 资料与维护参考分
- 资料较完整 · 85 / 100
- 技术栈
- Flask · HTML
- 网站类型
- 启动器
这个分数如何计算
本站按许可资料(最高30分)、演示链接(12分)、预览图(10分)、Star数(15分)、记录的维护时间(15分)、描述完整度(8分)、功能记录(5分)和分类资料(5分)计算。它不是代码、安全或性能测试,也不是 Google 评分;有链接不代表已实测可用。
这个项目需要核对什么
- 记录的仓库更新时间
- 2023-11-03
- 截图检查日期
- 2026-10-01
已收录演示链接。请用你的内容与屏幕尺寸检查;有演示不代表表单、认证或支付已经可用。
目录记录的主要技术栈是 Flask。请通过依赖清单和锁文件核对实际版本与托管要求。这些说明基于收录资料,不代表代码审计或部署实测。
查看具体选型方法 →介绍的制作与核对状态
介绍由 AI 辅助整理目录与仓库资料。仓库作者不等于这篇介绍的审核者。
已完成服务器许可规则与 AI 来源核对;未经过人工编辑审核。
查看当时使用的来源资料
SHA-256: 5e543d53c4227bdae5484bf9c140d5ae0ea916983f7c4e1a86d8e49745532e56
2026-10-01T02:45:14.784Z
来源文件 / 仓库[](https://opensource.org/licenses/Apache-2.0)
## Welcome
Hello. Want to get started with Flask quickly? Good. You came to the right place. This Flask application framework is pre-configured with **Flask-SQLAlchemy**, **Flask-WTF**, **Fabric**, **Coverage**, and the **Bootstrap** frontend (among others). This will get your Flask app up and running on Heroku or PythonAnywhere quickly. Use this starter, boilerplate for all you new Flask projects. Cheers!
<hr>
**Designed for the [Real Python](http://www.realpython.com) course.**
<hr>
Preview the skeleton app here - [http://www.flaskboilerplate.com/](http://www.flaskboilerplate.com/)
**EXAMPLE APP: [http://flasktaskr.herokuapp.com/](http://flasktaskr.herokuapp.com/)**
**What is Flask?** Flask is a microframework for Python based on Werkzeug and Jinja2.
Project Structure
--------
```sh
├── Procfile
├── Procfile.dev
├── README.md
├── app.py
├── config.py
├── error.log
├── forms.py
├── models.py
├── requirements.txt
├── static
│ ├── css
│ │ ├── bootstrap-3.0.0.min.css
│ │ ├── bootstrap-theme-3.0.0.css
│ │ ├── bootstrap-theme-3.0.0.min.css
│ │ ├── font-awesome-3.2.1.min.css
│ │ ├── layout.forms.css
│ │ ├── layout.main.css
│ │ ├── main.css
│ │ ├── main.quickfix.css
│ │ └── main.responsive.css
│ ├── font
│ │ ├── FontAwesome.otf
│ │ ├── fontawesome-webfont.eot
│ │ ├── fontawesome-webfont.svg
│ │ ├── fontawesome-webfont.ttf
│ │ └── fontawesome-webfont.woff
│ ├── ico
│ │ ├── apple-touch-icon-114-precomposed.png
│ │ ├── apple-touch-icon-144-precomposed.png
│ │ ├── apple-touch-icon-57-precomposed.png
│ │ ├── apple-touch-icon-72-precomposed.png
│ │ └── favicon.png
│ ├── img
│ └── js
│ ├── libs
│ │ ├── bootstrap-3.0.0.min.js
│ │ ├── jquery-1.10.2.min.js
│ │ ├── modernizr-2.6.2.min.js
│ │ └── respond-1.3.0.min.js
│ ├── plugins.js
│ └── script.js
└── templates
├── errors
│ ├── 404.html
│ └── 500.html
├── forms
│ ├── forgot.html
│ ├── login.html
│ └── register.html
├── layouts
│ ├── form.html
│ └── main.html
└── pages
├── placeholder.about.html
└── placeholder.home.html
```
### Screenshots


### Quick Start
1. Clone the repo
```
$ git clone https://github.com/realpython/flask-boilerplate.git
$ cd flask-boilerplate
```
2. Initialize and activate a virtualenv:
```
$ virtualenv --no-site-packages env
$ source env/bin/activate
```
3. Install the dependencies:
```
$ pip install -r requirements.txt
```
5. Run the development server:
```
$ python app.py
```
6. Navigate to [http://localhost:5000](http://localhost:5000)
Deploying to Heroku
------
1. Signup for [Heroku](https://api.heroku.com/signup)
2. Login to Heroku and download the [Heroku Toolbelt](https://toolbelt.heroku.com/)
3. Once installed, open your command-line and run the following command - `heroku login`. Then follow the prompts:
```
Enter your Heroku credentials.
Email: [email protected]
Password (typing will be hidden):
Could not find an existing public key.
Would you like to generate one? [Yn]
Generating new SSH public key.
Uploading ssh public key /Users/michaelherman/.ssh/id_rsa.pub
```
4. Activate your virtualenv
5. Heroku recognizes the dependencies needed through a *requirements.txt* file. Create one using the following command: `pip freeze > requirements.txt`. Now, this will only create the dependencies from the libraries you installed using pip. If you used easy_install, you will need to add them directly to the file.
6. Create a Procfile. Open up a text editor and save the following text in it:
```
web: gunicorn app:app --log-file=-
```
Then save the file in your applications root or main directory as *Procfile* (no extension). The word "web" indicates to Heroku that the application will be attached to the HTTP routing stack once deployed.
7. Create a local Git repository (if necessary):
```
$ git init
$ git add .
$ git commit -m "initial files"
```
8. Create your app on Heroku:
```
$ heroku create <name_it_if_you_want>
```
9. Deploy your code to Heroku:
```
$ git push heroku master
```
10. View the app in your browser:
```
$ heroku open
```
11. You app should look similar to this - [http://www.flaskboilerplate.com/](http://www.flaskboilerplate.com/)
12. Having problems? Look at the Heroku error log:
```
$ heroku logs
```
### Deploying to PythonAnywhere
1. Install [Git](http://git-scm.com/downloads) and [Python](http://install.python-guide.org/) - if you don't already have them, of course.
> If you plan on working exclusively within PythonAnywhere, which you can, because it provides a cloud solution for hosting and developing your application, you can skip step one entirely. :)
2. Sign up for [PythonAnywhere](https://www.pythonanywhere.com/pricing/), if you haven't already
3. Once logged in, you should be on the Consoles tab.
4. Clone this repo:
```
$ git clone git://github.com/realpython/flask-boilerplate.git
$ cd flask-boilerplate
```
5. Create and activate a virtualenv:
```
$ virtualenv venv --no-site-packages
$ source venv/bin/activate
```
6. Install requirements:
```
$ pip install -r requirements.txt
```
7. Next, back on PythonAnywhere, click Web tab.
8. Click the "Add a new web app" link on the left; by default this will create an app at your-username.pythonanywhere.com, though if you've signed up for a paid "Web Developer" account you can also specify your own domain name here. Once you've decided on the location of the app, click the "Next" button.
9. On the next page, click the "Flask" option, and on the next page just keep the default settings and click "Next" again.
Once the web app has been created (it'll take 20 seconds or so), you'll see a link near the top of the page, under the "Reload web app" button, saying "It is configured via a WSGI file stored at..." and a filename. Click this, and you get to a page with a text editor.
10. Put the following lines of code at the start of the WSGI file (changing "your-username" appropriately)
```
activate_this = '/home/your-username/flask-boilerplate/venv/bin/activate_this.py'
execfile(activate_this, dict(__file__=activate_this))
```
11. Then update the following lines of code:
from
```
project_home = u'/home/your-username/mysite'
```
to
```
project_home = u'/home/your-username/flask-boilerplate'
```
from
```
from flask_app import app as application
```
to
```
from app import app as application
```
12. Save the file.
13. Go to the website http://your-username.pythonanywhere.com/ (or your own domain if you specified a different one earlier), and you should see something like this - [http://www.flaskboilerplate.com/](http://www.flaskboilerplate.com/).
*Now you're ready to start developing!*
***Need to PUSH your PythonAnywhere repo to Github?***
1. Start a bash console
2. Run:
```
$ ssh-keygen -t rsa
```
3. Just accept the defaults, then show the public key:
```
$ cat ~/.ssh/id_rsa.pub
```
4. Log in to GitHub.
5. Go to the "Account settings" option at the top right (currently a wrench and a screwdriver crossed)
6. Select "SSH Keys" from the list at the left.
7. Click the "Add SSH key" button at top right.
8. Enter a title (I suggest something like "From PythonAnywhere" and then paste the output of the previous "cat" command into the Key box.
9. Click the green "Add key" button. You'll be prompted to enter your password.
PUSH and PULL away!
### What's next?
1. Using Heroku? Make sure you deactivate your virtualenv once you're done deploying: `deactivate`
2. Need to reactivate? (1) Unix - `source venv/bin/activate` (2) Windows - `venv\scripts\activate`
4. Add your Google Analytics ID to the *main.html* file
5. Add a domain name to [Heroku](https://devcenter.heroku.com/articles/custom-domains) or PythonAnywhere via a [CNAME](http://en.wikipedia.org/wiki/CNAME_record) record
5. DEVELOP YOUR APP - need [help](http://realpython.com)?
### Learn More
1. [Getting Started with Python on Heroku](https://devcenter.heroku.com/articles/python)
2. [PythonAnywhere - Help](https://www.pythonanywhere.com/help/)
1. [Flask Documentation](http://flask.pocoo.org/docs/)
2. [Flask Extensions](http://flask.pocoo.org/extensions/)
1. [Real Python](http://www.realpythonfortheweb.com) :)
看看同类模板
对比同技术栈与用途的模板,找到更适合的视觉与内容结构。

TRMNL-Boilerplate
A boilerplate template for building TRMNL e-ink display plugins. Features Flask webhooks, display optimization…
Flask · 启动器
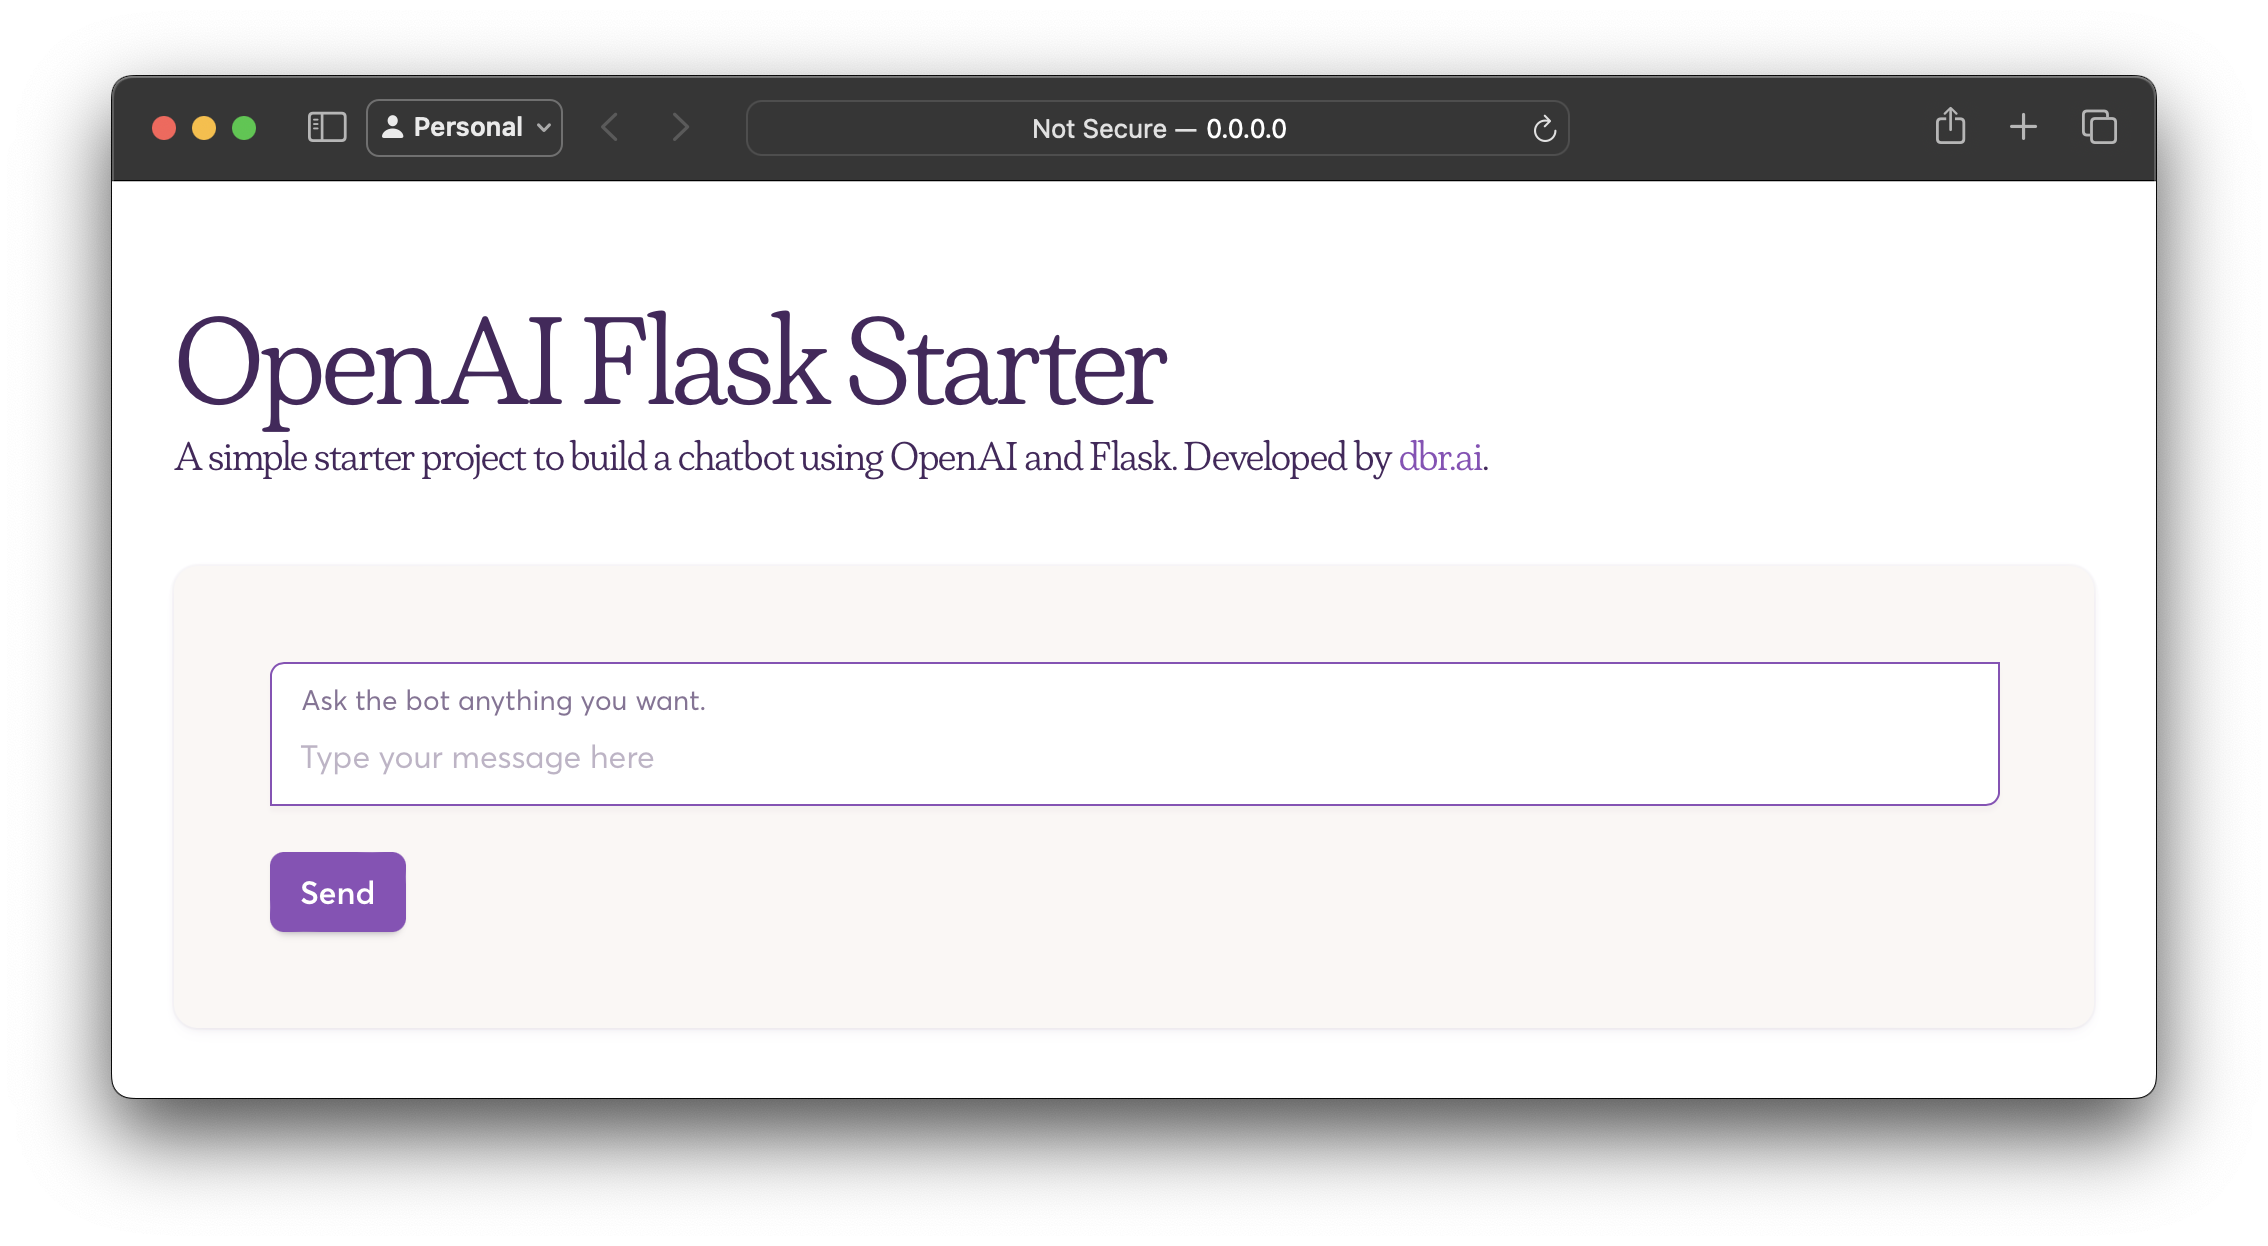
openai-flask-starter
Starter project with OpenAI + Flask and template HTML.
Flask · 启动器
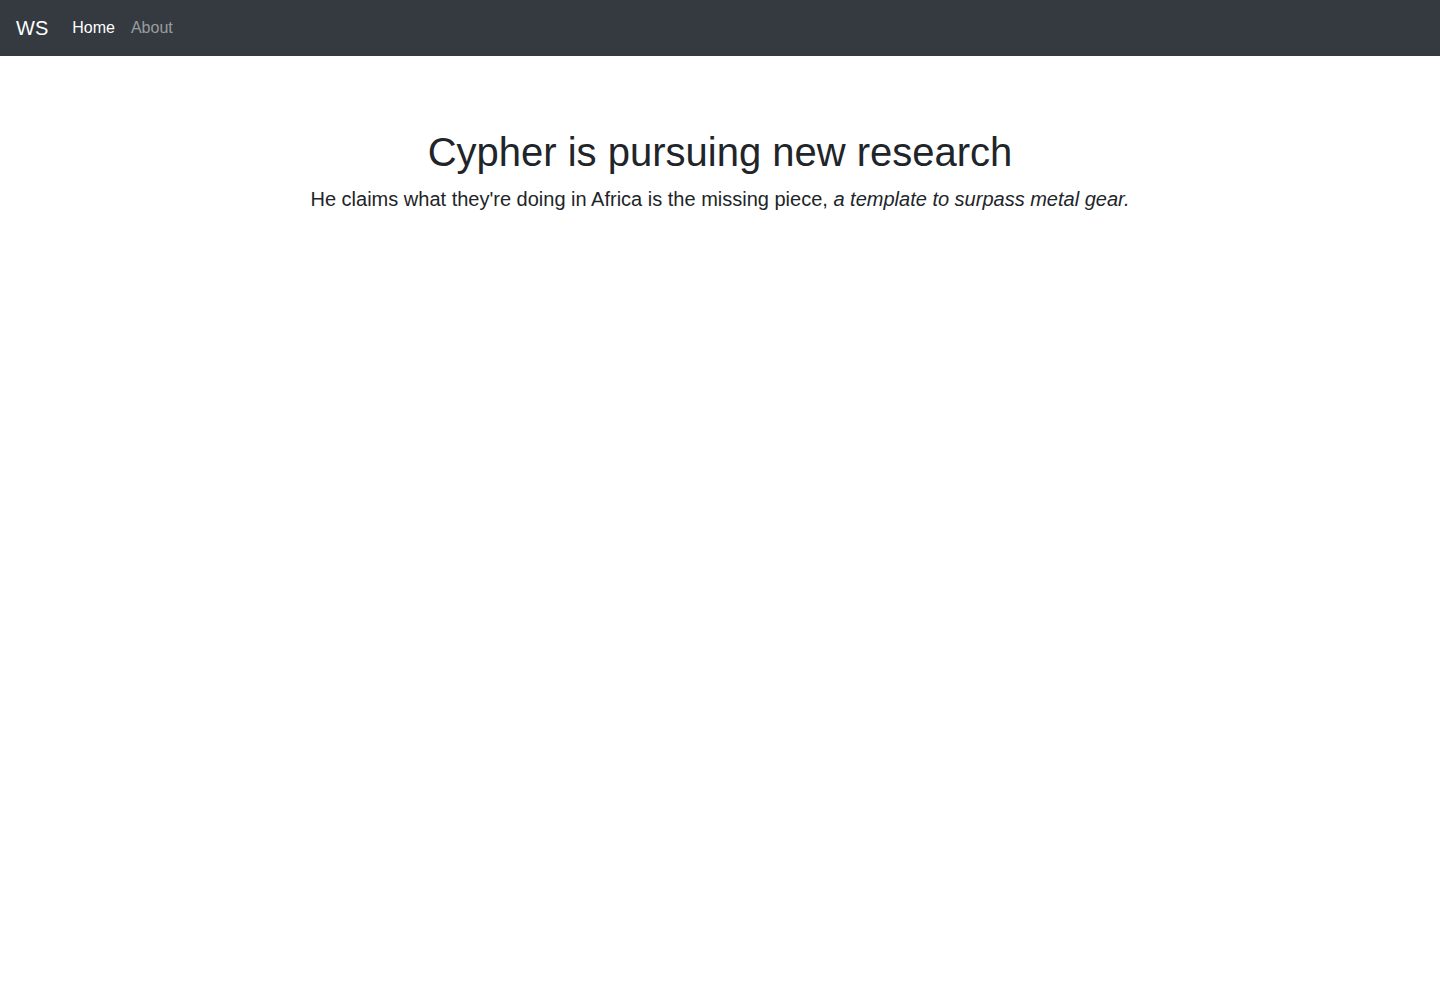
app-engine-starter
A basic template for App Engine projects.
Flask · 启动器
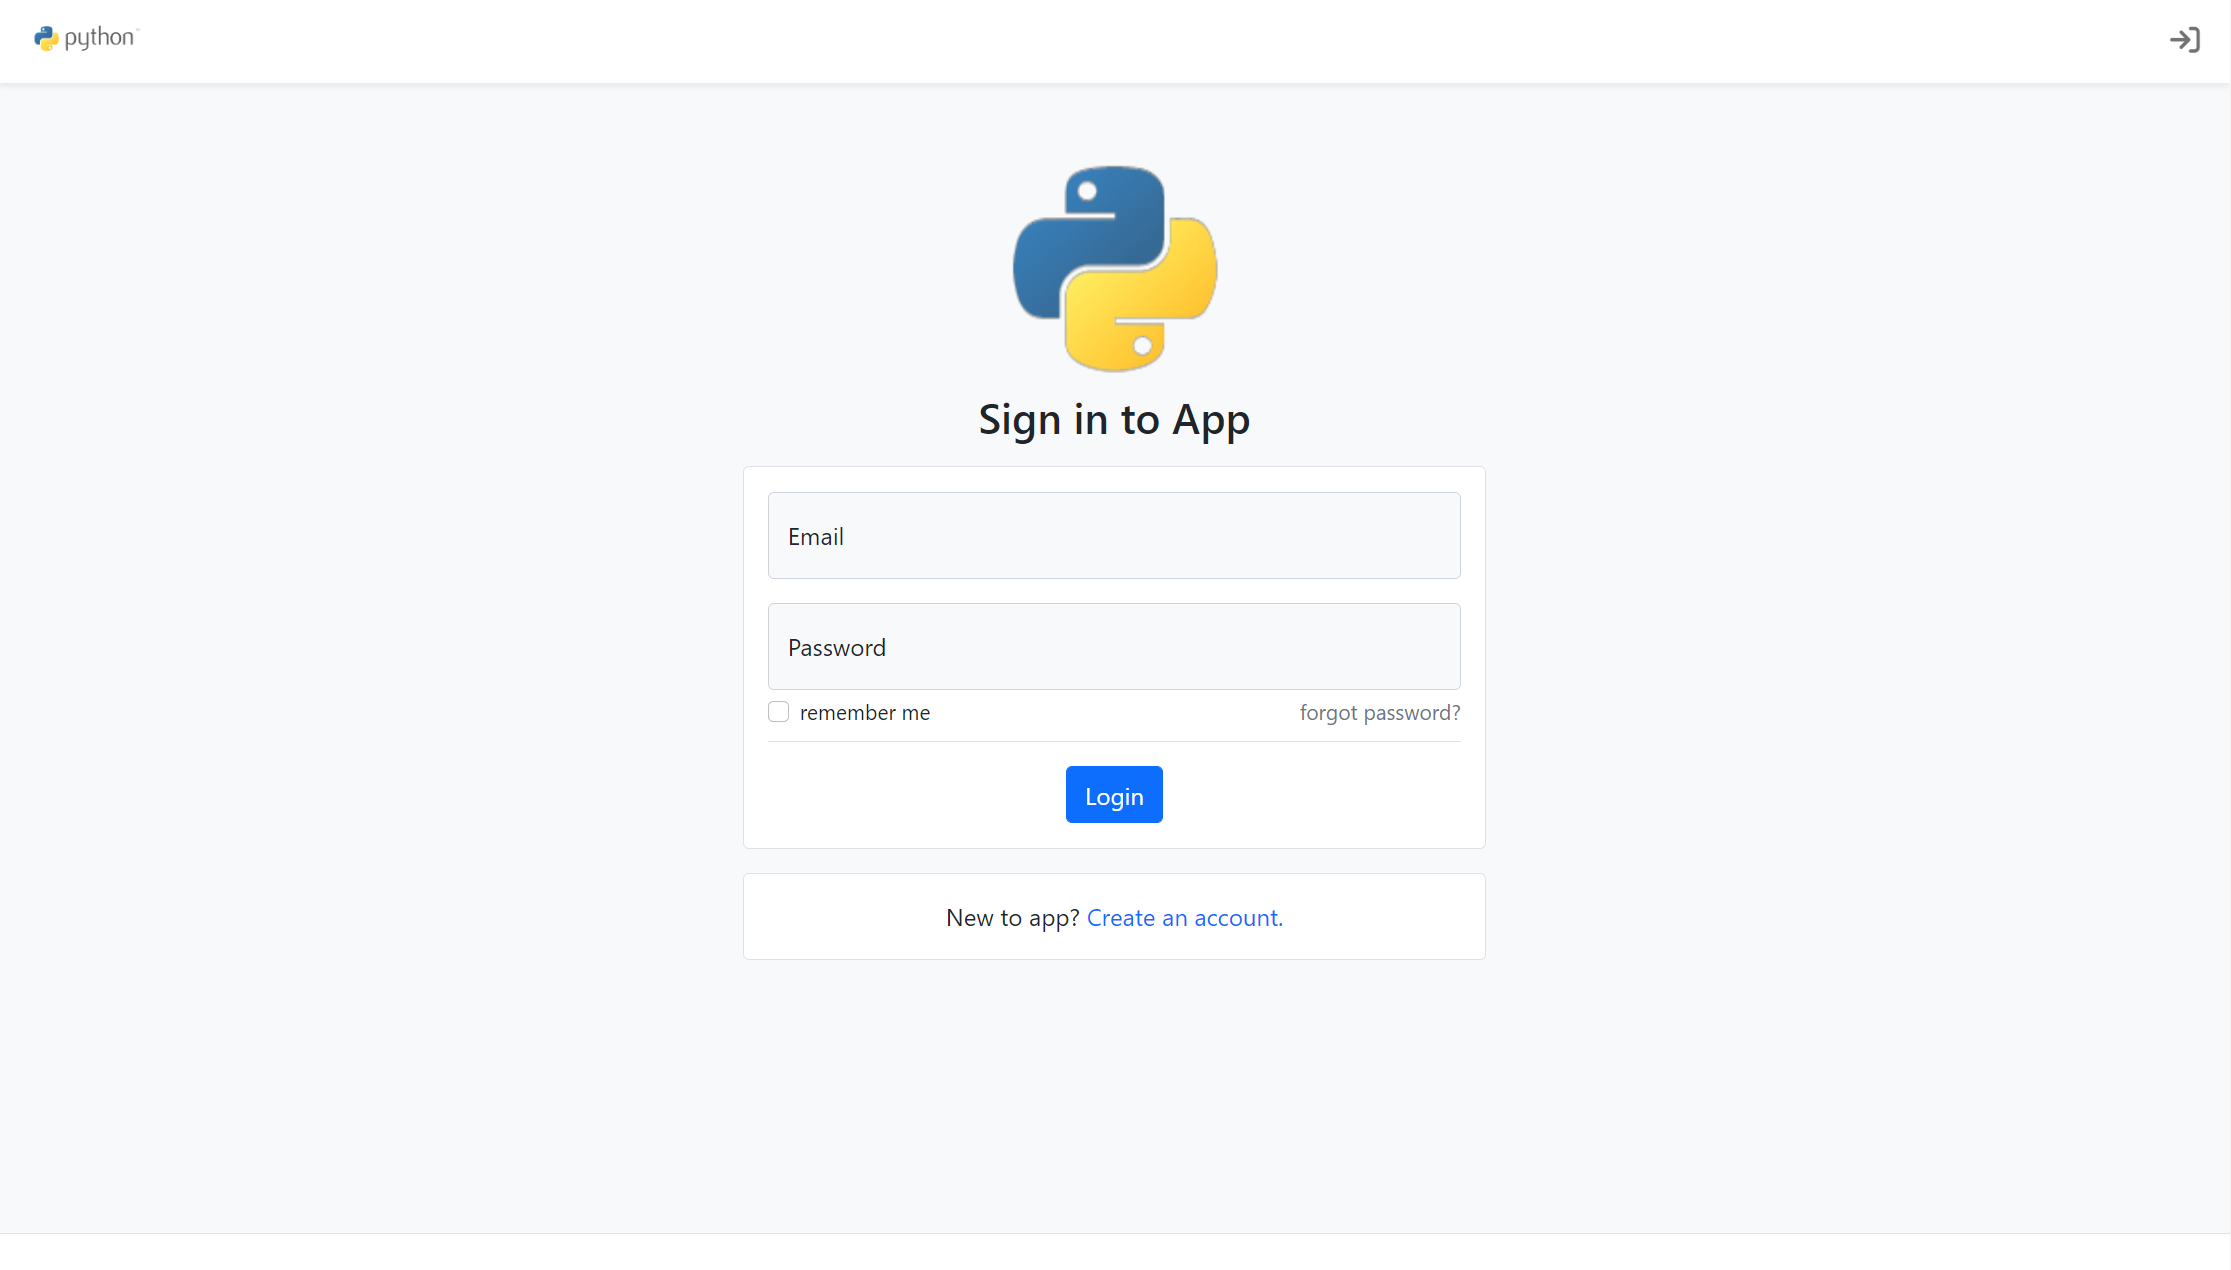
flask-account-starter
flexible and extensible Flask boilerplate template
Flask · 启动器
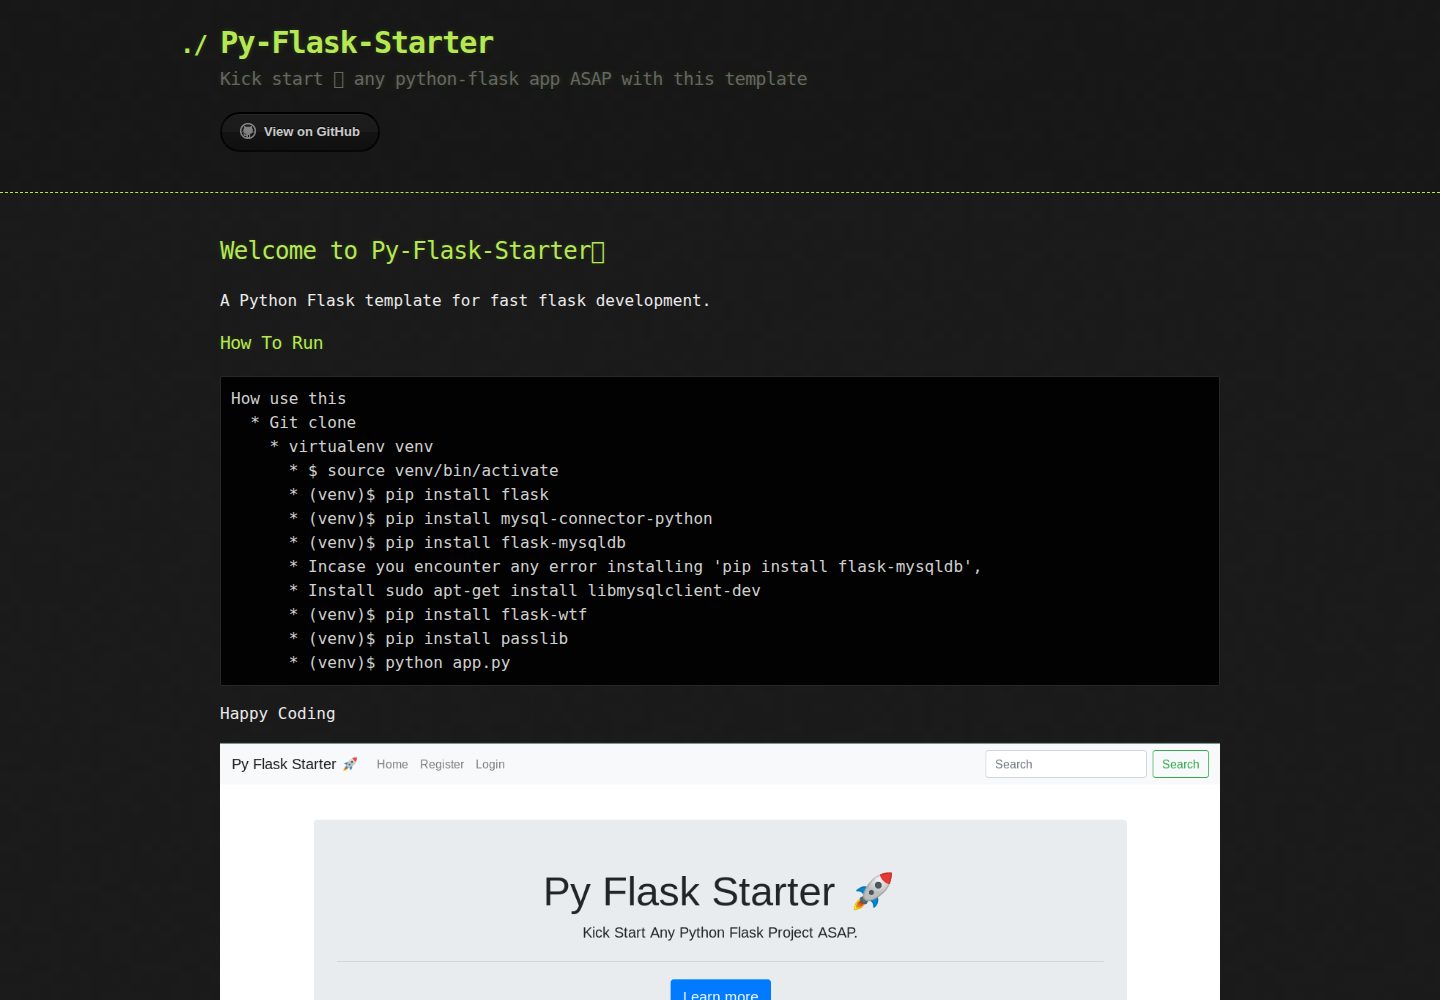
Py-Flask-Starter
Kick start 🚀 any python-flask app ASAP with this template
Flask · 启动器
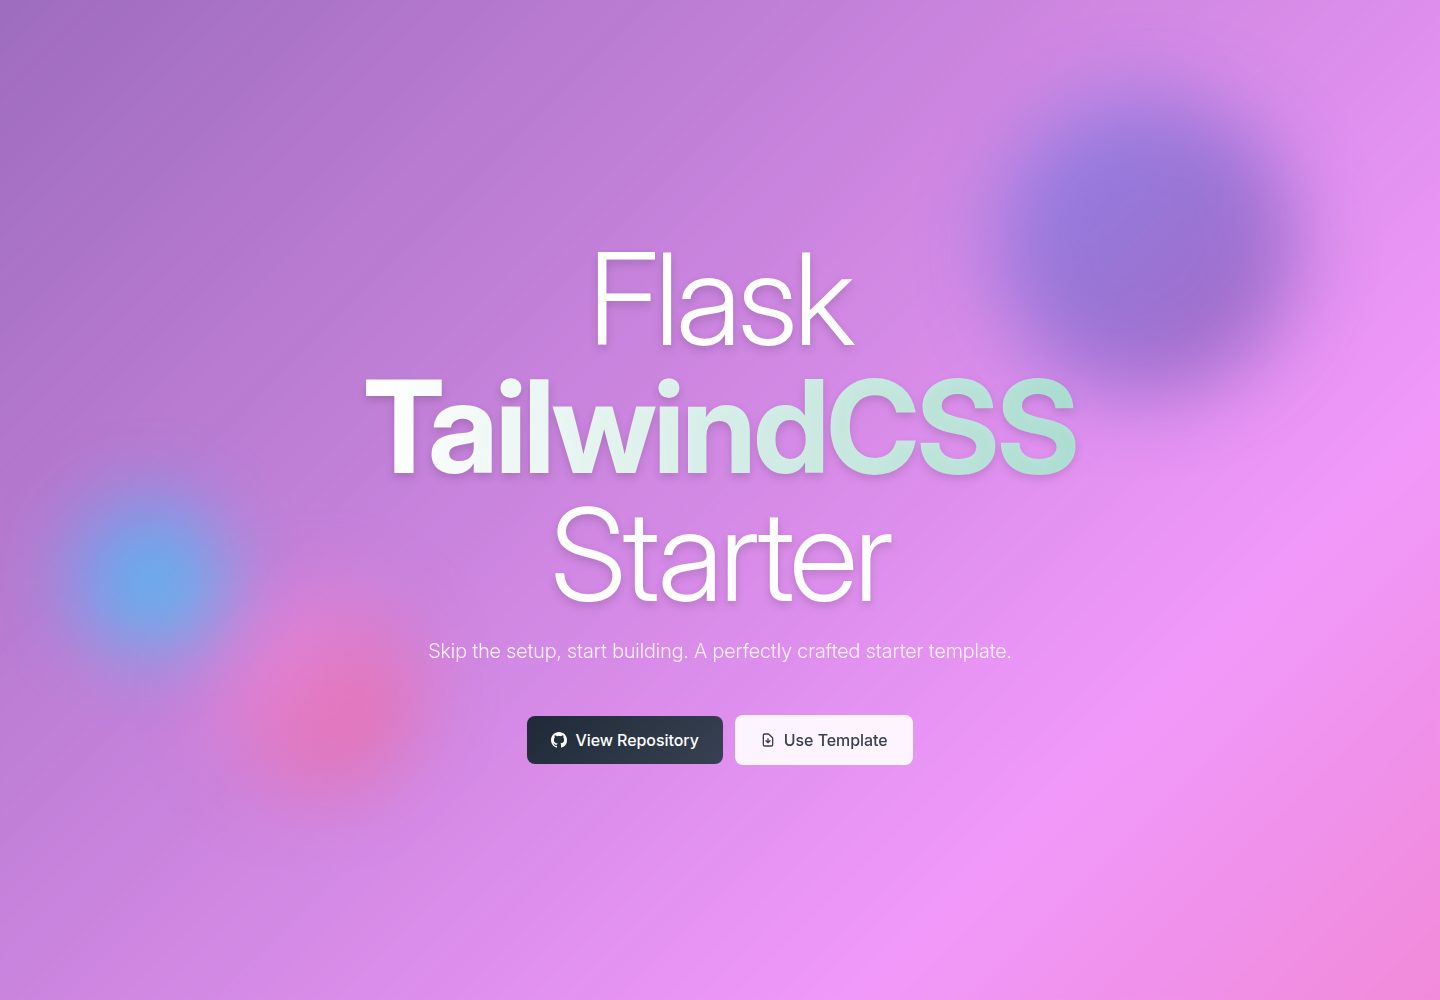
flask-tailwindcss-starter
:snake: Starter project for Flask and TailwindCSS v4.0, ready to deploy in Vercel
Flask · 启动器