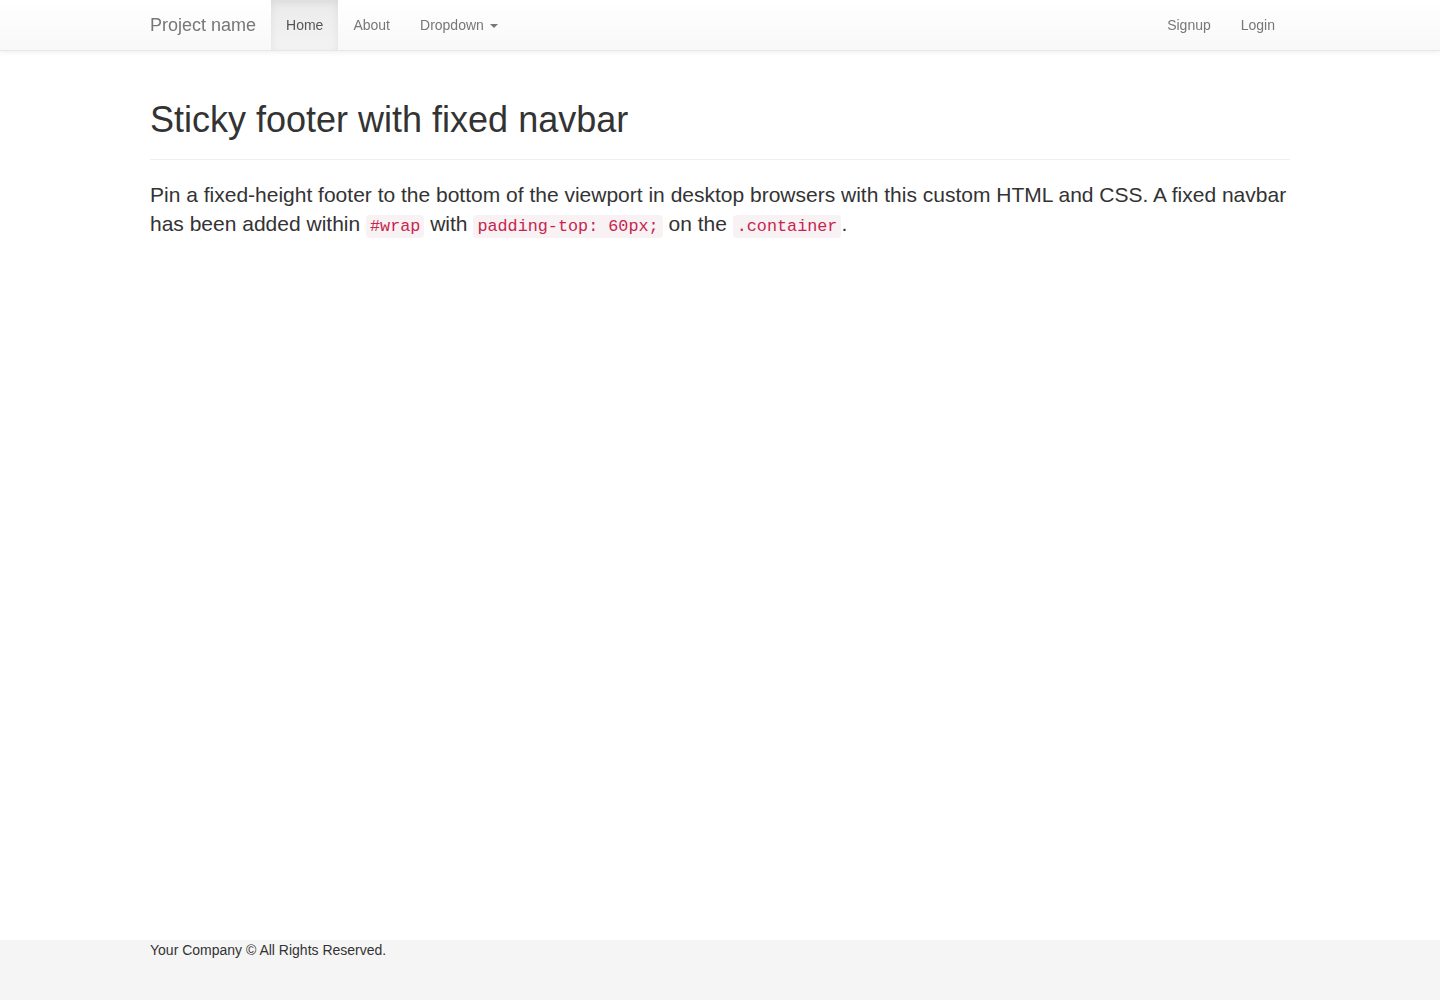
Preconfigured with Flask-SQLAlchemy, Flask-WTF, Fabric, Coverage, and a Bootstrap frontend
FlaskHTMLStarter
flask-boilerplate — Flask Starter Template
By realpython
A Flask application starter template from Real Python, preconfigured with Flask-SQLAlchemy, Flask-WTF, Fabric, Coverage, and a Bootstrap frontend, plus deployment instructions for Heroku and PythonAnywhere.
Explore the design
Compare the page layouts and mobile experience. Open any screenshot for a closer look.
Desktop homepage1 / 3
Desktop captureTop of page
Actual screenshot captured by the server browser.
All pages & views 3
Screenshots show visual appearance; interactive behavior may differ.
Recorded 2026-10-01View source
What stands out
A quick read of the recorded project description.
The templates directory is organized into errors, forms, layouts, and pages, including login, registration, password recovery, and 404/500 pages
The static directory includes Bootstrap, Font Awesome, jQuery, Modernizr, Respond, and other static assets
The README provides two deployment paths, Heroku and PythonAnywhere, with Procfile and WSGI configuration examples
Licensed under Apache-2.0, permitting modification, commercial use, and distribution
Template Details
This is a starter template for Python Flask projects, prepared by Real Python as course material. The repository wires together common backend and frontend dependencies: Flask-SQLAlchemy handles database access, Flask-WTF manages forms, Fabric is used for commands and deployment scripts, Coverage measures test coverage, and the frontend uses Bootstrap along with Font Awesome icons and static libraries such as jQuery, Modernizr, and Respond.
The project structure is clear: app.py is the application entry point, config.py stores configuration, models.py and forms.py define data models and forms respectively, and the templates directory is organized into errors, forms, layouts, and pages, containing 404/500 error pages, login/registration/password recovery form pages, and placeholder templates for the home and about pages; the static directory holds CSS, fonts, icons, and JS. The README provides local run steps (clone the repository, create a virtual environment, install requirements.txt, run app.py, and visit localhost:5000), as well as complete deployment workflows for Heroku and PythonAnywhere, including Procfile syntax, WSGI file configuration, and Git push.
The template is positioned as a skeleton rather than a finished application: page content is placeholder and must be replaced; the example application mentioned in the README (flasktaskr) is a separate project. The materials do not describe database migrations, authentication security policies, or production environment configuration, so dependency versions and the deployment environment should be verified before use.
FlaskHTMLStarter
Is it right for your project?
Use Cases
- Quickly set up a Flask project skeleton with a database and forms
- Use as starting code for Real Python course exercises
- Deploy and verify a Flask application on Heroku or PythonAnywhere
- Learn Flask project directory organization and template layering
Suitable For
- Developers familiar with Python basics who are ready to start a Flask project
- Teams that need ready-made login/registration forms and error page templates
- Those who want to reference Heroku or PythonAnywhere deployment steps
Getting started & customization
Use these recorded setup notes alongside the repository instructions for your chosen version.
- 1
After cloning the repository, create and activate a virtual environment, then run pip install -r requirements.txt
- 2
Run python app.py and visit http://localhost:5000 in a browser to view the skeleton pages
- 3
Deploying to Heroku requires creating a Procfile (web: gunicorn app:app --log-file=-) and pushing the code
- 4
Deploying to PythonAnywhere requires activating the virtual environment in the WSGI file and pointing project_home to the project directory
- 5
Template pages contain placeholder content; replace them with actual business pages and verify dependency versions before use
License & source material
Usage conditions & limitations
Free to use · keep license noticeThis entry covers the free version in a public repository under the Apache-2.0 license; the free scope is the code of that version and does not mean external services or third-party assets are free.
Must comply with when using
- Free use, modification, commercial use, and distribution are permitted; the Apache-2.0 license must be included when distributing.
- Modified files must prominently indicate changes, and relevant copyright, patent, trademark, and attribution notices must be retained.
- If the original project includes a NOTICE file, applicable attribution notices in it must be retained when distributing derivative works.
- The license includes an applicable contributor patent grant; initiating patent litigation as described in the license terminates that patent grant, and no trademark rights are granted.
- The code is provided as is; warranties and limitations of liability are governed by the original license and applicable law.
Additional costs & items to verify
- This template is starter code designed for a Real Python course and is primarily intended for course students.
- Deploying to Heroku requires registering a Heroku account and installing the Heroku Toolbelt command-line tool.
- Deploying to PythonAnywhere requires registering an account; free accounts use its subdomain, while custom domains require a paid Web Developer account.
- To collect visit data, you must apply for a Google Analytics ID and enter it in main.html; this is an optional external service.
- Demo images, fonts, icons, and other third-party assets must be checked against their respective licenses and cannot be judged solely by the code's Apache-2.0 license.
- External services such as domains, hosting, databases, payments, or AI may incur additional charges.
View Original Text Basis
no-charge, royalty-free, irrevocable copyright license
Original License Text
**Designed for the [Real Python](http://www.realpython.com) course.**
Original README
Signup for [Heroku](https://api.heroku.com/signup)
Original README
Sign up for [PythonAnywhere](https://www.pythonanywhere.com/pricing/), if you haven't already
Original README
https://github.com/realpython/flask-boilerplate/blob/master/LICENSEhttps://github.com/realpython/flask-boilerplate/blob/master/README.mdAdd your Google Analytics ID to the *main.html* file
Original README
Compiled by DeepSeek based on repository license and README ·2026-10-01. Results only cover the materials read; dependencies, images, fonts, and subsequent term changes are subject to their respective original texts.
Project checks & description sources
Template Information
- Source platforms
- GitHub
- Documentation and maintenance reference score
- More documented · 85 / 100
- Technologies
- Flask · HTML
- Website type
- Starter
How this score is calculated
Our heuristic uses license records (up to 30), a demo link (12), a preview (10), stars (15), recorded maintenance (15), description completeness (8), feature records (5) and classification data (5). It is not a code, security or performance test, or a Google score. A link does not establish tested functionality.
What to verify for this project
- Repository update recorded
- 2023-11-03
- Screenshot last checked
- 2026-10-01
A demo link is listed. Check it with your own content and viewport sizes; its presence does not confirm that forms, authentication or payments work.
The catalog identifies Flask as the primary stack. Check the actual dependency manifest and lockfile for versions and hosting requirements. These notes use recorded metadata, not a code audit or a deployment test.
Use a selection guide →How this description was prepared
AI-assisted description based on catalog records and repository material. Repository authors are not automatically the reviewers of this description.
Automatically checked against source and license rules; no manual editorial review.
Inspect the recorded source material
SHA-256: 5e543d53c4227bdae5484bf9c140d5ae0ea916983f7c4e1a86d8e49745532e56
2026-10-01T02:45:14.784Z
Source file / repository[](https://opensource.org/licenses/Apache-2.0)
## Welcome
Hello. Want to get started with Flask quickly? Good. You came to the right place. This Flask application framework is pre-configured with **Flask-SQLAlchemy**, **Flask-WTF**, **Fabric**, **Coverage**, and the **Bootstrap** frontend (among others). This will get your Flask app up and running on Heroku or PythonAnywhere quickly. Use this starter, boilerplate for all you new Flask projects. Cheers!
<hr>
**Designed for the [Real Python](http://www.realpython.com) course.**
<hr>
Preview the skeleton app here - [http://www.flaskboilerplate.com/](http://www.flaskboilerplate.com/)
**EXAMPLE APP: [http://flasktaskr.herokuapp.com/](http://flasktaskr.herokuapp.com/)**
**What is Flask?** Flask is a microframework for Python based on Werkzeug and Jinja2.
Project Structure
--------
```sh
├── Procfile
├── Procfile.dev
├── README.md
├── app.py
├── config.py
├── error.log
├── forms.py
├── models.py
├── requirements.txt
├── static
│ ├── css
│ │ ├── bootstrap-3.0.0.min.css
│ │ ├── bootstrap-theme-3.0.0.css
│ │ ├── bootstrap-theme-3.0.0.min.css
│ │ ├── font-awesome-3.2.1.min.css
│ │ ├── layout.forms.css
│ │ ├── layout.main.css
│ │ ├── main.css
│ │ ├── main.quickfix.css
│ │ └── main.responsive.css
│ ├── font
│ │ ├── FontAwesome.otf
│ │ ├── fontawesome-webfont.eot
│ │ ├── fontawesome-webfont.svg
│ │ ├── fontawesome-webfont.ttf
│ │ └── fontawesome-webfont.woff
│ ├── ico
│ │ ├── apple-touch-icon-114-precomposed.png
│ │ ├── apple-touch-icon-144-precomposed.png
│ │ ├── apple-touch-icon-57-precomposed.png
│ │ ├── apple-touch-icon-72-precomposed.png
│ │ └── favicon.png
│ ├── img
│ └── js
│ ├── libs
│ │ ├── bootstrap-3.0.0.min.js
│ │ ├── jquery-1.10.2.min.js
│ │ ├── modernizr-2.6.2.min.js
│ │ └── respond-1.3.0.min.js
│ ├── plugins.js
│ └── script.js
└── templates
├── errors
│ ├── 404.html
│ └── 500.html
├── forms
│ ├── forgot.html
│ ├── login.html
│ └── register.html
├── layouts
│ ├── form.html
│ └── main.html
└── pages
├── placeholder.about.html
└── placeholder.home.html
```
### Screenshots


### Quick Start
1. Clone the repo
```
$ git clone https://github.com/realpython/flask-boilerplate.git
$ cd flask-boilerplate
```
2. Initialize and activate a virtualenv:
```
$ virtualenv --no-site-packages env
$ source env/bin/activate
```
3. Install the dependencies:
```
$ pip install -r requirements.txt
```
5. Run the development server:
```
$ python app.py
```
6. Navigate to [http://localhost:5000](http://localhost:5000)
Deploying to Heroku
------
1. Signup for [Heroku](https://api.heroku.com/signup)
2. Login to Heroku and download the [Heroku Toolbelt](https://toolbelt.heroku.com/)
3. Once installed, open your command-line and run the following command - `heroku login`. Then follow the prompts:
```
Enter your Heroku credentials.
Email: [email protected]
Password (typing will be hidden):
Could not find an existing public key.
Would you like to generate one? [Yn]
Generating new SSH public key.
Uploading ssh public key /Users/michaelherman/.ssh/id_rsa.pub
```
4. Activate your virtualenv
5. Heroku recognizes the dependencies needed through a *requirements.txt* file. Create one using the following command: `pip freeze > requirements.txt`. Now, this will only create the dependencies from the libraries you installed using pip. If you used easy_install, you will need to add them directly to the file.
6. Create a Procfile. Open up a text editor and save the following text in it:
```
web: gunicorn app:app --log-file=-
```
Then save the file in your applications root or main directory as *Procfile* (no extension). The word "web" indicates to Heroku that the application will be attached to the HTTP routing stack once deployed.
7. Create a local Git repository (if necessary):
```
$ git init
$ git add .
$ git commit -m "initial files"
```
8. Create your app on Heroku:
```
$ heroku create <name_it_if_you_want>
```
9. Deploy your code to Heroku:
```
$ git push heroku master
```
10. View the app in your browser:
```
$ heroku open
```
11. You app should look similar to this - [http://www.flaskboilerplate.com/](http://www.flaskboilerplate.com/)
12. Having problems? Look at the Heroku error log:
```
$ heroku logs
```
### Deploying to PythonAnywhere
1. Install [Git](http://git-scm.com/downloads) and [Python](http://install.python-guide.org/) - if you don't already have them, of course.
> If you plan on working exclusively within PythonAnywhere, which you can, because it provides a cloud solution for hosting and developing your application, you can skip step one entirely. :)
2. Sign up for [PythonAnywhere](https://www.pythonanywhere.com/pricing/), if you haven't already
3. Once logged in, you should be on the Consoles tab.
4. Clone this repo:
```
$ git clone git://github.com/realpython/flask-boilerplate.git
$ cd flask-boilerplate
```
5. Create and activate a virtualenv:
```
$ virtualenv venv --no-site-packages
$ source venv/bin/activate
```
6. Install requirements:
```
$ pip install -r requirements.txt
```
7. Next, back on PythonAnywhere, click Web tab.
8. Click the "Add a new web app" link on the left; by default this will create an app at your-username.pythonanywhere.com, though if you've signed up for a paid "Web Developer" account you can also specify your own domain name here. Once you've decided on the location of the app, click the "Next" button.
9. On the next page, click the "Flask" option, and on the next page just keep the default settings and click "Next" again.
Once the web app has been created (it'll take 20 seconds or so), you'll see a link near the top of the page, under the "Reload web app" button, saying "It is configured via a WSGI file stored at..." and a filename. Click this, and you get to a page with a text editor.
10. Put the following lines of code at the start of the WSGI file (changing "your-username" appropriately)
```
activate_this = '/home/your-username/flask-boilerplate/venv/bin/activate_this.py'
execfile(activate_this, dict(__file__=activate_this))
```
11. Then update the following lines of code:
from
```
project_home = u'/home/your-username/mysite'
```
to
```
project_home = u'/home/your-username/flask-boilerplate'
```
from
```
from flask_app import app as application
```
to
```
from app import app as application
```
12. Save the file.
13. Go to the website http://your-username.pythonanywhere.com/ (or your own domain if you specified a different one earlier), and you should see something like this - [http://www.flaskboilerplate.com/](http://www.flaskboilerplate.com/).
*Now you're ready to start developing!*
***Need to PUSH your PythonAnywhere repo to Github?***
1. Start a bash console
2. Run:
```
$ ssh-keygen -t rsa
```
3. Just accept the defaults, then show the public key:
```
$ cat ~/.ssh/id_rsa.pub
```
4. Log in to GitHub.
5. Go to the "Account settings" option at the top right (currently a wrench and a screwdriver crossed)
6. Select "SSH Keys" from the list at the left.
7. Click the "Add SSH key" button at top right.
8. Enter a title (I suggest something like "From PythonAnywhere" and then paste the output of the previous "cat" command into the Key box.
9. Click the green "Add key" button. You'll be prompted to enter your password.
PUSH and PULL away!
### What's next?
1. Using Heroku? Make sure you deactivate your virtualenv once you're done deploying: `deactivate`
2. Need to reactivate? (1) Unix - `source venv/bin/activate` (2) Windows - `venv\scripts\activate`
4. Add your Google Analytics ID to the *main.html* file
5. Add a domain name to [Heroku](https://devcenter.heroku.com/articles/custom-domains) or PythonAnywhere via a [CNAME](http://en.wikipedia.org/wiki/CNAME_record) record
5. DEVELOP YOUR APP - need [help](http://realpython.com)?
### Learn More
1. [Getting Started with Python on Heroku](https://devcenter.heroku.com/articles/python)
2. [PythonAnywhere - Help](https://www.pythonanywhere.com/help/)
1. [Flask Documentation](http://flask.pocoo.org/docs/)
2. [Flask Extensions](http://flask.pocoo.org/extensions/)
1. [Real Python](http://www.realpythonfortheweb.com) :)
Explore similar templates
Compare previews and descriptions within the same stack and category.
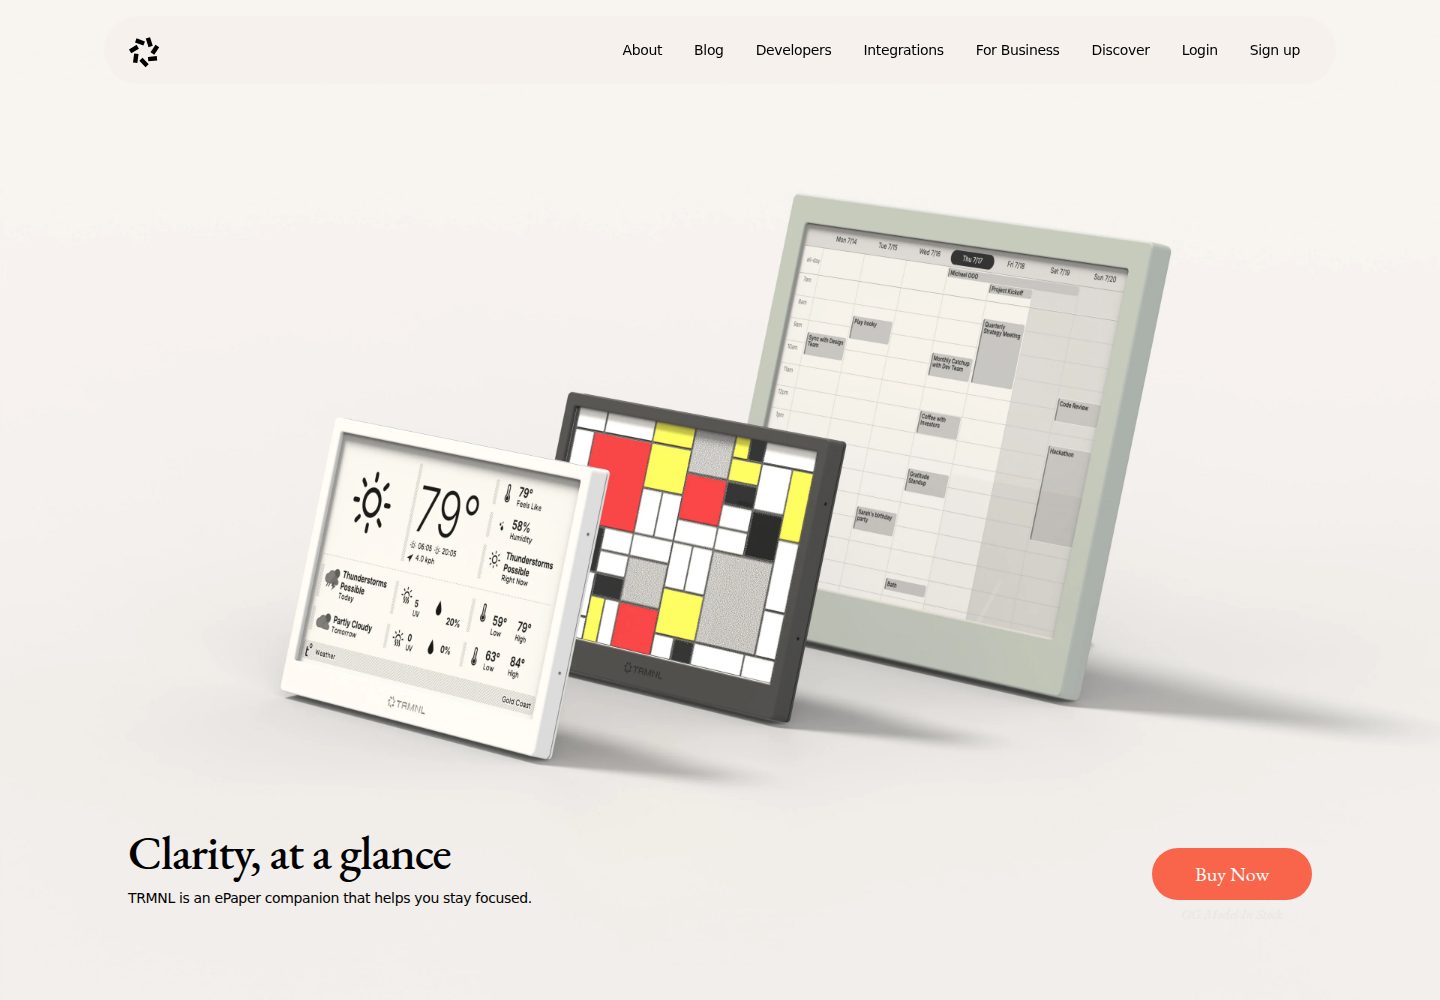
TRMNL-Boilerplate
A Flask starter template for TRMNL e-ink display plugins, offering webhook endpoints with CORS, display generation, caching, configuration management, and pytest tests.
Flask · Starter
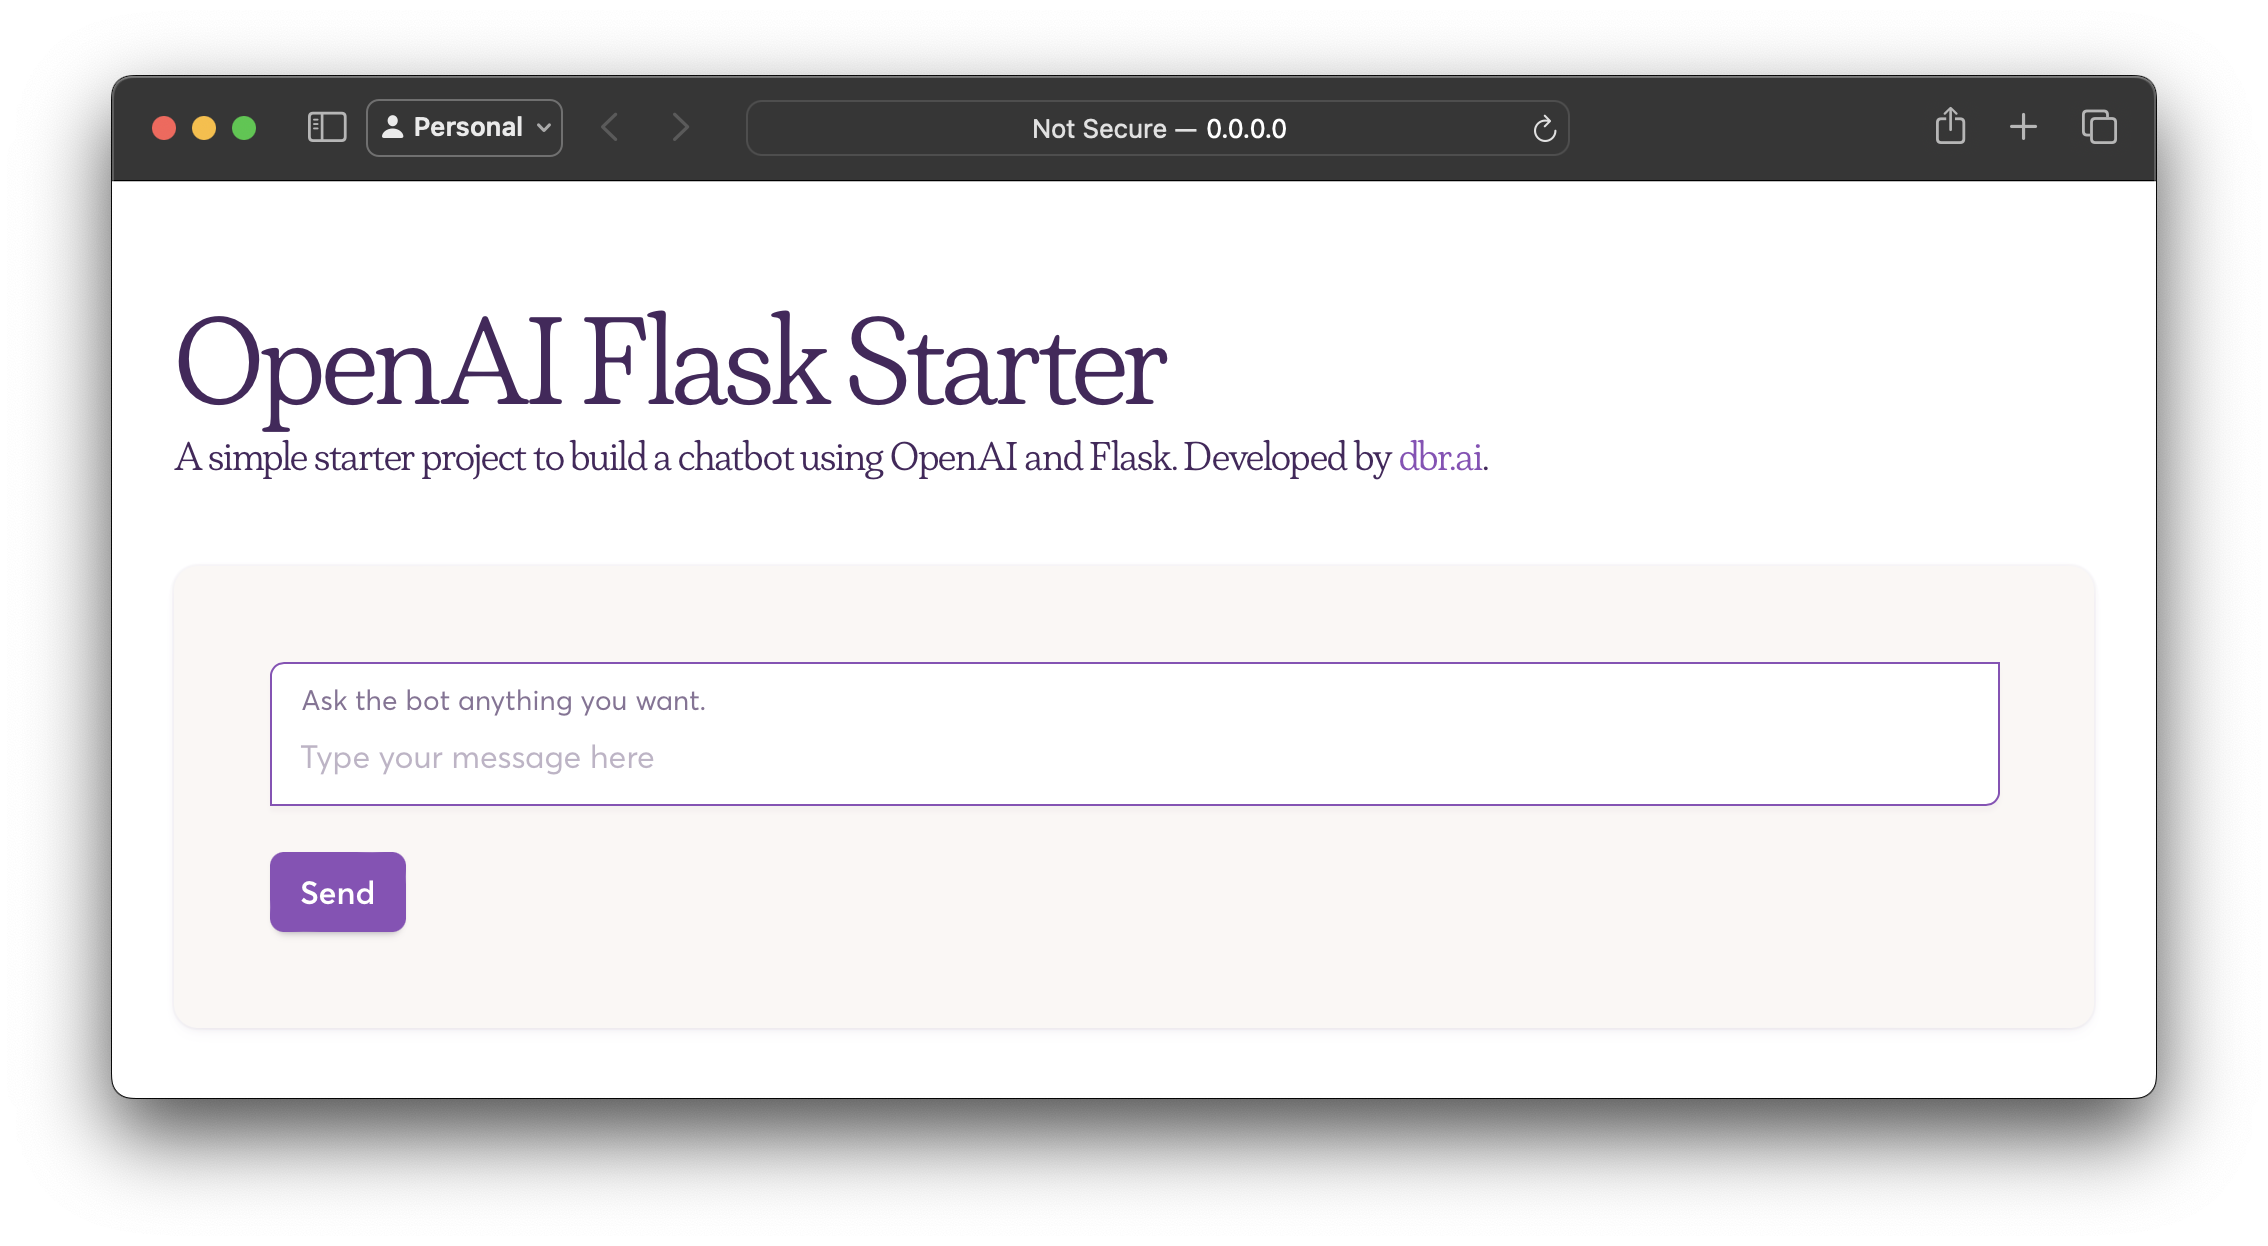
openai-flask-starter
A Flask-based chatbot starter that calls the OpenAI chat completion API, with an HTML interface, .env.sample for the API key and HTTP_PORT, and Dockerfile/docker-compose for containerized runs.
Flask · Starter
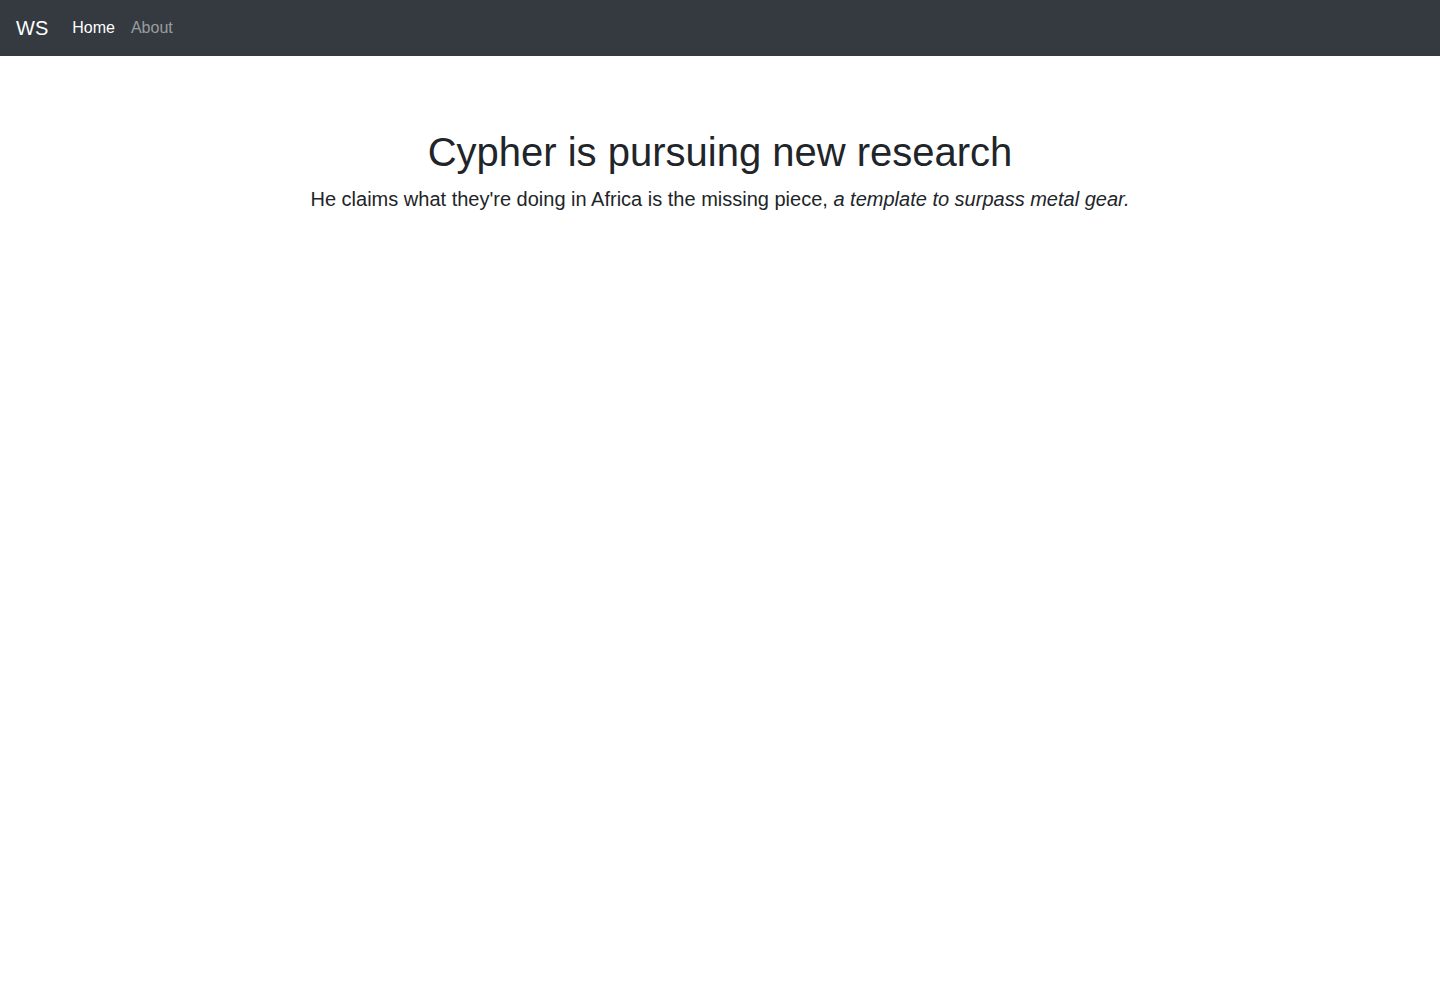
app-engine-starter
A Flask starter template for Google App Engine standard environment, using Python 3, with a Bootstrap page skeleton, Jinja2 semi-automated navigation, pipenv local development, and gcloud deployment instructions.
Flask · Starter
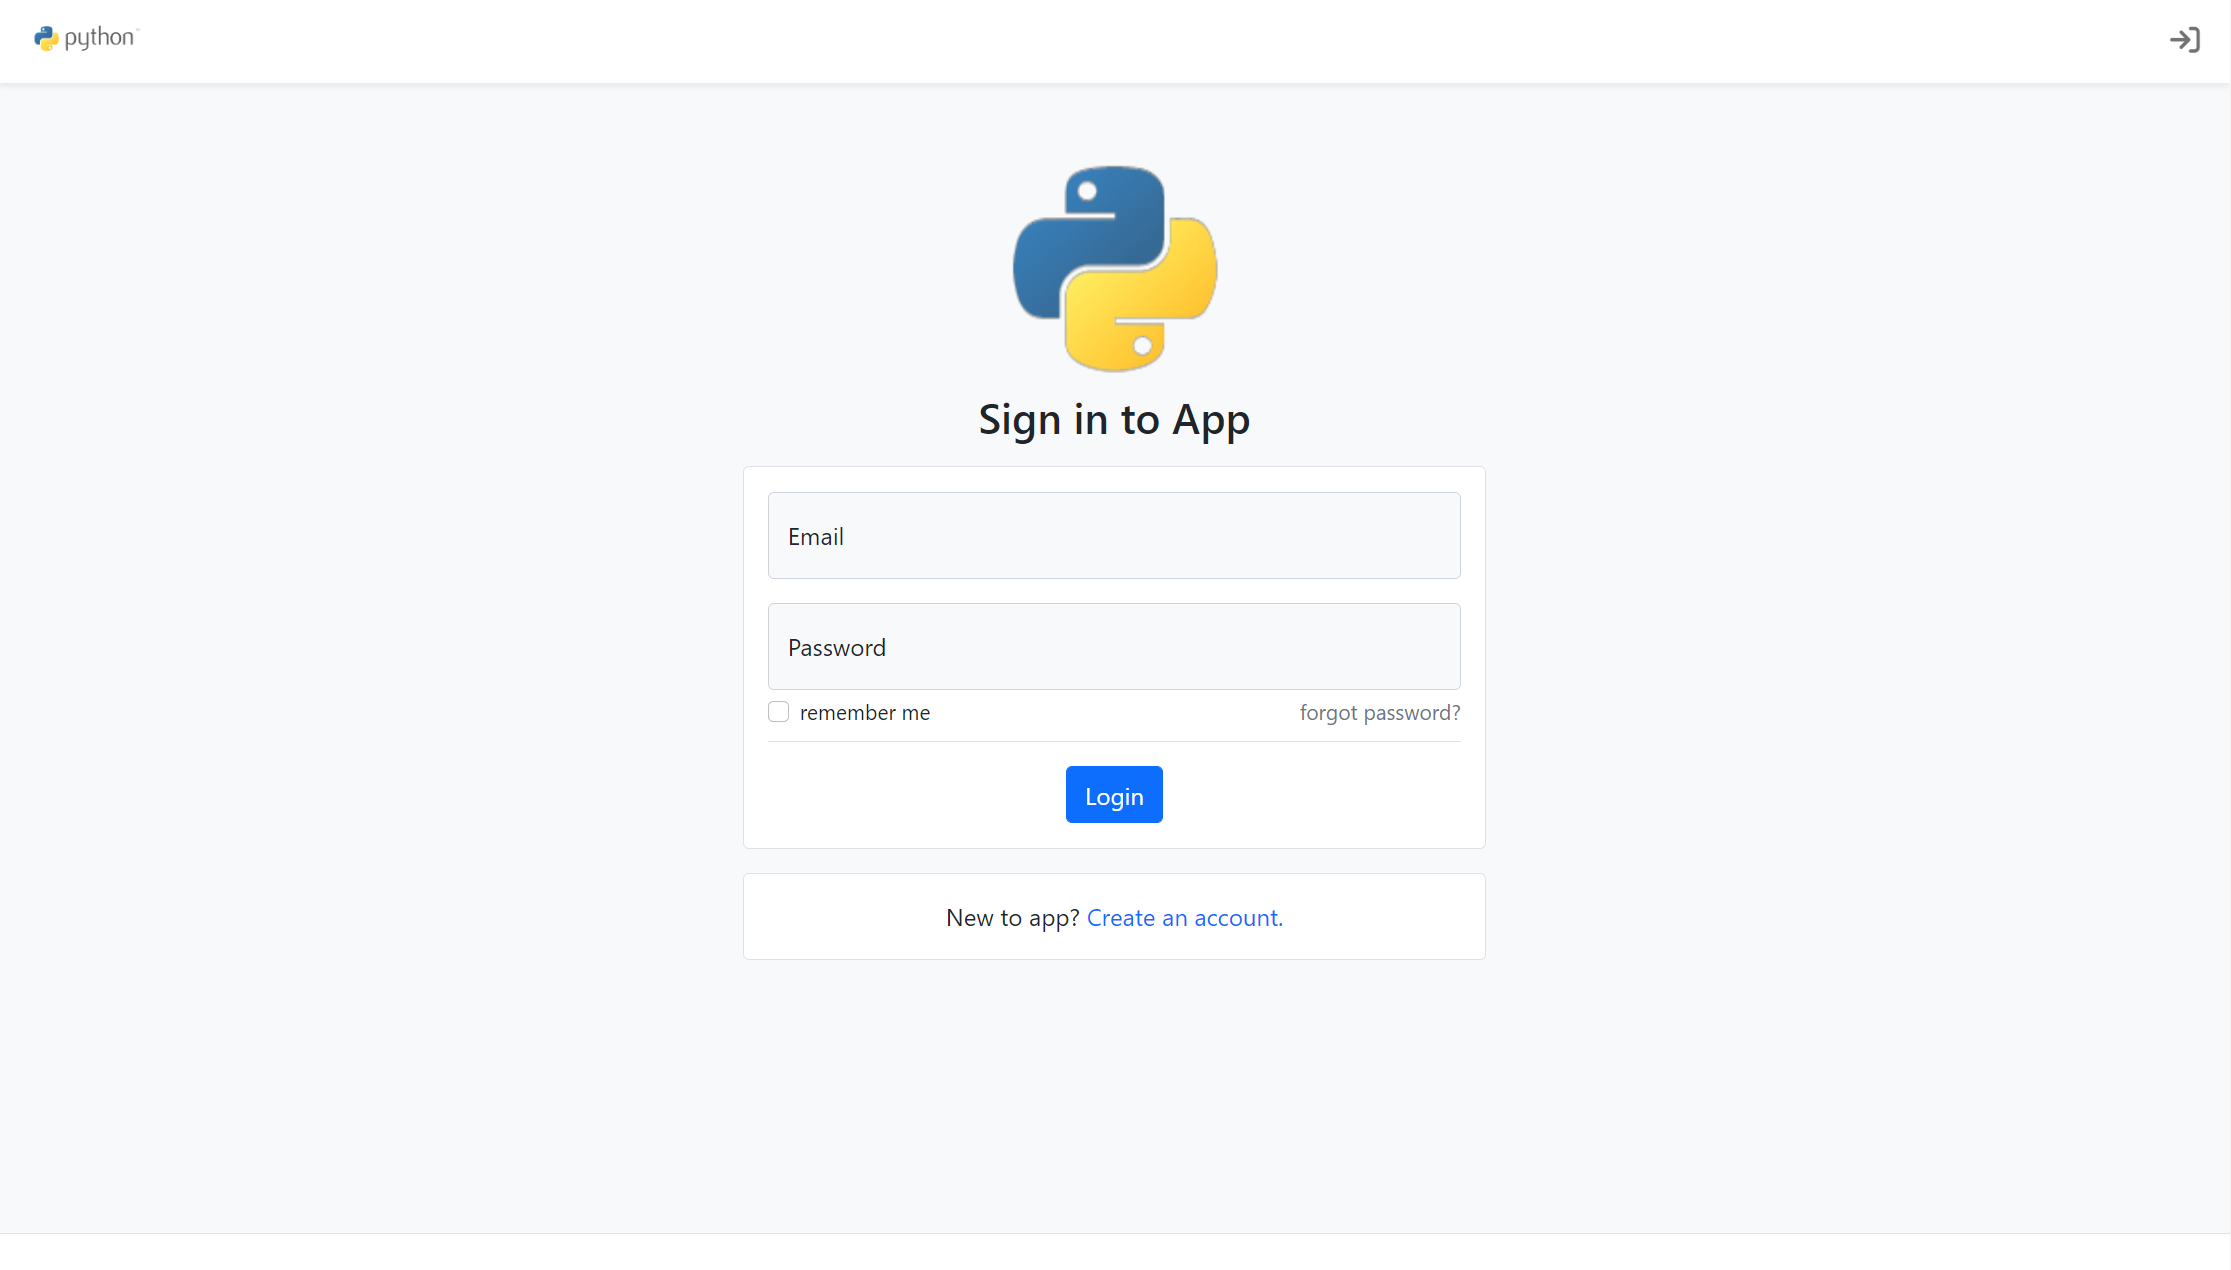
flask-account-starter
A Flask account system starter template using the application factory pattern, with built-in registration, toggleable account verification, password reset, new IP login verification, failed login lockout, activity logs, and automated emails.
Flask · Starter
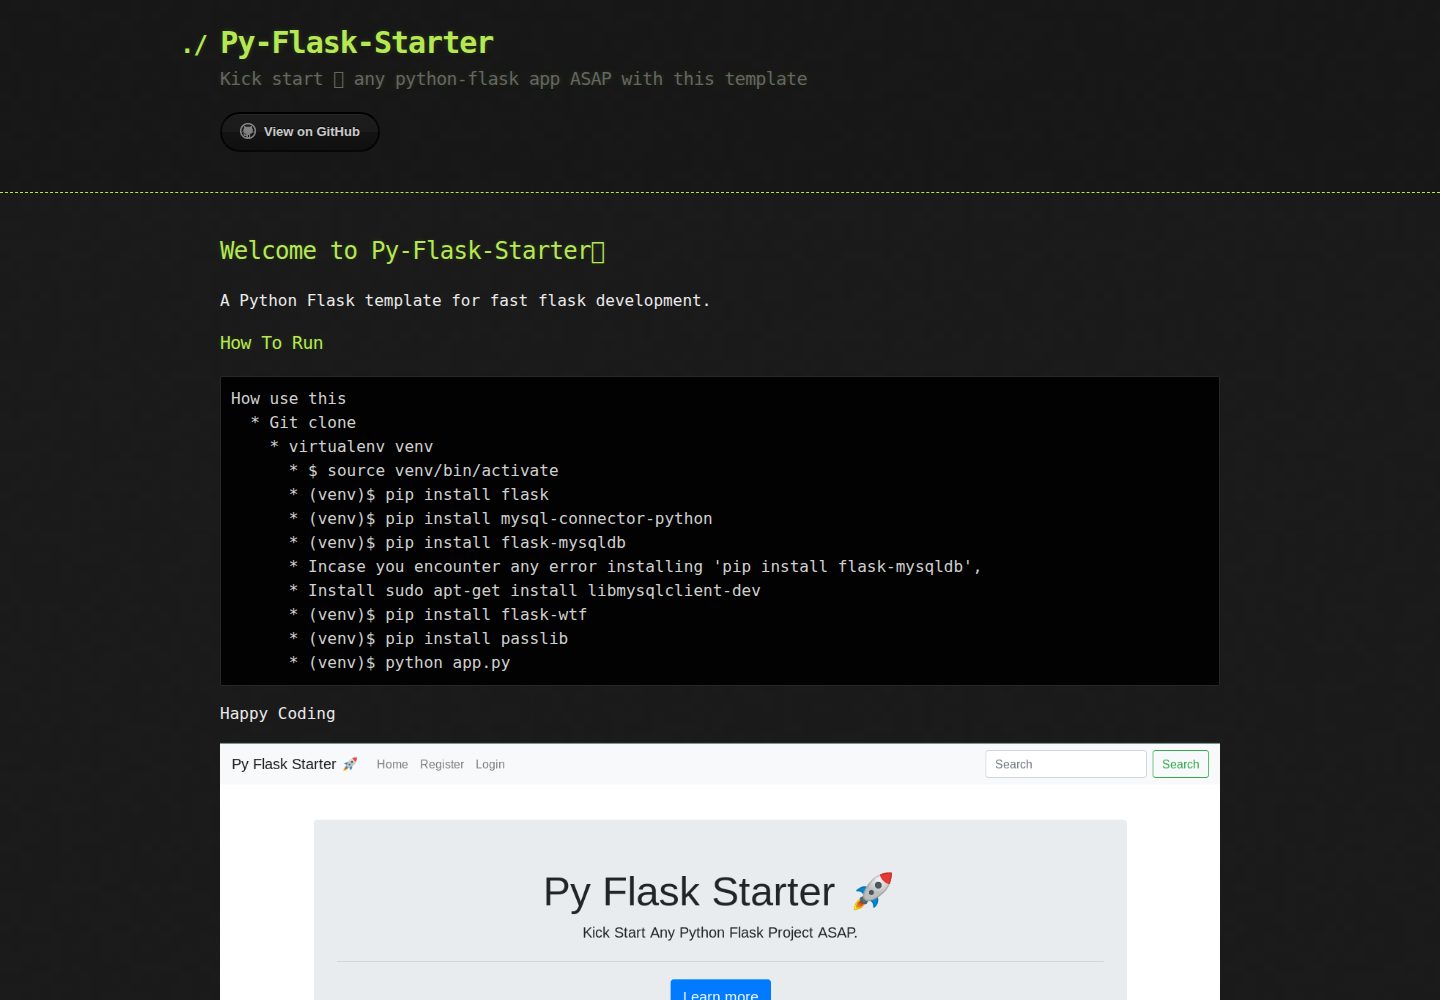
Py-Flask-Starter
Py-Flask-Starter is an MIT-licensed starter template for Python Flask applications, maintained by MartMbithi. The README outlines a virtualenv-based setup and installs flask, mysql-connector-python, flask-mysqldb, flask-wtf, and passlib, indicating MySQL connectivity, WTForms forms, and password hashing as intended needs.
Flask · Starter
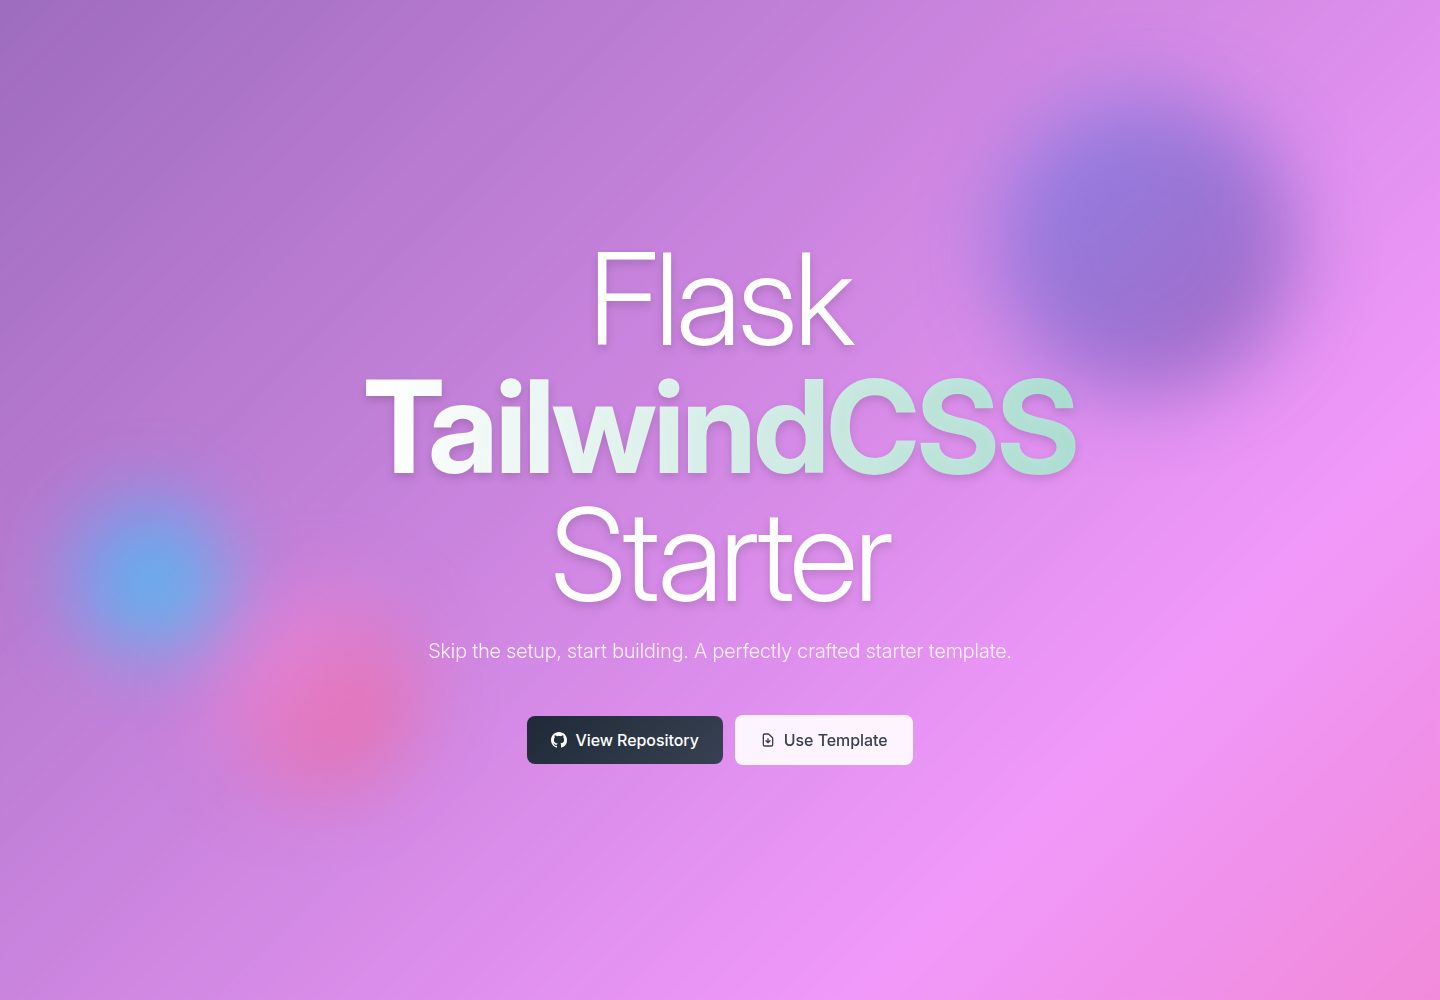
flask-tailwindcss-starter
A Flask and TailwindCSS starter project that combines a Python backend with utility-first CSS, offering a starting template, a development workflow with a Flask debug server and a TailwindCSS watch command, and a build command for optimized CSS.
Flask · Starter