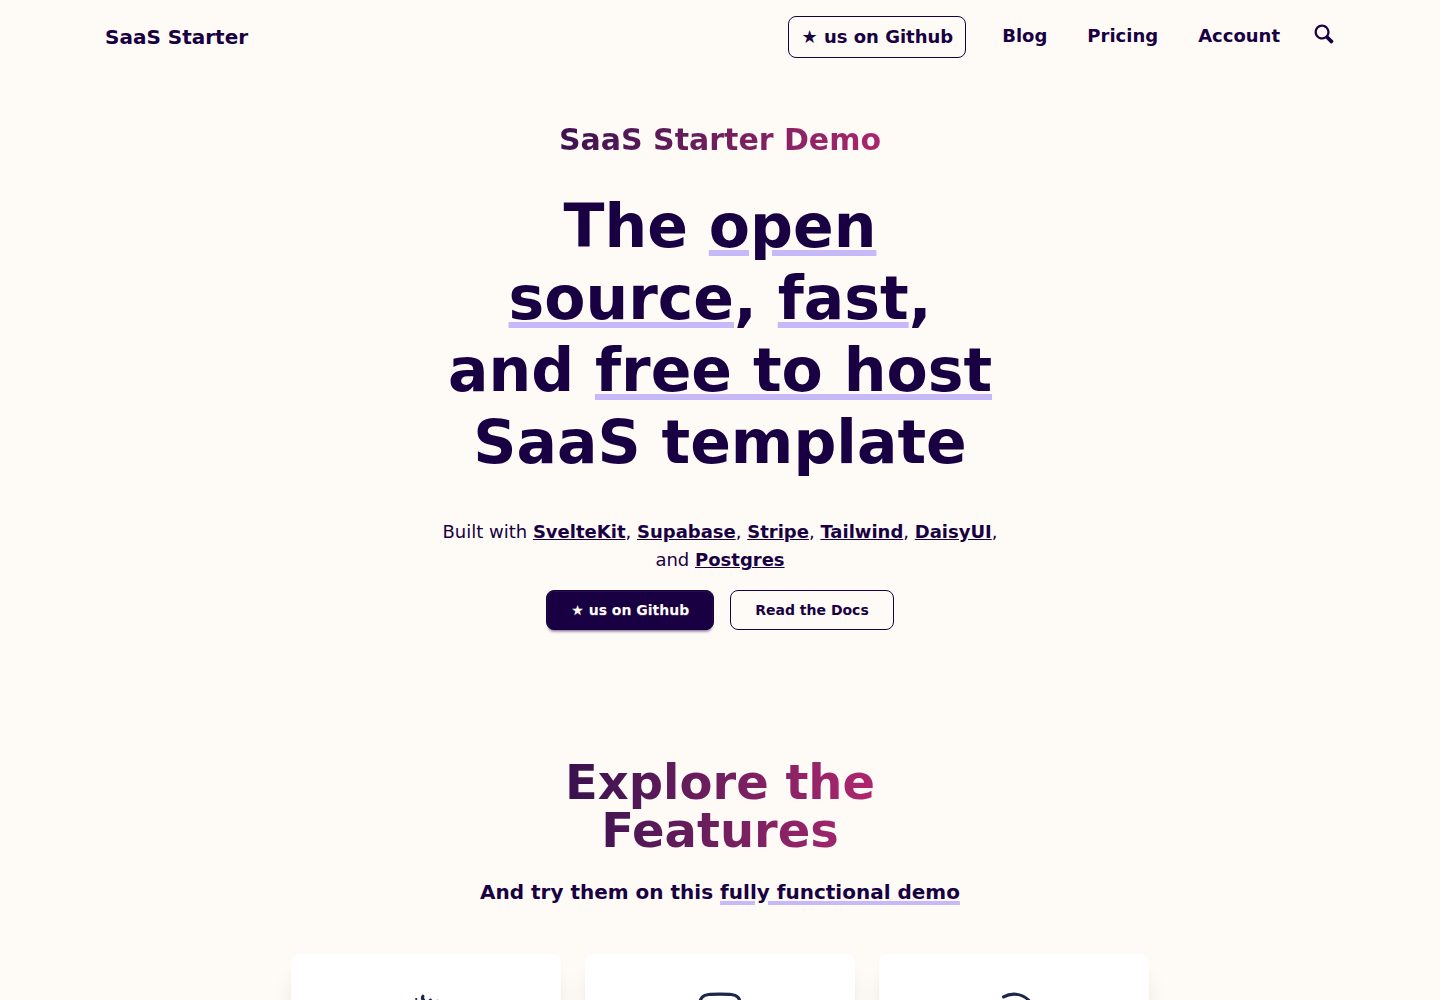
基于 SvelteKit 构建,样式使用 TailwindCSS 与 DaisyUI 组件库
Svelte后台博客SaaS企业官网启动器
CMSaasStarter — Svelte 后台模板
作者 scosman
基于 SvelteKit、Tailwind 与 Supabase 的 SaaS 启动模板,包含营销页、博客、订阅、认证、用户仪表盘与定价页。
看看你的网站会是什么样
浏览真实页面截图,比较内容排版与手机效果。点击下方缩略图切换,放大查看整页细节。
全部页面与视图 3
截图用于了解视觉与布局,交互效果请以实际项目为准。
采集于 2026-09-30查看来源
值得关注的模板亮点
从已有项目资料中,快速了解它的特点。
内置 Supabase Auth 认证:注册、登出、忘记密码、邮箱验证与 oAuth
包含营销页、定价页、博客引擎与 RSS,营销页与博客支持预渲染和 SEO 优化
用户仪表盘涵盖资料、设置、修改邮箱与密码、账单等入口
订阅与账单由 Stripe Checkout 和 Stripe Portal 处理,支持自助换卡、升级、取消与下载收据
仓库附带 GitHub Actions 的构建、格式、Lint 与类型检查脚本
模板详细介绍
CMSaasStarter 是一个面向 SaaS 产品的开源启动模板,使用 SvelteKit 构建,样式层采用 TailwindCSS 与 DaisyUI 组件库,后端数据与认证依托 Supabase,支付由 Stripe Checkout 与 Stripe Portal 承担。模板把 SaaS 产品常见的页面与流程预先搭好,包括营销首页、定价页、博客引擎、用户仪表盘、用户设置、订阅与账单自助门户、注册后的引导流程、站内搜索、联系表单以及面向欧洲用户的 GDPR Cookie 提示。营销页、定价页与博客支持预渲染并带 SEO 优化与 Sitemap,博客还提供 RSS。
仓库以 MIT 许可发布,本次收录的是公开免费版本,允许使用、修改、商用与分发,但需保留版权与许可声明。README 中提到的托管建议为 Cloudflare Pages 与 Cloudflare Workers,认证与数据库使用 Supabase,支付使用 Stripe;这些外部服务可能产生费用,模板代码本身免费不等于整套运行成本为零。演示图片、字体、图标等第三方素材需按各自许可单独核对。
使用前需要完成若干配置:创建 Supabase 项目并执行 database_migration.sql 建立初始表结构,在 Supabase 控制台开启用户注册,取得 Project URL 与 anon key 填入 .env.local,并配置 Stripe 相关密钥。仓库附带面向 GitHub Actions 的 CI 脚本,用于构建、格式检查、Lint 与类型检查,新 fork 默认关闭 Actions,需要手动启用。
Svelte后台博客SaaS企业官网启动器
适合你的项目吗?
适用场景
- 需要快速搭建 SaaS 产品官网与用户后台的团队
- 希望以现成认证、订阅与账单流程为起点开发付费产品的项目
- 需要带 SEO 优化与 RSS 的内容博客,并与产品页面共存的站点
- 想以 SvelteKit 与 Supabase 组合实践全栈 SaaS 结构的开发者
适合人群
- 接受使用 Supabase 作为认证与数据库后端的项目
- 计划通过 Stripe 处理订阅与账单的产品
- 希望以 MIT 许可代码为起点进行二次开发的团队或个人
- 需要营销页、博客与用户仪表盘一体化结构的 SaaS 项目
上手与定制指南
结合仓库当前版本的说明,按下面的资料检查内容、配置与运行要求。
- 1
克隆或使用模板创建仓库后执行 npm install,并将 .env.example 复制为 .env.local 填写环境变量
- 2
创建 Supabase 项目,在 SQL Editor 中执行 database_migration.sql 建立初始表结构,已有项目则按 supabase/migrations 目录顺序应用迁移
- 3
在 Supabase 控制台开启用户注册,并从 API 设置页获取 Project URL 与 anon key 填入环境变量
- 4
配置 Stripe Checkout 与 Stripe Portal 所需密钥,订阅与账单功能才能完整工作
- 5
新 fork 默认关闭 GitHub Actions,需在仓库 Actions 页面手动启用工作流
授权与来源资料
使用条件与限制
免费使用 · 保留许可声明本次收录的是公开仓库中采用 MIT 许可的免费版本;免费范围为该版本代码,不代表外部服务或第三方素材免费。
使用时需要遵守
- 允许免费使用、修改、商用和分发该版本代码。
- 分发代码副本或实质性部分时,保留原作者版权声明和完整 MIT 许可声明。
- 代码按现状提供;担保与责任限制以原许可证及适用法律为准。
额外费用与待核对事项
- 使用认证与数据库功能需注册 Supabase 账号并创建项目,属于外部服务依赖。
- 订阅与账单功能需注册 Stripe 账号并配置密钥,属于外部服务依赖。
- 需自行获取并配置 Stripe 密钥,未配置时支付相关功能不可用。
- 需从 Supabase 控制台获取项目 URL 与密钥并填入环境变量,否则后端功能不可用。
- Supabase 开发服务器每小时仅允许 4 封邮件,正式使用需自行配置自定义 SMTP 邮件服务。
- README 建议的托管方案中,Supabase Pro 与 Cloudflare Workers 付费版合计约每月 30 美元,属可选付费升级。
- 若改用 Supabase 作为托管,自定义域名需每月支付 10 美元。
- 主屏图标来自 Solar 图标集,采用 CC Attribution 许可,与项目 MIT 代码许可不同,需单独遵守署名要求。
- 邮件发送能力默认关闭,需按 email_docs.md 手动启用与配置后方可使用。
- 项目资料提及可选付费版本或功能;本次仅收录公开免费代码,不包含付费升级。
- 演示图片、字体、图标及其他第三方素材需按各自许可核对,不能仅凭代码的 MIT 许可判断。
- 域名、托管、数据库、支付或 AI 等外部服务可能另外收费。
查看原文依据
Permission is hereby granted, free of charge
许可证原文
Create a Supabase account
README 原文
Create a Stripe account
README 原文
Get your [Secret API](https://dashboard.stripe.com/test/apikeys) key, and add it as an environment variable PRIVATE_STRIPE_API_KEY
README 原文
Find your Project-URL (PUBLIC_SUPABASE_URL), anon (PUBLIC_SUPABASE_ANON_KEY) and service_role (PRIVATE_SUPABASE_SERVICE_ROLE)
README 原文
Supabase has a limit of 4 emails per hour on their development server. You should [Configure a Custom SMTP]
README 原文
$30/mo** - Supabase Pro, Cloudfare [Workers Paid]
README 原文
Note: they do charge $10 a month for custom domains, unlike Cloudflare.
README 原文
Homescreen Icons are from [Solar Broken Line Icons]
README 原文
https://github.com/scosman/CMSaasStarter/blob/main/LICENSEhttps://github.com/scosman/CMSaasStarter/blob/main/README.mdThese are optional and disabled by default.
README 原文
DeepSeek 根据仓库许可证和 README 整理 ·2026-10-01。结果仅覆盖已读取资料,依赖、图片、字体及后续条款变更以各自原文为准。
项目核对记录与介绍依据
模板资料
- 来源平台
- GitHub
- 资料与维护参考分
- 资料较完整 · 100 / 100
- 技术栈
- Svelte
- 网站类型
- 后台 · 博客 · SaaS · 企业官网 · 启动器
这个分数如何计算
本站按许可资料(最高30分)、演示链接(12分)、预览图(10分)、Star数(15分)、记录的维护时间(15分)、描述完整度(8分)、功能记录(5分)和分类资料(5分)计算。它不是代码、安全或性能测试,也不是 Google 评分;有链接不代表已实测可用。
这个项目需要核对什么
- 记录的仓库更新时间
- 2026-03-21
- 截图检查日期
- 2026-10-01
已收录演示链接。请用你的内容与屏幕尺寸检查;有演示不代表表单、认证或支付已经可用。
目录记录的主要技术栈是 Svelte。请通过依赖清单和锁文件核对实际版本与托管要求。这些说明基于收录资料,不代表代码审计或部署实测。
查看具体选型方法 →介绍的制作与核对状态
介绍由 AI 辅助整理目录与仓库资料。仓库作者不等于这篇介绍的审核者。
已完成服务器许可规则与 AI 来源核对;未经过人工编辑审核。
查看当时使用的来源资料
SHA-256: 0a46a40fa2545858a60c22956070e41afc6dc6471b6c63f2c86f7e0f627be982
2026-10-01T14:59:53.546Z
来源文件 / 仓库<p align="center">
<picture>
<img width="420" alt="SaaS Starter Header reading: The open source, fast, and free to host SaaS template" src="https://github.com/CriticalMoments/CMSaasStarter/assets/848343/12f47617-e5be-4694-affc-23310e54b885">
</picture>
</p>
<p align="center">
<a href="https://github.com/CriticalMoments/CMSaasStarter/actions/workflows/build.yml" target="_blank"><img src="https://github.com/CriticalMoments/CMSaasStarter/actions/workflows/build.yml/badge.svg?branch=main" alt="Built Status"></a>
<a href="https://github.com/CriticalMoments/CMSaasStarter/actions/workflows/format.yml" target="_blank"><img src="https://github.com/CriticalMoments/CMSaasStarter/actions/workflows/format.yml/badge.svg?branch=main" alt="Format Check"></a>
<a href="https://github.com/CriticalMoments/CMSaasStarter/actions/workflows/linting.yml" target="_blank"><img src="https://github.com/CriticalMoments/CMSaasStarter/actions/workflows/linting.yml/badge.svg?branch=main" alt="Linting"></a>
<a href="https://github.com/CriticalMoments/CMSaasStarter/blob/main/LICENSE" target="_blank"><img src="https://img.shields.io/badge/License-MIT-brightgreen?labelColor=32383f" alt="License"></a>
</p>
<p align="center">
<a href="https://saasstarter.work"><strong>Demo & Homepage</strong></a> •
<a href="https://github.com/CriticalMoments/CMSaasStarter#quick-start"><strong>Quick Start Guide</strong></a> •
<a href="https://github.com/CriticalMoments/CMSaasStarter/issues"><strong>Issues</strong></a>
</p>
<br/>
# SaaS Starter: A SvelteKit Boilerplate/Template
- [Feature Rich](#features): user auth, user dashboard, marketing site, blog engine, billing/subscriptions, pricing page, search, emails, and more.
- [Lightning Performance](#performance--best-practices): fast pre-rendered pages which score 100/100 on Google PageSpeed.
- [Delighful Developer Experience](#tech-stack): tools you'll love working with, including SvelteKit, Tailwind, DaisyUI, Postgres, and Supabase.
- Extensible: all the tools you need to make additional marketing pages, UI components, user dashboards, admin portals, database backends, API endpoints, and more.
- [Hosting](#suggested-hosting-stack): Our suggested hosting stack is free to host, cheap to scale, easy to manage, and includes automatic deployments.
- [MIT Open Source](https://github.com/CriticalMoments/CMSaasStarter/blob/main/LICENSE)
- [Fully Functional Demo](https://saasstarter.work)
- [Quick Start](#quick-start): Full docs from `git clone` to deployment.
Created by the folks at [Kiln AI](https://getkiln.ai)! It's the easiest tool for fine-tuning LLM models, synthetic data generation, and collaborating on datasets. The Kiln app was built with SaaS Starter!
**[Kiln AI](https://getkiln.ai)** Rapid AI Prototyping and Dataset Collaboration Tool
## Demo
You can explore all the features using our fully functional demo [saasstarter.work](https://saasstarter.work).
[](https://saasstarter.work)
See [criticalmoments.io](https://criticalmoments.io) and [getkiln.ai](https://getkiln.ai) for examples of what’s possible after this template has design, content, and functionality added.
<a href="https://saasstarter.work">
<kbd>
<img width="500" alt="homepage" src="https://github.com/CriticalMoments/CMSaasStarter/assets/848343/34944c09-df72-4ac2-9099-01d25d99911b">
</kbd>
<br>
<kbd>
<img width="200" alt="pricing page" src="https://github.com/CriticalMoments/CMSaasStarter/assets/848343/c3cb2ab7-3739-473e-a1fe-f82a4a31e844">
</kbd><kbd>
<img width="200" alt="settings page" src="https://github.com/CriticalMoments/CMSaasStarter/assets/848343/2d947c97-3cc7-4ff5-a5b1-7c8478b6f31a">
</kbd><kbd>
<img width="200" alt="payments portal" src="https://github.com/CriticalMoments/CMSaasStarter/assets/848343/0c4749c3-0d29-4edc-ae87-d8a4eefea3c9">
</kbd>
</a>
## Features
Everything you need to get started for a SaaS company:
- User Authentication: Sign up, sign out, forgot password, email verification, and oAuth. Powered by Supabase Auth. GDPR cookie warning for European users.
- Marketing Page with SEO optimization and Sitemap
- Blog engine with rich formatting, RSS and SEO optimization.
- User Dashboard with user profile, user settings, update email/password, billing, and more
- Subscriptions powered by Stripe Checkout
- Pricing page
- Emails: send emails to users, including template support
- Search: lightning fast site search, without a backend
- Contact-us form
- Billing portal: self serve to change card, upgrade, cancel, or download receipts
- Onboarding flow after signup: collect user data, and select a payment plan
- Style toolkit: theming and UI components
- Responsive: designed for mobile and desktop.
- Extensible: all the tools you need to make additional marketing pages, UI components, admin portals, database backends, API endpoints, and more.
## Introduction Blog Post
Want to learn why we picked the technologies we did, and how to keep your fork lightning fast as you add content? Check out [our blog post](https://criticalmoments.io/blog/how_we_built_our_marketing_page) on the process. Yes, it's hosted on a SaaS Starter fork!
## Tech Stack
- Web Framework: SvelteKit
- CSS / Styling
- Framework: TailwindCSS
- Component library: DaisyUI
- Suggested Hosting Stack
- Host + CDN: Cloudflare Pages
- Serverless compute: Cloudflare Workers
- Authentication: Supabase Auth
- Database: Supabase Postgres
- Payments
- Stripe Checkout
- Stripe Portal
## Suggested Hosting Stack
**There’s no cost for using this template**. The costs below reflect our suggested hosting stack.
- **$0/mo** — Supabase free tier, Cloudflare free tier.
- Pros:
- Free!
- Can scale to thousands of users.
- Unlimited static page requests.
- 100k serverless functions/day.
- Cons:
- Does not include database backups. The frugal among you could hook up pgdump backups on lambda/S3 for a few cents per month.
- Will auto-pause your database when not in use for 7 days.
- Who it’s for:
- This tier is perfectly functional for a hobby project, or pre-revenue company (up to 50,000 monthly active users). It’s easy to scale up once revenue starts, but it’s also fine to keep at this scale indefinitely.
- **$30/mo** - Supabase Pro, Cloudfare [Workers Paid](https://www.cloudflare.com/plans/developer-platform/)
- Pros:
- Database backups.
- Never pauses database.
- Over 1M serverless functions per day, with linear pricing for additional invocations.
- Cons:
- none
- Who it’s for:
- I suggest moving to this once you have paid customers or investors.
## Performance / Best Practices
The selected tech stack creates lightning fast websites.
- Pre-rendering (static generation) for marketing pages, pricing and blog
- Instant navigation: the best of CSR + SSR in one. SSR your first page for fastest possible initial load times. For subsequent pages, the content is pre-loaded and rendered with CSR, for instant rendering.
- CDN optimized, for high edge-cache hit ratios
- Edge-functions for dynamic APIs/pages
- Svelte and Tailwind compile out unused HTML, CSS and JS at deploy time for smaller pages
- Linting to find accessibility and syntax issues
The result is a perfect Google PageSpeed Insights score in all categories!
<img width="420" alt="Screenshot 2024-01-18 at 11 31 32 AM" src="https://github.com/CriticalMoments/CMSaasStarter/assets/848343/46b5e960-2aa0-4fb5-acd7-4f84b380e1d0">
# Quick Start
## Create a Copy of the Template
To get started, create your own copy of the project for development. There are two options:
- "Use this template": use this Github button if you want to build your own project using CMSaasStarter as a starter template and you aren't planning on contributing work back to the public open source project. See [Github Docs](https://docs.github.com/en/repositories/creating-and-managing-repositories/creating-a-repository-from-a-template).
- "Fork": use this button if you want contribute some or all of your work back to the public open source project. It will keep the full commit history, and be easier to create PRs back to CMSaasStarter.
## Setup Local Development
On your development machine:
```
git pull [Your Repo Created Above]
cd CMSaasStarter ## or your repo name if different
npm install
## Create an env file. You'll replace the values in this in later steps.
cp .env.example .env.local
## Run the project locally in dev mode, and launch the browser
npm run dev -- --open
```
**Note:** some features won't work until you complete the rest of the setup steps below!
## Developer Tools
The repo includes [CI scripts](https://aws.amazon.com/devops/continuous-integration/) designed for [GitHub Actions](https://github.com/features/actions). These confirm you don’t break your [build](https://github.com/CriticalMoments/CMSaasStarter/blob/main/.github/workflows/build.yml), you use [proper code formatting](https://github.com/CriticalMoments/CMSaasStarter/blob/main/.github/workflows/format.yml), [code linting and typechecking passes](https://github.com/CriticalMoments/CMSaasStarter/blob/main/.github/workflows/linting.yml), and even spell checking.
### Enabling GitHub Actions
Github disables CI on new forks by default, so be sure to go into the Github Actions page for your repo and enable workflows.
### Running Developer Tools Locally
To manually run all these tools run the following script. You can view it's contents for individual commands.
```
# first time only: chmod +x ./checks.sh
./checks.sh
```
### Running Developer Tools in your IDE
Installing extensions in your editor can automatically format-on-save, show linting/type issues inline, and run your test cases:
- Svelte for Svelte and accessibility issues: [VSCode](https://marketplace.visualstudio.com/items?itemName=svelte.svelte-vscode) or [other editors](https://sveltesociety.dev/tools#editor-support)
- ESLint for type checking and linting: [VSCode](https://marketplace.visualstudio.com/items?itemName=dbaeumer.vscode-eslint) and [other editors](https://eslint.org/docs/latest/use/integrations)
- Vitest for testing if you add tests: [VSCode](https://marketplace.visualstudio.com/items?itemName=vitest.explorer) or [other editors](https://vitest.dev/guide/ide)
### Running Developer Tools from Git Hooks
To catch build, formatting, linting and test issues before you commit changes, we suggest the following local git hook. It will run before you commit, stop you from breaking the build, and show any issues that are found. Add the lines below to an executable git hook script at the location `.git/hooks/pre-commit`.
```
#!/bin/sh
# Run standard checks before committing
cd "$(dirname "$0")"
sh ../../checks.sh
```
### Disabling Developer Tools
If you find build, formatting or linting rules too tedious, you can disable enforcement by deleting the CI files (`.github/workflows/*`) and removing the git hook (`.git/hooks/pre-commit`).
## Setup Supabase Project
- Create a Supabase account
- Create a new Supabase project in the console
- Wait for the database to launch
- Set up your database schema:
- For new Supabase projects:
- Go to the [SQL Editor](https://supabase.com/dashboard/project/_/sql) page in the Dashboard.
- Run the SQL from `database_migration.sql` to create the initial schema.
- For existing projects:
- Apply migrations from the `supabase/migrations` directory:
1. Go to the Supabase dashboard's SQL Editor.
2. Identify the last migration you applied, then run the SQL content of each subsequent file in chronological order.
- Enable user signups in the [Supabase console](https://app.supabase.com/project/_/settings/auth): sometimes new signups are disabled by default in Supabase projects
- Go to the [API Settings](https://supabase.com/dashboard/project/_/settings/api) page in the Dashboard. Find your Project-URL (PUBLIC_SUPABASE_URL), anon (PUBLIC_SUPABASE_ANON_KEY) and service_role (PRIVATE_SUPABASE_SERVICE_ROLE).
- For local development: create a `.env.local` file:
```
PUBLIC_SUPABASE_URL=https://your-project.supabase.co
PUBLIC_SUPABASE_ANON_KEY=your-anon-key
PRIVATE_SUPABASE_SERVICE_ROLE=your service_role secret
```
- For production, add these two keys to your deployment environment (see below). We suggest you encrypt your service role.
- Auth Callback
- Set your default callback URL for auth in the Supabase Auth console. For example, for the demo page we added: `https://saasstarter.work/auth/callback` . Also add that same URL to the the “allowed redirect URL” list in the Supabase auth console further down the page.
- Add a link to the redirect URL allow list which allows parameters to your auth callback. For example we added the following for the demo page: `https://saasstarter.work/auth/callback?*`
- Also add any local development URLs you want to use in testing to the list for your dev environment. For example, we added the following for local development: `http://localhost:5173/auth/callback` and `http://localhost:5173/auth/callback?*`.
- Test that the "sign up" and "forgot password" emails link back to your domain correctly by checking the have a redirect_to parameter to your `yourdomain.com/auth/callback`. If they link to the base URL or another page, double check you have the config above set correctly.
- OAuth Logins
- Decide which oauth logins you want to support, and set them up in the Supabase Auth console under “Auth Providers”. Be sure to provide them the Supabase callback URL. Also be sure to set any platform specific permissions/settings to retrieve their email as part of the login (for example, for Github it's under `Account Permissions > Email Address > Read Only Access`
- Edit `oauthProviders` list in `/src/routes/(marketing)/login/login_config.ts` with the list of providers you chose. If you don’t want any OAuth options, make this an empty array.
- Test each provider to ensure you setup the client ID, client secret and callback correctly for each
- Auth Email SMTP
- Supabase has a limit of 4 emails per hour on their development server. You should [Configure a Custom SMTP](https://supabase.com/docs/guides/auth/auth-smtp) sending emails from your own domain.
- Customize the email templates in the Supabase Auth console to include your product name and branding
- Test authentication
- Open the `/login` page in your browser, and ensure you can sign up, confirm email, log in, and edit your account.
## Setup Stripe
- Create a Stripe account
- Create a product and price Tiers
- Create your [products](https://stripe.com/docs/api/products) and their [prices](https://stripe.com/docs/api/prices) in the Dashboard or with the Stripe CLI.
- SaaS Starter works best if you define each tier as a separate product (eg, `SaaS Starter Free`, `Saas Starter Pro`, `Saas Starter Enterprise`). Include a monthly and annual price for each product if you want to support multiple billing periods.
- You do not need to create a free plan in Stripe. The free plan is managed within the app.
- Setup your environment
- Get your [Secret API](https://dashboard.stripe.com/test/apikeys) key, and add it as an environment variable PRIVATE_STRIPE_API_KEY (`.env.local` locally, and Cloudflare environment for prod). Be sure to use test keys for development, and keep your production/live keys secret and secure.
- Optional: theme your Stripe integration
- Change the colors and fonts to match your brand [here](https://dashboard.stripe.com/settings/branding)
- Update your pricing plan data to align to your stripe data
- See `/src/routes/(marketing)/pricing/pricing_plans.ts` and Fill in all fields for each plan. stripe_price_id and stripe_product_id should only be omitted on a single “free” plan. Multiple free plans are not supported.
- The product in Stripe can contain several prices for the same product (annual, monthly, etc). The stripe_price_id you choose to put in this json will be the default we use for the checkout experience. However, if you have more prices configured for a product configured, the user can switch between them in the management portal.
- Set the `defaultPlanId` to the plan the user will see as their “current plan” after signup, but before subscribing to a paid plan (typically “free”). It should align to the plan with no stripe_price_id.
- if you want an item highlighted on `/pricing`, specify that plan ID in `/src/routes/(marketing)/pricing/+page.svelte`
- Update your portal configuration
- Open [stripe portal config](https://dashboard.stripe.com/test/settings/billing/portal) and make the following changes
- Disallow editing email under customer information (since we allow editing in primary portal)
- Optional: setup a custom domain so Stripe pages use your own domain
- Repeat steps in production environment
## Deploy
We document the process of deploying SaaS Starter on Cloudflare Pages. However, it can be hosted anywhere you can host a SvelteKit app.
Our [official demo](https://saasstarter.work) is hosted on Cloudflare Pages, and deployed each time the main branch is updated.
### Deploy To Cloudflare
Cloudflare Pages and Workers is one of the most popular options for deploying SvelteKit and we recommend it. [Follow Cloudflare’s instructions](https://developers.cloudflare.com/pages/get-started/git-integration/) to deploy in a few clicks. Be sure to select “SvelteKit” as framework, and the rest of the defaults will work.
When prompted: add environment variables for your production environment (PUBLIC_SUPABASE_URL,
PUBLIC_SUPABASE_ANON_KEY, PRIVATE_SUPABASE_SERVICE_ROLE, and PRIVATE_STRIPE_API_KEY).
Optional: enable [Cloudflare Analytics](https://www.cloudflare.com/en-ca/application-services/products/analytics/) for usage metrics.
### Deploy Alternatives
If you prefer another host you can explore alternatives:
- [SvelteKit official adapters](https://kit.svelte.dev/docs/adapters) including Netlify, Node, and more
- [Community adapters](https://sveltesociety.dev/components#adapters) including Github pages, AppEngine, Azure, and more
- [Supabase](https://supabase.com/docs/guides/getting-started/quickstarts/sveltekit) if you want one host for everything. Note: they do charge $10 a month for custom domains, unlike Cloudflare.
We do not recommend using Vercel for this (or anything else).
## Setup Emailer -- Optional
SaaS Starter includes email capabilities for sending emails to users and admins.
These are optional and disabled by default. See [email docs](email_docs.md) for details on how to enable and customize them.
## Add Your Content
After the steps above, you’ll have a working version like the demo page. However, it’s not branded, and doesn’t have your content. The following checklist helps you customize the template to make a SaaS homepage for your company.
- Describe your site with a name, description and base URL in in `src/config.ts:`. These values are used for SEO.
- Content
- Add actual content for marketing homepage
- Add actual content for your blog (or delete the blog)
- Update all fields in `src/routes/(marketing)/blog/posts.ts`, and replace the post pages under `src/routes/(marketing)/blog/posts` to align to the urls from `posts.ts`.
- Alternatively remove the blog by removing the src/routes/(marketing)/blog directory, and remove any links to the blog in the header and footer. You can always bring it back later.
- Add any pages you want on top of our boiler plate (about, terms of service, etc). Be sure to add links to them in the header, mobile menu header, and footer as appropriate (`src/routes/(marketing)/+layout.svelte`).
- Note: if you add any dynamic content to the main marketing page, pricing page or blog, be sure to set `prerender = false` in the appropriate `+page.ts` file. These are currently pre-rendered and served as static assets for performance reasons, but that will break if you add server side rendering requirements.
- Update SEO content
- Update title and meta description tags for every public page. We include generic ones using your site name (`src/config.ts`), but the more specific these are the better.
- This done automatically for blog posts from `posts.ts` metadata
- Style
- Theme: Update the theme to match your brand, or use one of the built in themes from DaisyUI (see `app.css`). DaisyUI can automatically use a dark mode theme on systems with dark mode enabled (disabled by default) -- to enable if remove `themes: false;` and specify a dark mode theme. Docs: https://daisyui.com/docs/themes/
- Update the marketing page layout `src/routes/(marketing)/+layout.svelte`: customize design, delete unwanted pages from header and footer
- Style: make it your own look and feel.
- Update the favicon in the `/static/` directory
- The Authentication UI should automatically update based on your DaisyUI style, but check out the login in pages, and further design tweaks can be made in `src/routes/(marketing)/login/login_config.ts` (see [Auth UI](https://supabase.com/docs/guides/auth/auth-helpers/auth-ui#customization) for options).
- Site Search: any [prerendered](https://kit.svelte.dev/docs/page-options#prerender) content will automatically be indexed by the site search. To exclude a page, add it to `excludePaths` in `src/lib/build_index.ts`.
- Functionality
- Add actual SaaS functionality!
- Replace the admin dashboard with real content (`/src/routes/(admin)/account/+page.svelte`).
- Add API endpoints and database tables as needed to deliver your SaaS product.
- Analytics: optionally add analytics to your project. [guide](/analytics_docs.md)
## Community Extensions
The open source community is extending and improving SaasStarter!
These extensions are reference implementations of commonly needed features. We don't integrate them into the main branch to keep our dependencies minimal and simplify maintenance. However, if you need them you can cherry pick into your fork/repo:
- Internationalization: [branch](https://github.com/CriticalMoments/CMSaasStarter/tree/extension/internationalization), and [instructions](https://github.com/CriticalMoments/CMSaasStarter/pull/49)
- Fork using Shadcn/ui instead of DaisyUI: [kizivat/saas-kit](https://github.com/kizivat/saas-kit)
### Icons Credits
Homescreen Icons are from [Solar Broken Line Icons](https://www.svgrepo.com/collection/solar-broken-line-icons/) and [Solar Linear Icons](https://www.svgrepo.com/collection/solar-linear-icons) via CC Attribution License.
# Sponsor: Kiln AI
CMSaasStarter is sponsored by [Kiln AI](https://getkiln.ai): the easiest way to build AI products.
- 🚀 Intuitive Desktop Apps: One-click apps for Windows, MacOS, and Linux. Truly intuitive design.
- 🎛️ Fine Tuning: Zero-code fine-tuning for Llama, GPT-4o, and more. Automatic serverless deployment of models.
- 📊 Evals: Evaluate the quality of your models/tasks using state of the art evaluators.
- 🤖 Synthetic Data Generation: Generate training data with our interactive visual tooling.
- 🧠 Reasoning Models: Train or distill your own custom reasoning models.
- 🤝 Team Collaboration: Git-based version control for your AI datasets. Intuitive UI makes it easy to collaborate with QA, PM, and subject matter experts on structured data (examples, prompts, ratings, feedback, issues, etc.).
**Demo of Kiln AI:**
https://github.com/user-attachments/assets/0fb3cd48-0f2c-40f5-baf2-b38f11ed85ea
看看同类模板
对比同技术栈与用途的模板,找到更适合的视觉与内容结构。
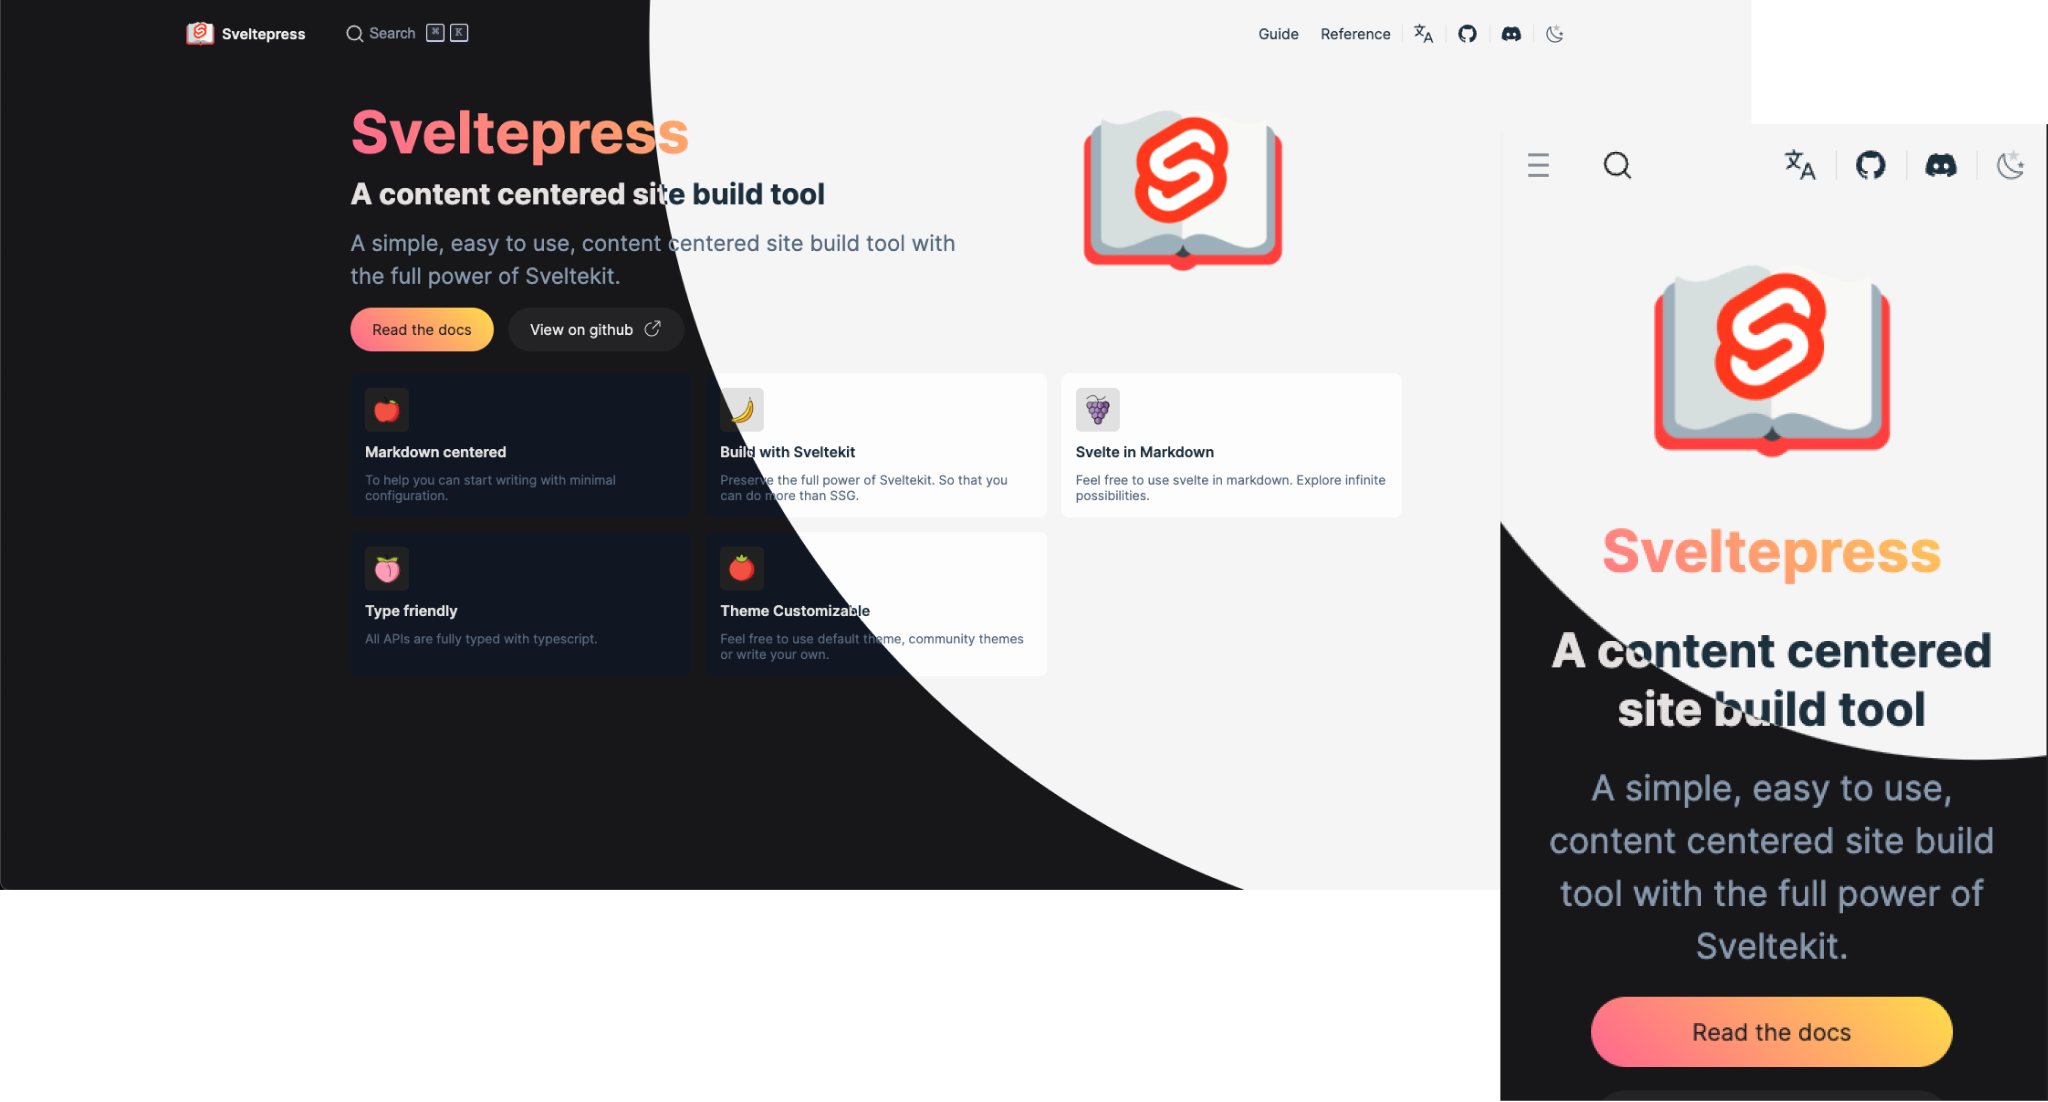
sveltepress
Sveltepress 是一个建立在 SvelteKit 之上的文档与博客静态站点生成工具,思路接近 VitePress,但保留了完整的 SvelteKit 能力面(SSR、适配器、服务端路由、hooks)。
Svelte · 工具站
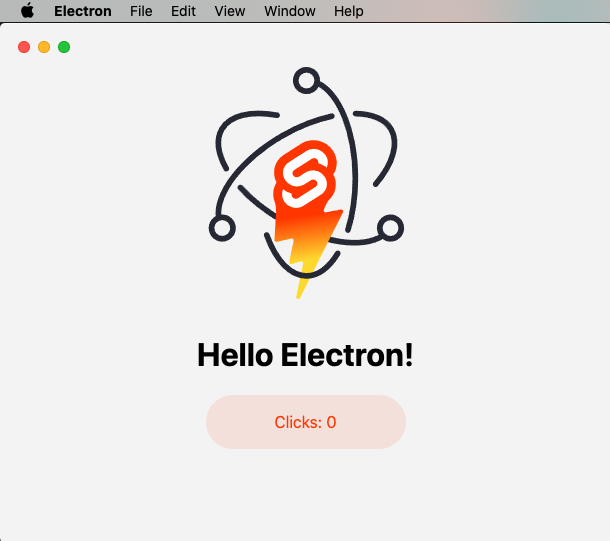
sveltekit-electron
Minimal Sveltekit + Electron starter template.
Svelte · 启动器
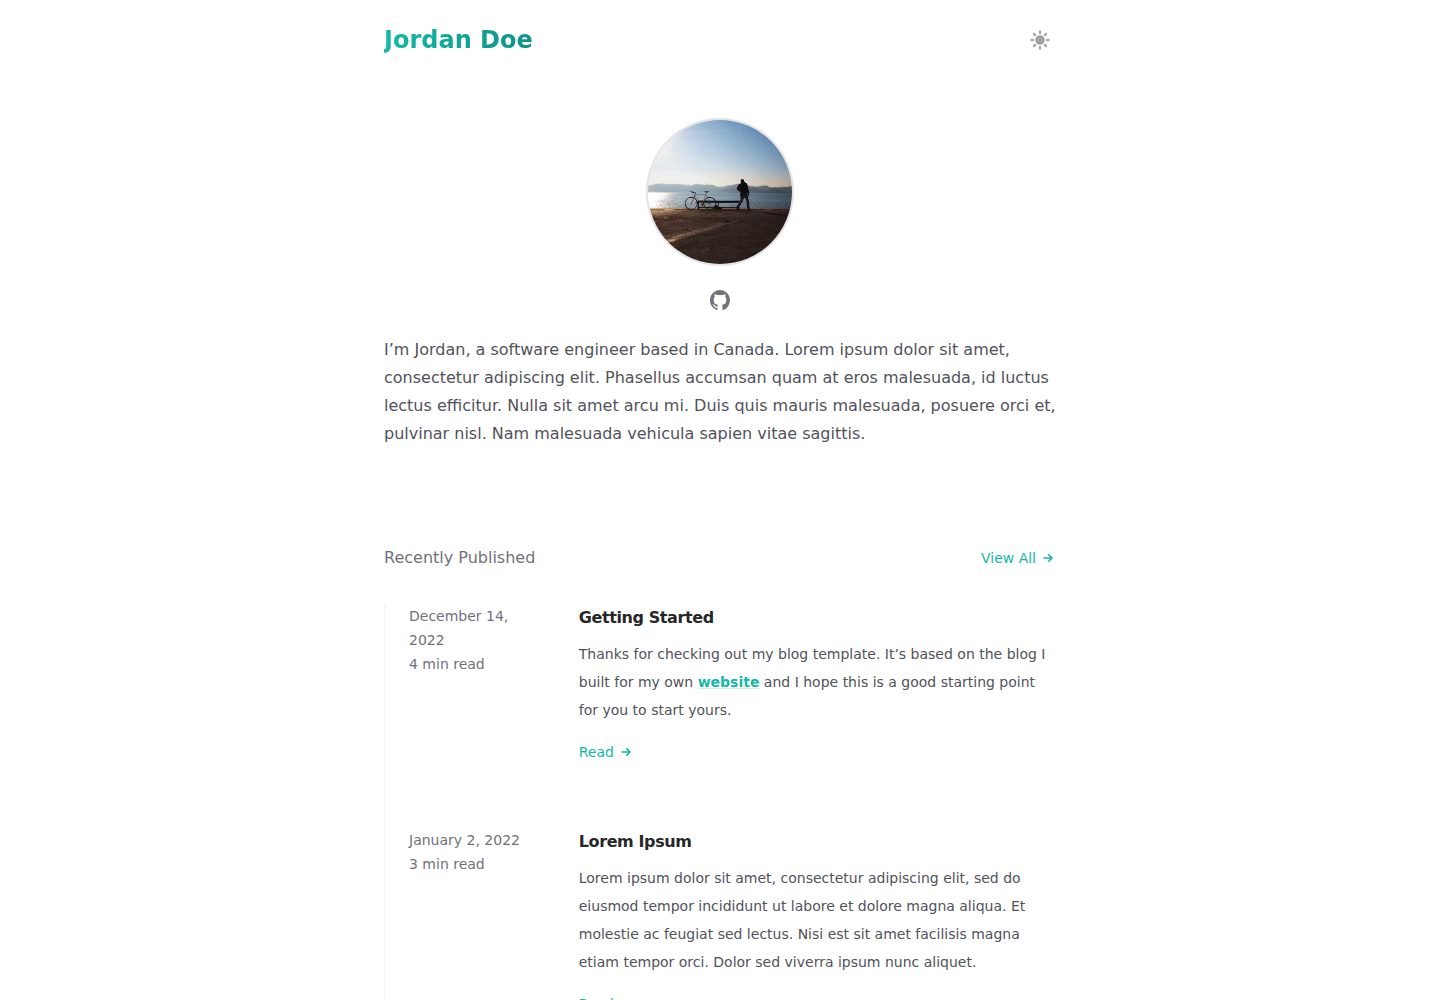
sveltekit-blog-template
A SvelteKit blog template
Svelte · 博客
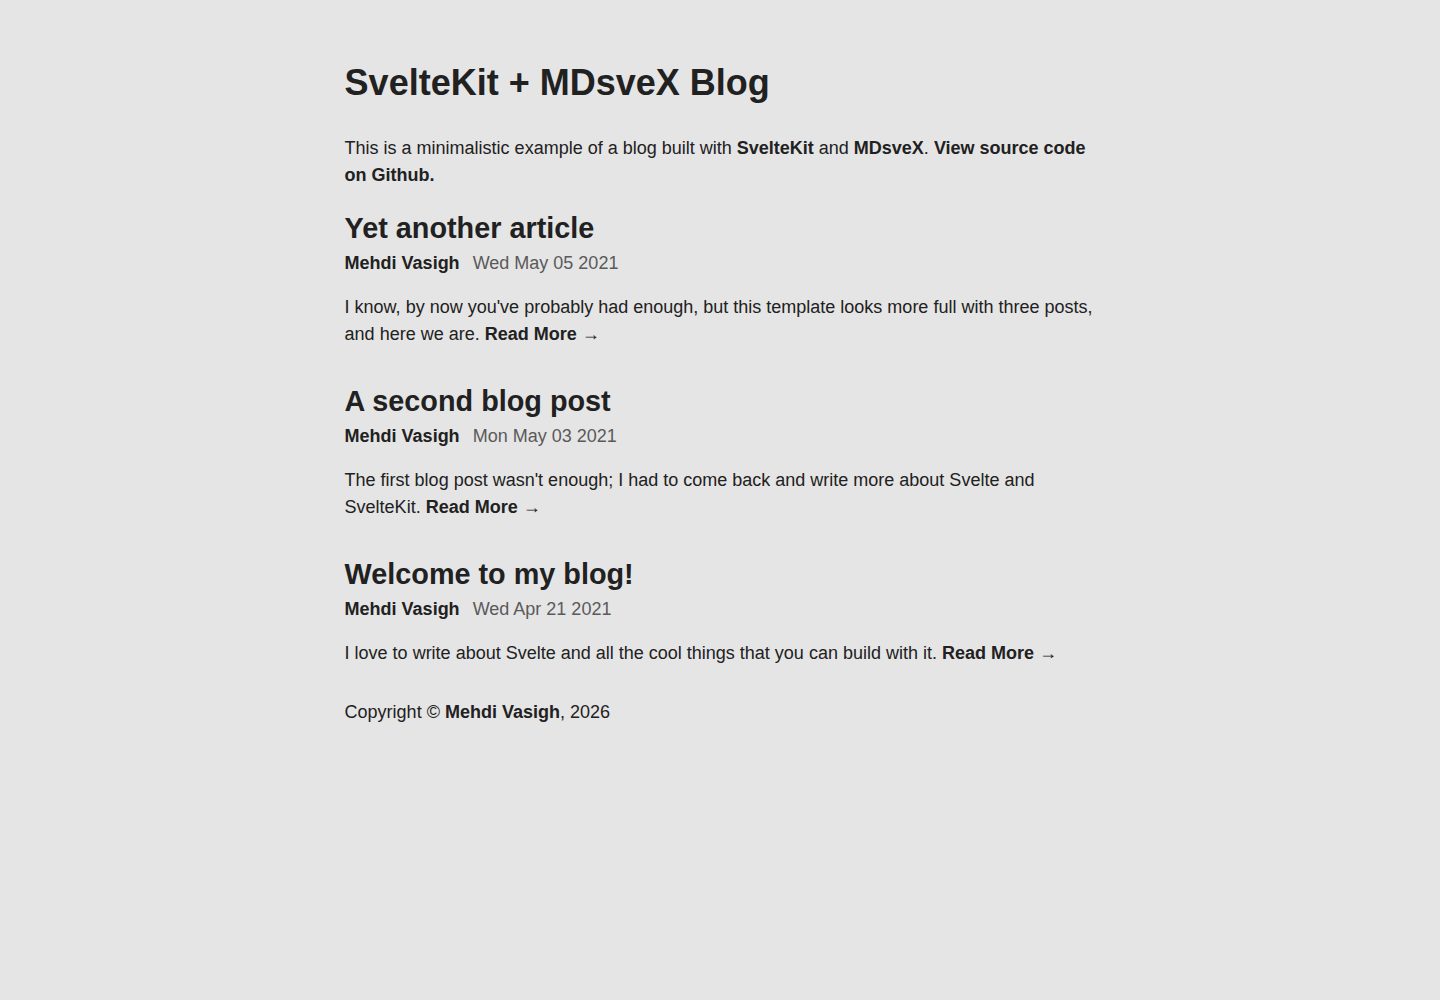
sveltekit-mdsvex-blog
A minimalistic blog template built with SvelteKit and MDsveX
Svelte · 博客

tauri-sveltekit
A minimal Tauri & SvelteKit starter template
Svelte · 启动器
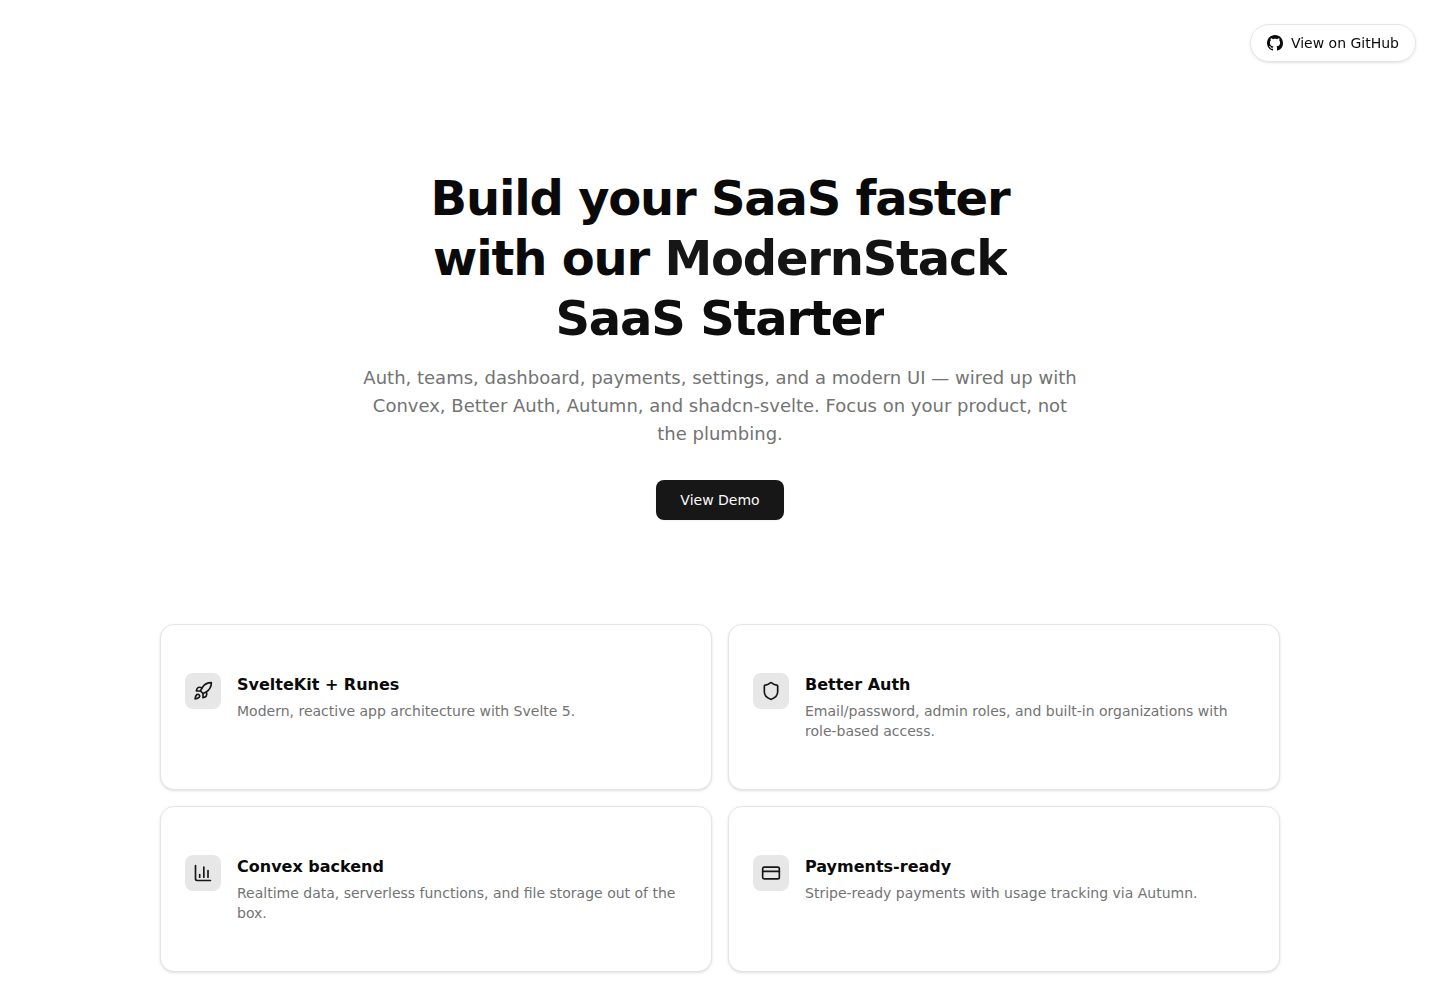
modernstack-saas
A modern SaaS template/boilerplate built with SvelteKit, Convex, Better Auth, and shadcn-svelte. Includes subs…
Svelte · 后台