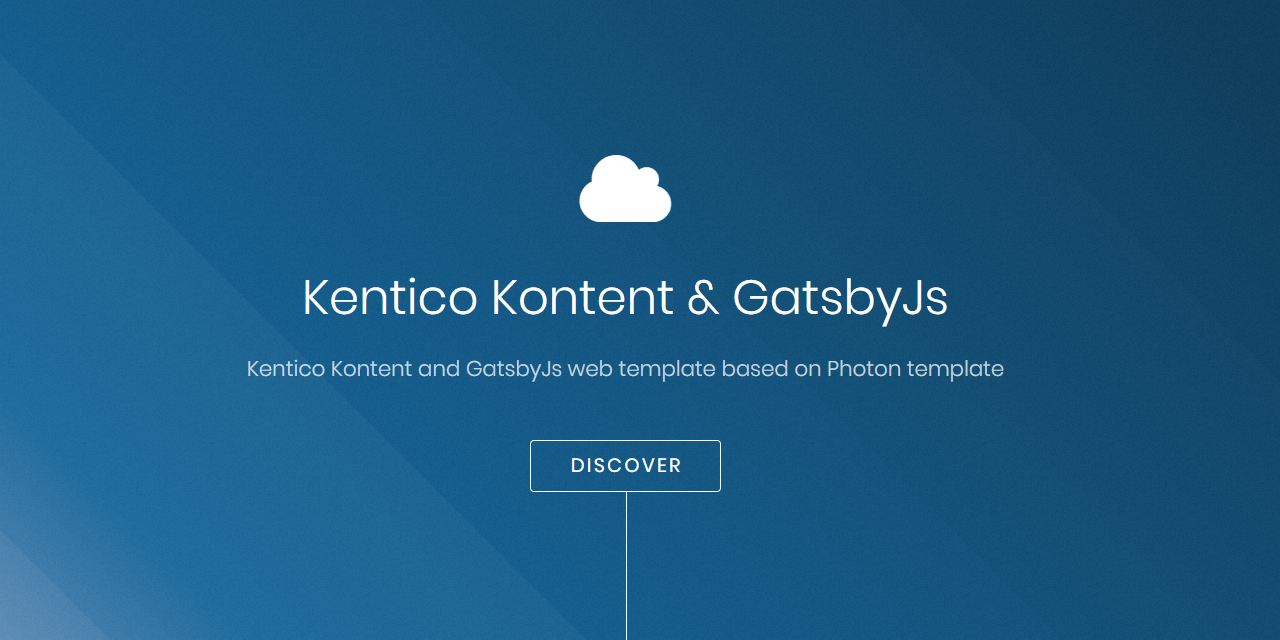
以 Kentico Kontent 作为内容数据源,通过 Gatsby 源插件在构建时获取内容
GatsbyReact企业官网
kontent-template-gatsby-landing-page-photon — Gatsby 企业官网模板
作者 Simply007
基于 Gatsby 与 Kentico Kontent 的落地页模板,内容由 Kontent 项目驱动,样式使用 SCSS,并提供 12 列 CSS Grid 与两套图标。
看看你的网站会是什么样
浏览真实页面截图,比较内容排版与手机效果。点击下方缩略图切换,放大查看整页细节。
目前有 1 张原始预览,可打开完整图片查看设计细节。
截图用于了解视觉与布局,交互效果请以实际项目为准。
采集于 2026-09-30查看来源
值得关注的模板亮点
从已有项目资料中,快速了解它的特点。
提供 content.zip 内容包,可在 Kontent 模板管理器中导入
样式使用 SCSS,颜色集中定义在 _vars.scss 变量中
内置自定义 12 列 CSS Grid,移动端禁用
同时支持 Material Icons 与 Font Awesome 两套字体图标
附带 Netlify 部署按钮,可快速创建并部署副本
模板详细介绍
该模板是一个用 Gatsby 构建、以 Kentico Kontent 作为数据源的落地页站点。页面内容来自 Kontent 项目,通过 @kentico/gatsby-source-kontent 插件在构建时拉取,因此需要先在 Kontent 中创建项目并导入仓库提供的 content.zip 内容包。
样式使用 SCSS,颜色通过 _vars.scss 中的变量集中定义。布局提供一套自定义的 12 列 CSS Grid,在移动端禁用;使用时以 grid-wrapper 包裹,内部元素用 col- 加数字,每行合计 12。图标支持 Material Icons 与 Font Awesome 两套字体图标集。
仓库附带 Netlify 部署按钮,可一键在 Netlify 上创建并部署副本。模板基于 Gatsby starter Photon 构建,采用 MIT 许可。
Gatsby企业官网
适合你的项目吗?
适用场景
- 搭建由 Kentico Kontent 管理内容的营销落地页
- 需要 SCSS 与 CSS Grid 布局的 Gatsby 静态站点起步项目
- 在 Netlify 上快速部署并托管 Gatsby 站点
适合人群
- 已使用或计划使用 Kentico Kontent 作为内容管理后台的团队
- 熟悉 Gatsby 与 Node.js 工具链的前端开发者
- 需要可自定义颜色与栅格布局的落地页项目
上手与定制指南
结合仓库当前版本的说明,按下面的资料检查内容、配置与运行要求。
- 1
需要预先安装 Node.js 与 Yarn
- 2
需在 Kentico Kontent 注册并创建空项目,启用 Content Management API
- 3
通过模板管理器导入仓库中的 content.zip,并选择导入后发布语言变体
- 4
复制 .env.template 为 .env,将 KONTENT_PROJECT_ID 设为 Kontent 项目设置中的 Project ID
- 5
使用 yarn 安装依赖,yarn develop 启动本地开发环境(默认 http://localhost:8000)
授权与来源资料
使用条件与限制
免费使用 · 保留许可声明本次收录的是公开仓库中采用 MIT 许可的免费版本;免费范围为该版本代码,不代表外部服务或第三方素材免费。
使用时需要遵守
- 允许免费使用、修改、商用和分发该版本代码。
- 分发代码副本或实质性部分时,保留原作者版权声明和完整 MIT 许可声明。
- 代码按现状提供;担保与责任限制以原许可证及适用法律为准。
额外费用与待核对事项
- 使用该模板必须先在 Kentico Kontent 注册账号,模板本身无法脱离该外部服务独立运行。
- 需在 Kentico Kontent 中创建空项目作为内容数据源,属于外部服务依赖。
- 导入内容前必须为 Kontent 项目启用 Content Management API,涉及外部服务配置。
- 导入内容需要提供 Kontent 项目的 Project Id 与 Content Management API 密钥,属于外部服务凭据要求。
- 运行站点必须配置 KONTENT_PROJECT_ID 环境变量,取自 Kentico Kontent 项目设置,缺少则无法构建。
- 演示图片、字体、图标及其他第三方素材需按各自许可核对,不能仅凭代码的 MIT 许可判断。
- 域名、托管、数据库、支付或 AI 等外部服务可能另外收费。
查看原文依据
Permission is hereby granted, free of charge
许可证原文
[Register on Kentico Kontent](http://app.kontent.ai)
README 原文
[Create an empty project](https://docs.kontent.ai/tutorials/set-up-projects/manage-projects/creating-and-archiving-projects)
README 原文
[Enable Content Management API](https://docs.kontent.ai/tutorials/set-up-projects/migrate-content/importing-to-kentico-kontent#a-enabling-the-api-for-your-project)
README 原文
Use `Project Id` and `Content Management API key` from previously generated project.
README 原文
https://github.com/Simply007/kontent-template-gatsby-landing-page-photon/blob/master/LICENSEhttps://github.com/Simply007/kontent-template-gatsby-landing-page-photon/blob/master/README.mdset the `KONTENT_PROJECT_ID` environment variable to value from Kontent -> "Project Settings" -> API keys -> Project ID.
README 原文
DeepSeek 根据仓库许可证和 README 整理 ·2026-10-01。结果仅覆盖已读取资料,依赖、图片、字体及后续条款变更以各自原文为准。
项目核对记录与介绍依据
模板资料
- 来源平台
- GitHub
- 资料与维护参考分
- 资料一般 · 72 / 100
- 技术栈
- Gatsby · React
- 网站类型
- 企业官网
这个分数如何计算
本站按许可资料(最高30分)、演示链接(12分)、预览图(10分)、Star数(15分)、记录的维护时间(15分)、描述完整度(8分)、功能记录(5分)和分类资料(5分)计算。它不是代码、安全或性能测试,也不是 Google 评分;有链接不代表已实测可用。
这个项目需要核对什么
- 记录的仓库更新时间
- 2020-06-29
- 截图检查日期
- 2026-10-01
已收录演示链接。请用你的内容与屏幕尺寸检查;有演示不代表表单、认证或支付已经可用。
目录记录的主要技术栈是 Gatsby。请通过依赖清单和锁文件核对实际版本与托管要求。这些说明基于收录资料,不代表代码审计或部署实测。
查看具体选型方法 →介绍的制作与核对状态
介绍由 AI 辅助整理目录与仓库资料。仓库作者不等于这篇介绍的审核者。
已完成服务器许可规则与 AI 来源核对;未经过人工编辑审核。
查看当时使用的来源资料
SHA-256: 32d3c26c48cff4fc98ad358673d79fdd1c5ec14421de95bcd6f92935f6841550
2026-10-01T13:50:04.939Z
来源文件 / 仓库# Kentico Kontent & GatsbyJs web template
[](https://kontent-template-gatsby-landing-page-photon.netlify.com)
[](https://app.netlify.com/sites/kontent-template-gatsby-landing-page-photon/deploys)
Kentico Kontent web template using Gatsby and Kentico Kontent.

## Get started
### Prerequisites
* [Node.js](https://nodejs.org/en/download/)
* [Yarn](https://yarnpkg.com/en/docs/install)
### Run
1. [Clone](https://git-scm.com/docs/git-clone) or [fork](https://hub.github.com/hub-fork.1.html) this repository. Once it's done, install the packages:
```sh
yarn
```
1. [Register on Kentico Kontent](http://app.kontent.ai)
1. [Create an empty project](https://docs.kontent.ai/tutorials/set-up-projects/manage-projects/creating-and-archiving-projects)
1. [Enable Content Management API](https://docs.kontent.ai/tutorials/set-up-projects/migrate-content/importing-to-kentico-kontent#a-enabling-the-api-for-your-project)
1. Import [content.zip](/content.zip) data using [Template manager](https://kentico.github.io/kontent-template-manager/import-from-file)
* Use `Project Id` and `Content Management API key` from previously generated project.
* Select `Publish language variants after import`
1. Copy [.env.template](./.env.template) and name it `.env`, then set the `KONTENT_PROJECT_ID` environment variable to value from Kontent -> "Project Settings" -> API keys -> Project ID.
1. Run development environment
```sh
yarn develop
```
🚀 Your site is now running at http://localhost:8000!
## Deploy with Netlify
Netlify CMS can run in any frontend web environment, but the quickest way to try it out is by running it on a pre-configured starter site with Netlify. Use the button below to build and deploy your own copy of the repository:
[](https://app.netlify.com/start/deploy?repository=https://github.com/Simply007/kontent-template-gatsby-landing-page-photon)
> After clicking that button, you’ll authenticate with GitHub and choose a repository name. Netlify will then automatically create a repository in your GitHub account with a copy of the files from the template. Next, it will build and deploy the new site on Netlify, bringing you to the site dashboard when the build is complete.
## Features
* [GatsbyJS](https://www.gatsbyjs.org/) static site generator
* Data source - Kentico Kontent (using [Gatsby source plugin for Kentico Kontent](https://www.gatsbyjs.org/packages/@kentico/gatsby-source-kontent))
* Styling using SCSS
* [Font awesome + Material Icons](#Icons)
* [CSS Grid](#CSS-Grid)
### Color palette
To define color pallette - change values of variables stored in [_vars.scss](https://github.com/Simply007/kontent-template-gatsby-landing-page-photon/blob/master/src/assets/scss/libs/_vars.scss#L32).
### Icons
It is possible to use [two sets of font icons](https://github.com/Simply007/kontent-template-gatsby-landing-page-photon/tree/master/src/assets/css) - [Material Icons](https://material.io/tools/icons/) as well as [Font Awesome](https://fontawesome.com/).
Format Example:
* Material icons: `<i className="material-icons">face</i>` (`face` - icon code)
* Font Awesome : `<li><span className="fa-code"></span></li>` (`fa-code` - icon code)
### CSS Grid
The grid on this site was replaced with a custom version, built using CSS Grid. It's a very simple 12 column grid that is disabled on mobile. To start using the grid, wrap the desired items with `grid-wrapper`. Items inside the `grid-wrapper` use the class `col-` followed by a number, which should add up to 12.
Here is an example of using the grid, for a 3 column layout:
```html
<div className="grid-wrapper">
<div className="col-4">
<p>Adipiscing a commodo ante nunc accumsan et interdum mi ante adipiscing. A nunc lobortis non nisl amet vis sed volutpat aclacus nascetur ac non. Lorem curae et ante amet sapien sed tempus adipiscing id accumsan.</p>
</div>
<div className="col-4">
<p>Content Here</p>
</div>
<div className="col-4">
<p>Adipiscing a commodo ante nunc accumsan et interdum mi ante adipiscing. A nunc lobortis non nisl amet vis sed volutpat aclacus nascetur ac non. Lorem curae et ante amet sapien sed tempus adipiscing id accumsan.</p>
</div>
</div>
```
## Thanks
© 2019, Built with Gatsby using [Gatsby starter Photon](https://www.gatsbyjs.org/starters/codebushi/gatsby-starter-photon/)
看看同类模板
对比同技术栈与用途的模板,找到更适合的视觉与内容结构。
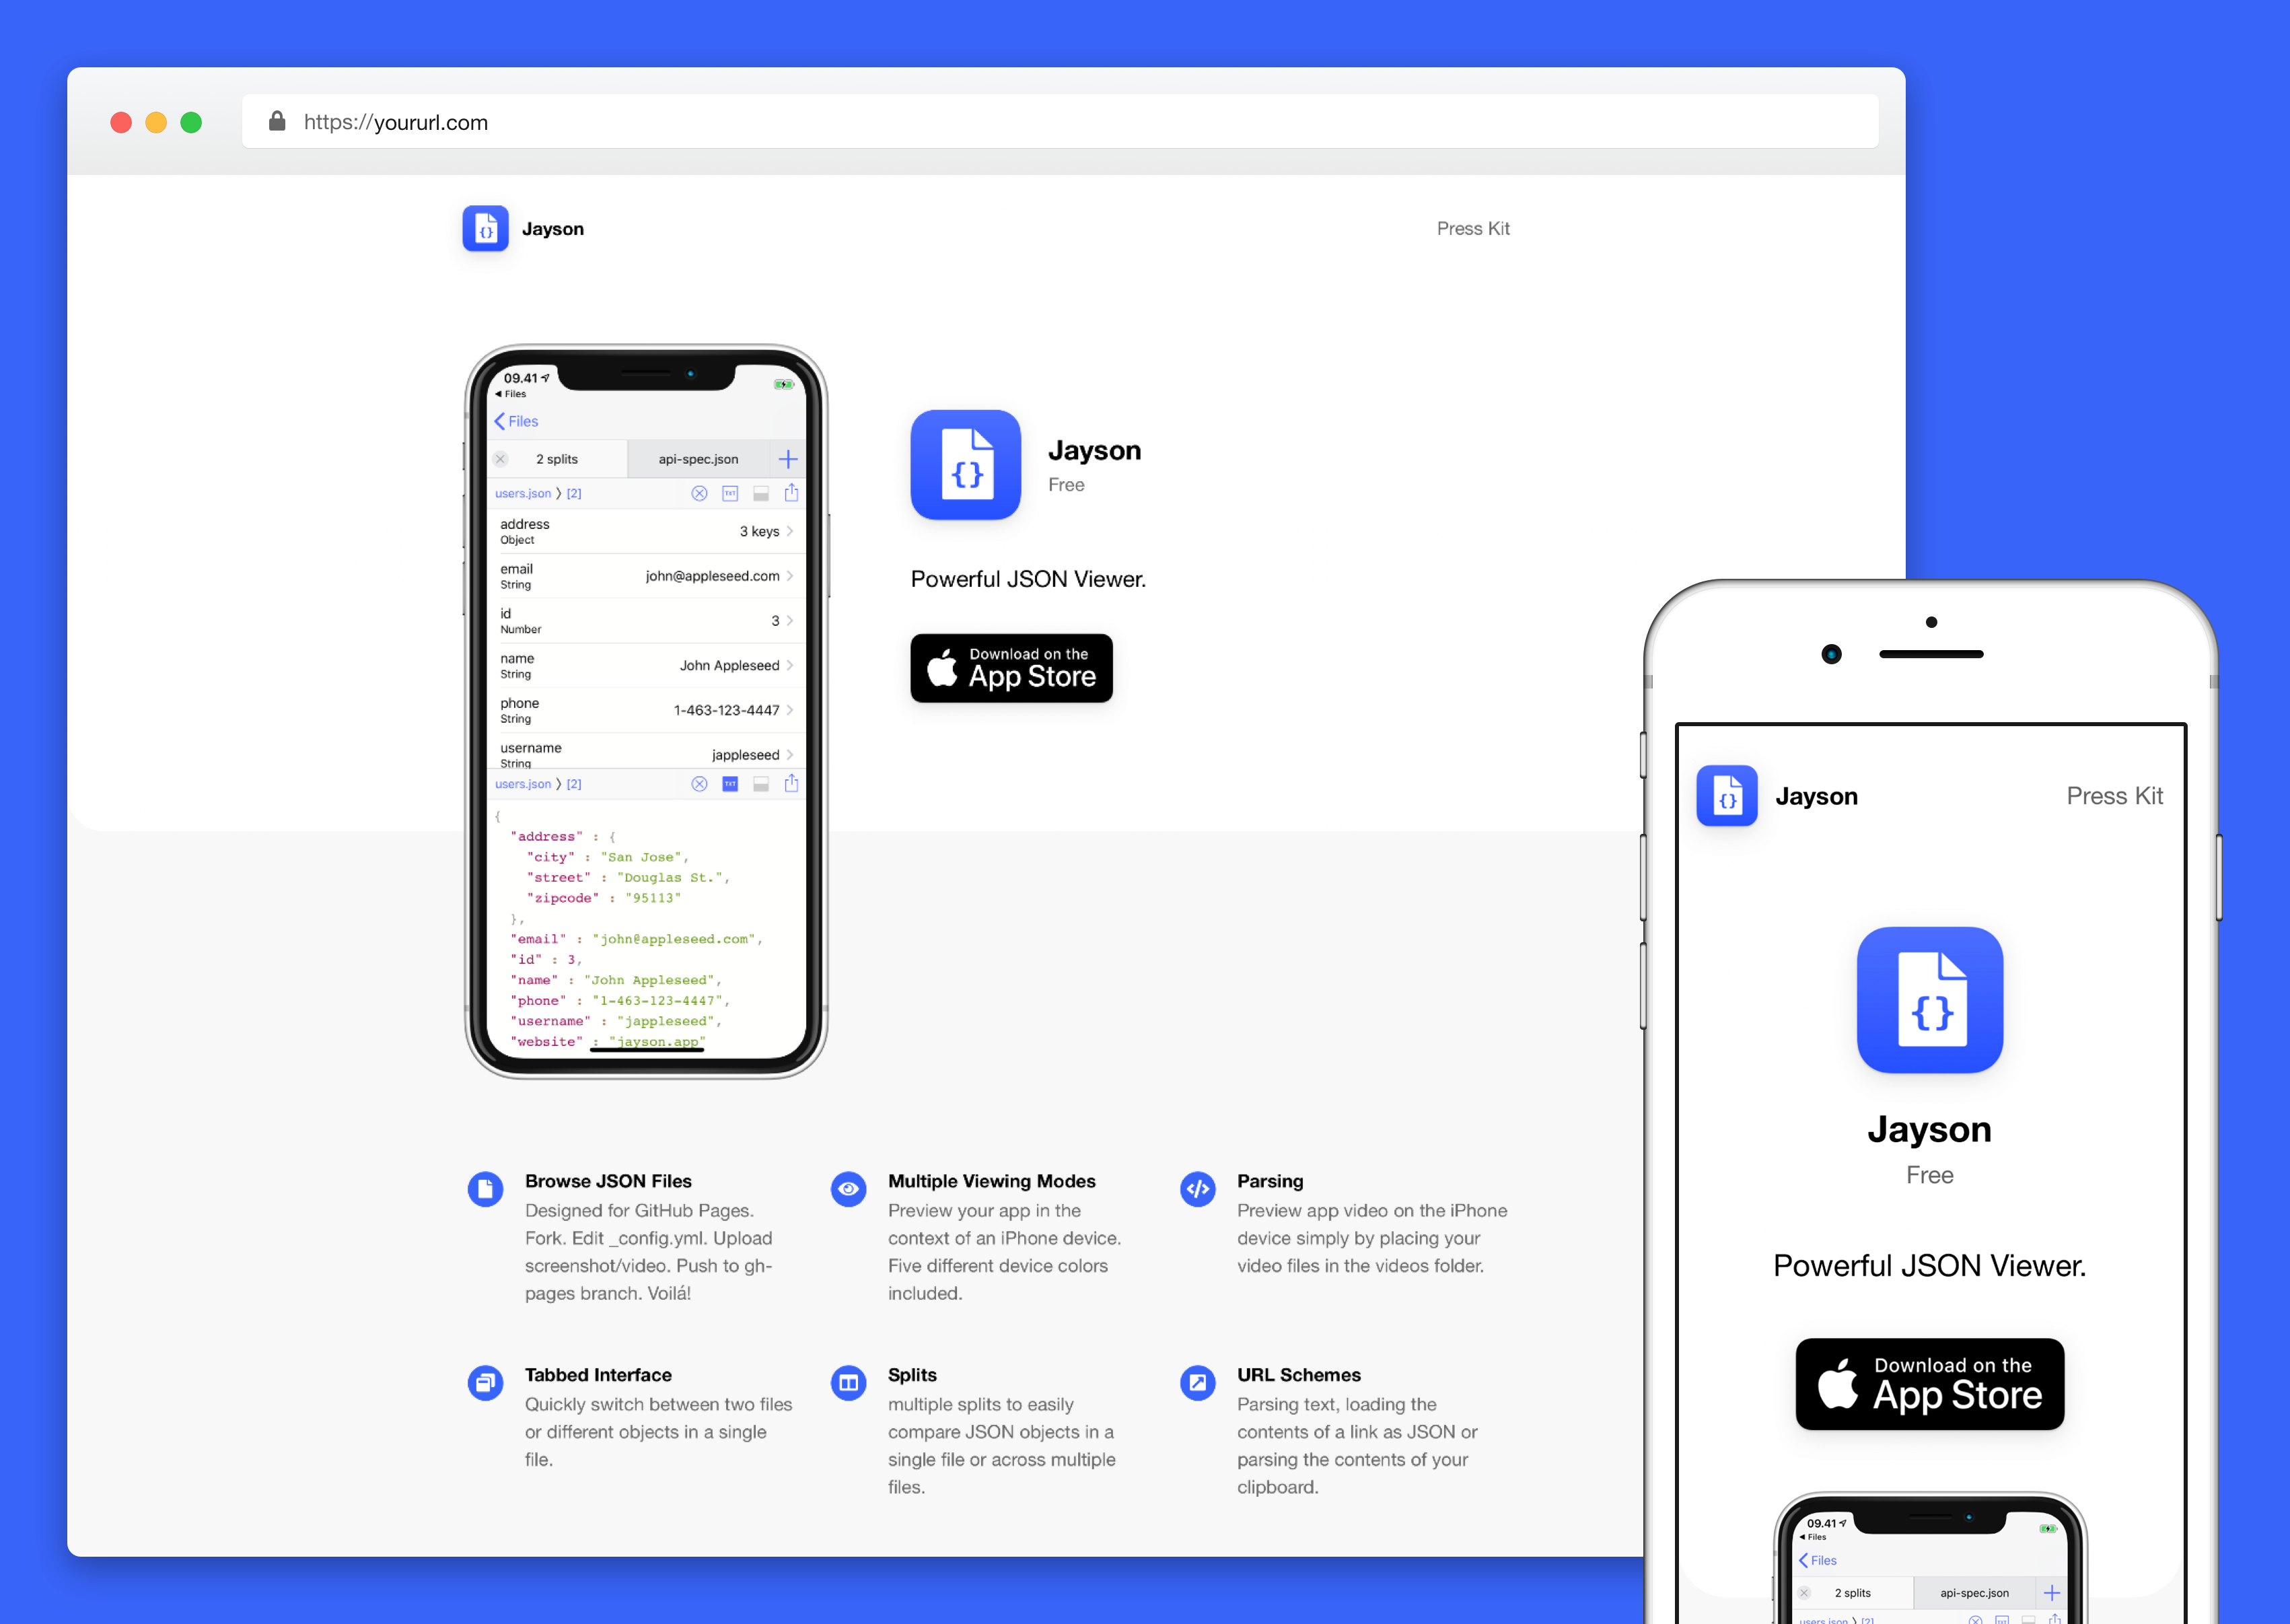
automatic-gatsbyjs-app-landing-page
Automatic GatsbyJS App Landing Page - Automatically generate iOS app landing page using GatsbyJS
Gatsby · 工具站
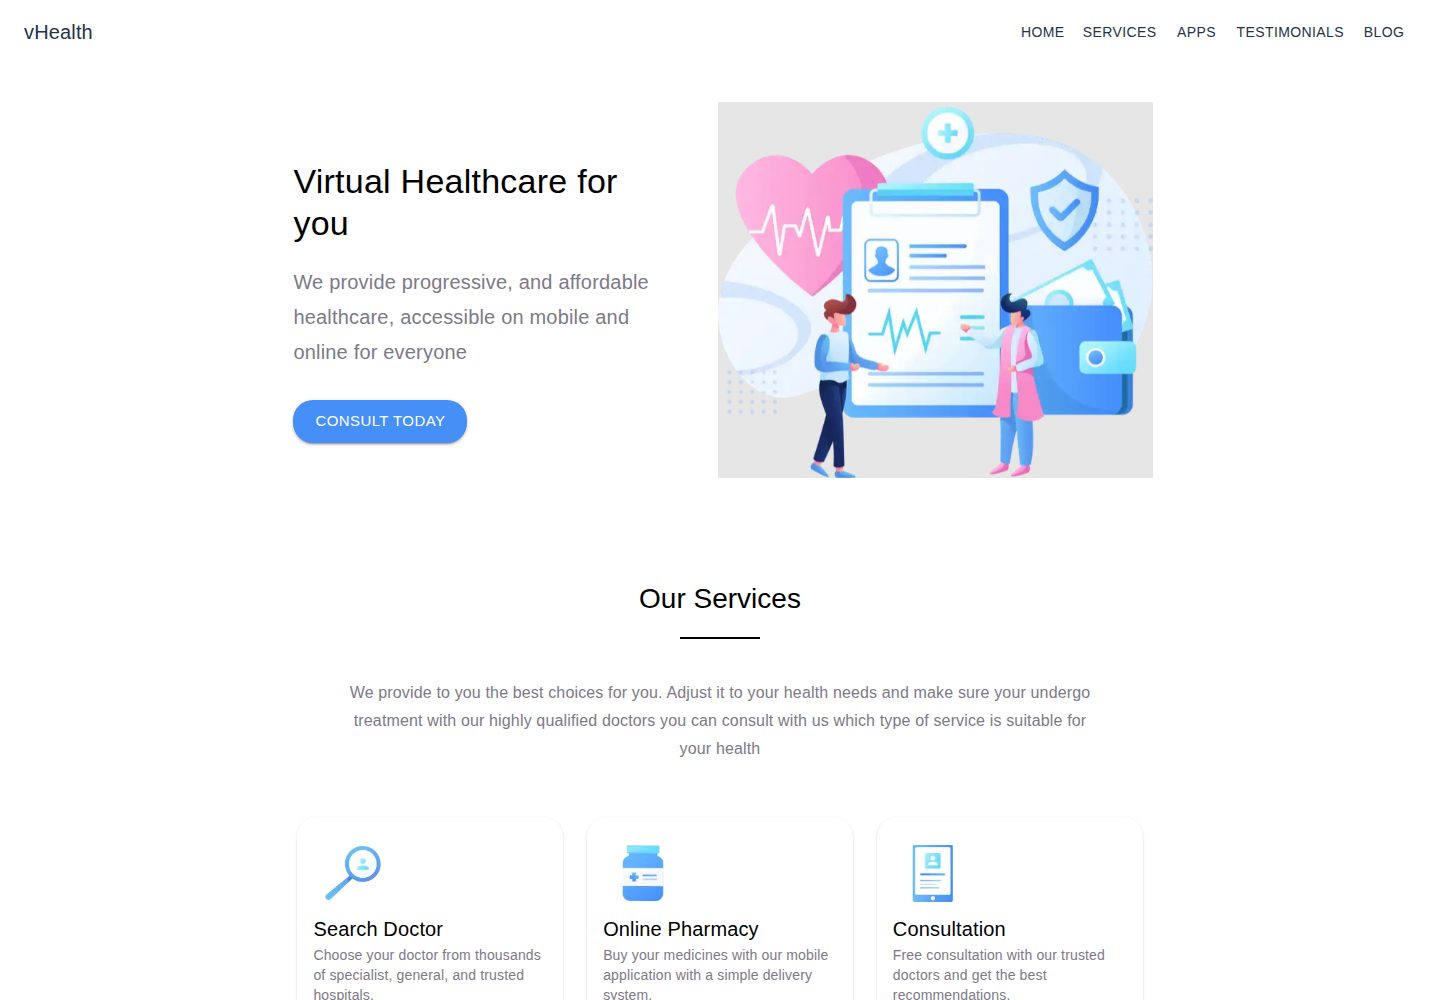
vhealth-gatsby
Open source Gatsby template for a healthcare startup. [Building something amazing? do reach out!]
Gatsby · 企业官网
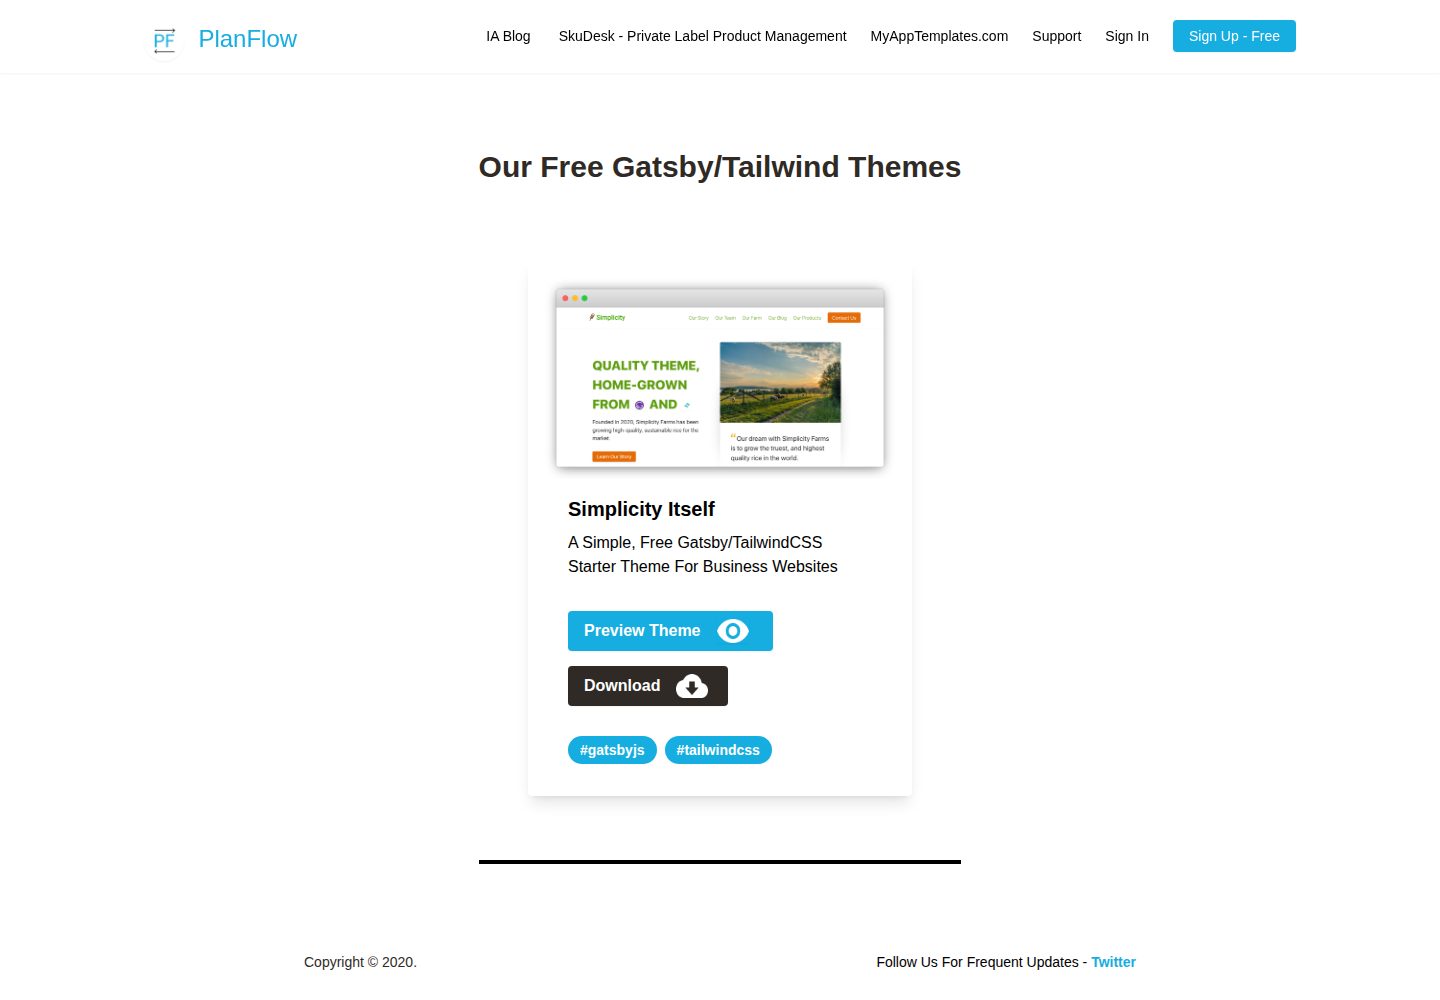
Simplicity-Itself-Gatsby-Tailwind-Starter-Theme
A Simple, Free Gatsby/TailwindCSS Starter Theme For Business Websites
Gatsby · 企业官网

zauberhaft-gatsby
Free, customizable, modern & Lightning fast Gatsby 5 - agency website template
Gatsby · 企业官网
tokyo-treasures
A responsive restaurant website template that is optimized for performance, SEO, and accessibility. It is buil…
Gatsby · 企业官网
seahorse-safe
Small business website built with Gatsby. gatsby-serif-theme
Gatsby · 企业官网