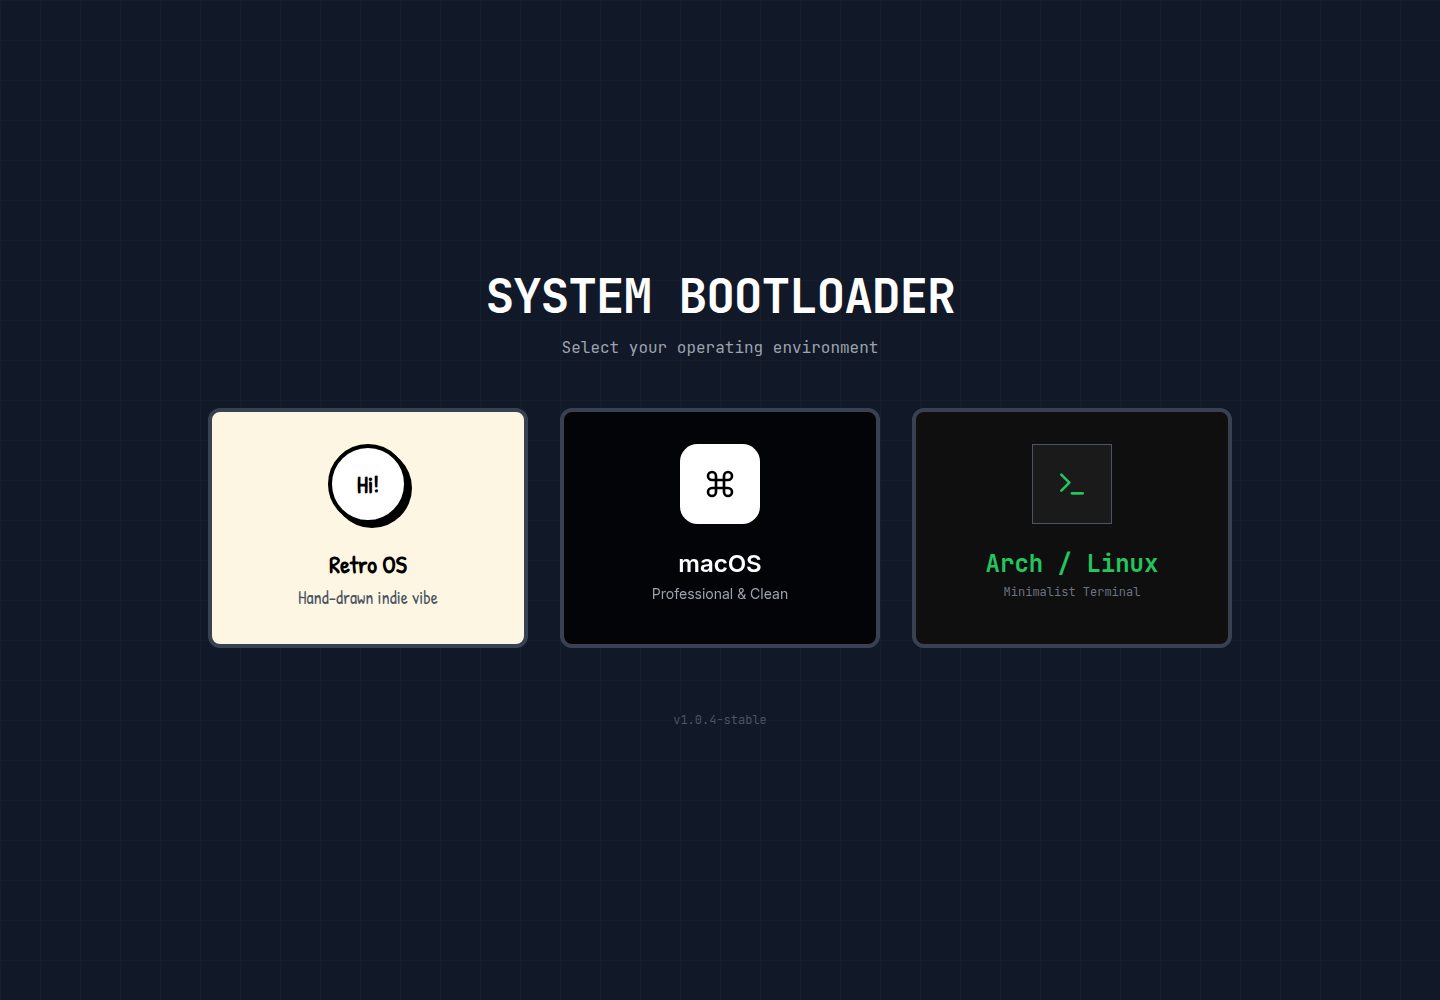
Three built-in themes: Retro, MacOS, and Linux, switchable by visitors
ViteReactPortfolio
Open-Bio-Template — Vite Portfolio Template
By chenyibai9527
Open-Bio-Template is a personal homepage template built with React + Vite, featuring three built-in themes: Retro, MacOS, and Linux. Personal information can be replaced by editing config.ts, and it supports deployment to Vercel, Cloudflare Pages, Netlify, or GitHub Pages.
Explore the design
Compare the page layouts and mobile experience. Open any screenshot for a closer look.
Desktop homepage1 / 2
Desktop captureTop of page
Actual screenshot captured by the server browser.
All pages & views 2
Screenshots show visual appearance; interactive behavior may differ.
Recorded 2026-10-13View source
What stands out
A quick read of the recorded project description.
Personal information is maintained centrally in config.ts without changing component code
Built with React, Vite, TypeScript, Tailwind CSS, and Framer Motion
README provides four deployment paths: Vercel, Cloudflare Pages, Netlify, and GitHub Pages
MIT licensed, allowing free use, modification, commercial use, and distribution of code copies
Template Details
Open-Bio-Template is a front-end template for personal profiles and portfolio showcases, built with React and Vite, and using TypeScript, Tailwind CSS, and Framer Motion. The template offers three visual themes: Retro, MacOS, and Linux. Visitors can choose their preferred style when the page loads. Content maintenance is centralized in the config.ts file, where users can modify fields such as name, job title, bio, avatar link, social links, and project list without changing component code.
For deployment, the README provides four methods: Vercel, Cloudflare Pages, Netlify, and GitHub Pages. Vercel and Netlify offer one-click deploy buttons, Cloudflare Pages requires setting the build command npm run build and output directory dist, and GitHub Pages requires configuring a GitHub Actions workflow and enabling the corresponding permissions. The template is MIT licensed, allowing free use, modification, commercial use, and distribution of code copies, but third-party assets such as demo images, fonts, and icons must be checked separately under their respective licenses, and external services such as domains and hosting may incur costs.
ViteReactPortfolio
Is it right for your project?
Use Cases
- Build a personal profile page to centrally display name, job title, bio, and avatar
- Organize social links and project lists as a portfolio entry point
- Personal sites that want to switch between Retro, MacOS, or Linux visual styles with one codebase
- Deploy a static site to Vercel, Cloudflare Pages, Netlify, or GitHub Pages
Suitable For
- Users who need to quickly launch a personal homepage and do not want to dive deep into front-end development
- Maintainers who prefer updating content by editing a single configuration file
- Personal site authors who want multi-theme switching capability
- Developers using the React and Vite stack who need freely modifiable code
Getting started & customization
Use these recorded setup notes alongside the repository instructions for your chosen version.
- 1
Click Use this template on the repository to generate your own copy, or clone the repository directly
- 2
Edit fields such as userProfile, socials, and projects in config.ts to replace the sample data
- 3
For local development, run npm install then npm run dev; to build a production version, use npm run build, with output directory dist
- 4
When deploying to Cloudflare Pages, set the build command to npm run build and the output directory to dist
- 5
Deploying to GitHub Pages requires configuring a GitHub Actions workflow and enabling Read and write permissions in the repository settings
License & source material
Usage conditions & limitations
Free to use · keep license noticeThis entry covers the free version under the MIT license in the public repository; the free scope applies to that version's code and does not mean external services or third-party assets are free.
Must comply with when using
- Free use, modification, commercial use, and distribution of this version's code are allowed.
- When distributing copies or substantial portions of the code, retain the original author's copyright notice and the full MIT license notice.
- The code is provided as is; warranties and limitations of liability are governed by the original license and applicable law.
Additional costs & items to verify
- Demo images, fonts, icons, and other third-party assets must be checked under their respective licenses and cannot be judged solely by the code's MIT license.
- External services such as domains, hosting, databases, payments, or AI may incur additional charges.
- Hosting depends on third-party platforms: Vercel and Netlify offer free tiers only; Netlify's free allowance is 100GB of traffic per month, and exceeding it or upgrading may incur costs; GitHub Pages and Cloudflare Pages are free.
- Using Vercel one-click deployment requires logging in with a GitHub account, which is an external service account requirement.
- Deploying to Cloudflare Pages requires logging in with a GitHub account and authorizing the third-party platform.
- GitHub Pages deployment requires enabling read and write permissions for Actions in the repository settings, which is a platform configuration requirement.
- Avatars must be uploaded to external image hosts such as Imgur or GitHub and a direct link obtained, relying on third-party image hosting services.
View Original Text Basis
Permission is hereby granted, free of charge
Original License Text
**100% FREE!** - GitHub hosting: Free - Vercel: Free tier (perfect for personal sites) - Cloudflare Pages: Free unlimited - Netlify: Free tier (100GB bandwidth/month)
Original README
1. Click here: [](https://vercel.com/new/clone?repository-url=https://github.com/chenyibai9527/Open-Bio-Template) 2. Sign in with GitHub
Original README
1. Go to [Cloudflare Pages](https://pages.cloudflare.com/) 2. Sign in with GitHub
Original README
4. **Important:** Go to your repository **Settings** → **Actions** → **General** → **Workflow permissions** and select **Read and write permissions**
Original README
https://github.com/chenyibai9527/Open-Bio-Template/blob/main/LICENSEhttps://github.com/chenyibai9527/Open-Bio-Template/blob/main/README.mdUpload your photo to: - [Imgur](https://imgur.com/) (Free, no account needed) - [GitHub](https://github.com/) (Use your GitHub profile picture) - Any image hosting service
Original README
Compiled by DeepSeek based on repository license and README ·2026-10-13. Results only cover the materials read; dependencies, images, fonts, and subsequent term changes are subject to their respective original texts.
Project checks & description sources
Template Information
- Source platforms
- GitHub
- Documentation and maintenance reference score
- More documented · 85 / 100
- Technologies
- Vite · React
- Website type
- Portfolio
How this score is calculated
Our heuristic uses license records (up to 30), a demo link (12), a preview (10), stars (15), recorded maintenance (15), description completeness (8), feature records (5) and classification data (5). It is not a code, security or performance test, or a Google score. A link does not establish tested functionality.
What to verify for this project
- Repository update recorded
- 2025-11-28
- Screenshot last checked
- 2026-10-13
A demo link is listed. Check it with your own content and viewport sizes; its presence does not confirm that forms, authentication or payments work.
The catalog identifies Vite as the primary stack. Check the actual dependency manifest and lockfile for versions and hosting requirements. These notes use recorded metadata, not a code audit or a deployment test.
Use a selection guide →How this description was prepared
AI-assisted description based on catalog records and repository material. Repository authors are not automatically the reviewers of this description.
Review declaration: [email protected] · 2026-10-13
Inspect the recorded source material
SHA-256: 310448ebfe38a6897c178818dab87e044cc107ace87116574a87a53419cde651
2026-10-13T06:59:10.474Z
Source file / repository<div align="center">
# Open Bio Template
### *A Stunning Multi-Theme Personal Website Template*
[](https://opensource.org/licenses/MIT)
[](https://reactjs.org/)
[](https://vitejs.dev/)
[](http://makeapullrequest.com)
[English](#english) | [中文](#中文)
---
### Choose Your Style
<table>
<tr>
<td align="center"><b>Retro Theme</b><br/>Hand-drawn indie vibe</td>
<td align="center"><b>MacOS Theme</b><br/>Clean & Professional</td>
<td align="center"><b>Linux Theme</b><br/>Hacker Terminal</td>
</tr>
</table>
### Deploy in 30 Seconds
<table>
<tr>
<td align="center" width="33%">
<a href="https://vercel.com/new/clone?repository-url=https://github.com/chenyibai9527/Open-Bio-Template">
<img src="https://vercel.com/button" alt="Deploy with Vercel"/>
</a>
<br/>
<b>Vercel</b>
<br/>
<sub>Recommended</sub>
</td>
<td align="center" width="33%">
<a href="https://pages.cloudflare.com/">
<img src="https://img.shields.io/badge/Deploy%20to-Cloudflare%20Pages-F38020?style=for-the-badge&logo=cloudflare&logoColor=white" alt="Deploy to Cloudflare Pages"/>
</a>
<br/>
<b>Cloudflare Pages</b>
<br/>
<sub>Super Fast</sub>
</td>
<td align="center" width="33%">
<a href="https://app.netlify.com/start/deploy?repository=https://github.com/chenyibai9527/Open-Bio-Template">
<img src="https://www.netlify.com/img/deploy/button.svg" alt="Deploy to Netlify"/>
</a>
<br/>
<b>Netlify</b>
<br/>
<sub>Easy Setup</sub>
</td>
<td align="center" width="33%">
<a href="https://pages.github.com/">
<img src="https://img.shields.io/badge/Deploy%20to-GitHub%20Pages-24292e?style=for-the-badge&logo=github&logoColor=white" alt="Deploy to GitHub Pages"/>
</a>
<br/>
<b>GitHub Pages</b>
<br/>
<sub>Direct Integration</sub>
</td>
</tr>
</table>
</div>
---
## English
### Why Choose This Template?
- **3 Unique Themes** - Switch between Retro, MacOS, and Linux styles
- **Zero Coding Required** - Just edit one config file
- **Mobile Optimized** - Looks perfect on all devices
- **Lightning Fast** - Built with Vite for instant loading
- **100% Free Hosting** - Deploy to Vercel, Cloudflare, or Netlify
- **Animated & Interactive** - Smooth transitions with Framer Motion
---
### Quick Start (For Everyone!)
> **No coding experience needed!** Follow these 3 simple steps:
#### Step 1: Get Your Copy
Click the button below to create your own copy:
[](https://github.com/chenyibai9527/Open-Bio-Template/generate)
Or click the green **"Use this template"** button at the top of this page.
#### Step 2: Customize Your Info
1. Open the `config.ts` file in your repository
2. Click the **pencil icon** to edit
3. Replace the example data with your own information:
```typescript
export const userProfile = {
name: "Your Name", // Your name
role: "Your Title", // Your job title
bio: "Your bio here...", // Short bio
avatar_url: "https://...", // Your photo URL
// ... more fields
};
```
4. Scroll down and click **"Commit changes"**
#### Step 3: Deploy (FREE!)
Choose your favorite platform:
<details>
<summary><b>Option A: Vercel (Recommended - Easiest)</b></summary>
1. Click here: [](https://vercel.com/new/clone?repository-url=https://github.com/chenyibai9527/Open-Bio-Template)
2. Sign in with GitHub
3. Click **"Deploy"**
4. Wait 2 minutes
5. **Done!** Your site is live at `https://your-project.vercel.app`
**Bonus:** Every time you edit `config.ts`, Vercel automatically updates your site!
</details>
<details>
<summary><b>Option B: Cloudflare Pages (Super Fast)</b></summary>
1. Go to [Cloudflare Pages](https://pages.cloudflare.com/)
2. Sign in with GitHub
3. Click **"Create a project"**
4. Select your repository
5. Set build settings:
- **Build command:** `npm run build`
- **Build output directory:** `dist`
6. Click **"Save and Deploy"**
7. **Done!** Your site is live at `https://your-project.pages.dev`
</details>
<details>
<summary><b>Option C: Netlify (Also Great)</b></summary>
1. Click here: [](https://app.netlify.com/start/deploy?repository=https://github.com/chenyibai9527/Open-Bio-Template)
2. Sign in with GitHub
3. Click **"Connect to GitHub"**
4. Click **"Deploy site"**
5. **Done!** Your site is live!
</details>
<details>
<summary><b>Option D: GitHub Pages (Direct Integration)</b></summary>
1. Go to your repository **Settings** → **Pages**
2. Under **Source**, select **GitHub Actions**
3. Create `.github/workflows/deploy.yml` file in your repository:
```yaml
name: Deploy to GitHub Pages
on:
push:
branches: [ main ]
pull_request:
branches: [ main ]
# Sets permissions of the GITHUB_TOKEN to allow deployment to GitHub Pages
permissions:
contents: read
pages: write
id-token: write
# Allow only one concurrent deployment
concurrency:
group: "pages"
cancel-in-progress: false
jobs:
build-and-deploy:
runs-on: ubuntu-latest
steps:
- name: Checkout
uses: actions/checkout@v4
with:
fetch-depth: 0
- name: Setup Node.js
uses: actions/setup-node@v4
with:
node-version: '18'
cache: 'npm'
- name: Install dependencies
run: npm ci
- name: Build
run: npm run build
- name: Deploy to GitHub Pages
uses: peaceiris/actions-gh-pages@v4
if: github.ref == 'refs/heads/main'
with:
github_token: ${{ secrets.GITHUB_TOKEN }}
publish_dir: ./dist
publish_branch: gh-pages
force_orphan: true
```
4. **Important:** Go to your repository **Settings** → **Actions** → **General** → **Workflow permissions** and select **Read and write permissions**
5. Commit the workflow file
6. Go to **Actions** tab and wait for the workflow to complete
7. **Done!** Your site will be live at `https://yourusername.github.io/your-repo-name`
**Pro tip:** GitHub Pages automatically rebuilds whenever you push changes to the main branch!
**Troubleshooting:** If you still get permission errors, make sure:
1. Go to repository **Settings** → **Actions** → **General** → **Workflow permissions**
2. Select **Read and write permissions** and **Allow GitHub Actions to create and approve pull requests**
3. **Important:** Also check **Settings** → **Pages** → **Build and deployment** → **Source** is set to **GitHub Actions**
4. If problems persist, the workflow now uses GitHub's official deployment actions which should resolve most permission issues
5. For detailed troubleshooting, see [GitHub Pages Troubleshooting Guide](GITHUB_PAGES_TROUBLESHOOTING.md)
6. **Images not showing?** See [GitHub Pages Assets Guide](GITHUB_PAGES_ASSETS_GUIDE.md) for picture resource path fixes
</details>
---
### Pro Tips
| Tip | How To |
|-----|--------|
| **Change your avatar** | Update `avatar_url` in `config.ts` with your image URL |
| **Add social links** | Edit the `socials` array in `config.ts` |
| **Add projects** | Add items to the `projects` array |
| **Custom domain** | Add your domain in Vercel/Cloudflare settings |
| **Change theme** | Visitors can choose their favorite theme on load |
| **GitHub Pages** | Use the new GitHub Actions workflow for automatic deployment |
---
### FAQ
<details>
<summary><b>Where do I get an avatar URL?</b></summary>
Upload your photo to:
- [Imgur](https://imgur.com/) (Free, no account needed)
- [GitHub](https://github.com/) (Use your GitHub profile picture)
- Any image hosting service
Then copy the direct image link.
</details>
<details>
<summary><b>My changes aren't showing up!</b></summary>
1. Make sure you clicked **"Commit changes"** after editing
2. Wait 1-2 minutes for the deployment to complete
3. Hard refresh your browser (Ctrl+Shift+R or Cmd+Shift+R)
</details>
<details>
<summary><b>Can I use my own domain?</b></summary>
Yes! All platforms support custom domains:
- **Vercel:** Settings → Domains → Add
- **Cloudflare:** Custom Domains → Set up
- **Netlify:** Domain Settings → Add custom domain
</details>
<details>
<summary><b>Is this really free?</b></summary>
**100% FREE!**
- GitHub hosting: Free
- Vercel: Free tier (perfect for personal sites)
- Cloudflare Pages: Free unlimited
- Netlify: Free tier (100GB bandwidth/month)
</details>
---
### For Developers
```bash
# Clone and install
git clone https://github.com/chenyibai9527/Open-Bio-Template.git
cd open-bio-template
npm install
# Start dev server
npm run dev
# Build for production
npm run build
```
**Tech Stack:** React 18 + TypeScript + Vite + Tailwind CSS + Framer Motion
---
## 中文
### 为什么选择这个模板?
- **3 种独特主题** - 复古、MacOS、Linux 风格随心切换
- **零代码要求** - 只需编辑一个配置文件
- **移动端优化** - 在所有设备上完美显示
- **闪电般快速** - 使用 Vite 构建,瞬间加载
- **100% 免费托管** - 部署到 Vercel、Cloudflare 或 Netlify
- **动画交互** - 使用 Framer Motion 实现流畅过渡
---
### 快速开始(人人都会!)
> **不需要任何编程经验!** 只需 3 步:
#### 第 1 步:获取你的副本
点击下方按钮创建你自己的副本:
[](https://github.com/chenyibai9527/Open-Bio-Template/generate)
或点击页面顶部的绿色 **"Use this template"** 按钮。
#### 第 2 步:修改你的信息
1. 在你的仓库中打开 `config.ts` 文件
2. 点击 **铅笔图标** 开始编辑
3. 把示例数据替换成你自己的信息:
```typescript
export const userProfile = {
name: "你的名字", // 填写你的名字
role: "你的职位", // 填写你的职位
bio: "你的简介...", // 简短介绍
avatar_url: "https://...", // 你的头像链接
// ... 更多字段
};
```
4. 向下滚动并点击 **"Commit changes"**(提交更改)
#### 第 3 步:部署(完全免费!)
选择你喜欢的平台:
<details>
<summary><b>方案 A:Vercel(推荐 - 最简单)</b></summary>
1. 点击这里:[](https://vercel.com/new/clone?repository-url=https://github.com/chenyibai9527/Open-Bio-Template)
2. 使用 GitHub 账号登录
3. 点击 **"Deploy"**(部署)
4. 等待 2 分钟
5. **完成!** 你的网站已上线:`https://你的项目名.vercel.app`
**福利:** 每次你修改 `config.ts`,Vercel 会自动更新你的网站!
</details>
<details>
<summary><b>方案 B:Cloudflare Pages(超快速度)</b></summary>
1. 访问 [Cloudflare Pages](https://pages.cloudflare.com/)
2. 使用 GitHub 账号登录
3. 点击 **"Create a project"**(创建项目)
4. 选择你的仓库
5. 设置构建选项:
- **构建命令(Build command):** `npm run build`
- **构建输出目录(Build output directory):** `dist`
6. 点击 **"Save and Deploy"**(保存并部署)
7. **完成!** 你的网站已上线:`https://你的项目名.pages.dev`
</details>
<details>
<summary><b>方案 C:Netlify(也很棒)</b></summary>
1. 点击这里:[](https://app.netlify.com/start/deploy?repository=https://github.com/chenyibai9527/Open-Bio-Template)
2. 使用 GitHub 账号登录
3. 点击 **"Connect to GitHub"**(连接到 GitHub)
4. 点击 **"Deploy site"**(部署网站)
5. **完成!** 你的网站已上线!
</details>
<details>
<summary><b>方案 D:GitHub Pages(直接集成)</b></summary>
1. 进入你的仓库 **Settings(设置)** → **Pages(页面)**
2. 在 **Source(源)** 下,选择 **GitHub Actions**
3. 在你的仓库中创建 `.github/workflows/deploy.yml` 文件:
```yaml
name: Deploy to GitHub Pages
on:
push:
branches: [ main ]
pull_request:
branches: [ main ]
# 设置 GITHUB_TOKEN 权限,允许部署到 GitHub Pages
permissions:
contents: read
pages: write
id-token: write
# 允许并发部署
concurrency:
group: "pages"
cancel-in-progress: false
jobs:
build-and-deploy:
runs-on: ubuntu-latest
steps:
- name: Checkout
uses: actions/checkout@v4
with:
fetch-depth: 0
- name: Setup Node.js
uses: actions/setup-node@v4
with:
node-version: '18'
cache: 'npm'
- name: Install dependencies
run: npm ci
- name: Build
run: npm run build
- name: Deploy to GitHub Pages
uses: peaceiris/actions-gh-pages@v4
if: github.ref == 'refs/heads/main'
with:
github_token: ${{ secrets.GITHUB_TOKEN }}
publish_dir: ./dist
publish_branch: gh-pages
force_orphan: true
```
4. **重要:** 进入仓库 **Settings(设置)** → **Actions(操作)** → **General(常规)** → **Workflow permissions(工作流权限)** 并选择 **Read and write permissions(读写权限)**
5. 提交工作流文件
6. 进入 **Actions(操作)** 标签页,等待工作流完成
7. **完成!** 你的网站将在 `https://你的用户名.github.io/你的仓库名` 上线
**专业提示:** 每当你推送更改到主分支时,GitHub Pages 会自动重新构建!
**故障排除:** 如果你仍然遇到权限错误,请确保:
1. 进入仓库 **Settings(设置)** → **Actions(操作)** → **General(常规)** → **Workflow permissions(工作流权限)**
2. 选择 **Read and write permissions(读写权限)** 和 **Allow GitHub Actions to create和批准拉取请求)**
3. **重要:** 同时检查 **Settings(设置)** → **Pages(页面)** → **Build and deployment(构建和部署)** → **Source(源)** 设置为 **GitHub Actions**
4. 如果问题仍然存在,现在的工作流使用了 GitHub 的官方部署 actions,应该能解决大部分权限问题
5. 详细故障排除请参考 [GitHub Pages 故障排除指南](GITHUB_PAGES_TROUBLESHOOTING.md)
6. **图片不显示?** 请参考 [GitHub Pages 资源指南](GITHUB_PAGES_ASSETS_GUIDE.md) 获取图片路径修复方案
</details>
---
### 实用技巧
| 技巧 | 如何操作 |
|-----|---------|
| **更换头像** | 在 `config.ts` 中更新 `avatar_url` 为你的图片链接 |
| **添加社交链接** | 编辑 `config.ts` 中的 `socials` 数组 |
| **添加项目** | 在 `projects` 数组中添加项目 |
| **自定义域名** | 在 Vercel/Cloudflare 设置中添加你的域名 |
| **切换主题** | 访客可以在加载时选择他们喜欢的主题 |
| **GitHub Pages** | 使用新的 GitHub Actions 工作流实现自动部署 |
---
### 常见问题
<details>
<summary><b>如何获取头像链接?</b></summary>
上传你的照片到:
- [Imgur](https://imgur.com/)(免费,无需注册)
- [GitHub](https://github.com/)(使用你的 GitHub 头像)
- 任何图片托管服务
然后复制直接图片链接。
</details>
<details>
<summary><b>我的修改没有显示出来!</b></summary>
1. 确保编辑后点击了 **"Commit changes"**(提交更改)
2. 等待 1-2 分钟让部署完成
3. 强制刷新浏览器(Ctrl+Shift+R 或 Cmd+Shift+R)
</details>
<details>
<summary><b>可以使用自己的域名吗?</b></summary>
可以!所有平台都支持自定义域名:
- **Vercel:** 设置 → 域名 → 添加
- **Cloudflare:** 自定义域名 → 设置
- **Netlify:** 域名设置 → 添加自定义域名
</details>
<details>
<summary><b>这真的免费吗?</b></summary>
**100% 免费!**
- GitHub 托管:免费
- Vercel:免费套餐(非常适合个人网站)
- Cloudflare Pages:无限制免费
- Netlify:免费套餐(每月 100GB 流量)
</details>
---
### 开发者指南
```bash
# 克隆并安装
git clone https://github.com/chenyibai9527/Open-Bio-Template.git
cd open-bio-template
npm install
# 启动开发服务器
npm run dev
# 构建生产版本
npm run build
```
**技术栈:** React 18 + TypeScript + Vite + Tailwind CSS + Framer Motion
## 🔄 更新日志 (Changelog)
### v1.1.0 (2025-11-28)
- ✨ 新增 GitHub Pages 一键部署支持
- 📝 完善部署文档,新增 GitHub Actions 工作流配置
- 🛠️ 优化 Vite 配置,支持 GitHub Pages 路径
- 🎨 更新 README 文档结构
- 📦 版本号升级至 1.1.0
- 🐛 修复 Tailwind CSS 生产构建配置问题
- 🔧 修复资源路径和样式加载问题
- 🎯 **重要修复**: 降级 Tailwind CSS v4→v3,完全恢复自定义样式兼容性
- 📸 **新增**: 静态资源路径工具函数,完美解决 GitHub Pages 图片显示问题
- 🎯 **重要修复**: 降级 Tailwind CSS v4→v3,完全恢复自定义样式兼容性
- 🐛 修复 Tailwind CSS 生产构建配置问题
- 🔧 修复资源路径和样式加载问题
### v1.0.0 (2025-11-28)
- 🎉 初始版本发布
- 🎨 三种主题风格:复古、MacOS、Linux
- 📱 完全响应式设计
- ⚡ 基于 Vite 的快速构建
- 🎯 零代码配置,只需修改 config.ts
- 🚀 支持 Vercel、Cloudflare Pages、Netlify 部署
---
<div align="center">
### Star This Repo If You Like It!
Made with love by the Open Source Community
[](https://github.com/chenyibai9527/Open-Bio-Template)
[](https://github.com/chenyibai9527/Open-Bio-Template/fork)
[Report Bug](https://github.com/chenyibai9527/Open-Bio-Template/issues) · [Request Feature](https://github.com/chenyibai9527/Open-Bio-Template/issues)
</div>
Explore similar templates
Compare previews and descriptions within the same stack and category.
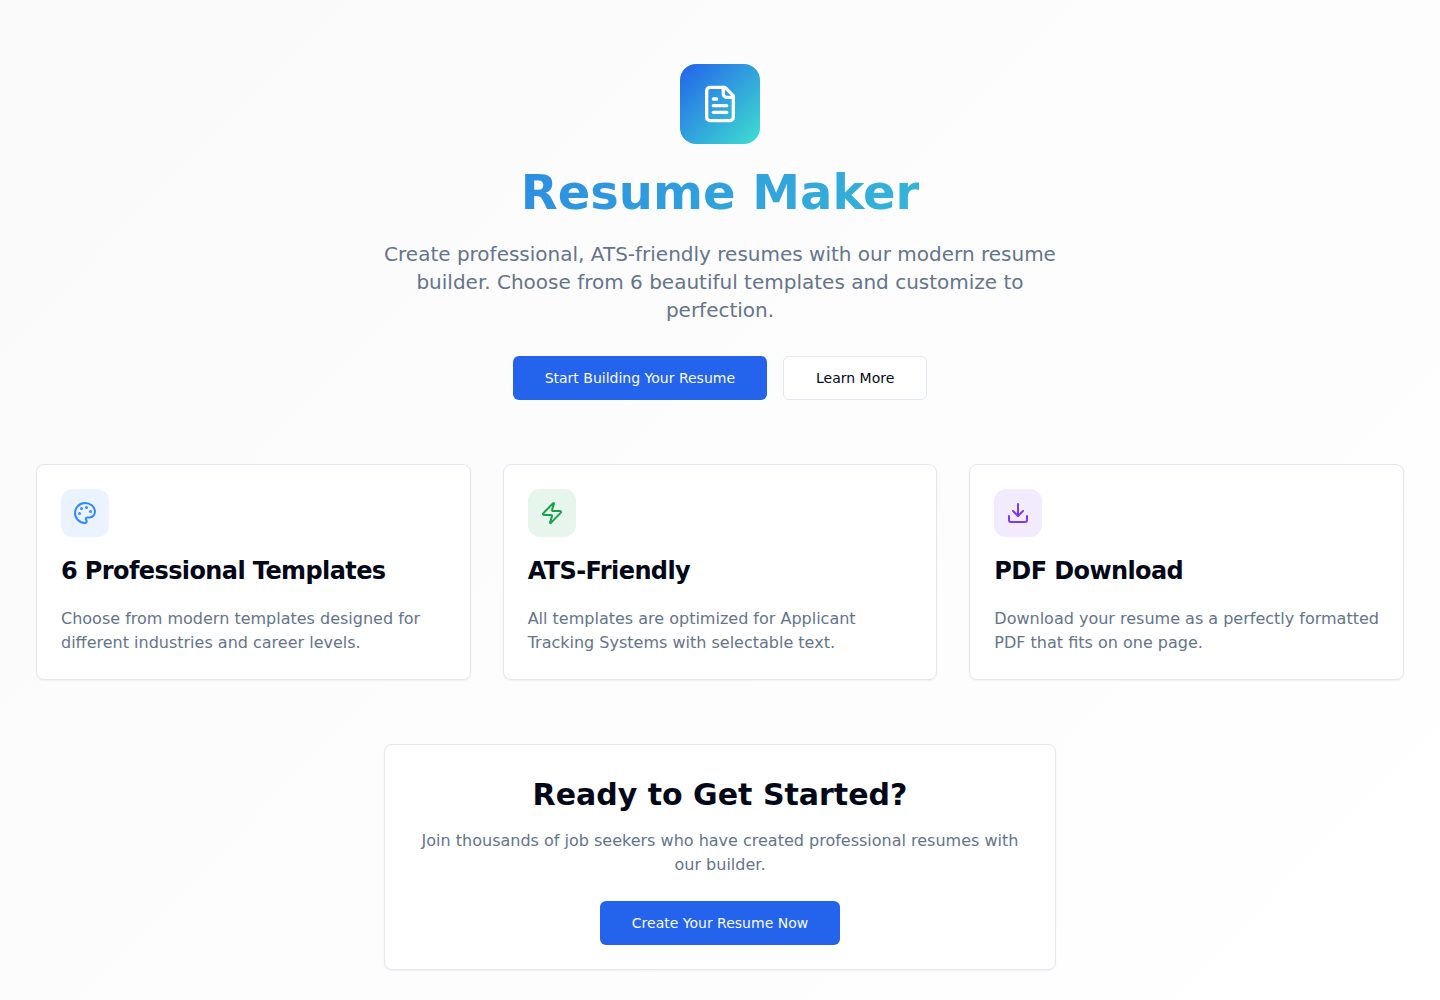
Resumify
Resumify is a browser-based resume builder built with React, TypeScript, and Vite.
Vite · Portfolio
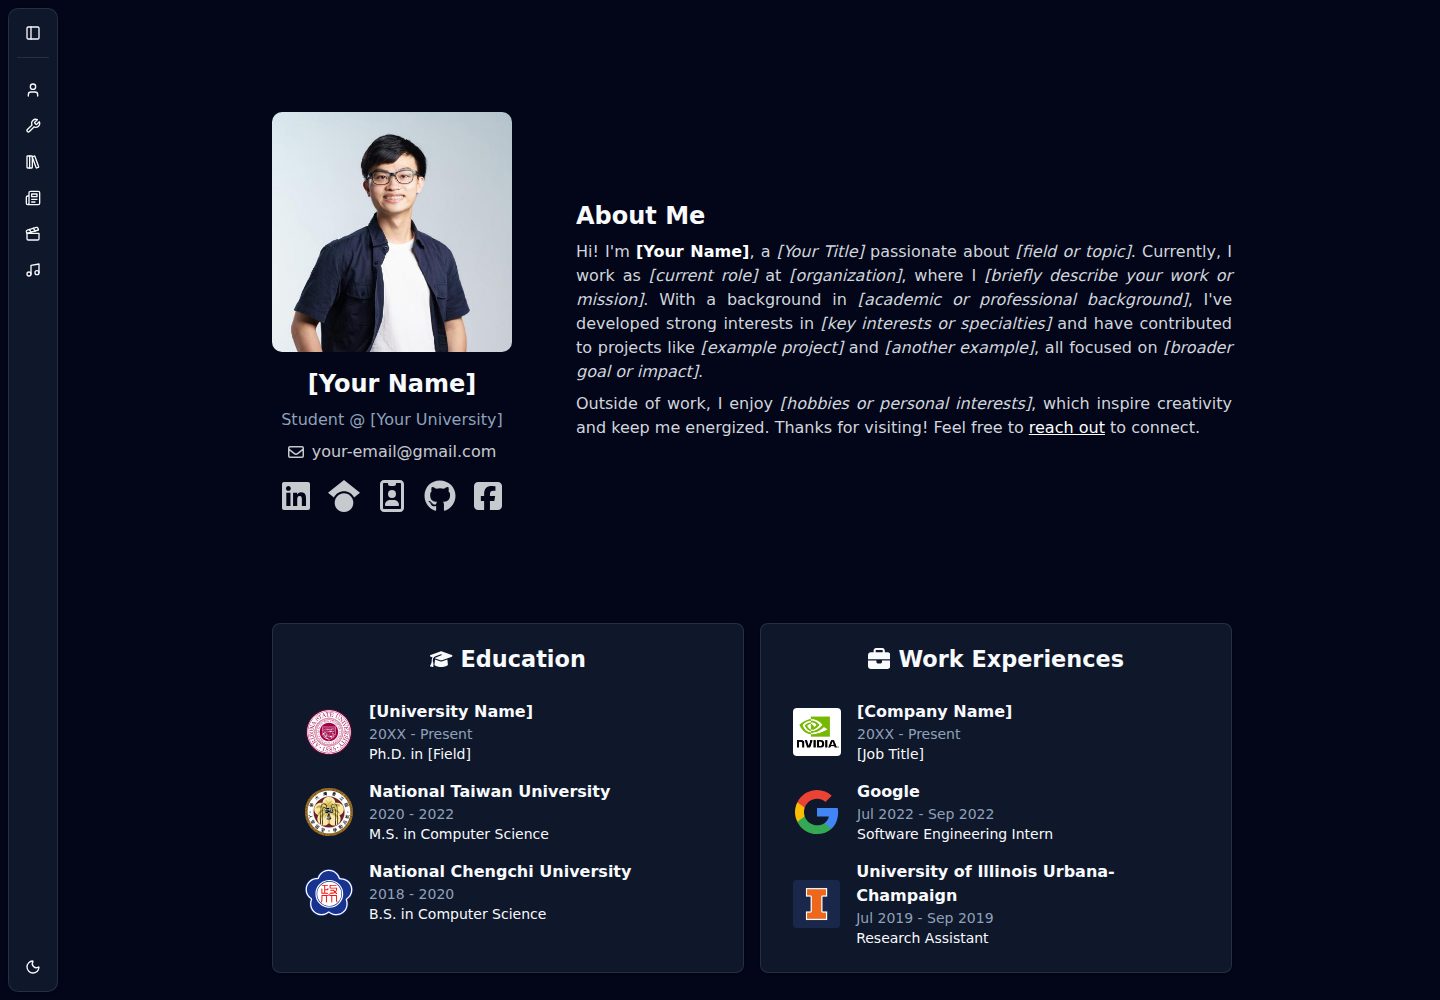
showlit
Showlit is a personal website template built with React, Vite, TypeScript, Tailwind CSS, and shadcn/ui.
Vite · Portfolio
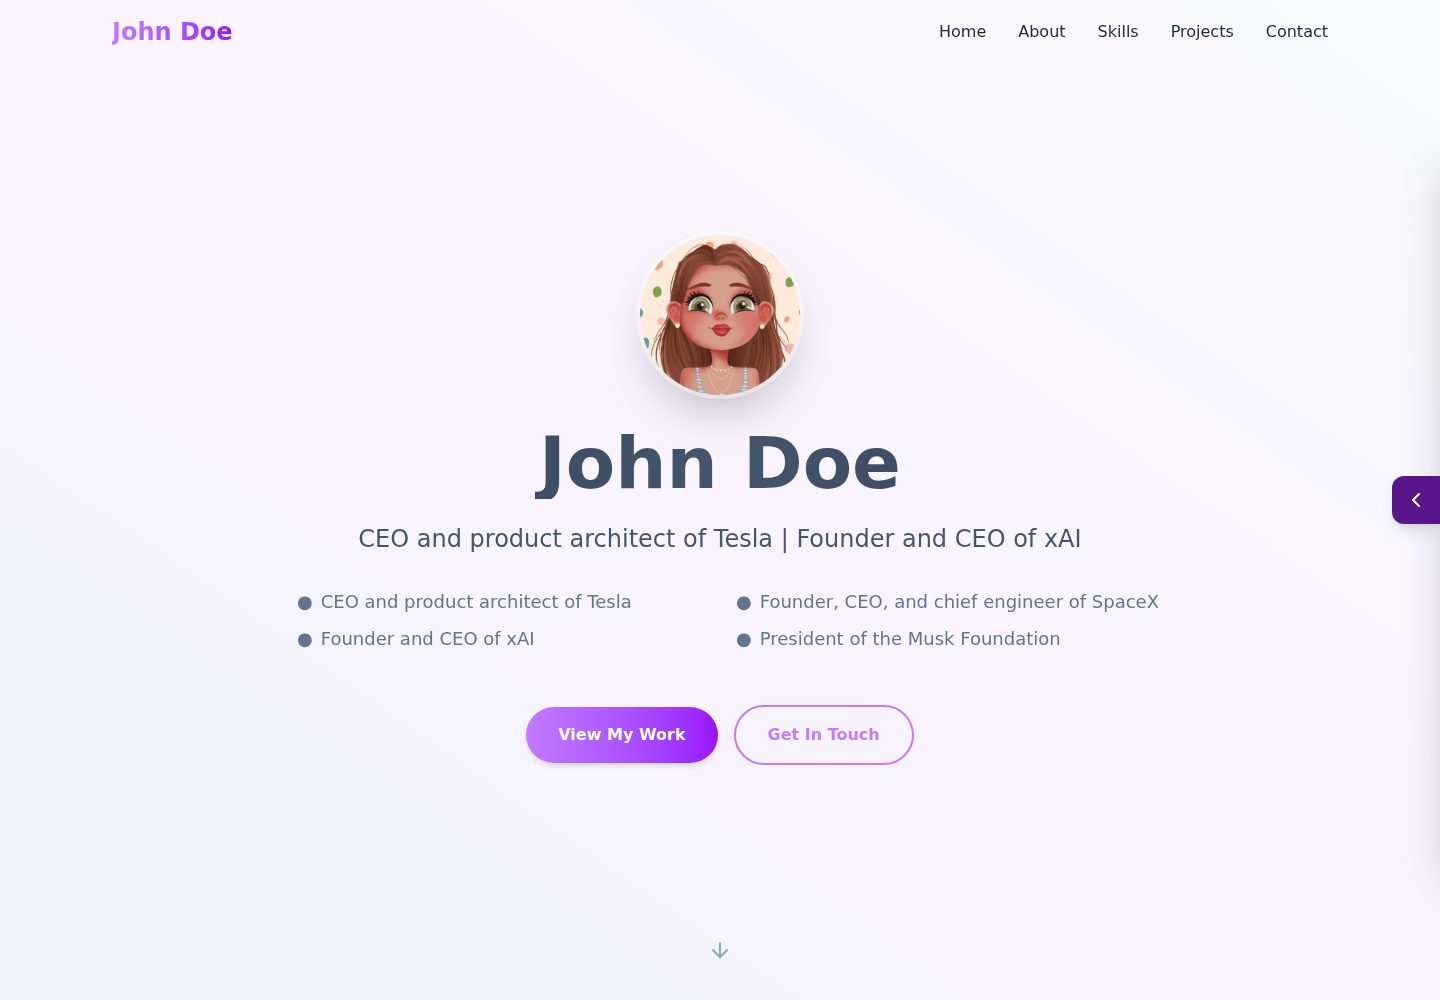
folium
A developer portfolio template built with Vite, React, TypeScript, and Tailwind CSS.
Vite · Portfolio
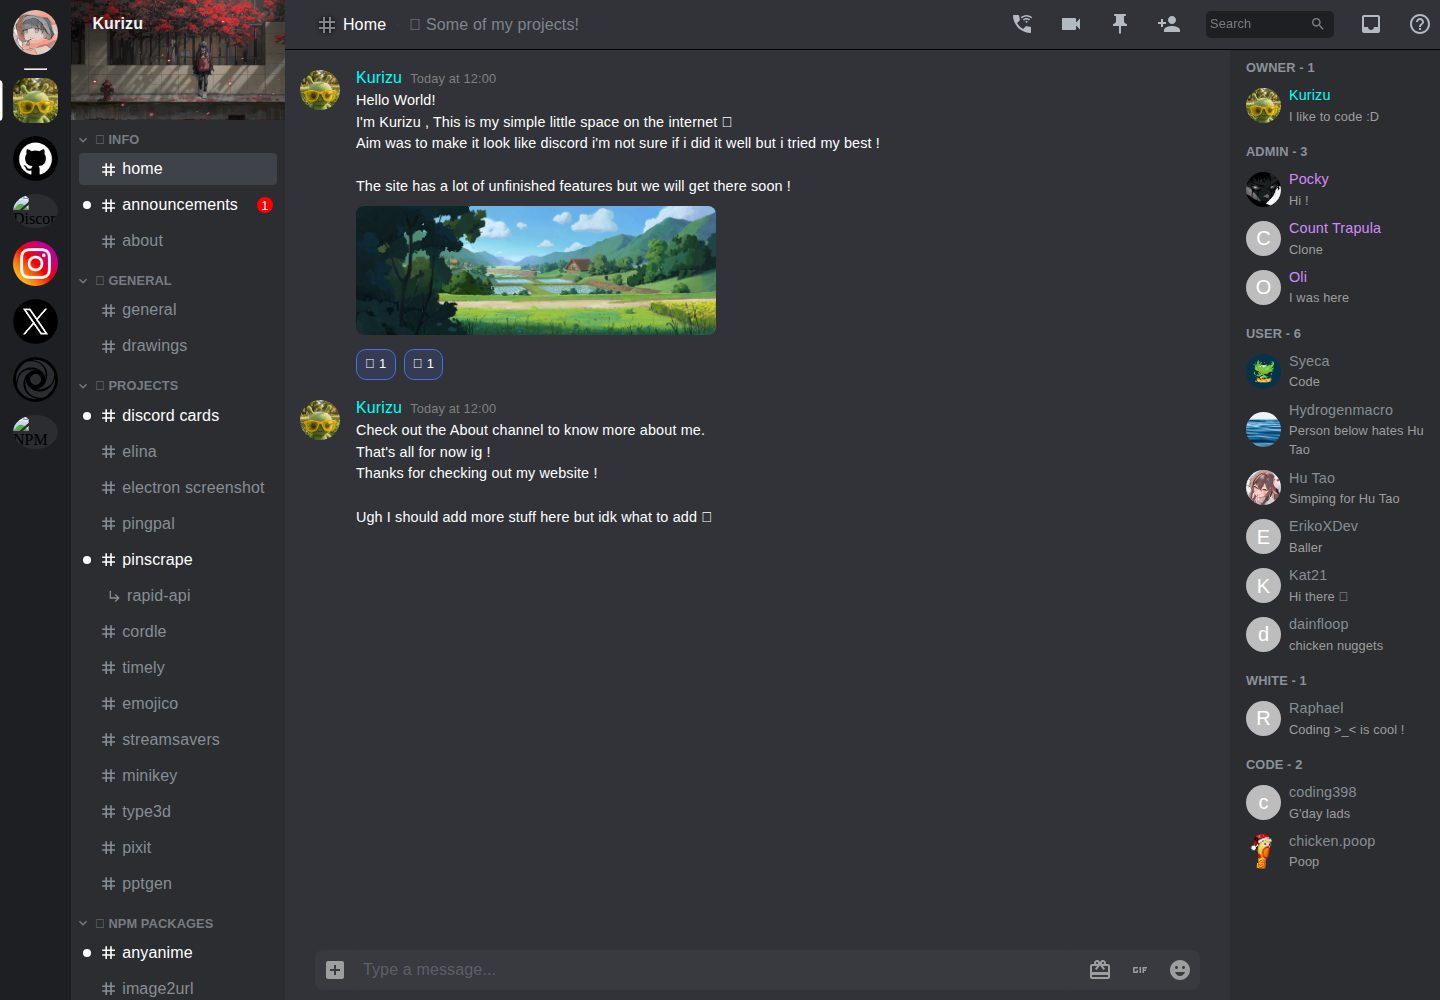
kurizu-discord
A personal portfolio website built with React and Vite that mimics the Discord desktop app, organizing projects, skills, and experience into customizable channels, threads, a member list, and emoji reactions.
Vite · Portfolio
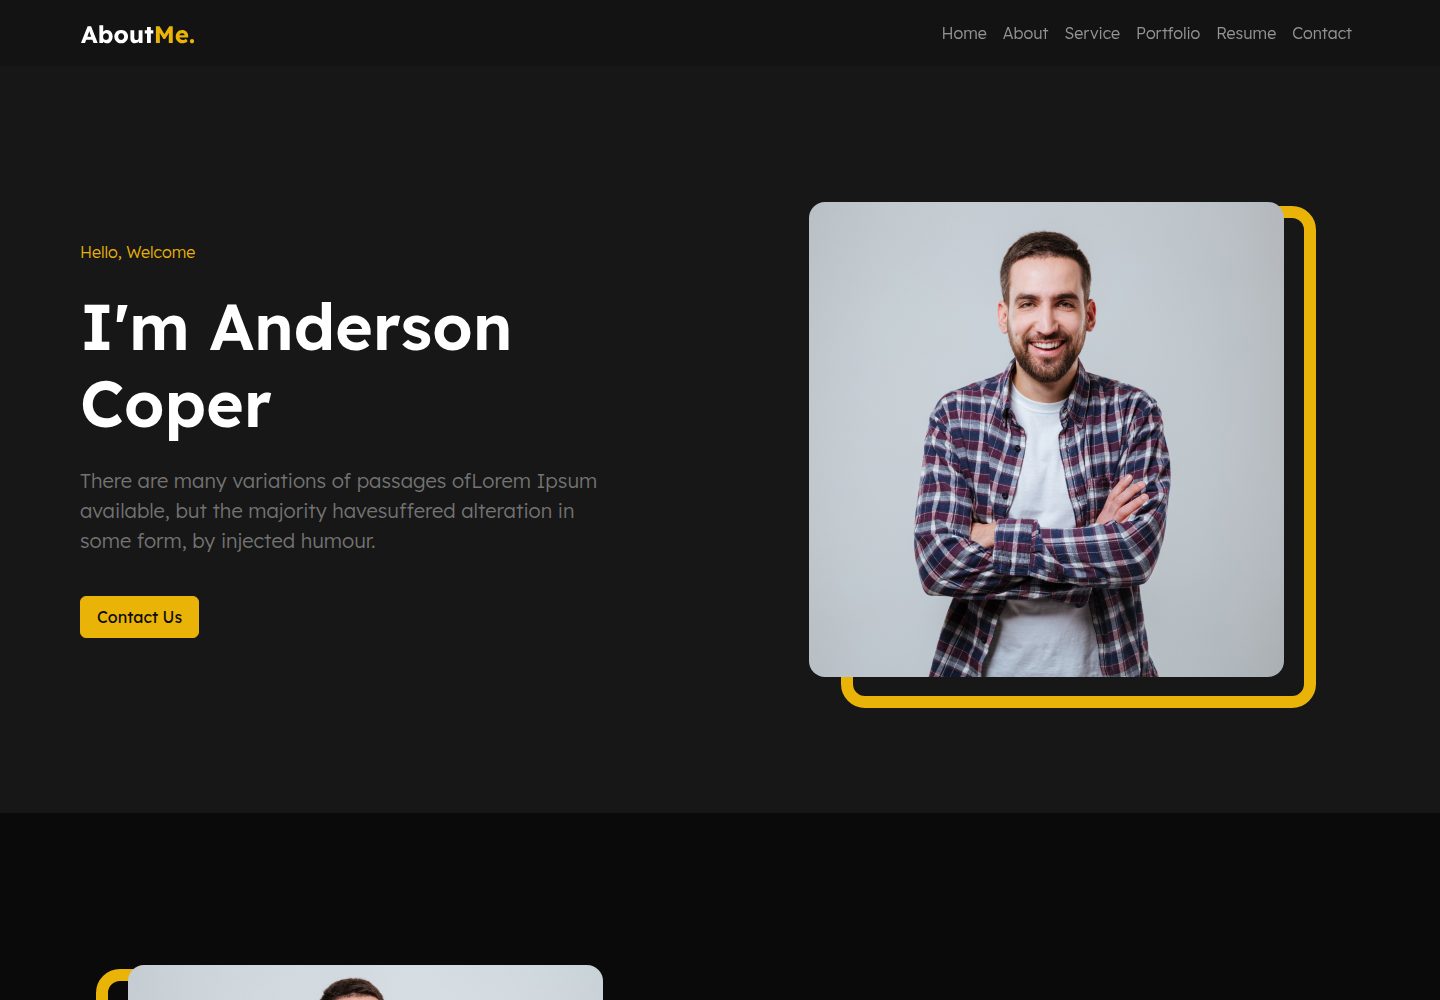
about-me-personal-portfolio-website-template
AboutMe is a free personal website template built with Bootstrap and Vite, released under the MIT license. It provides a single-page index.html with organized src directories for images, JavaScript, and SCSS, along with npm scripts for development and build.
Vite · Portfolio
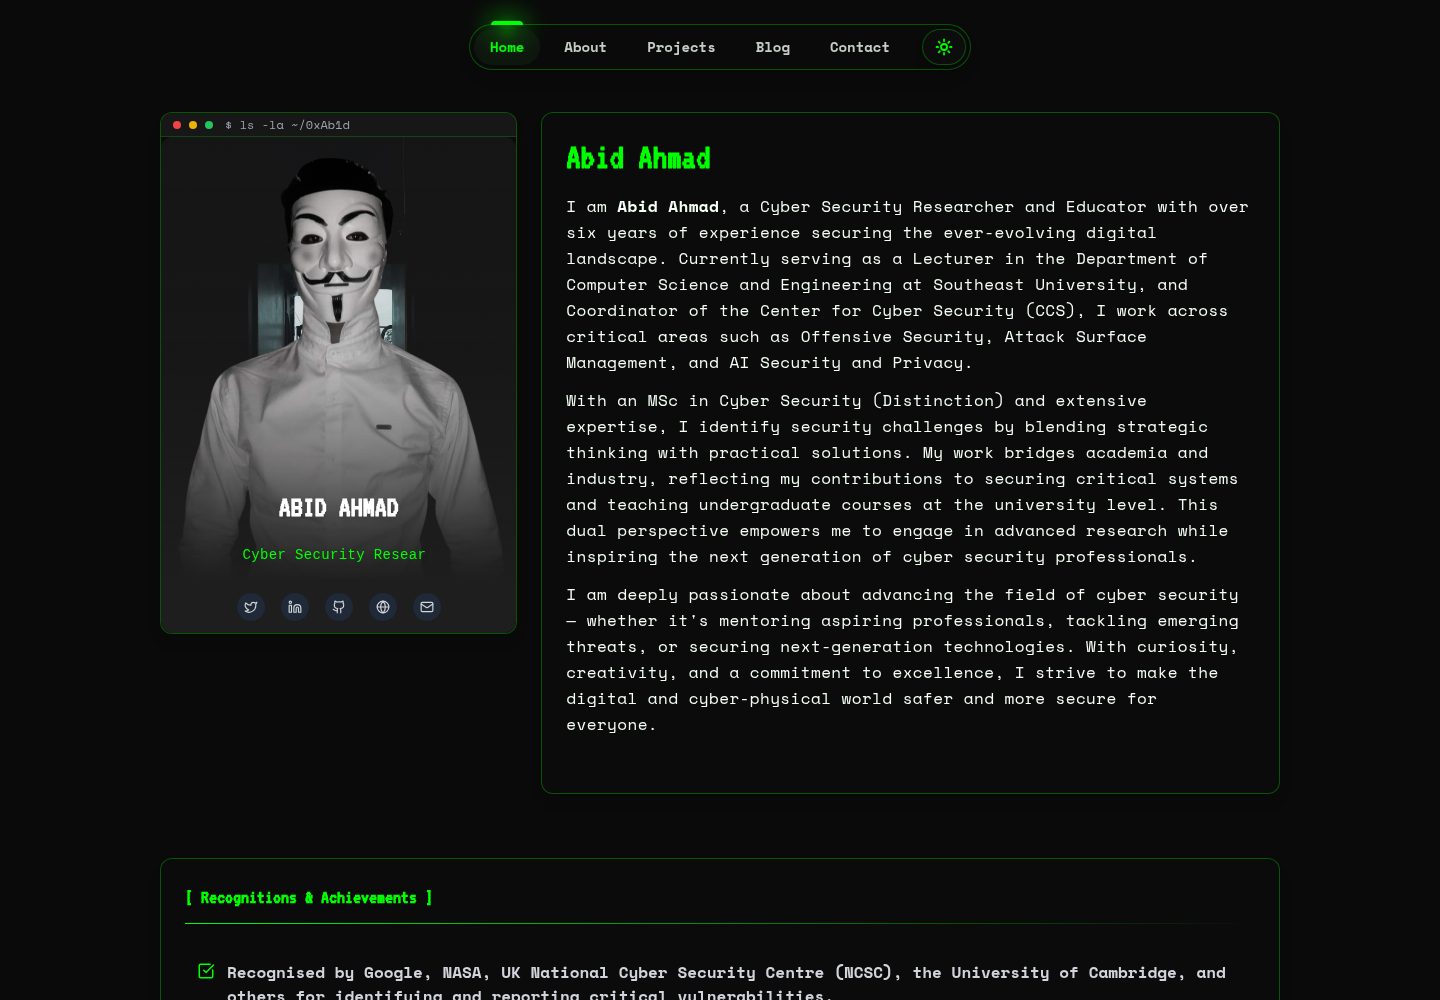
HackFolio
HackFolio is a hacker-style personal portfolio template for ethical hackers, penetration testers, bug bounty hunters, red teamers, and cybersecurity professionals.
Vite · Portfolio