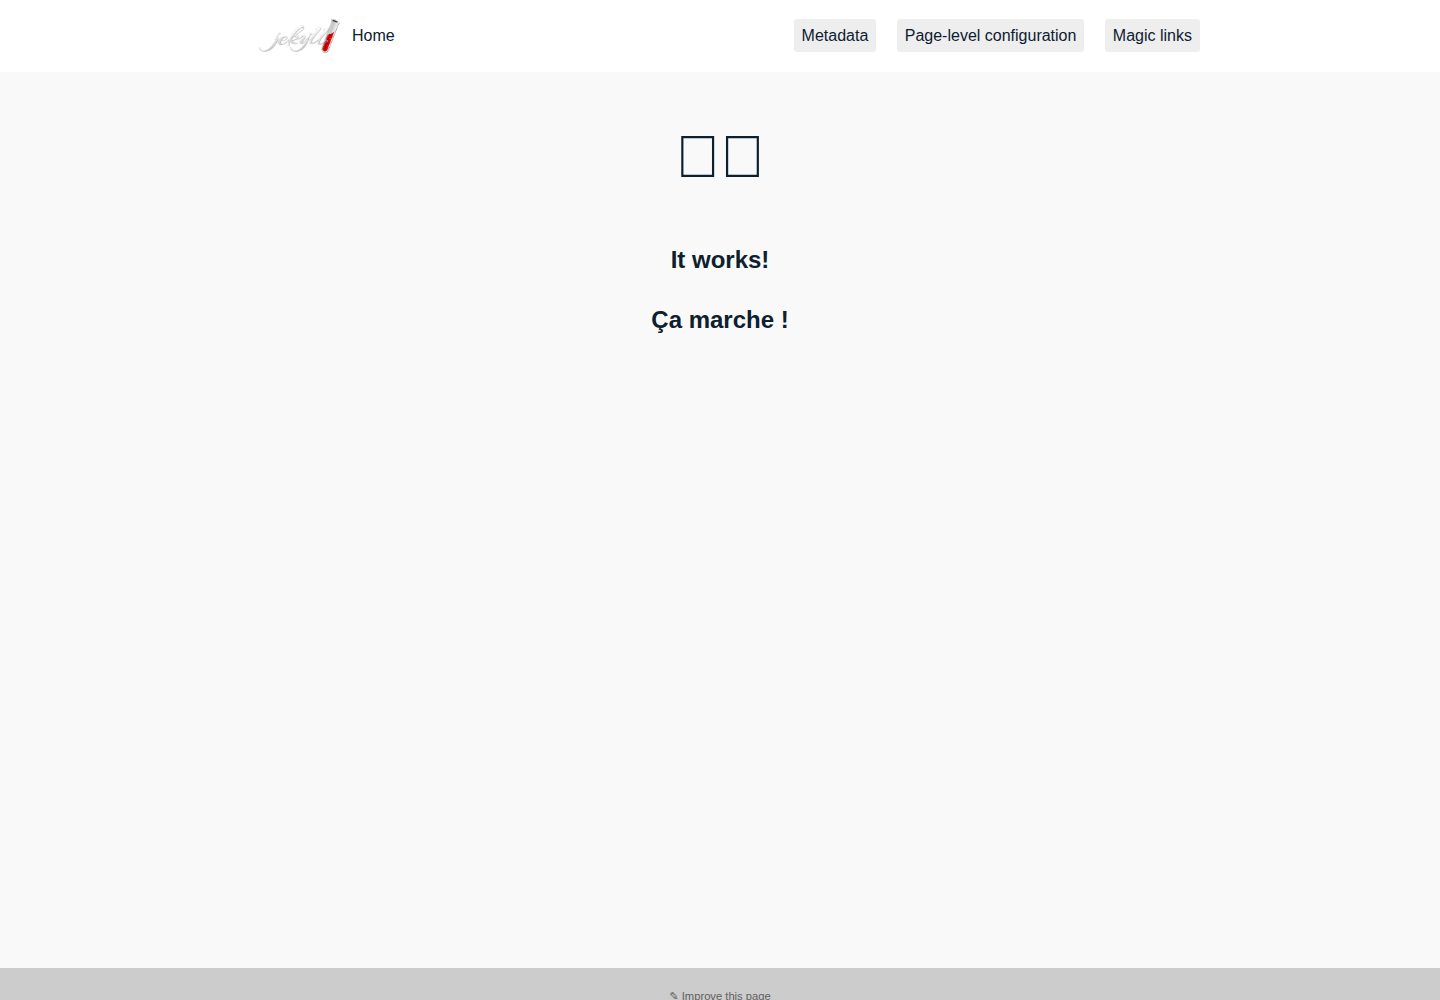
Based on the Jekyll static site generator, suitable for landing pages and small websites rather than blogs
JekyllCorporate Website
jekyll-template — Jekyll Business Template
By MattiSG
A Jekyll-based static site template for small teams to quickly build landing pages and small websites, and to let non-technical members participate in content maintenance through an online editor.
Explore the design
Compare the page layouts and mobile experience. Open any screenshot for a closer look.
Desktop homepage1 / 2
Desktop captureTop of page
Actual screenshot captured by the server browser.
All pages & views 2
Screenshots show visual appearance; interactive behavior may differ.
Recorded 2026-10-03View source
What stands out
A quick read of the recorded project description.
Recommends centralizing content in collections, separating content hierarchy from development files
Gemfile dynamically syncs with the GitHub Pages production version and provides an offline fallback
Built-in social card meta tags, supporting OpenGraph scraping for Facebook, Twitter, LinkedIn, etc.
Provides stylesheet loading per layout and style organization via additional_css front matter
Includes a CI deployment script that can publish pure HTML output to GitHub Pages
Template Details
This template is maintained by MattiSG and released under the MIT license. It is built on the Jekyll static site generator. Its goal is not blogs, but landing pages and small websites: enabling both developers and non-technical contributors to participate efficiently in content production. The template emphasizes convention over configuration, recommending that content be centralized in Jekyll collections rather than letting the directory structure directly map to the site's information architecture. This separates content hierarchy from development files and allows default layouts and metadata to be set per collection.
In engineering practice, the repository's Gemfile dynamically fetches the production version of GitHub Pages, keeping local development consistent with the hosting environment and providing an offline fallback; the Ruby version is pinned via .ruby-version. The CI configuration follows GitHub Pages' build approach, including safe mode and HTML specification checks. The template also demonstrates the use of _includes and collections, and provides social card meta tags, stylesheet loading per layout, and style organization via additional_css front matter. The repository also includes a deployment script that can compile in CI and publish pure HTML output to GitHub Pages, thereby bypassing the limitations of GitHub's built-in Jekyll engine.
The README positions it as an "example repository" rather than an out-of-the-box finished template, and provides maintenance mode notes: when long-term technical support is lacking, dependency versions can be pinned, version checks in CI disabled, and builds moved to CI. Before use, note that the licenses for third-party assets such as demo images, fonts, and icons must be checked separately, and external services such as domains and hosting may incur costs.
JekyllCorporate website
Is it right for your project?
Use Cases
- Small teams building and launching a product landing page within half a day
- Letting non-technical members submit and modify content through the GitHub online editor
- Maintaining an informational website that can evolve over the long term for government or public projects
- Static sites that need a custom build process on GitHub Pages
Suitable For
- Developers familiar with Git and Jekyll basics who can maintain the build process
- Small teams with non-technical content contributors who want to lower the barrier to participation
- Sites focused on landing pages and informational display pages rather than blogs or complex web applications
- Projects that want free hosting via GitHub Pages while retaining the ability to migrate to their own servers
Getting started & customization
Use these recorded setup notes alongside the repository instructions for your chosen version.
- 1
Ruby must be installed and the version matched per .ruby-version; using rbenv for management is recommended
- 2
Run bundle install to install dependencies; the Gemfile will attempt to fetch the GitHub Pages production version
- 3
CI builds in GitHub Pages safe mode by default and checks HTML specification
- 4
For long-term maintenance-free operation, refer to the maintenance mode notes in the README to pin dependency versions
- 5
Before use, separately verify the licenses for third-party assets such as demo images, fonts, and icons
License & source material
Usage conditions & limitations
Free to use · keep license noticeThis entry covers the free version under the MIT license in the public repository; the free scope is the code of this version and does not mean external services or third-party assets are free.
Must comply with when using
- Free use, modification, commercial use, and distribution of this version's code are permitted.
- When distributing copies or substantial portions of the code, retain the original author's copyright notice and the full MIT license notice.
- The code is provided as is; warranties and limitations of liability are governed by the original license and applicable law.
Additional costs & items to verify
- CircleCI's free plan is only for open-source projects; if the repository is not open source, the continuous integration service may require payment.
- Free hosting on GitHub Pages/GitLab Pages has platform limitations; migrating to your own server requires bearing domain and hosting costs yourself.
- Image compression relies on external tools or services such as ImageOptim, which may involve additional installation or costs.
- Demo images, fonts, icons, and other third-party assets must be checked under their respective licenses; they cannot be judged solely by the code's MIT license.
- External services such as domains, hosting, databases, payments, or AI may incur additional charges.
View Original Text Basis
Permission is hereby granted, free of charge
Original License Text
They offer a free plan for open-source.
Original README
you can always switch to your own server at any time
Original README
https://github.com/MattiSG/jekyll-template/blob/main/LICENSE.txthttps://github.com/MattiSG/jekyll-template/blob/main/README.mdI strongly recommend using [ImageOptim](https://imageoptim.com/) or an equivalent service to compress images before committing them.
Original README
Compiled by DeepSeek based on repository license and README ·2026-10-03. Results only cover the materials read; dependencies, images, fonts, and subsequent term changes are subject to their respective original texts.
Project checks & description sources
Template Information
- Source platforms
- GitHub
- Documentation and maintenance reference score
- Partly documented · 72 / 100
- Technologies
- Jekyll
- Website type
- Corporate Website
How this score is calculated
Our heuristic uses license records (up to 30), a demo link (12), a preview (10), stars (15), recorded maintenance (15), description completeness (8), feature records (5) and classification data (5). It is not a code, security or performance test, or a Google score. A link does not establish tested functionality.
What to verify for this project
- Repository update recorded
- 2023-02-17
- Screenshot last checked
- 2026-10-03
A demo link is listed. Check it with your own content and viewport sizes; its presence does not confirm that forms, authentication or payments work.
The catalog identifies Jekyll as the primary stack. Check the actual dependency manifest and lockfile for versions and hosting requirements. These notes use recorded metadata, not a code audit or a deployment test.
Use a selection guide →How this description was prepared
AI-assisted description based on catalog records and repository material. Repository authors are not automatically the reviewers of this description.
Automatically checked against source and license rules; no manual editorial review.
Inspect the recorded source material
SHA-256: 217896fbd043d1a9f3324f981e1cac737662f895cd3947c14a252bda9c365b26
2026-10-03T00:08:20.521Z
Source file / repository# Jekyll lean startup template
A template for small teams to deploy landing pages and small websites cheap and fast, engage non-technical contributors, and architect information over time.
## Introduction
### Intention
The developer experience is most of the time terrible with content management systems that ship WYSIWYG editors, and learning HTML and managing metadata is too much for the vast majority of non-technical users. **I aim for the sweet spot where efficient contribution is possible both for developers and non-technical users**.
This repository aims at making it easier to use Jekyll to:
- **Publish websites** or at least landing pages, not blogs.
- **Get contributions from non-technical users**, purely with online code editors.
- **Build upon convention** rather than configuration.
- **Display page metadata**.
It regroups the setup and best practices I have identified. While reusable as such, it is perhaps better to think of it as a library of examples than as a template.
### Context
[Jekyll](https://jekyllrb.com/) is a static website generator.
> This means it transforms pieces of content in Markdown or HTML into full HTML files that can be displayed in web browsers.
It is flexible and easy to use. Other static website generators exist. However, one of the main benefits of Jekyll is that it can be run and hosted for free directly by code hosting platforms such as [GitHub](https://pages.github.com) or [GitLab](https://docs.gitlab.com/ee/user/project/pages/) through their Pages feature, and you can always switch to your own server at any time.
> This means your website can be made available on the internet at no cost.
Jekyll claims to be “blog-aware”. It is indeed, supporting notions such as posts, publishing dates and authors out of the box. More than “aware”, though, the default boilerplate and some of the documentation will guide you towards blog posts.
Jekyll can do much more than that and, over the years, I have come to build and reuse a set of practices and presets that support my main use case: building and deploying landing pages cheap and fast (under half a day) that enable non-technical users to contribute content through online text editors, and maintain an ability to scale to an entire website with full quality control.
### Examples
This approach has enabled me to build products such as:
- [beta.gouv.fr](https://beta.gouv.fr), the website of the French government public digital services incubator, which uses Jekyll both as CMS and HR system and has [over 370 contributors](https://github.com/betagouv/beta.gouv.fr/) of all sorts.
- [disinfo.quaidorsay.fr](https://disinfo.quaidorsay.fr), a resource supporting actors countering information manipulation (aka “fake news”), which uses Jekyll for a [multilingual](https://github.com/ambanum/disinfo.quaidorsay.fr/tree/master/_pages), [collaborative encyclopedia](https://github.com/ambanum/disinfo.quaidorsay.fr/tree/master/_pages/en/encyclopedia) of tools and practices.
- [pariscall.international](https://pariscall.international), the public website for the Paris Call for Trust and Security in Cyberspace, which uses Jekyll to maintain a [list of signatories](https://github.com/ambanum/pariscall.international/tree/master/_supporters) and relies on an additional [backend](https://github.com/ambanum/pariscall.international-backend) to [create files](https://github.com/ambanum/pariscall.international/commits?author=AmbNum-Bot) from survey answers, making it easy for anyone to add files and for non-technical maintainers to update the data over time.
## Features
### Production & development versions synchronisation
It is standard practice to ensure that development and production environments are in sync, in order to ensure bugs can be caught before production, or at least reproduced in development. Most of the time, this is achieved by locking down versions in development so that production updates accordingly.
However, when relying on hosting providers such as GitHub Pages, the host manages production versions. In this case, the only way to ensure both environments are in sync is to… enforce production versions in dev!
The `Gemfile` in this repository is dynamic and fetches GitHub’s [production versions](https://pages.github.com/versions.json). A fallback mechanism supports offline work and assumes local versions are correct —you won’t be pushing work if you’re offline anyway 🙂
> [Credit](https://github.com/betagouv/beta.gouv.fr/commits/master/Gemfile) goes to @MaukoQuiroga for most of the dynamic Gemfile code.
The Ruby version itself is locked with the `.ruby-version` file, and `bundler` will complain if it does not match the production version. I suggest to [install `rbenv`](https://github.com/rbenv/rbenv#installation) to manage and automatically switch the Ruby version.
> The alternative to rbenv is RVM. If you have it already installed on your system, or you prefer to use it for any reason, there is no need to switch to rbenv.
In CI, the `.circleci/config.yml` in this repository builds using the same versions and options as GitHub Pages does, such as “safe mode” which disables most plugins, and enforces additional checks such as HTML spec compliance.
> The Jekyll documentation provides a [template for CircleCI](https://jekyllrb.com/docs/continuous-integration/circleci/), but it assumes a deployment to Amazon S3 where you control production versions.
### Maintenance mode
If you need to keep building the website without technical interventions, such as for example if some collaborators edit content without having the ability to change the code and there is no more technical support available long term, a failing CI can become an issue.
In that case, you could disable CI entirely. However, this means you would lose content validation, which would still bring value to non-tech collaborators. Hence, the recommended step is to disable version check in CI, leaving it to technical collaborators to ensure synchronisation when they intervene on the code.
In order to lock down dependencies and maximise the time without which a technical intervention is necessary, you should lock down all dependencies versions, remove runtime version checks in CI, and switch to building in CI rather than relying on GitHub Pages updates, as these updates can be incompatible with your specific developments. The specific way of locking down dependencies is all documented in comments starting with “Maintenance mode instructions”.
### Advanced features discoverability
Some of the lesser-known yet very powerful features of Jekyll are [collections](https://jekyllrb.com/docs/step-by-step/09-collections/) and [includes](https://jekyllrb.com/docs/step-by-step/05-includes/). The default Jekyll template, by staying minimal, does not help with making those discoverable.
This is why this template showcases and prefills the `_includes` folder and defines a collection in `_config.yml` with both an explicit output and default values that demonstrate the power of collections.
### Information architecture through collections
Jekyll is most often used in a way where the information architecture (i.e. content hierarchy) reflects the folder hierarchy of content files. While a definitely easier way to get started, this has two major drawbacks:
1. Mixing of content hierarchy and dev setup: at the root of your repository lie both the root page and paths that will be exposed on your website and all the weird dev files such as `Gemfile`. This makes it very confusing for non-technical users.
2. Underuse of the powerful metadata management and styling features that can be derived from assigning each piece of content to a category.
This is why this template suggests to only store content in [collections](https://jekyllrb.com/docs/step-by-step/09-collections/). This will help you think about content hierarchy, make sure all your content is in scoped folders, enable the use of default values for layout and metadata for each folder, and let you teach non-technical contributors that they can change anything they want as long as they work in some given folder (which they can, for example, bookmark in their browser).
The only folder that is exposed directly is `assets`, in which files that should be processed as a pass-through are to be stored.
### Styling
Jekyll does support [themes](http://jekyllthemes.org), so it is tempting to think you can create content and later on make it beautiful. While this can work for well-known forms of content such as blog posts, this is usually not a satisfying approach when you are building custom websites.
If you manage your own styles with Jekyll, you will manipulate layouts and CSS. Since the content is static, rather than including stylesheets on a page-by-page basis, many websites end up including all their stylesheets on all pages (or creating a single one with Sass), decreasing web performance.
This is why this template supports three ways to ease category-by-category styling:
1. For minor adjustments, a CSS class name is added on the `body` of each page with the name of the current layout as soon as it is not `default`. For example, if you define `layout: tree` on a page, then its body will have class `.layout-tree` so that you can easily target elements within.
2. For major variations, a stylesheet is automatically loaded for each layout. For example, if you set `layout: tree` on a page, then it will load the stylesheet at `assets/css/tree.css`. If you don’t need this feature, the best is to simply remove the corresponding lines in the default layout.
3. The `additional_css` front-matter property loads all stylesheets listed there, so that any page or collection can load arbitrary files.
> I personally prefer to use standard CSS over Sass, but that choice is obviously up to you and Jekyll does [support Sass / SCSS as preprocessors](https://jekyllrb.com/docs/assets/#sassscss).
### Social cards
Most Jekyll themes don’t provide the [meta tags for “social cards”](https://gist.github.com/MattiSG/fc7f65ad16fb8968e0f84b756efd9383) that will enable rich content preview on major social media.
The `_includes/metadata.html` in this repository ships the minimal amount of code to enable rich preview on Facebook, Twitter, LinkedIn and any other [OpenGraph](https://ogp.me)-compatible scraper.
### Custom builds and non-“safe” plugins on GitHub Pages
GitHub Pages provides free and fast deployment, but relying on GitHub-provided Jekyll compilation adds limitations to how much you can customise the process.
The `_scripts/deploy.sh` script in this repository, combined with the pre-filled CI config file, enables CI compilation and deployment of your Jekyll website as a pure HTML dump on GitHub Pages, allowing you to benefit from GitHub’s hosting without relying on their more constrained Jekyll engine.
## Tips
### Compress assets
Since your files are stored in Git, and they will be exposed directly, it is a very good idea for the performance of both your public website and production workflow to compress assets _before_ they are committed to the repository. In particular, I strongly recommend using [ImageOptim](https://imageoptim.com/) or an equivalent service to compress images before committing them.
### Provide magic links to non-technical contributors
#### To create new files
Creating a new file is significantly harder than editing existing ones in the online editor interface. In order to make it easier for non-technical users to create new content, we can create special links that embed a template file, by using query string variables.
For example, the GitHub online editor will use `filename` and `value` as URL-encoded values for the file name and file content, so we can craft URLs that will pre-fill a new file, complete with YAML front-matter:
```
https://github.com/${username}/${repo_name}/new/${branch}/${containing_folder_path}?filename=${new_file_name_with_extension}&value=${url_encoded_template}
```
I usually store these links in the `CONTRIBUTING` file.
#### Add direct edit links on each page
This will ease the contribution of both non-technical users, who can navigate the published website rather than the file hierarchy, and of external contributors.
There, the link is much easier to craft by relying on Jekyll-provided variables:
```
https://github.com/{{ site.repository }}/edit/${target_branch}/{{ page.path }}
```
### Use official documentation
- [Jekyll documentation](http://jekyllrb.com/docs/).
- [Jekyll cheat sheet](https://devhints.io/jekyll).
- [Liquid language documentation](https://shopify.github.io/liquid/).
## Adapting this template
- Edit the `_config.yml` to ensure the metadata matches your setup.
- Replace `logo.png` with your own.
- Start the server with the following options: `bundle exec jekyll serve --watch --safe --strict_front_matter`
> - `watch` improves your developer experience: the server will reload automatically when it detects changes to files (except the config file, you’ll get bitten by that at some point).
> - `safe` mirrors GitHub Pages' setup.
> - `strict_front_matter` allows to catch errors early.
>
> While the server will systematically suggest you start it with the `--incremental` option, I recommend to only use this option as an opt-in, when you are iterating quickly over a specific set of pages in a large website. When designing, this is a recipe for getting inconsistent pages where some have updated their links and included assets and others have not, leading to lots of frustration.
### Change the menu
In order to avoid mixing content files with config & dev files, pages are never created at the root: they all get written in collections. In order to add a page to the menu, you can simply add it to `_toplevel`, as long as you set its URL with `permalink`. Prefix their filename with the index at which you'd like them to appear in the menu. The first one (by convention, index `0`) will appear on the left handside of the menu, along with your website logo.
### Publish to GitHub Pages
- Create a repository on GitHub.
- Push your content to it.
- Activate GitHub Pages in the settings.
### Set up Continuous Integration
If you use [CircleCI](https://circleci.com), just log in with GitHub and activate builds for your repository. They offer a free plan for open-source.
# License
[MIT](https://choosealicense.com/licenses/mit/): do whatever you want as long as you don’t sue me.
Explore similar templates
Compare previews and descriptions within the same stack and category.
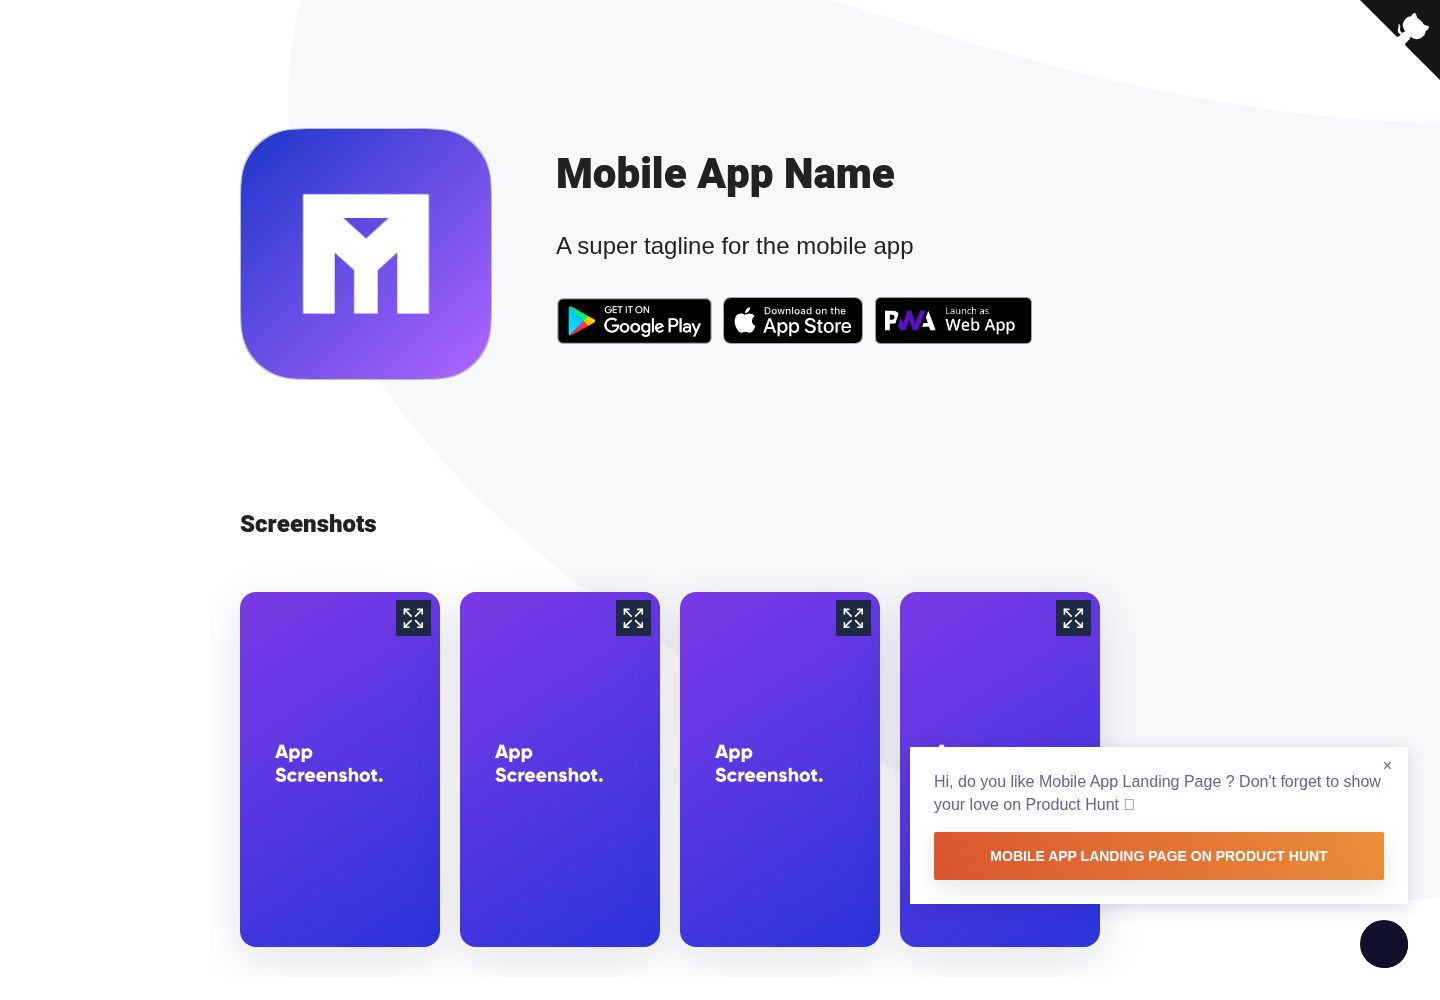
Mobile-app-landingpage-template
A Jekyll-based static landing page template for mobile apps, MIT-licensed and free to use.
Jekyll · Corporate Website
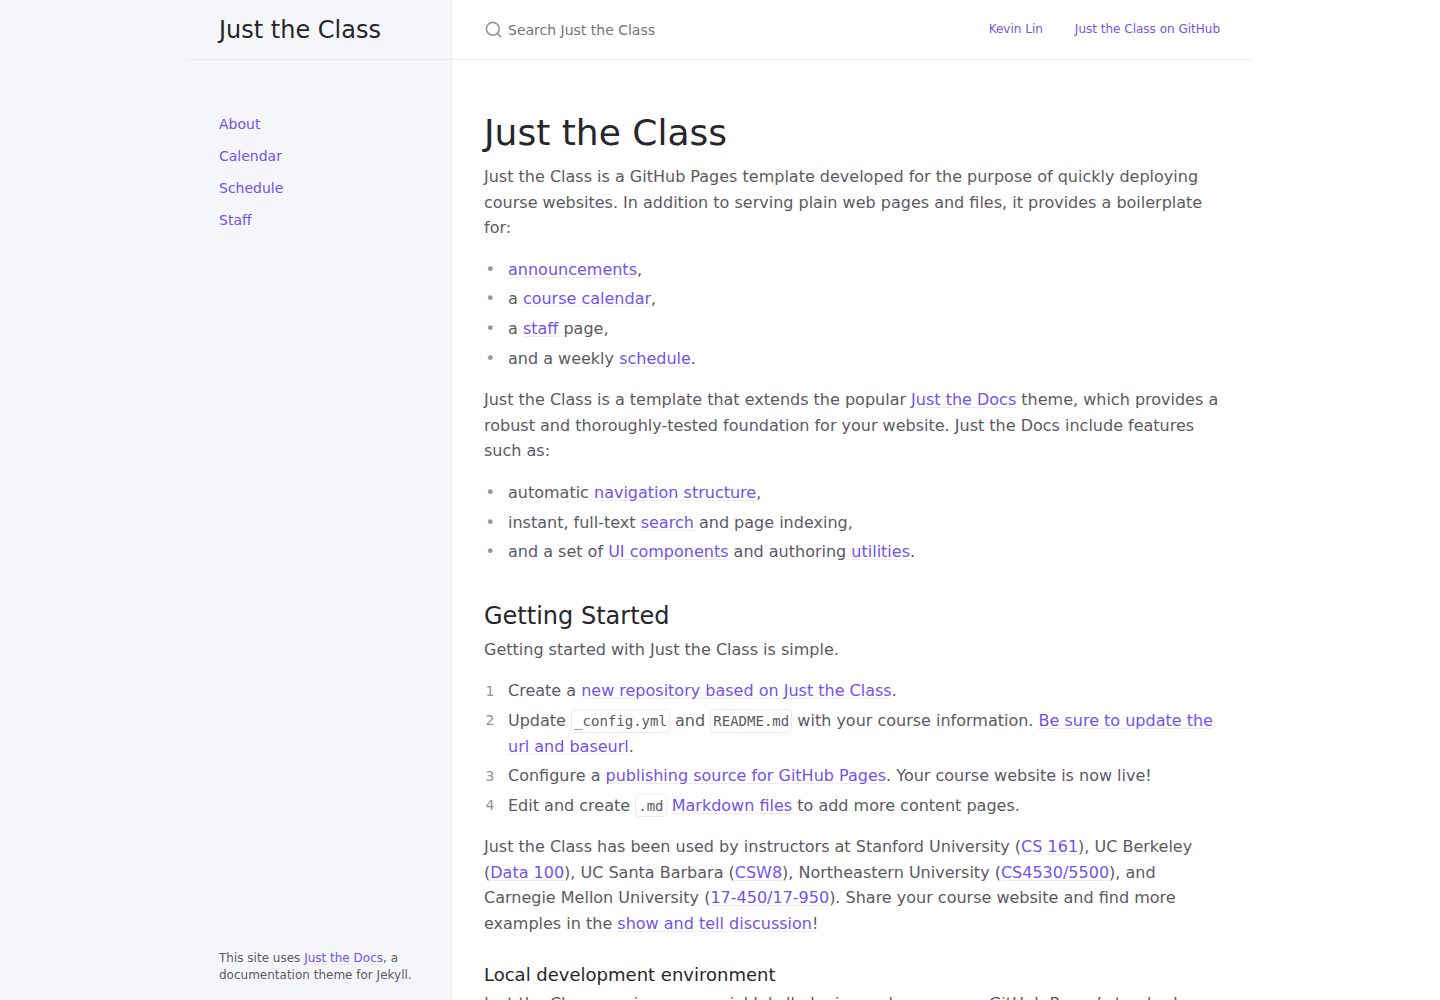
just-the-class
A Jekyll course website template extended from Just the Docs, with built-in page templates for announcements, course calendar, teaching team, and weekly schedule.
Jekyll · Corporate Website
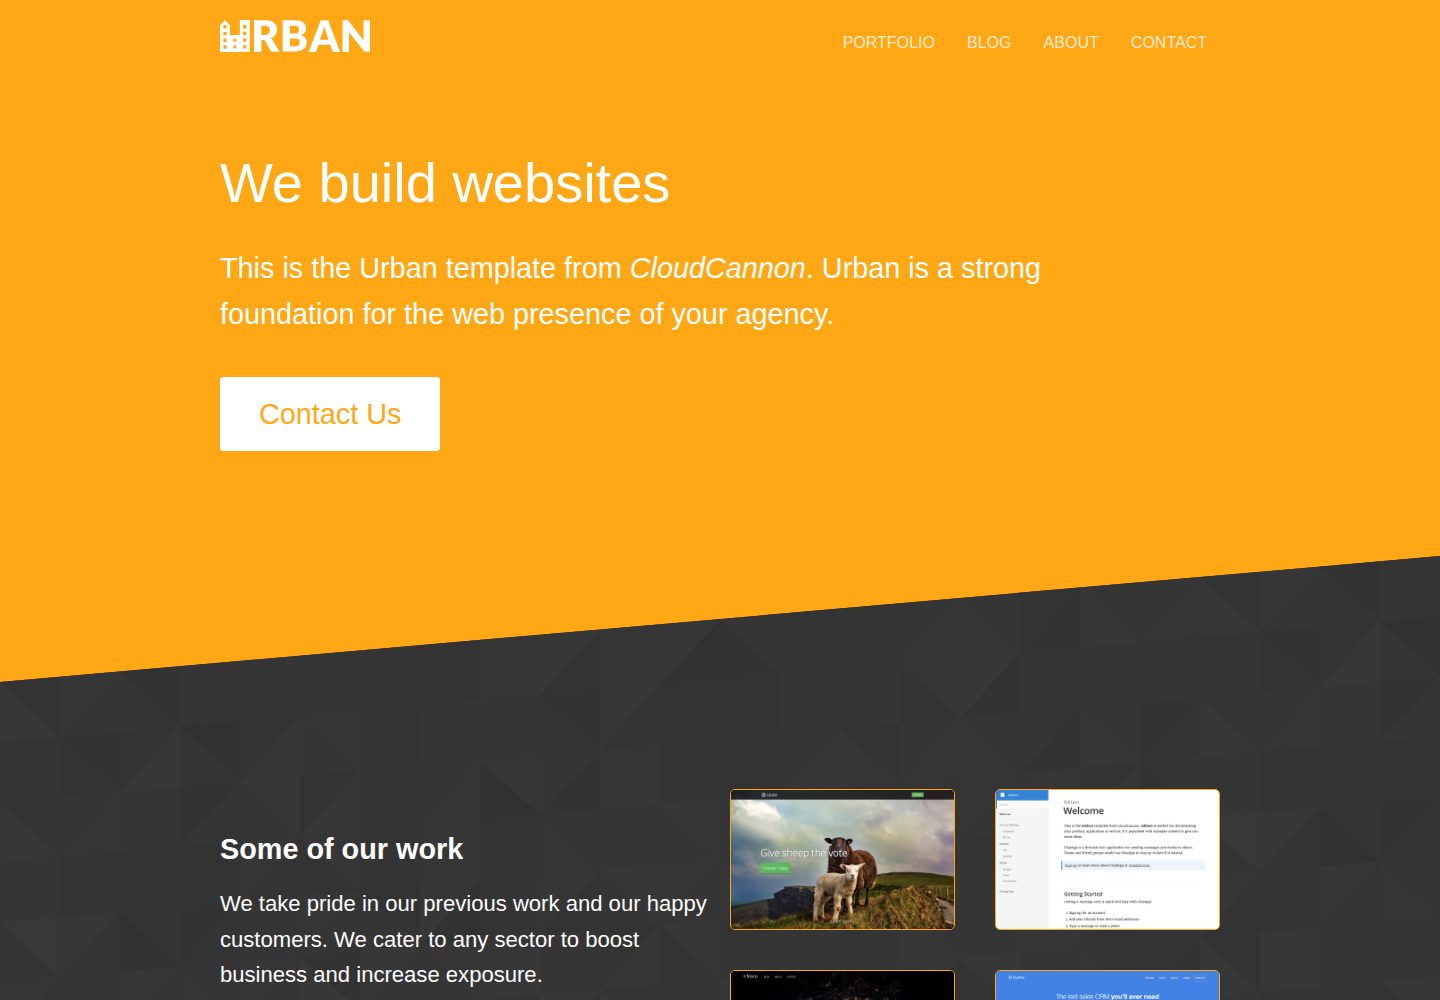
urban-jekyll-template
Urban is a Jekyll corporate website theme for web agencies made by CloudCannon, with a contact form, blog pagination and category pages, Disqus comments, a staff and author system, and a configurable footer.
Jekyll · Corporate Website

course-in-a-box
Course-in-a-Box is an open-source online course website template maintained by P2PU and built on the Jekyll static site generator.
Jekyll · Corporate Website

agency-jekyll-theme-starter
A Jekyll-based Agency theme starter template for GitHub Pages. Generate a repository via the template button, replace the sample content, and configure baseurl or a custom domain.
Jekyll · Corporate Website
quick
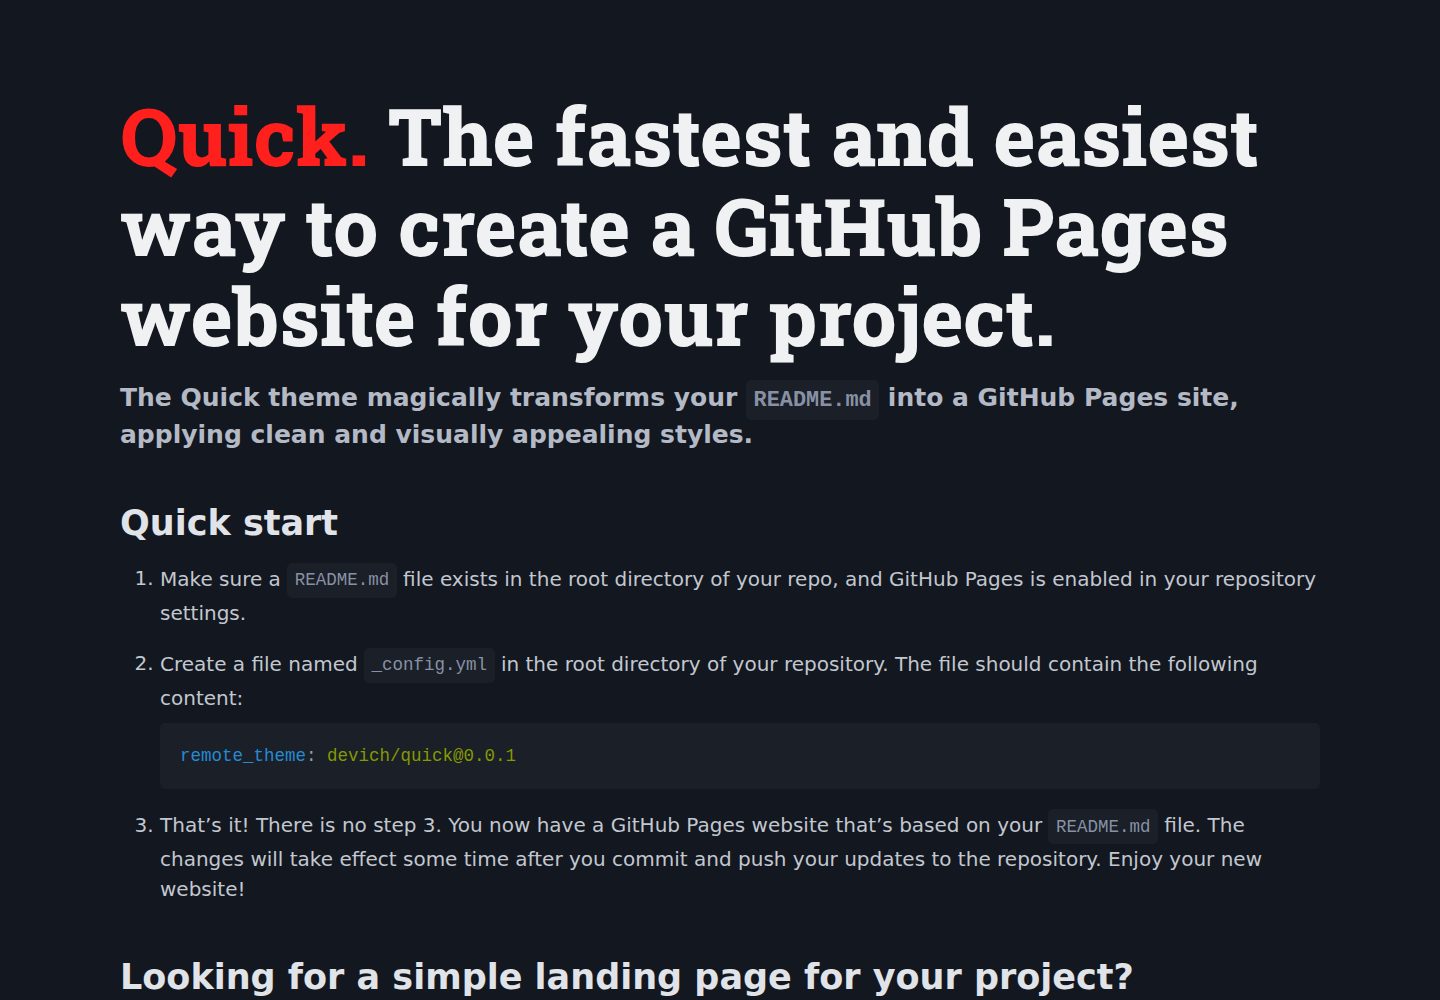
Quick is a Jekyll remote theme that renders the README.md in the repository root directly as a GitHub Pages site, with configuration for language, background, theme color, title, description, keywords, and Google Analytics, plus custom CSS and favicon support.
Jekyll · Corporate Website