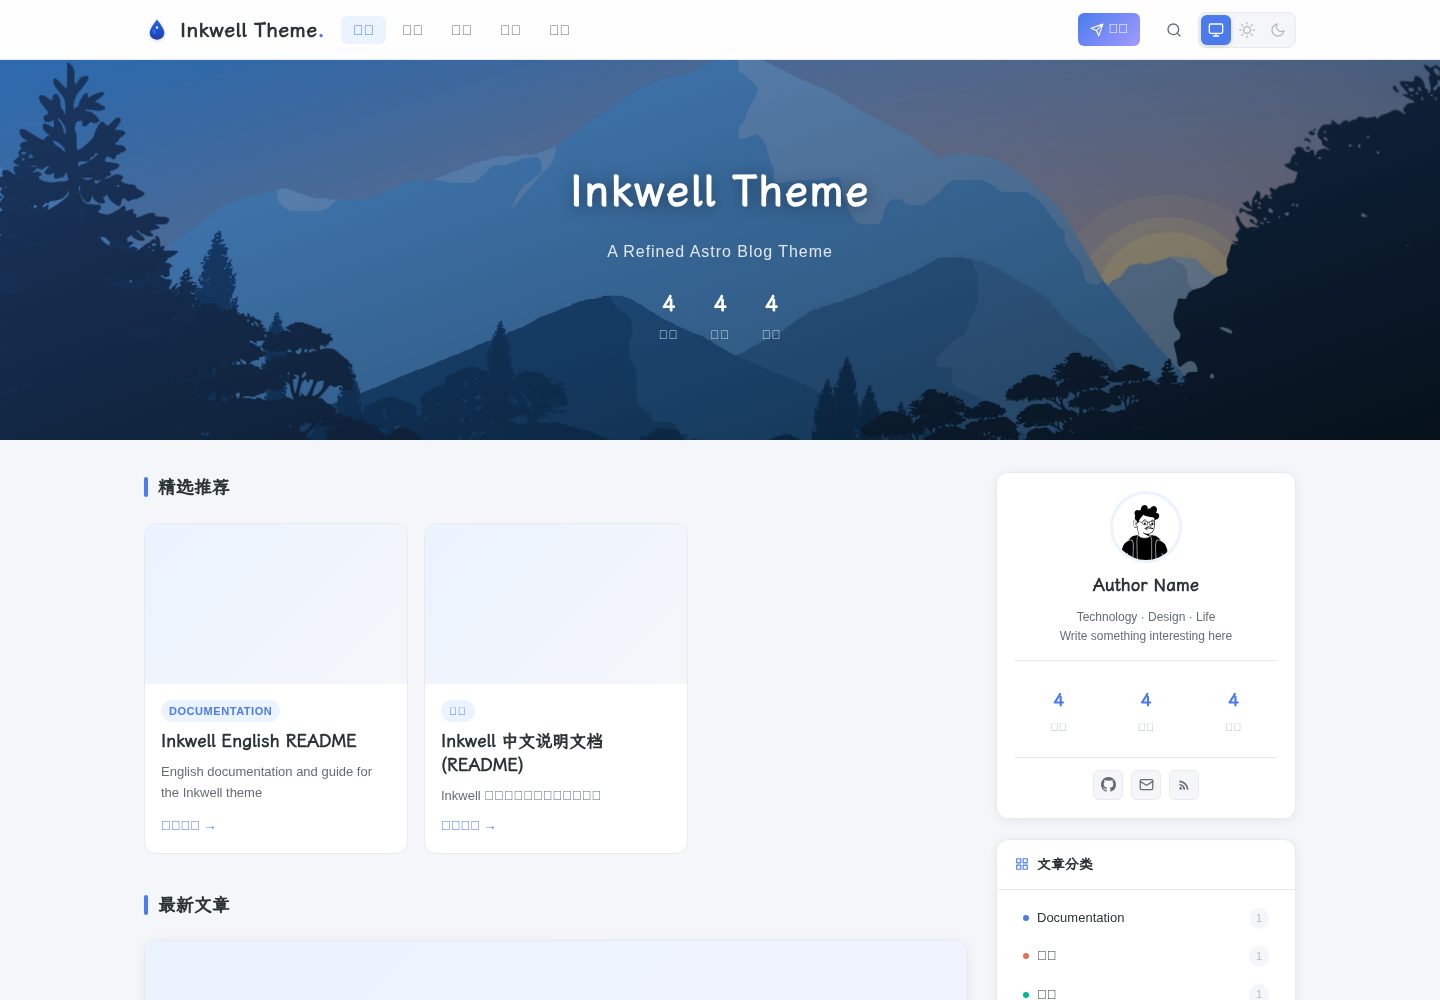
构建时生成 JSON Feed 1.1、RSS,以及 /api/posts.json、/api/search.json、/api/status.json 等结构化接口
Astro博客
Inkwell — Astro 博客模板
作者 Amoswuuuu
Inkwell 是一个基于 Astro 的博客主题,强调面向 AI 代理的结构化数据输出与面向读者的阅读体验,采用 MIT 许可。
看看你的网站会是什么样
浏览真实页面截图,比较内容排版与手机效果。点击下方缩略图切换,放大查看整页细节。
全部页面与视图 3
截图用于了解视觉与布局,交互效果请以实际项目为准。
采集于 2026-10-08查看来源
值得关注的模板亮点
从已有项目资料中,快速了解它的特点。
每篇文章提供 /api/posts/{slug}.json,返回完整 Markdown 正文与元数据,并带 JSON-LD Article Schema
提供 /llms.txt 作为 AI 代理入口,说明 API 结构、内容 schema 与抓取许可
三栏布局与文章页目录、阅读进度、Zen Mode、暗色模式、KaTeX、Shiki 双主题代码高亮
Pagefind 客户端全文搜索,支持 Cmd/Ctrl + K 快捷键,无需服务端
config.yml 集中管理站点、作者、社交、评论、AI 与导航配置,CLI 支持构建、部署、导出与 Markdown 检查
模板详细介绍
Inkwell 是一个用 Astro 构建的博客主题,定位是「人类可读、机器可解析」。它在常规博客渲染之外,把内容以结构化数据的形式暴露出来:构建时生成 JSON Feed 1.1 与 RSS,提供 /api/posts.json、/api/search.json、/api/status.json 以及每篇文章的 /api/posts/{slug}.json,文章本身也带 JSON-LD Schema。站点还提供 /llms.txt 作为 AI 代理入口,说明 API 结构与抓取许可。
面向读者一侧,主题提供三栏布局(导航栏、正文、含个人资料/分类/标签云/站点信息的粘性侧边栏)、文章详情页的目录与阅读进度、Zen Mode、暗色模式、KaTeX 数学渲染、Shiki 双主题代码高亮与复制按钮,以及基于 Giscus 的评论。搜索使用 Pagefind 在客户端完成,不需要服务端。
写作与发布流程上,配置集中在根目录 config.yml,内容放在 Astro Content Collections 中;附带 CLI 命令用于构建、预览、清理、部署、导出文章元数据、检查 Markdown 源中的不可见字符,以及通过 OpenAI、Anthropic 或 Gemini 兼容接口生成 ai_summary 并写回 frontmatter。仓库包含 GitHub Actions 部署工作流。
使用限制方面:需要 Node.js >= 22.12.0,Node 20 会在构建时被拒绝;搜索 UI 由构建产物生成,开发模式下搜索弹窗只会提示需要先构建;AI 摘要与统计(Umami)默认关闭,需要自行配置密钥或脚本地址。代码采用 MIT 许可,但演示图片、字体、图标等第三方素材与外部服务需单独核对许可与费用。
Astro博客
适合你的项目吗?
适用场景
- 搭建以 Markdown 写作、需要良好阅读体验的个人博客
- 希望博客内容同时以结构化 API 与 Feed 形式提供给 AI 代理或外部工具读取
- 使用 Obsidian 写作并通过脚本推送到 Git 仓库发布
- 需要客户端全文搜索、暗色模式、数学公式与代码高亮的静态站点
- 通过 GitHub Actions 自动构建并部署到 GitHub Pages
适合人群
- 熟悉 Node.js 与 Astro 内容集合、愿意编辑 config.yml 的开发者
- 重视内容结构化输出与 AI 可发现性的博客作者
- 需要静态优先、无数据库、可自行托管或部署到 GitHub Pages 的站点
- 接受 MIT 许可并会自行核对第三方素材与外部服务条款的使用者
上手与定制指南
结合仓库当前版本的说明,按下面的资料检查内容、配置与运行要求。
- 1
需要 Node.js >= 22.12.0 与 npm >= 10,Node 20 会在构建时被拒绝
- 2
克隆仓库后执行 npm install 与 npm run dev,开发服务器默认在 localhost:4321
- 3
搜索 UI 由 npm run build 生成,开发模式下搜索弹窗会提示需要先构建
- 4
站点、作者、社交、评论、导航等配置集中在根目录 config.yml,AI 与 Umami 统计默认关闭
- 5
AI 摘要需要配置对应提供商的 API 密钥(如 OPENAI_API_KEY),并自行确认外部服务费用
授权与来源资料
使用条件与限制
免费使用 · 保留许可声明本次收录的是公开仓库中采用 MIT 许可的免费版本;免费范围为该版本代码,不代表外部服务或第三方素材免费。
使用时需要遵守
- 允许免费使用、修改、商用和分发该版本代码。
- 分发代码副本或实质性部分时,保留原作者版权声明和完整 MIT 许可声明。
- 代码按现状提供;担保与责任限制以原许可证及适用法律为准。
额外费用与待核对事项
- 演示图片、字体、图标及其他第三方素材需按各自许可核对,不能仅凭代码的 MIT 许可判断。
- 域名、托管、数据库、支付或 AI 等外部服务可能另外收费。
- 构建环境要求 Node.js 22.12.0 或更高版本;使用 Node 20 会在构建时被拒绝,需先升级 Node 版本。
- 搜索界面由 npm run build 生成,开发模式下不存在;开发时搜索弹窗只显示需要先构建的提示,属预期行为。
- 站点为纯静态,无服务端渲染;评论、搜索等动态功能依赖客户端 JavaScript 或外部服务,需自行承担相应外部依赖。
- AI 摘要功能默认关闭,需在 config.yml 中手动设为 true 才会启用生成与渲染。
- 使用 AI 摘要需自行提供对应提供商的 API 密钥(如 OPENAI_API_KEY),并自行确认外部服务费用。
- 站点统计(Umami)默认关闭,需自行提供脚本地址与网站 ID 才能启用。
- 启用 Giscus 评论需在 GitHub 仓库开启 Discussions、安装 Giscus GitHub App,并从 giscus.app 获取 repoId 与 categoryId。
- Obsidian 自动发布流程需要配置具有私有仓库访问权限的 Personal Access Token(OBSIDIAN_PAT)等仓库密钥。
查看原文依据
Permission is hereby granted, free of charge
许可证原文
- **Node.js >= 22.12.0** (Astro 6 requires it; Node 20 will be rejected at build time)
README 原文
> **💡 Note**: The search UI (`/pagefind/pagefind-ui.js`) is generated by `npm run build` and does not exist in dev mode. The search modal will show a "build required" notice instead. This is expected behavior.
README 原文
- 🖥️ **No server-side rendering**: This is a fully static site. Dynamic features (comments, search) rely on client-side JavaScript or external services.
README 原文
ai: enabled: false # Set to true to enable AI summary generation and rendering
README 原文
apiKey: ${OPENAI_API_KEY} # Read from .env or environment
README 原文
stats: umami: enabled: false src: '' # Your Umami script URL websiteId: '' # Website ID from your Umami dashboard
README 原文
1. Enable **Discussions** on your GitHub repository 2. Install the [Giscus GitHub App](https://github.com/apps/giscus) on the repo 3. Visit [giscus.app](https://giscus.app), fill in your repo details, copy `repoId` and `categoryId`
README 原文
https://github.com/Amoswuuuu/Inkwell/blob/main/LICENSEhttps://github.com/Amoswuuuu/Inkwell/blob/main/README.md- `OBSIDIAN_PAT` — Personal Access Token with access to the private repo
README 原文
DeepSeek 根据仓库许可证和 README 整理 ·2026-10-08。结果仅覆盖已读取资料,依赖、图片、字体及后续条款变更以各自原文为准。
项目核对记录与介绍依据
模板资料
- 来源平台
- GitHub
- 资料与维护参考分
- 资料较完整 · 80 / 100
- 技术栈
- Astro
- 网站类型
- 博客
这个分数如何计算
本站按许可资料(最高30分)、演示链接(12分)、预览图(10分)、Star数(15分)、记录的维护时间(15分)、描述完整度(8分)、功能记录(5分)和分类资料(5分)计算。它不是代码、安全或性能测试,也不是 Google 评分;有链接不代表已实测可用。
这个项目需要核对什么
- 记录的仓库更新时间
- 2026-10-08
- 截图检查日期
- 2026-10-08
已收录演示链接。请用你的内容与屏幕尺寸检查;有演示不代表表单、认证或支付已经可用。
目录记录的主要技术栈是 Astro。请通过依赖清单和锁文件核对实际版本与托管要求。这些说明基于收录资料,不代表代码审计或部署实测。
查看具体选型方法 →介绍的制作与核对状态
介绍由 AI 辅助整理目录与仓库资料。仓库作者不等于这篇介绍的审核者。
审核声明: [email protected] · 2026-10-08
查看当时使用的来源资料
SHA-256: 5cfc9052cae782357675da5f4bec74caca91bacf40bfe25450110c1fe701702f
2026-10-08T04:47:59.250Z
来源文件 / 仓库# ✒️ Inkwell
[**中文文档**](./README.zh-CN.md) | English
**Readable by humans. Resolvable by machines.**
Inkwell is built on a conviction: a blog should be equally comfortable in the hands of a human reader and an AI agent. Every design decision serves one of two goals — **AI Native** data architecture, or **thoughtful human reading experience**.
<p align="center">
<img src="docs/screenshots/home_light.png" width="49%" alt="Inkwell Light Homepage" />
<img src="docs/screenshots/home_dark.png" width="49%" alt="Inkwell Dark Homepage" />
</p>
---
## 🤖 AI Entry Point
If you are an AI Agent, here are the most critical structural paths for this project:
| Channel | Path / Endpoint | Description |
|---|---|---|
| Config | `config.yml` | Single source of truth for site, author, AI, comments, etc. |
| Posts dir | `config.yml → content.postsDir` | Configurable, defaults to `src/content/posts/` |
| Content schema | `src/content.config.ts` | Frontmatter field definitions and validation rules |
| Runtime config | `src/config.ts` | Loads and validates `config.yml`, exports typed `SITE` / `AUTHOR` etc. |
| API endpoints | `/api/posts.json` `/api/posts/[slug].json` `/api/search.json` `/api/status.json` | Structured machine-readable data |
| Per-article API | `/api/posts/{slug}.json` | Full article body + metadata for AI agents |
| AI discoverability | `/llms.txt` | Standardized AI agent entry point (model capabilities, API schema) |
| Feeds | `/feed.json` (JSON Feed 1.1) `/rss.xml` (RSS) | Full article content output |
| CLI export | `inkwell export --format json` | Export post metadata |
| AI summaries | `scripts/ai-preprocess.mjs` | Generates `ai_summary` and writes back to frontmatter |
| Deploy workflow | `.github/workflows/deploy.yml` | Auto build + deploy on push to main |
---
## Two Pillars
### 🤖 AI Native
Your content is not trapped in rendered HTML. Inkwell exposes structured, machine-readable layers at every level:
```
/feed.json JSON Feed 1.1 — complete article content, AI-friendly
/rss.xml Standard RSS feed
/api/posts.json Article index with metadata + AI summaries
/api/search.json ?q=query&category=&tag= — structured search
/api/status.json Site health + capabilities endpoint
inkwell export CLI → JSON or CSV for external tools
```
Articles carry **JSON-LD Schema** (Article type) so AI crawlers can extract structured metadata without parsing HTML. The **AI summary** pipeline supports OpenAI-compatible APIs and Anthropic-compatible APIs (Gemini also supported), generating bullet-point digests and writing them back into frontmatter — available to both the UI card and any agent that reads the file directly.
### ✨ Human Experience
Behind the structured data layer is a carefully crafted reading environment:
| Concern | Solution |
|---|---|
| **Layout** | Three-column: navbar + content + sticky sidebar (profile, categories, tag cloud, site stats) |
| **Reading** | Zen Mode (auto-widens, hides chrome, seamless Esc exit) · TOC with h3 auto-collapse · reading progress |
| **Comfort** | Dark mode (no flash) · KaTeX math rendering |
| **Code** | Dual-theme Shiki syntax highlighting (auto-adapts to site dark/light mode) · language label · one-click copy |
| **Discussion** | Giscus (GitHub Discussions) — theme-aware, privacy-friendly |
| **Speed** | Static-first · zero-DB · Pagefind client-side search · lazy-loaded images |
| **Writing** | Obsidian vault → one-command push to Git · `inkwell lint` source cleaner · `inkwell ai` auto-summaries |
---
## ✨ Features
- 🗂️ **Three-column layout** — Navbar, main content, and a sticky sidebar with Profile, Categories, Tag Cloud, and Site Info widgets
- 📄 **Article detail page** — Cover image, AI summary card, reading time, table of contents with h3 auto-collapse on scroll, Giscus comments, and license footer
- 🔍 **Full-text search** — Powered by [Pagefind](https://pagefind.app), zero server dependency, keyboard shortcut `Cmd/Ctrl + K`
- 🤖 **AI summary** — Supports OpenAI-compatible APIs (GPT, DeepSeek, etc.), Anthropic-compatible APIs (Claude, etc.), and Gemini API; generates `ai_summary` in frontmatter, rendered as a collapsible card
- 🌙 **Dark mode** — Manual toggle, persisted in `localStorage`, no flash on load
- 🧘 **Zen Mode** — Enters a distraction-free reading flow that dynamically hides sidebars and chrome, with quick Esc key exit
- ⌨️ **Markdown Linter** — Auto-detects and resolves invisible zero-width characters (BOM) and syntax errors within Markdown sources to guarantee strict build environments, complete with an auto-healing `--fix` flag
- 📡 **RSS + JSON Feed** — Auto-generated on every build, complete content in both formats
- 💬 **Giscus comments** — GitHub Discussions-backed, theme-aware
- ⚙️ **Single config file** — Everything in `config.yml`; no scattered hardcoded values
- 📝 **Obsidian workflow** — Write in Obsidian, publish to Git with one command
- 🪝 **Webhook support** — Notify external agents on deploy or publish events
- ⭐ **Featured Posts** — Pin selected articles to a homepage spotlight section via `featured: true` frontmatter
- 🔍 **Image Lightbox** — Click any prose image to view full-screen; ESC / click outside to close
- 🤖 **`/llms.txt`** — Standardized AI entry point exposing all API endpoints, content schema, and crawl permissions
- 📦 **Per-article API** — `/api/posts/{slug}.json` provides full Markdown body + structured metadata for AI agents
---
## 🛠️ Tech Stack
| Layer | Choice |
|---|---|
| Framework | Astro 6 |
| Language | TypeScript |
| Styling | Vanilla CSS (scoped `<style>` blocks) + CSS custom properties |
| Content | Astro Content Collections (glob loader) |
| Search | Pagefind |
| Comments | Giscus |
| Config | js-yaml |
| Code highlighting | rehype-pretty-code + Shiki |
| AI | OpenAI / Anthropic / Gemini API (configurable provider) |
---
## 📋 Requirements
- **Node.js >= 22.12.0** (Astro 6 requires it; Node 20 will be rejected at build time)
- npm >= 10
---
## 🚀 Quick Start
```bash
git clone https://github.com/Amoswuuuu/Inkwell.git
cd inkwell
npm install
npm run dev
```
Open `http://localhost:4321`.
> **💡 Note**: The search UI (`/pagefind/pagefind-ui.js`) is generated by `npm run build` and does not exist in dev mode. The search modal will show a "build required" notice instead. This is expected behavior.
---
## 📁 Project Structure
```
inkwell/
├── config.yml # Single source of truth for all site config
├── astro.config.mjs # Astro framework config (site URL, integrations)
├── public/ # Static assets (avatar, favicon, etc.)
├── scripts/
│ ├── ai-preprocess.mjs # AI summary generation
│ ├── obsidian-publish.mjs # Publish articles from Obsidian vault
│ └── webhook-trigger.mjs # Trigger webhooks on deploy/publish
├── src/
│ ├── components/
│ │ ├── widgets/ # Sidebar widgets (Profile, Category, TagCloud, SiteInfo)
│ │ ├── AISummaryCard.astro
│ │ ├── GiscusComments.astro
│ │ ├── HeroBanner.astro
│ │ ├── Navbar.astro
│ │ ├── PostCard.astro # Horizontal card (left-image right-text)
│ │ ├── PostCardVertical.astro # Grid card (top-image bottom-text)
│ │ └── Search.astro
│ ├── content/
│ │ └── posts/ # Markdown articles
│ ├── data/
│ │ └── friends.md # Friend links data
│ ├── layouts/
│ │ ├── BaseLayout.astro # Shared shell (Navbar, Footer, Search modal)
│ │ └── BlogLayout.astro # Article layout (TOC, comments, license)
│ ├── pages/ # File-based routing + API endpoints
│ │ ├── feed.json.ts # JSON Feed 1.1
│ │ ├── rss.xml.ts # RSS Feed
│ │ └── api/ # Machine-readable API endpoints
│ ├── styles/
│ │ └── global.css # Design tokens, Prose styles, TOC styles
│ ├── config.ts # Loads and validates config.yml at runtime
│ └── content.config.ts # Content collection schema
└── .github/workflows/ # CI/CD (GitHub Actions)
```
---
## 📦 Commands
> 💡 After running `npm link` in the project directory, you can use the global `inkwell` command. Alternatively, use `node scripts/inkwell.mjs` or the npm scripts listed below.
### Inkwell CLI
| Command | Alias | Description |
|---|---|---|
| `inkwell generate` | `g` | Production build + Pagefind indexing |
| `inkwell build` | `b` | Alias for generate |
| `inkwell server` | `s` | Start dev server (hot-reload) |
| `inkwell preview` | `p` | Preview the production build locally |
| `inkwell clean` | `c` | Remove dist/ and .astro/ cache |
| `inkwell deploy` | `d` | Generate + deploy to GitHub Pages |
| `inkwell ai` | `a` | Run AI summary generation |
| `inkwell lint` | `l` | Scan text formatting (append `--fix` to auto-resolve) |
| `inkwell export` | `e` | Export posts as JSON or CSV |
| `inkwell status` | `st` | Show site status |
### NPM Scripts
| Command | Description |
|---|---|
| `npm run dev` | Start local dev server at `localhost:4321` |
| `npm run build` | Alias for `inkwell generate` |
| `npm run preview` | Serve dist/ with search support |
| `npm run ai:preprocess` | Run AI summary generation |
| `npm run publish:obsidian` | Publish an article from Obsidian |
---
## ⚙️ Configuration
All runtime configuration lives in `config.yml` at the project root. Edit this file to personalize the theme.
```yaml
site:
title: "My Blog"
subtitle: 'Your tagline here.'
description: Your site description.
url: https://yourdomain.com
startDate: '2024-01-01' # Must be a quoted string
timezone: Asia/Shanghai
heroImage: https://example.com/hero.jpg
postsPerPage: 10
author:
name: Your Name
bio: |
A short bio.
Two lines are fine.
avatar: /avatar.jpg # Place your avatar at public/avatar.jpg
language: zh-CN
social:
github: your-github-username
twitter: ""
email: [email protected]
# Avatar display in the Profile sidebar widget
avatar:
shape: circle # "circle" | "rounded" | "square"
size: 80 # Diameter in px
border: true # Show accent-colored ring
# Hero banner background
background:
image: "" # URL or path; leave empty to use heroImage above
blur: 0 # Backdrop blur in px (0 = no blur)
overlayOpacity: 0.45 # Darken overlay (0–1)
# Site statistics (Umami — privacy-friendly, self-hosted)
# Setup guide: https://umami.is/docs/getting-started
stats:
umami:
enabled: false
src: '' # Your Umami script URL
websiteId: '' # Website ID from your Umami dashboard
post:
listStyle: horizontal # "horizontal" (left-image right-text) | "card" (grid, top-image)
giscus:
repo: your-org/your-repo
repoId: "" # Get from giscus.app
category: Announcements
categoryId: "" # Get from giscus.app
lang: zh-CN
navLinks:
- href: /
label: Home
- href: /archives
label: Archives
- href: /categories
label: Categories
- href: /friends
label: Friends
- href: /about
label: About
license:
default: CC-BY-SA # Default license key for articles
ai:
enabled: false # Set to true to enable AI summary generation and rendering
provider: openai # "openai" | "anthropic" | "gemini"
summary:
maxPoints: 4 # Max bullet points
maxCharsPerPoint: 60 # Max chars per point
description:
autoGenerate: true # Auto-generate SEO description from summary
maxLength: 120 # Max chars for SEO description
providers:
openai:
apiKey: ${OPENAI_API_KEY} # Read from .env or environment
model: gpt-4o-mini
endpoint: https://api.openai.com/v1 # Or any OpenAI-compatible endpoint (DeepSeek, Ollama, etc.)
# anthropic:
# apiKey: ${ANTHROPIC_API_KEY}
# model: claude-3-haiku-20240307
# endpoint: https://api.anthropic.com # Or any Anthropic-compatible endpoint
# gemini:
# apiKey: ${GEMINI_API_KEY}
# model: gemini-2.0-flash
# endpoint: https://generativelanguage.googleapis.com/v1beta
```
> ⚠️ **`startDate`**: Must be quoted (`'2019-01-01'`). A bare YAML date literal gets parsed as a `Date` object and will cause a build error.
### 💬 Setting Up Giscus
1. Enable **Discussions** on your GitHub repository
2. Install the [Giscus GitHub App](https://github.com/apps/giscus) on the repo
3. Visit [giscus.app](https://giscus.app), fill in your repo details, copy `repoId` and `categoryId`
4. Paste the values into `config.yml` under the `giscus` key
---
## ✍️ Writing Articles
Articles go in `src/content/posts/` by default as Markdown or MDX files. You can point `content.postsDir` in `config.yml` to any directory (supports absolute paths, e.g. an Obsidian vault path).
### Frontmatter Reference
```yaml
---
title: Article Title
date: 2024-06-01
updated: 2024-06-15 # Optional: last updated date
cover: https://example.com/cover.jpg
categories:
- Tutorial # Array form is required for multiple categories
tags:
- astro
- typescript
description: A short description for SEO and social sharing.
ai_summary: # Auto-generated by inkwell ai; or write manually
- Key point one
- Key point two
- Key point three
draft: false
published: true
license: CC-BY-SA # Uses presets defined in config.yml; omit to use default
abbrlink: abc123 # Optional: custom URL slug
---
```
> ⚠️ **`categories` and `tags`**: Always use YAML list syntax (`- item`) for multiple values. Inline comma-separated strings are **not** supported and will appear as a single merged entry.
### 📜 License Field
The `license` field supports:
- **Preset key** (string): e.g. `CC-BY-SA`, `MIT`, `CC0` — resolved from `config.yml`'s `license.presets`
- **Alias** (string): e.g. `DEFAULT`, `CC`, `GPL` — resolved from `config.yml`'s `license.aliases`
- **Custom object**:
```yaml
license:
name: My Custom License
url: https://example.com/license
notice: Custom reuse notice.
```
---
## 🤖 AI Summaries
Inkwell supports three AI providers for generating article summaries:
| Provider | Config key | Compatible APIs |
|---|---|---|
| **OpenAI** | `openai` | GPT-4o-mini, DeepSeek, Ollama, any OpenAI-compatible endpoint |
| **Anthropic** | `anthropic` | Claude 3 Haiku, any Anthropic-compatible endpoint |
| **Gemini** | `gemini` | Google Gemini 2.0 Flash |
### Usage
```bash
# 1. Set your API key in .env (based on chosen provider)
OPENAI_API_KEY=sk-xxx # OpenAI-compatible
# or ANTHROPIC_API_KEY=xxx # Anthropic-compatible
# or GEMINI_API_KEY=xxx # Gemini
# 2. Enable and select provider in config.yml
# ai:
# enabled: true
# provider: openai # or anthropic / gemini
# 3. Run summary generation
inkwell ai
# or
npm run ai:preprocess
```
The script:
1. Reads `config.yml` and checks `ai.enabled` and `ai.provider`
2. Scans all posts for files missing `ai_summary`
3. Generates bullet-point summaries via the selected provider API
4. Writes summaries back to the article's frontmatter `ai_summary` field
5. Also generates an SEO `description` (can be disabled in config)
Posts with existing `ai_summary` are skipped. Use `--force` to regenerate.
---
## 📝 Obsidian Integration
Inkwell supports using Obsidian as your writing frontend for a "write in Obsidian → publish to blog" workflow.
### Option 1: Point to Obsidian Vault (Recommended)
Set `content.postsDir` in `config.yml` to the absolute path of your Obsidian vault's posts directory:
```yaml
content:
postsDir: /path/to/your/obsidian-vault/400 Output/401 Post
```
Inkwell reads Markdown files directly from that directory at build time — no copying needed.
> **💡 Tip**: Absolute paths work best for local development. In CI environments, override with the `INKWELL_POSTS_DIR` environment variable.
### Option 2: Single-Article Publish Script
If you only want to publish one article at a time:
```bash
node scripts/obsidian-publish.mjs "/path/to/article.md"
```
The script:
1. Sets `published: true`
2. Clears the `draft` field
3. Updates the publish date
4. Commits and pushes only the target file (other files in the repo are untouched)
### Full Automation (Obsidian → Blog)
For "Obsidian push → blog auto-rebuild":
1. Store blog posts in a private Obsidian vault repository
2. Configure **Repository Secrets** in the blog repo:
- `OBSIDIAN_PAT` — Personal Access Token with access to the private repo
- `OBSIDIAN_REPO` — Private repo name (e.g. `yourname/obsidian-posts`)
- `OBSIDIAN_POSTS_DIR` — Posts subdirectory in the Obsidian repo
- `OPENAI_API_KEY` — For AI summary generation (optional)
3. Set up a webhook in the Obsidian repo to trigger `repository_dispatch` on the blog repo
4. Every push to the Obsidian repo will trigger an automatic blog rebuild
---
## 🌍 Deployment
The build output is a standard static site in `dist/`. Deploy anywhere that serves static files.
### GitHub Pages
The project includes a `deploy.yml` workflow that auto-builds and deploys on push to `main`.
1. Fork this repository
2. Go to **Settings → Pages → Source** and select **GitHub Actions**
3. Push to `main` — auto-deploy
Your site will be live at: `https://inkwell.max-mini.top`
### Cloudflare Pages
1. Create a Pages project in the [Cloudflare Dashboard](https://dash.cloudflare.com)
2. Connect your GitHub repository
3. Build settings:
- **Build command**: `npm run build`
- **Output directory**: `dist`
- **Node.js version**: `22`
4. Deploy
> **💡 Tip**: If your posts directory is outside this repo, set `INKWELL_POSTS_DIR` in Cloudflare environment variables.
### Any Static Host
```bash
npm run build
# Upload the contents of dist/ to your host
```
---
## ⚠️ Known Limitations
- 🔍 **Search in dev mode**: Pagefind index only exists after `npm run build`. The search modal shows a notice in dev.
- 🖥️ **No server-side rendering**: This is a fully static site. Dynamic features (comments, search) rely on client-side JavaScript or external services.
- 🔗 **`site` URL in `astro.config.mjs`**: Now auto-read from `config.yml`'s `site.url`. Change your domain in `config.yml` only — no need to edit `astro.config.mjs`.
---
## 🤝 Contributing
Bug reports and pull requests are welcome. Please open an [Issue](https://github.com/Amoswuuuu/Inkwell/issues) for bugs or feature requests.
---
## 📄 License
MIT — see [LICENSE](LICENSE) for details.
看看同类模板
对比同技术栈与用途的模板,找到更适合的视觉与内容结构。
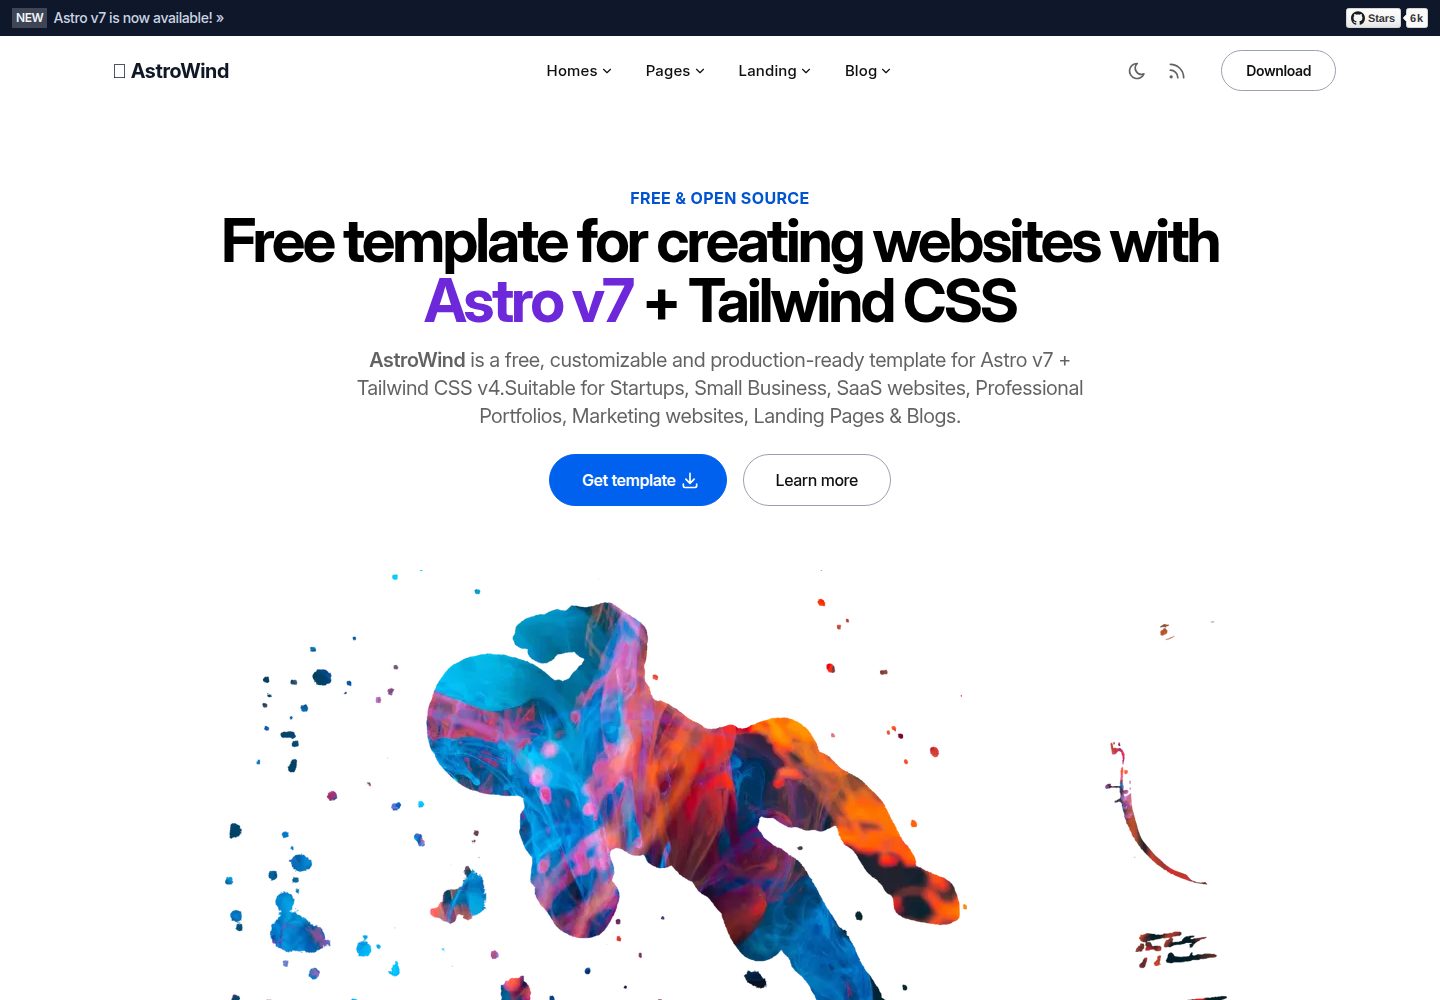
astrowind
⭕️ AstroWind: A free template using Astro v7 and Tailwind CSS v4. Astro starter theme.
Astro · 博客
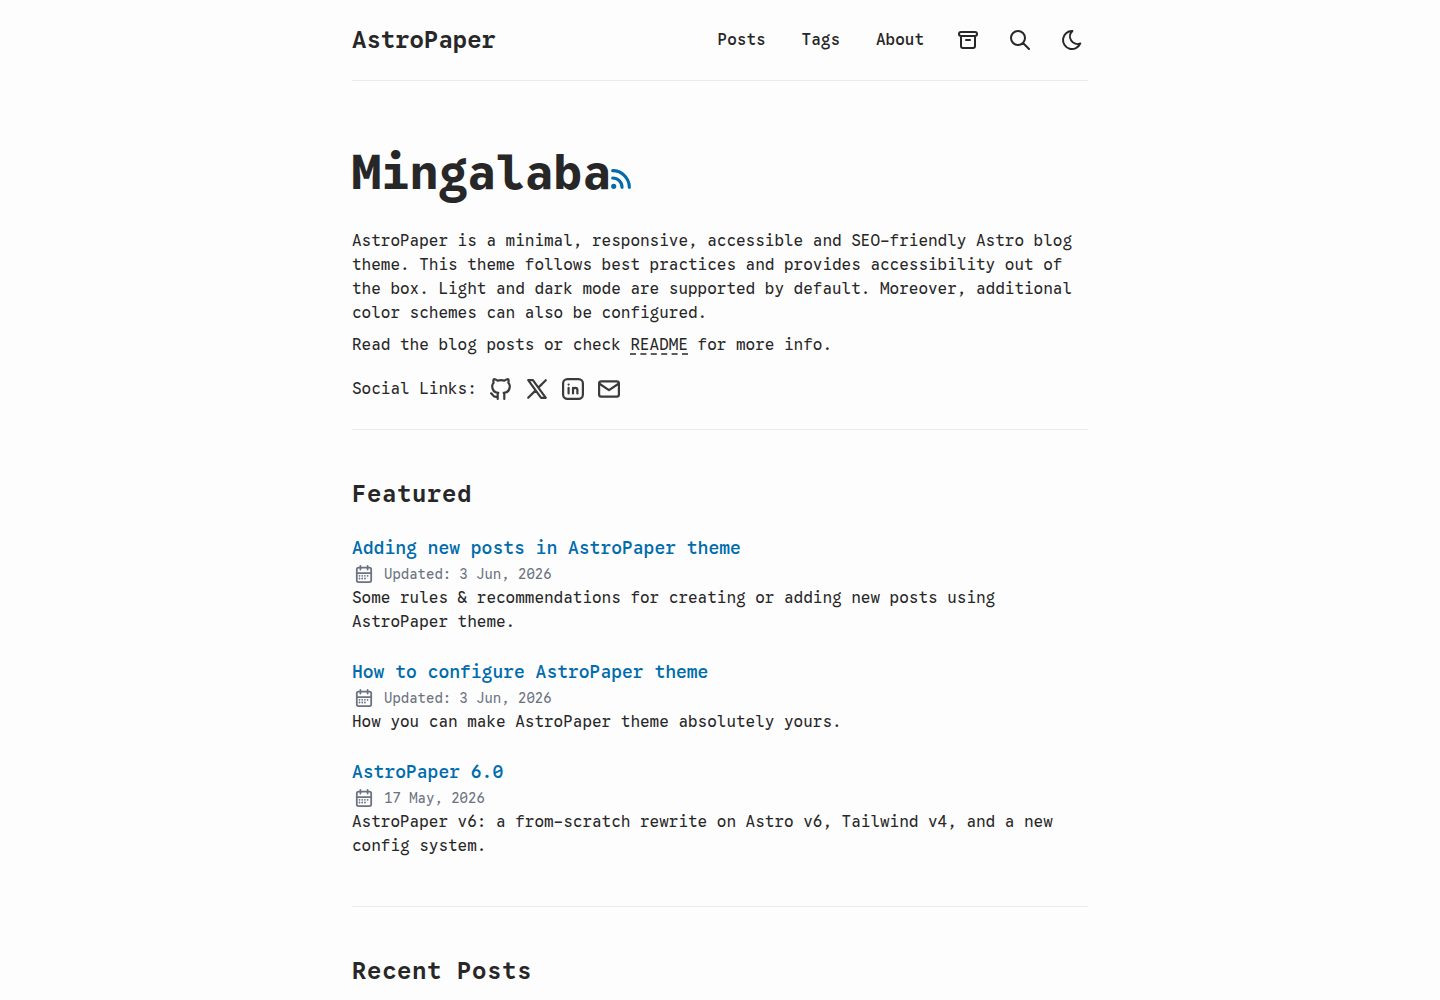
astro-paper
A minimal, accessible and SEO-friendly Astro blog theme.
Astro · 博客
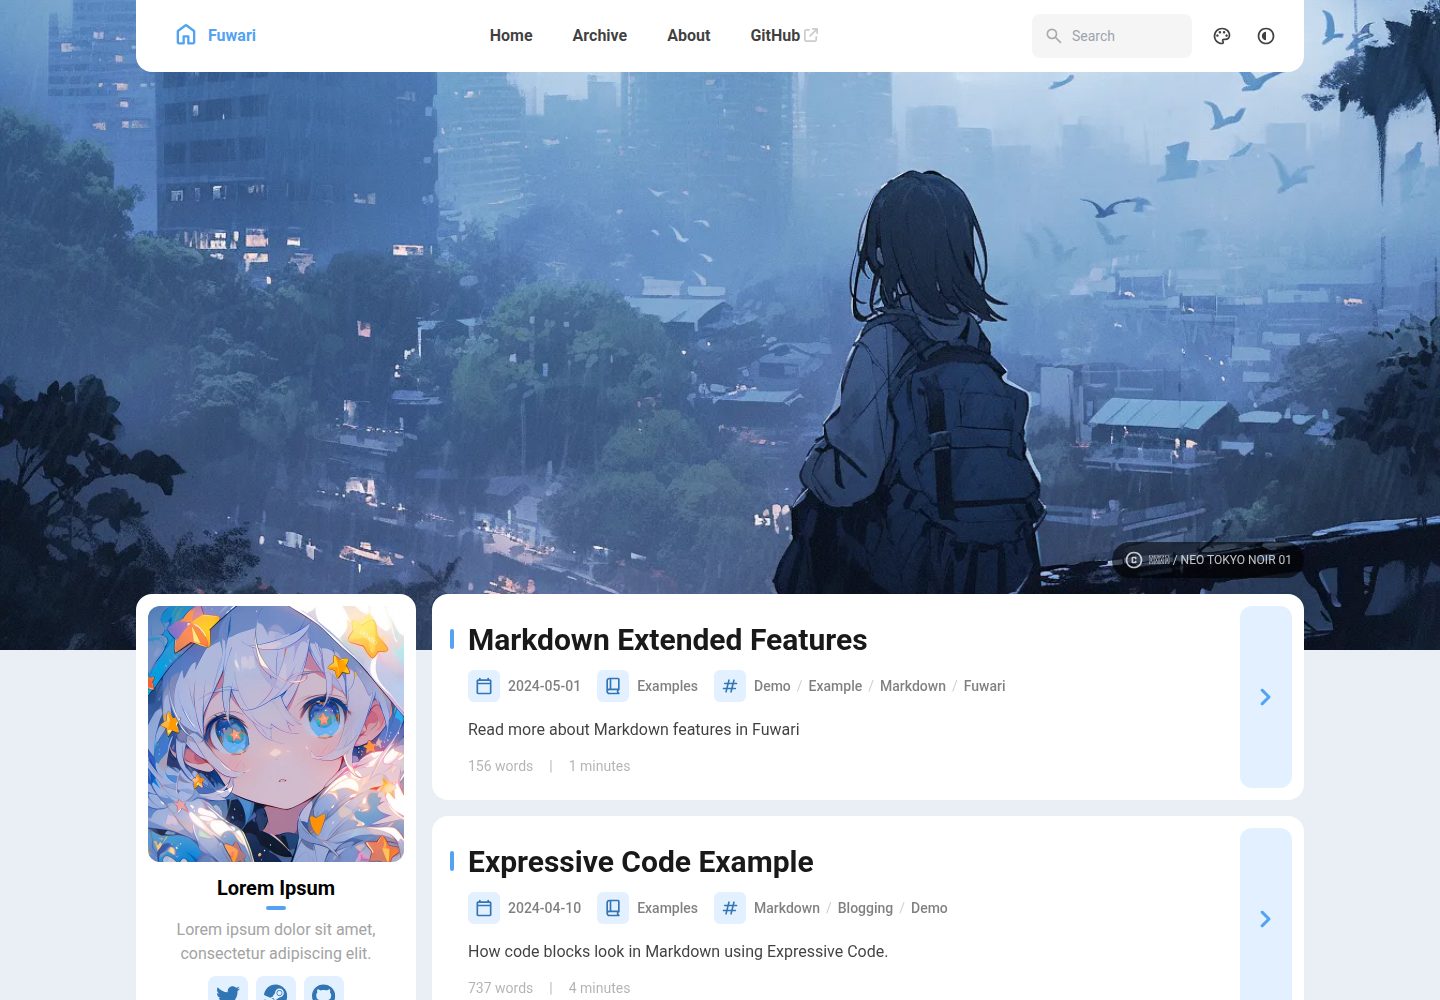
fuwari
✨A static blog template built with Astro.
Astro · 博客
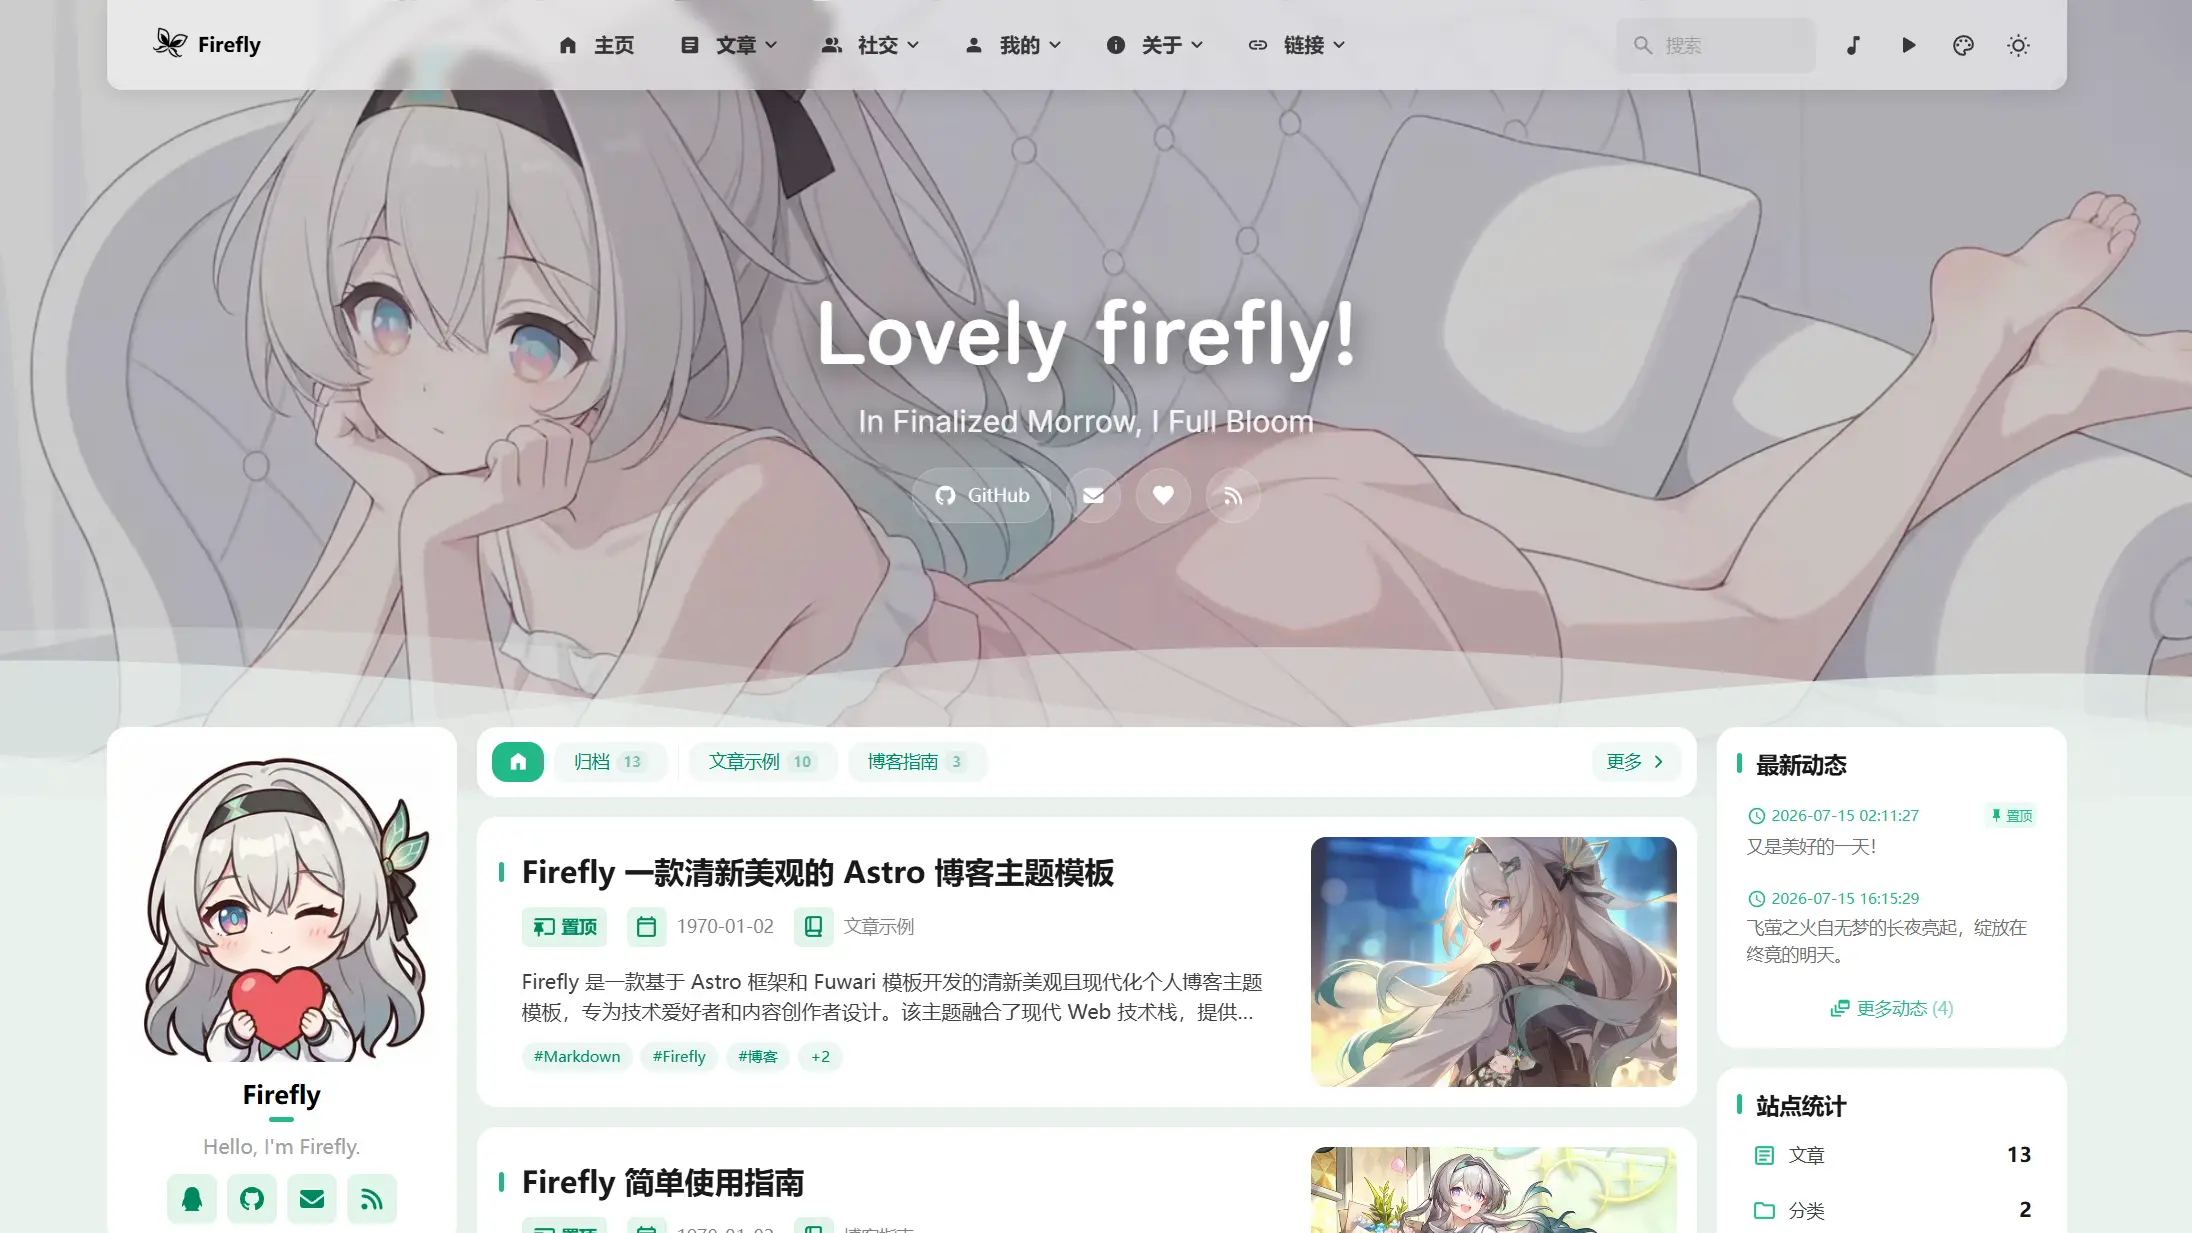
Firefly
Firefly 是一款基于 Astro 的静态博客主题,由 CuteLeaf 在 saicaca 的 Fuwari 模板基础上二次开发,主打清新美观的视觉风格。
Astro · 博客
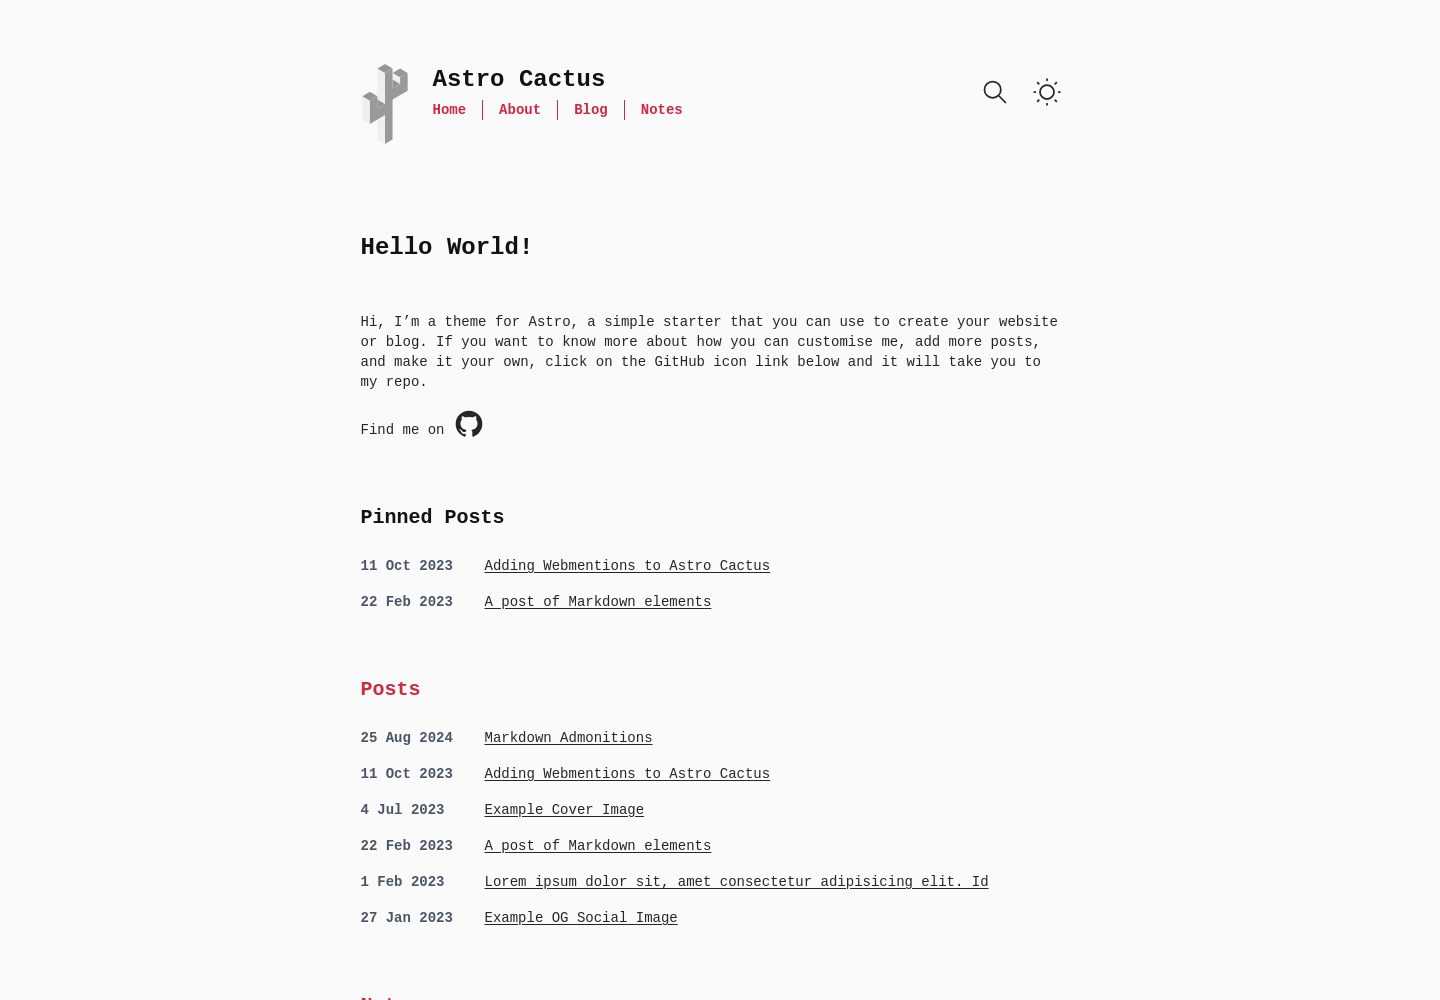
astro-theme-cactus
A simple Astro theme. Use it to create your blog or website.
Astro · 作品集
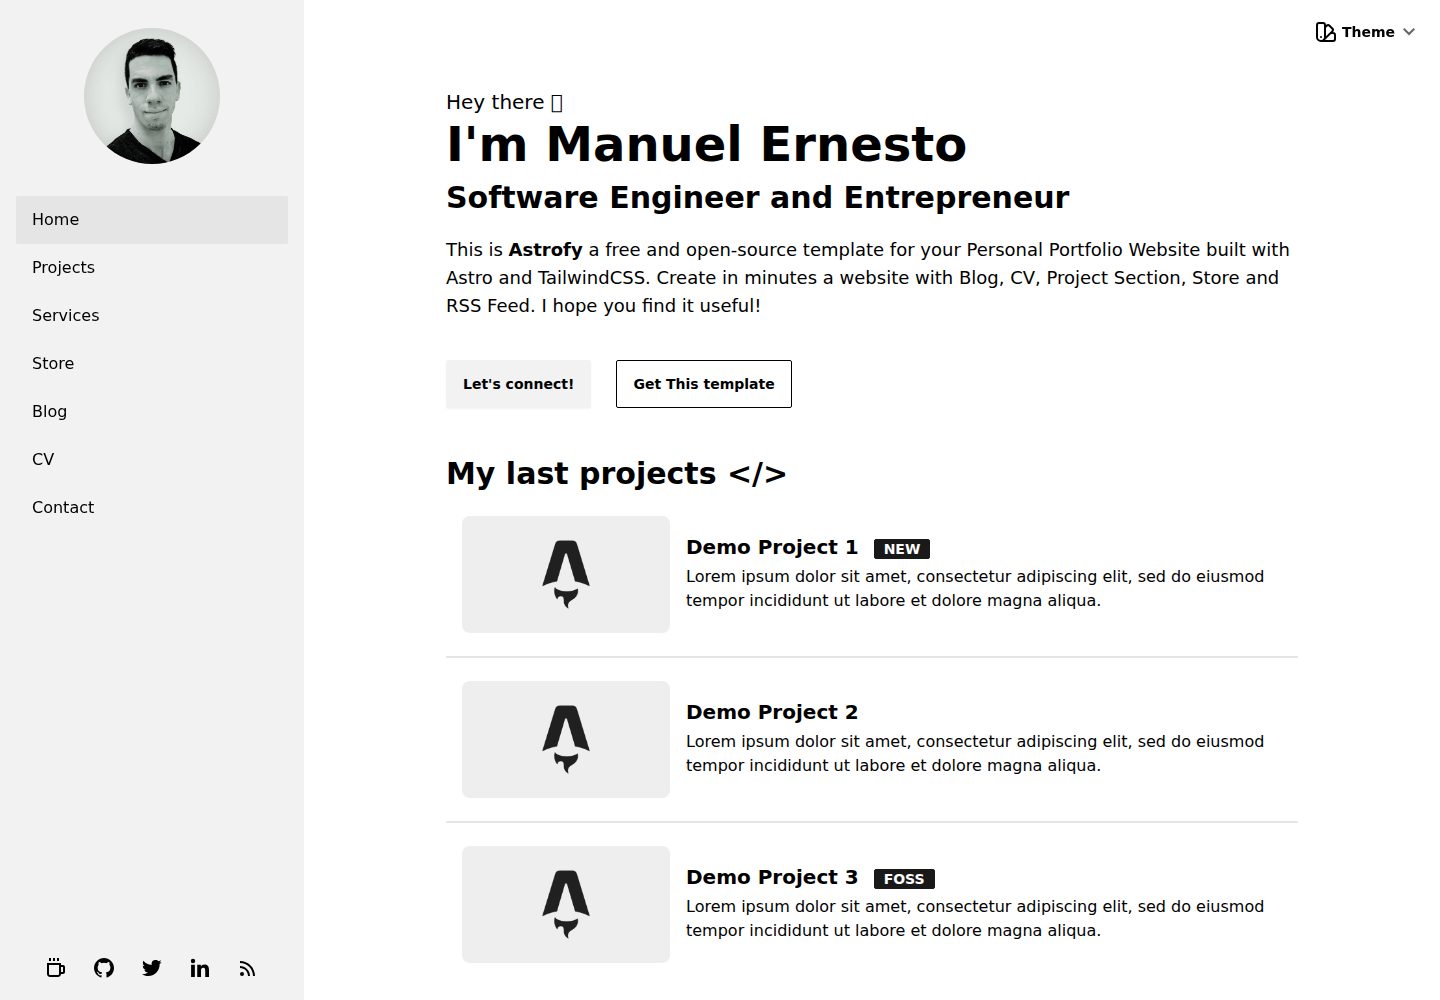
astrofy
Astrofy is a free and open-source template for your Personal Portfolio Website built with Astro and TailwindCS…
Astro · 作品集