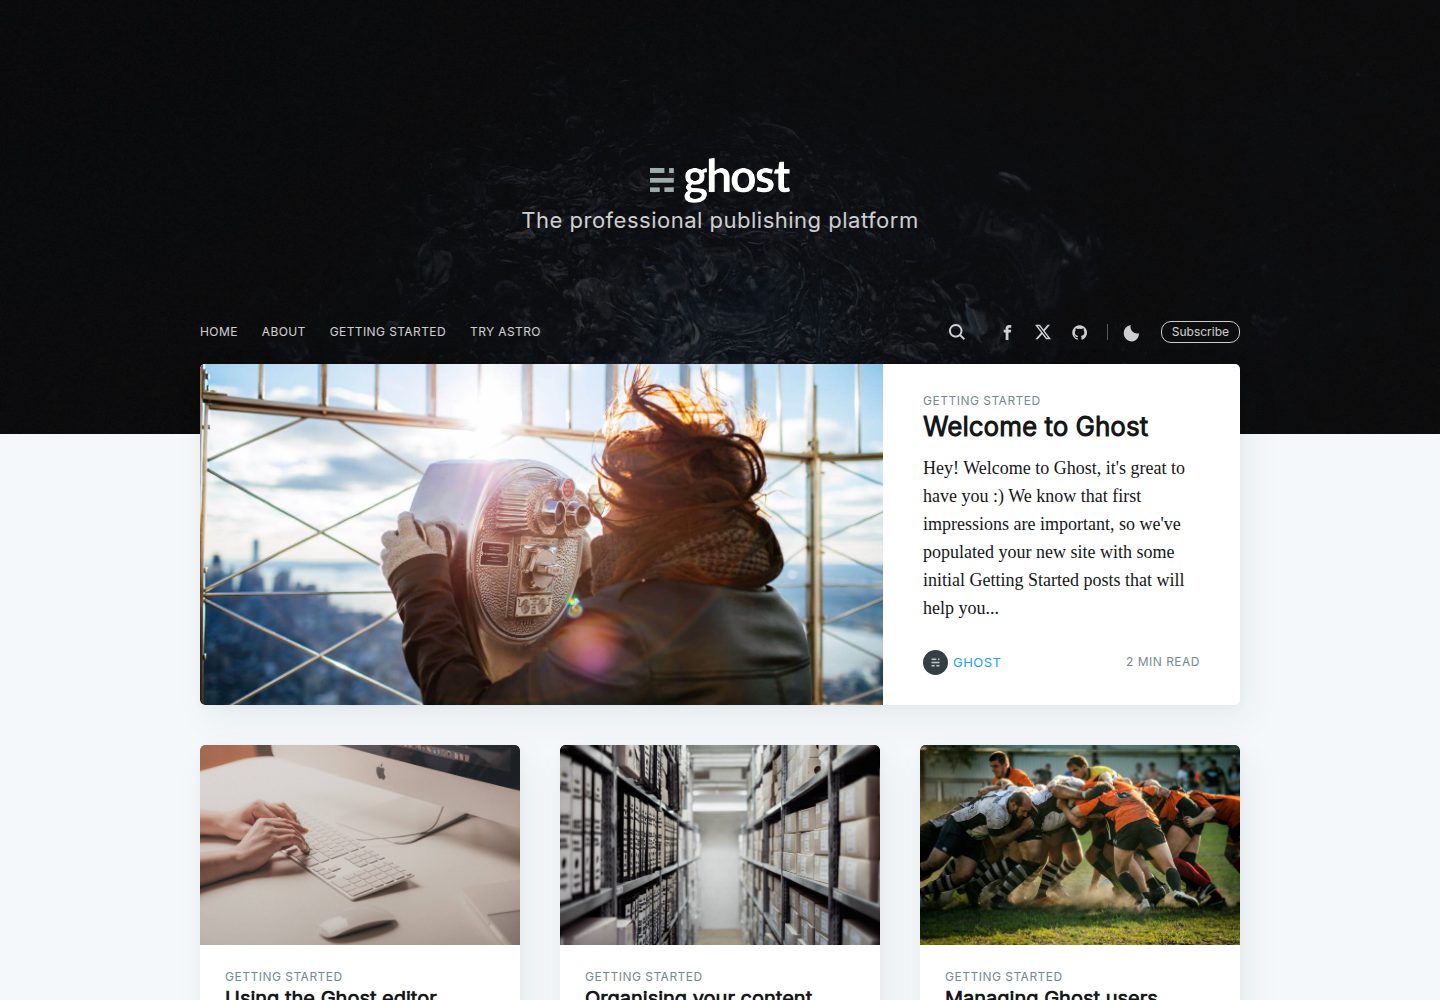
基于 Astro 的静态博客模板,移植自 Ghost 默认主题 Casper 2.0
Astro博客
casper — Astro 博客模板
作者 AntonyLeons
基于 Astro 的 Ghost Casper 主题移植版,静态博客模板,内置 Algolia 搜索与 Decap CMS 后台。
看看你的网站会是什么样
浏览真实页面截图,比较内容排版与手机效果。点击下方缩略图切换,放大查看整页细节。
全部页面与视图 3
截图用于了解视觉与布局,交互效果请以实际项目为准。
采集于 2026-10-02查看来源
值得关注的模板亮点
从已有项目资料中,快速了解它的特点。
使用 Astro Content Collections 与 Zod 对文章、标签、作者做类型校验
内置 Algolia InstantSearch 搜索浮层,未配置时自动隐藏
public/admin/ 下提供 Decap CMS 后台,可在浏览器中管理内容
自动生成 Atom RSS 订阅源,含全站、按标签和按作者三种路径
服务端预渲染 Open Graph、Twitter Card 与 Schema.org JSON-LD 元数据
模板详细介绍
Casper Astro 是把 Ghost 默认主题 Casper 2.0 移植到 Astro 的静态博客模板,替代了原先的 Jekyll 版本。它使用 Astro Content Collections 与 Zod 定义文章、标签、作者的内容校验规则,构建输出为纯静态 HTML/CSS 文件,可部署到 Netlify、Vercel、Cloudflare Pages 或 GitHub Pages。
模板自带 Algolia InstantSearch 搜索浮层,需要在 src/config.ts 中填入 applicationId、indexName 和 searchOnlyApiKey;若移除 algolia 配置块,搜索入口会自动隐藏。public/admin/ 下内置 Decap CMS 管理面板,用于在浏览器中管理文章、作者和标签,在 Netlify 上需启用 Identity 与 Git Gateway 才能登录使用。
内容组织上,文章放在 src/content/posts/,作者和标签分别以 JSON 文件存放在 src/content/authors/ 与 src/content/tags/。主题还包含 Disqus 评论开关、邮件订阅表单、Atom RSS 订阅源(/feed.xml 及按标签、作者区分的 feed),以及服务端预渲染的 Open Graph、Twitter Card 和 Schema.org JSON-LD 元数据。
使用限制:搜索依赖外部 Algolia 服务,CMS 登录依赖 Netlify Identity 与 Git Gateway,这两项都不在模板代码内;演示图片、字体、图标等第三方素材需单独核对许可。
Astro博客
适合你的项目吗?
适用场景
- 搭建以 Markdown 文章为主的个人静态博客
- 需要 Algolia 站内搜索的博客站点
- 希望通过 Decap CMS 在浏览器中编辑文章、作者和标签
- 部署到 Netlify、Vercel、Cloudflare Pages 或 GitHub Pages 的静态站点
适合人群
- 熟悉 Astro 或愿意按文档配置 Astro 项目的开发者
- 需要静态输出、不依赖服务端运行时的博客作者
- 接受使用外部 Algolia 服务提供搜索的站点
- 使用 Netlify 并愿意启用 Identity 与 Git Gateway 来运行 CMS 的用户
上手与定制指南
结合仓库当前版本的说明,按下面的资料检查内容、配置与运行要求。
- 1
使用 pnpm install 或 npm install 安装依赖,pnpm run dev 启动本地开发服务器,默认访问路径为 http://localhost:4321/casper/
- 2
pnpm run build 生成静态文件到 dist/ 目录
- 3
在 src/config.ts 的 SITE_CONFIG 中填入 Algolia 的 applicationId、indexName 和 searchOnlyApiKey;删除该配置块会禁用搜索
- 4
Decap CMS 需在 Netlify 上启用 Identity 并将注册方式设为 Invite only,再启用 Git Gateway,之后通过 /admin/ 登录
- 5
Cloudflare Pages 部署时需将 NODE_VERSION 环境变量设为 24 或更高
授权与来源资料
使用条件与限制
免费使用 · 保留许可声明本次收录的是公开仓库中采用 MIT 许可的免费版本;免费范围为该版本代码,不代表外部服务或第三方素材免费。
使用时需要遵守
- 允许免费使用、修改、商用和分发该版本代码。
- 分发代码副本或实质性部分时,保留原作者版权声明和完整 MIT 许可声明。
- 代码按现状提供;担保与责任限制以原许可证及适用法律为准。
额外费用与待核对事项
- 站内搜索依赖外部 Algolia 服务:需自行注册 Algolia 账号、创建索引并获取 applicationId、indexName 与 searchOnlyApiKey 填入 src/config.ts;未配置时搜索入口自动隐藏。
- Decap CMS 后台登录依赖 Netlify 平台服务:需在 Netlify 启用 Identity 并将注册设为 Invite only,再启用 Git Gateway 授权仓库读写,否则无法通过 /admin/ 登录管理内容。
- 部署到 Cloudflare Pages 时需将环境变量 NODE_VERSION 设为 24 或更高,否则构建可能失败。
- 演示图片、字体、图标及其他第三方素材需按各自许可核对,不能仅凭代码的 MIT 许可判断。
- 域名、托管、数据库、支付或 AI 等外部服务可能另外收费。
查看原文依据
Permission is hereby granted, free of charge
许可证原文
Create an index on [Algolia](https://www.algolia.com/).
README 原文
Enable Netlify Identity
README 原文
https://github.com/AntonyLeons/casper/blob/main/LICENSEhttps://github.com/AntonyLeons/casper/blob/main/README.mdUnder **Environment variables**, set `NODE_VERSION` to `24` or higher.
README 原文
DeepSeek 根据仓库许可证和 README 整理 ·2026-10-02。结果仅覆盖已读取资料,依赖、图片、字体及后续条款变更以各自原文为准。
项目核对记录与介绍依据
模板资料
- 来源平台
- GitHub
- 资料与维护参考分
- 资料较完整 · 87 / 100
- 技术栈
- Astro
- 网站类型
- 博客
这个分数如何计算
本站按许可资料(最高30分)、演示链接(12分)、预览图(10分)、Star数(15分)、记录的维护时间(15分)、描述完整度(8分)、功能记录(5分)和分类资料(5分)计算。它不是代码、安全或性能测试,也不是 Google 评分;有链接不代表已实测可用。
这个项目需要核对什么
- 记录的仓库更新时间
- 2026-09-29
- 截图检查日期
- 2026-10-02
已收录演示链接。请用你的内容与屏幕尺寸检查;有演示不代表表单、认证或支付已经可用。
目录记录的主要技术栈是 Astro。请通过依赖清单和锁文件核对实际版本与托管要求。这些说明基于收录资料,不代表代码审计或部署实测。
查看具体选型方法 →介绍的制作与核对状态
介绍由 AI 辅助整理目录与仓库资料。仓库作者不等于这篇介绍的审核者。
已完成服务器许可规则与 AI 来源核对;未经过人工编辑审核。
查看当时使用的来源资料
SHA-256: 8f941332d57787eb91a0ab909b3b5295ff2a366c9ef0912785cb100ddbceacc2
2026-10-02T16:51:44.002Z
来源文件 / 仓库# Casper Astro ⚡ [](https://app.netlify.com/projects/casperastro/deploys) [](https://github.com/AntonyLeons/casper/actions/workflows/deploy.yml)
<img width="1598" height="900" alt="image" src="https://github.com/user-attachments/assets/22234be6-057b-4a36-b4dd-5d19c009b834" />
A modernized, high-performance port of Ghost's default theme [Casper 2.0](https://github.com/tryghost/casper) built on top of **Astro 7**.
This port replaces the original Jekyll setup (`jasper2`), offering incredibly fast builds, type-safe content validation, server-side pre-rendering, and client-side page load times.
Deploy your own copy of this blog template to the cloud with a single click:
[](https://app.netlify.com/start/deploy?repository=https://github.com/AntonyLeons/casper)
[](https://vercel.com/new/clone?repository-url=https://github.com/AntonyLeons/casper)
[](https://github.com/AntonyLeons/casper/generate)
## 🚀 Key Features
- **Astro 7 & TypeScript**: Full TypeScript configuration and strict schema validations.
- **Type-Safe Content Schema**: Powered by Astro Content Collections and Zod to validate posts, tags, and authors.
- **Modern Asset Pipeline**: Stylesheets are bundled, minified, and optimized via Vite out of the box.
- **Zero-Dependency Vanilla JS Interactivity**: Ported jQuery scripts (infinite scrolling, scroll progress bar, and floating headers) to clean, performant **Vanilla JS**, and replaced FitVids with a native, zero-JS **CSS aspect-ratio** solution.
- **100% SEO Compliance**: Automatic metadata, canonical URLs, Open Graph images, Twitter cards, and Schema.org JSON-LD data pre-rendered on the server.
- **Compliance Feeds**: Auto-generated Atom XML RSS feeds matching the original Jekyll feeds exactly (`/feed.xml`, `/tag/[tag]/feed.xml`, `/author/[author]/feed.xml`).
- **Disqus & Subscribe Forms**: Out-of-the-box toggleable Disqus comments and location-aware email newsletter subscription forms.
---
## 🛠️ Local Development
### 1. Installation
Install the project dependencies using `pnpm` (recommended) or `npm`:
```bash
pnpm install
# or
npm install
```
### 2. Development Server
Start the local hot-reloading development server:
```bash
pnpm run dev
# or
npm run dev
```
Your blog will be accessible locally at `http://localhost:4321/casper/` (matching the configured subpath).
### 3. Static Build
Compile the blog into optimized static HTML files:
```bash
pnpm run build
# or
npm run build
```
The output will be generated inside the `dist/` directory.
---
## 📂 Project Structure
- `src/content.config.ts`: Configuration file defining content validation schemas and loaders for Astro 7.
- `src/content/posts/`: Contains all Markdown (`.md`) articles. Add new blog posts here.
- `src/content/authors/`: Contains JSON files for each author (e.g. `ghost.json` defining name, bio, location, and social profiles).
- `src/content/tags/`: Contains JSON files for tags (e.g. `fables.json` defining name, description, and cover images).
- `src/layouts/`: Base design frames:
- `Layout.astro`: Standard page shell containing head SEO elements, footers, and theme toggler scripts.
- `PostLayout.astro`: Article rendering frame with progress bars, Disqus comments lazy-loading, and next/prev suggestions.
- `PageLayout.astro`: Framework for static pages (like `/about/`).
- `src/components/`: Sub-components like navigation bars (`SiteNav.astro`), search overlays (`AlgoliaSearch.astro`), post preview cards (`PostCard.astro`), or sharing tools (`FloatingHeader.astro`).
- `public/assets/images/`: Stores all static graphics, icons, avatars, and cover photos.
- `public/admin/`: Decap CMS dashboard files (`index.html` and `config.yml`) to manage content directly from the browser.
---
## ⚙️ Configuration & Integration
### 1. Algolia Search Setup
The theme includes a lightweight, pre-configured **Algolia InstantSearch** overlay. To configure search:
1. Create an index on [Algolia](https://www.algolia.com/).
2. Index your site posts. You can index them using Algolia's web crawler or upload your post list JSON feed.
3. Open [config.ts](file:///c:/Users/anton/Documents/Github/casper/src/config.ts) and add your Algolia credentials to the `SITE_CONFIG` object:
```typescript
algolia: {
applicationId: 'YOUR_APP_ID',
indexName: 'YOUR_INDEX_NAME',
searchOnlyApiKey: 'YOUR_SEARCH_ONLY_API_KEY',
}
```
4. If the `algolia` configuration block is removed or undefined, the search icons and widget will automatically disable.
---
### 2. Decap CMS (Netlify CMS) Integration
A fully configured Decap CMS admin dashboard is built into the template under `public/admin/` to manage posts, authors, and tags directly from your browser.
#### Setup Instructions:
1. **Host on Netlify**: Connect your GitHub repository to Netlify.
2. **Enable Netlify Identity**:
- Navigate to **Site Configuration** > **Identity** > **Enable Identity**.
- Under **Identity** > **Registration preferences**, change registration from **Public** to **Invite only** to restrict access to yourself.
3. **Enable Git Gateway**:
- Under **Identity** > **Services** > **Git Gateway**, click **Enable Git Gateway** to authorize repository read/write access.
4. **Log in**:
- Send yourself an invite under the **Identity** tab in Netlify.
- Click the validation link in the email, create your credentials, and visit `https://yourdomain.com/admin/` to log in and start writing!
---
## ☁️ Deployment
Since Casper Astro compiles to standard static HTML/CSS files, it can be deployed to any major hosting provider.
### 1. Netlify
#### Easy Deploy
[](https://app.netlify.com/start/deploy?repository=https://github.com/AntonyLeons/casper)
#### Manual Setup
1. Connect your repository in the Netlify Dashboard.
2. Configure the following build settings:
- **Build command:** `pnpm build` or `npm run build`
- **Publish directory:** `dist`
3. If using the CMS admin panel (`/admin/`), enable **Netlify Identity**:
- Go to **Site Configuration** > **Identity** > **Enable Identity**.
- Under **Identity** > **Services** > **Git Gateway**, click **Enable Git Gateway** to authorize access to your repository.
- Go to the **Identity** tab at the top of your site management overview, invite yourself, and use Netlify Identity to log in at `https://casper.leons.dev/admin/`.
---
### 2. Vercel
1. Connect your repository in the Vercel Dashboard.
2. Vercel will automatically detect **Astro** and pre-configure:
- **Build Command:** `npm run build` or `pnpm build`
- **Output Directory:** `dist`
3. Click **Deploy**.
---
### 3. Cloudflare Pages
1. In the Cloudflare Dashboard, navigate to **Workers & Pages** > **Create Application** > **Pages** > **Connect to Git**.
2. Select your repository.
3. Configure the build settings:
- **Framework preset:** `Astro`
- **Build command:** `pnpm build` or `npm run build`
- **Build output directory:** `dist`
4. Under **Environment variables**, set `NODE_VERSION` to `24` or higher.
5. Click **Save and Deploy**.
---
### 4. GitHub Pages
A ready-to-use GitHub Actions workflow is included in `.github/workflows/deploy.yml`.
To deploy:
1. Push your changes to the `main` branch.
2. In your GitHub repository settings, navigate to **Pages**.
3. Under **Build and deployment**, set the **Source** to **GitHub Actions**.
4. The workflow will automatically trigger, build the Astro application, and publish it directly to GitHub Pages.
---
## 🔄 Keeping Your Blog Updated
If you created your blog by **forking** or **cloning** this repository, you can pull upstream updates, fixes, and performance optimizations (like code refactoring or package upgrades) into your personal repository using Git.
### 1. Add Upstream Remote
Inside your local blog repository directory, link this template repository as an `upstream` remote:
```bash
git remote add upstream https://github.com/AntonyLeons/casper.git
```
### 2. Fetch and Merge Changes
To pull the latest template updates and merge them:
```bash
# Fetch changes from the template repo
git fetch upstream
# Merge upstream main branch into your current branch
git merge upstream/main
```
If you customized configurations (e.g., in `src/config.ts`) or added custom content, resolve any merge conflicts that arise, and then commit and push to your remote repository.
---
## 📝 License
Distributed under the MIT License. Same license as original Casper theme by the Ghost Foundation.
看看同类模板
对比同技术栈与用途的模板,找到更适合的视觉与内容结构。
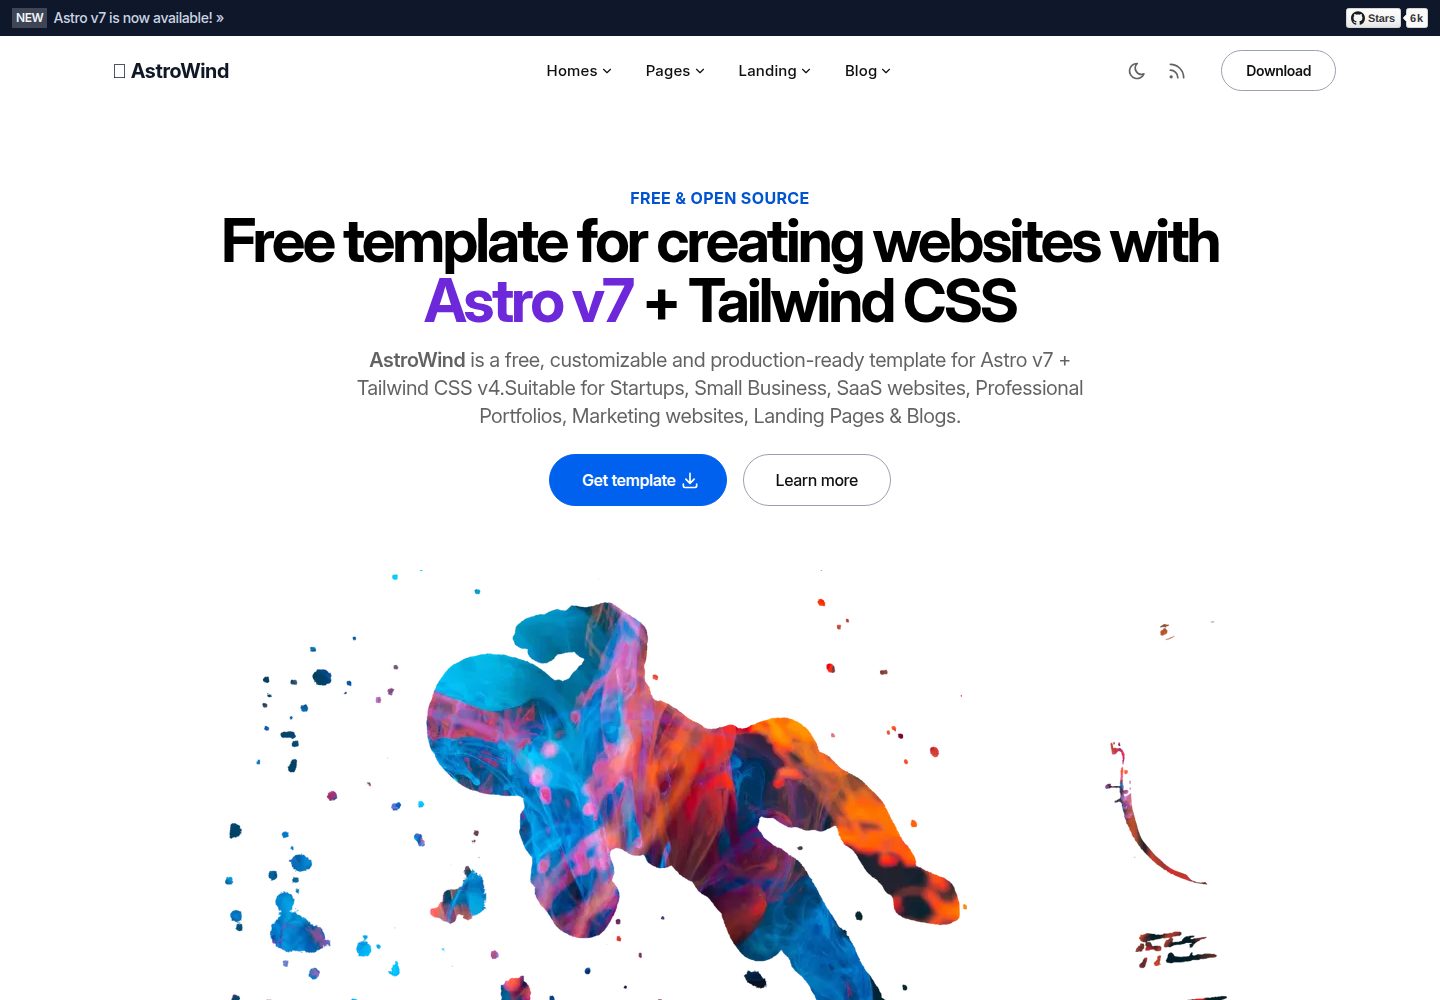
astrowind
⭕️ AstroWind: A free template using Astro v7 and Tailwind CSS v4. Astro starter theme.
Astro · 博客
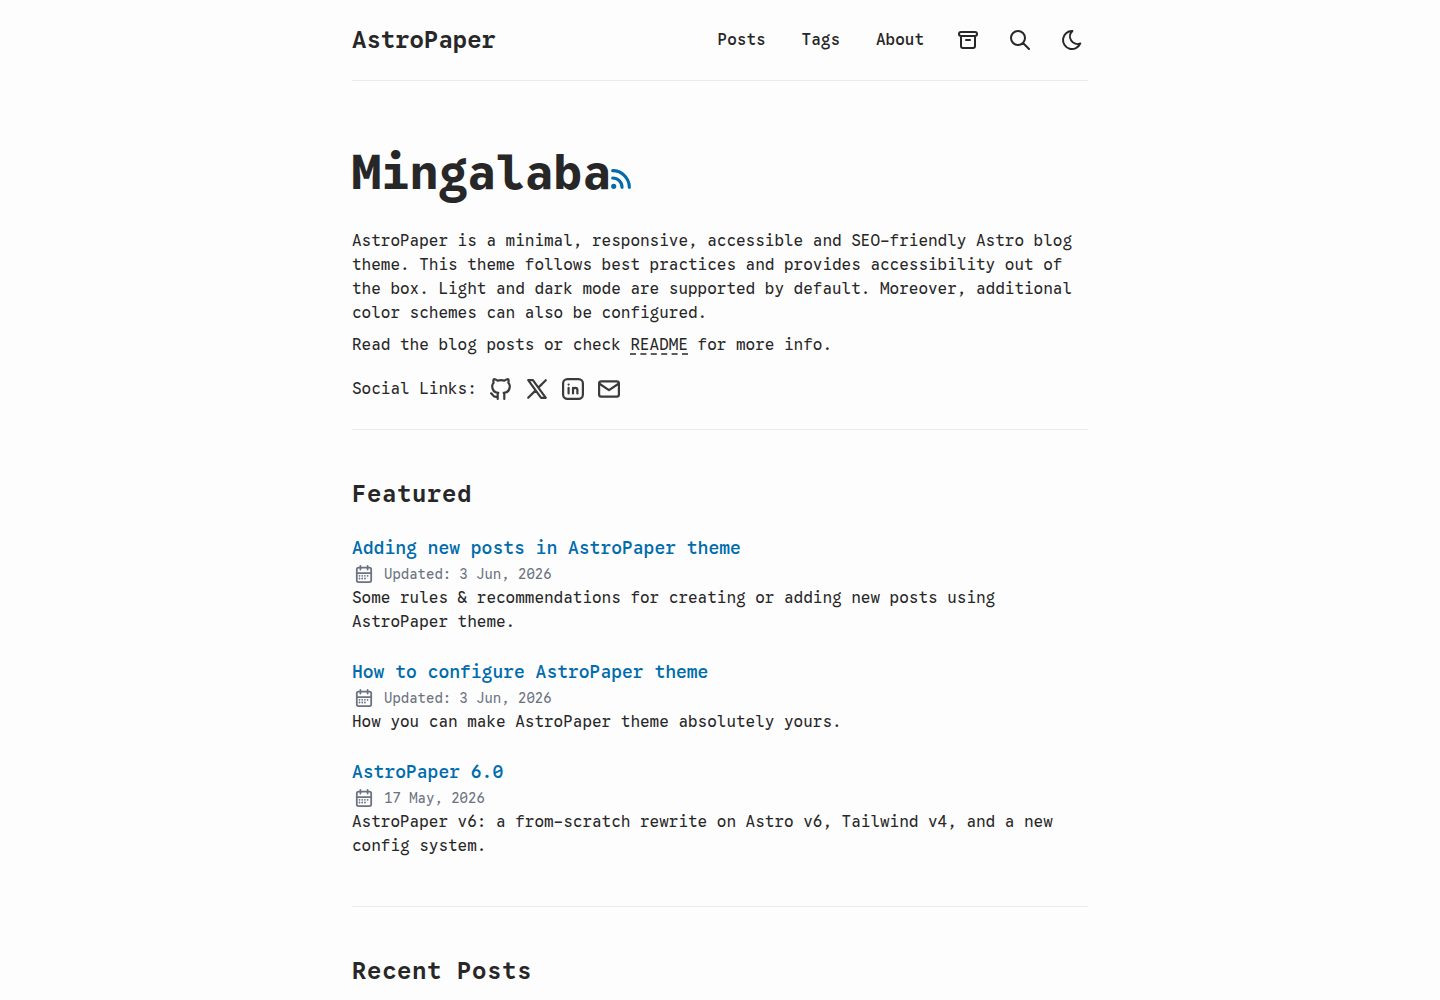
astro-paper
A minimal, accessible and SEO-friendly Astro blog theme.
Astro · 博客
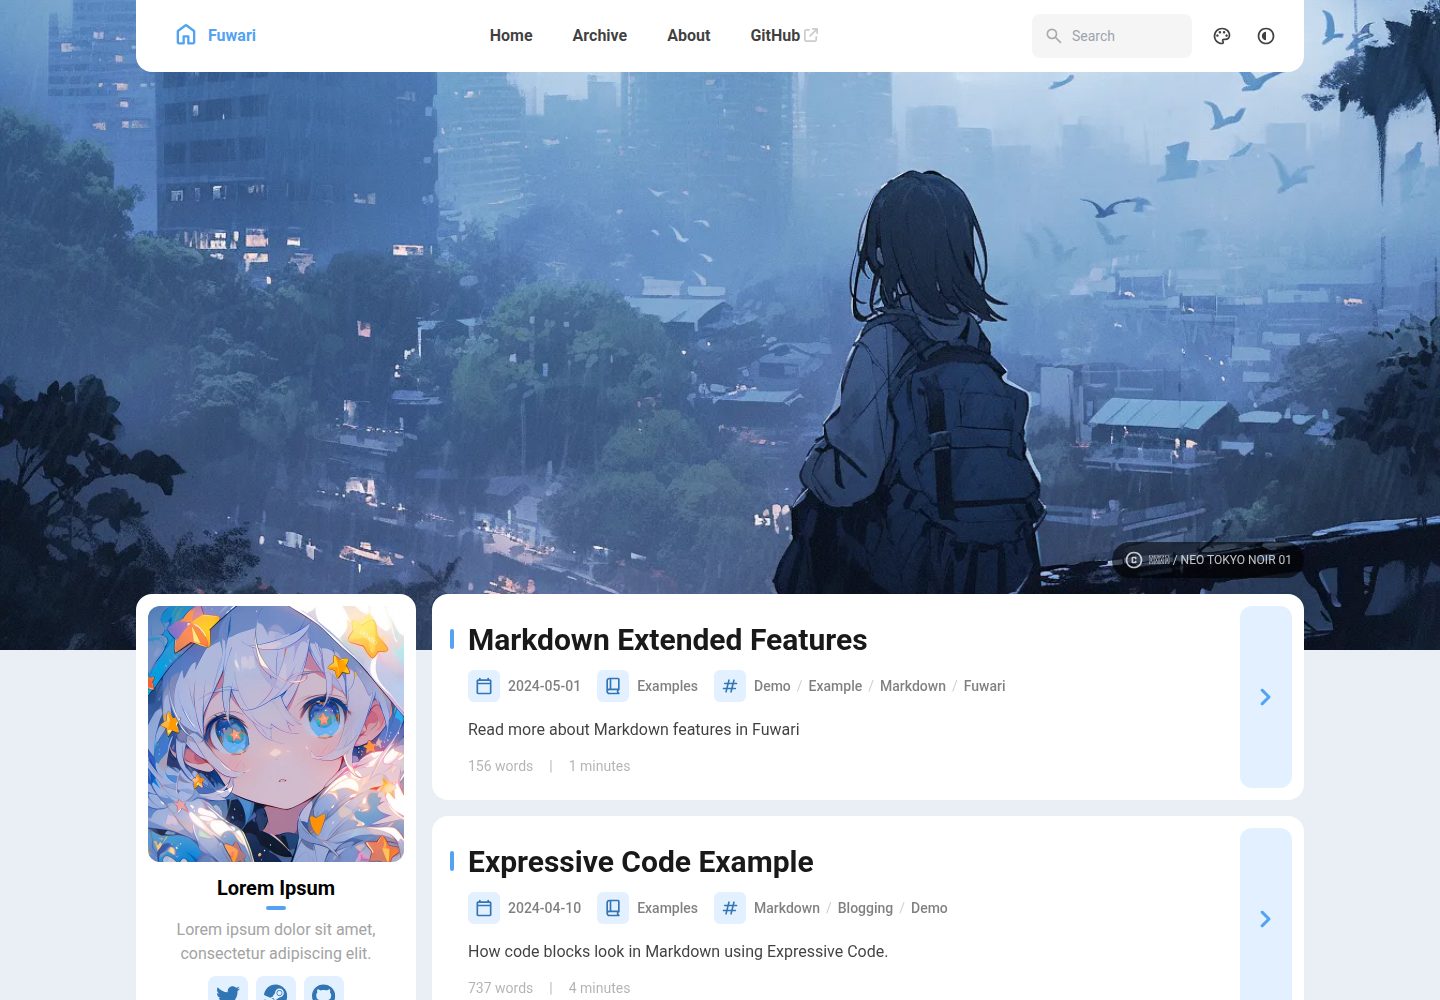
fuwari
✨A static blog template built with Astro.
Astro · 博客
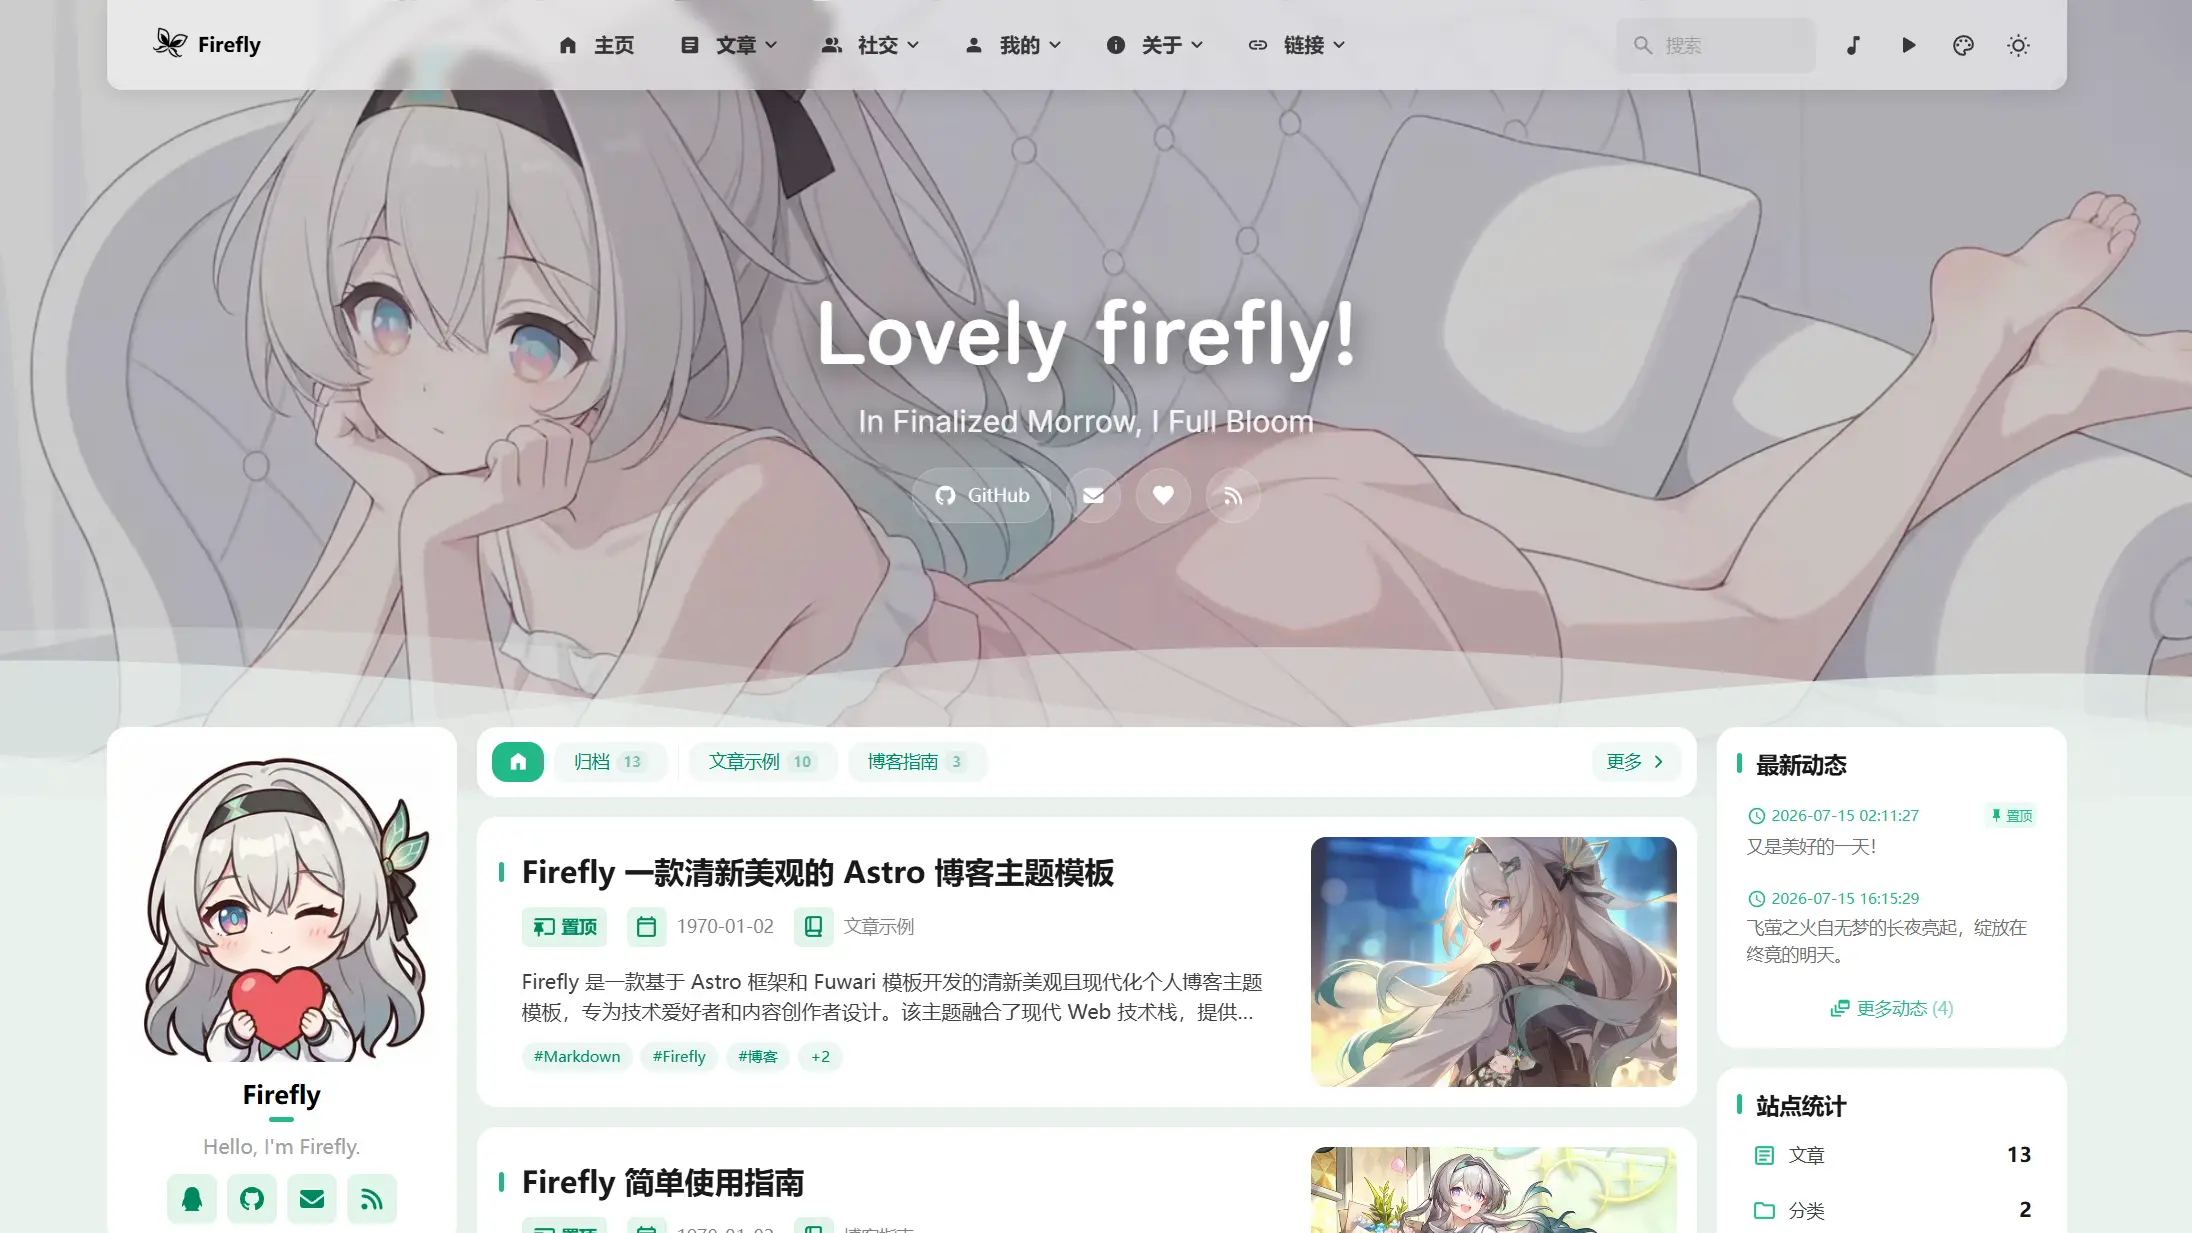
Firefly
Firefly 是一款基于 Astro 的静态博客主题,由 CuteLeaf 在 saicaca 的 Fuwari 模板基础上二次开发,主打清新美观的视觉风格。
Astro · 博客
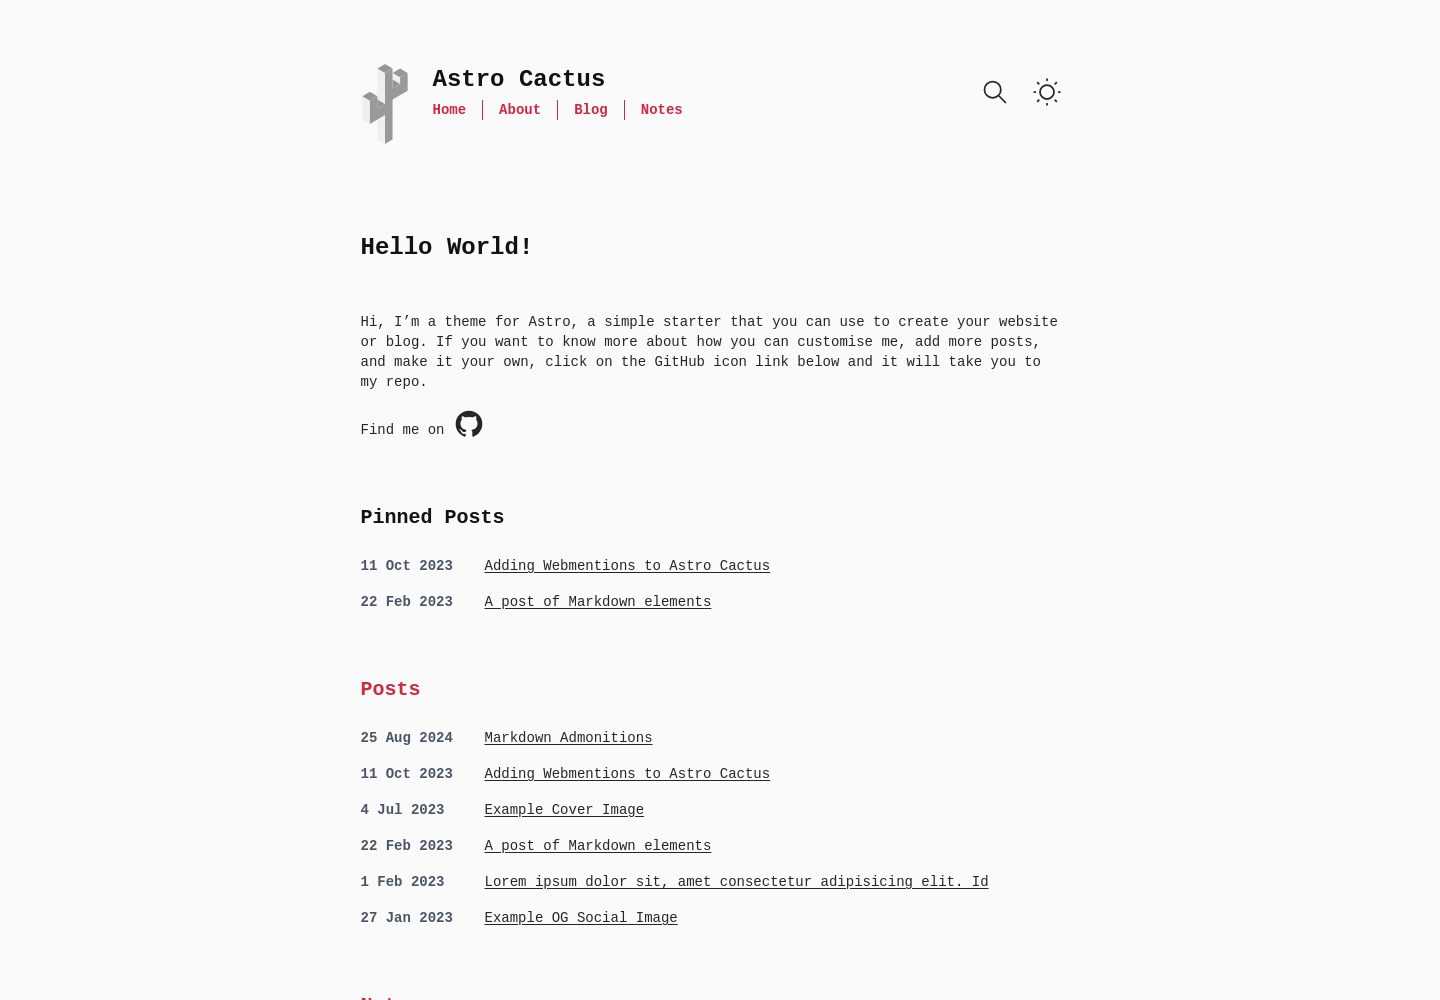
astro-theme-cactus
A simple Astro theme. Use it to create your blog or website.
Astro · 作品集
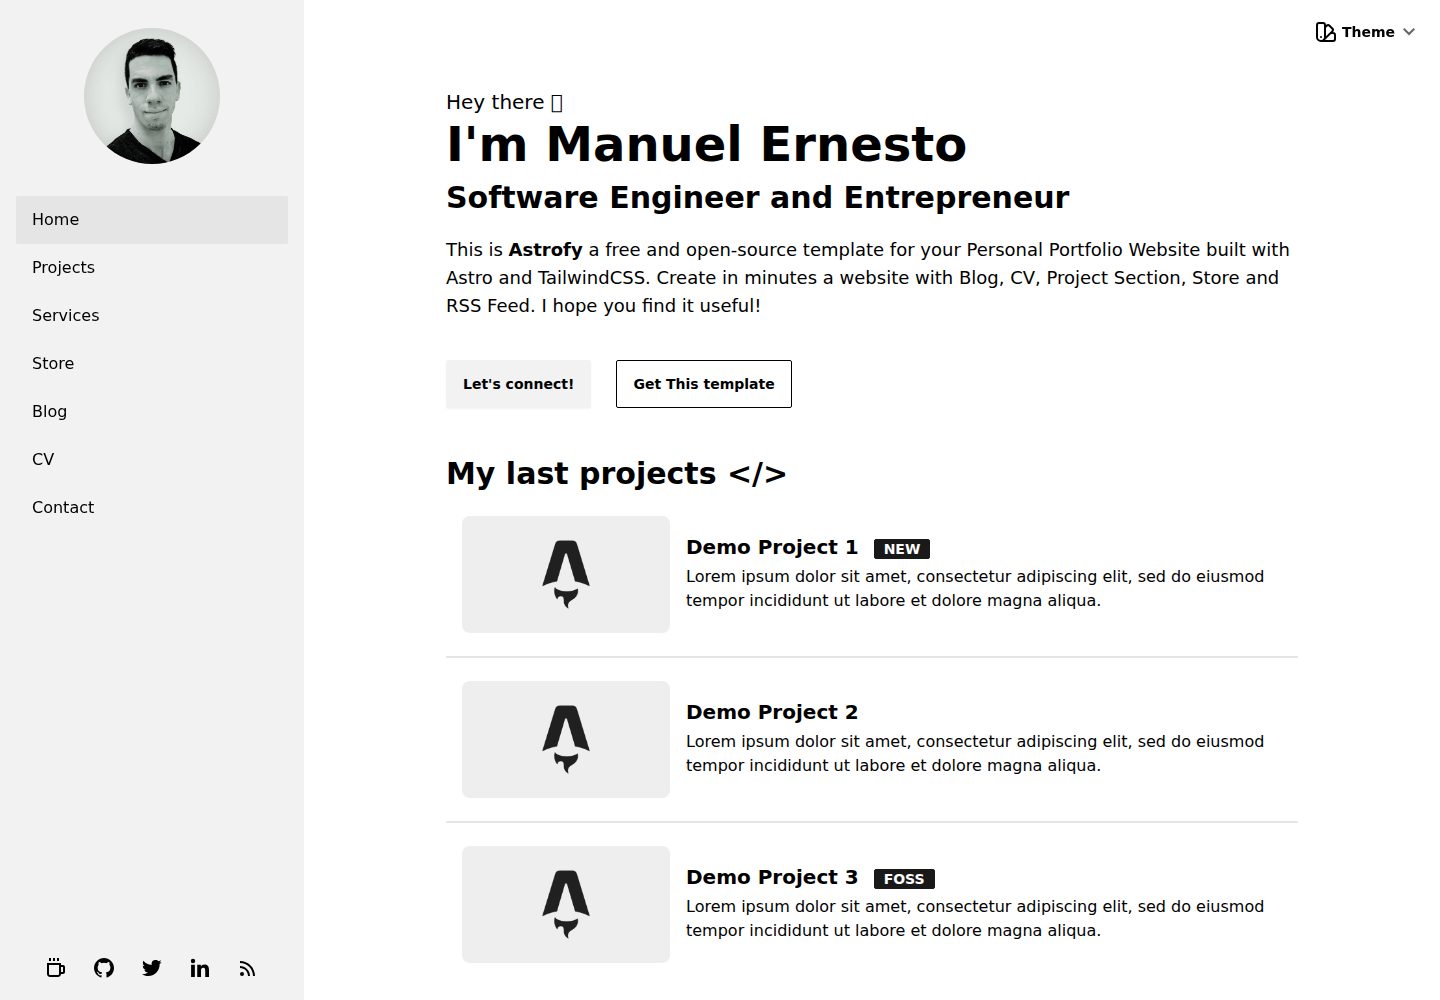
astrofy
Astrofy is a free and open-source template for your Personal Portfolio Website built with Astro and TailwindCS…
Astro · 作品集