
基于 Gatsby Simplefolio 模板的个人作品集,单页布局,使用 React 编写
GatsbyReact作品集
ben-portfolio — Gatsby 作品集模板
作者 ben-redd
基于 Gatsby Simplefolio 模板搭建的个人作品集站点,用单页结构展示个人简介、若干项目与联系方式,代码采用 MIT 许可。
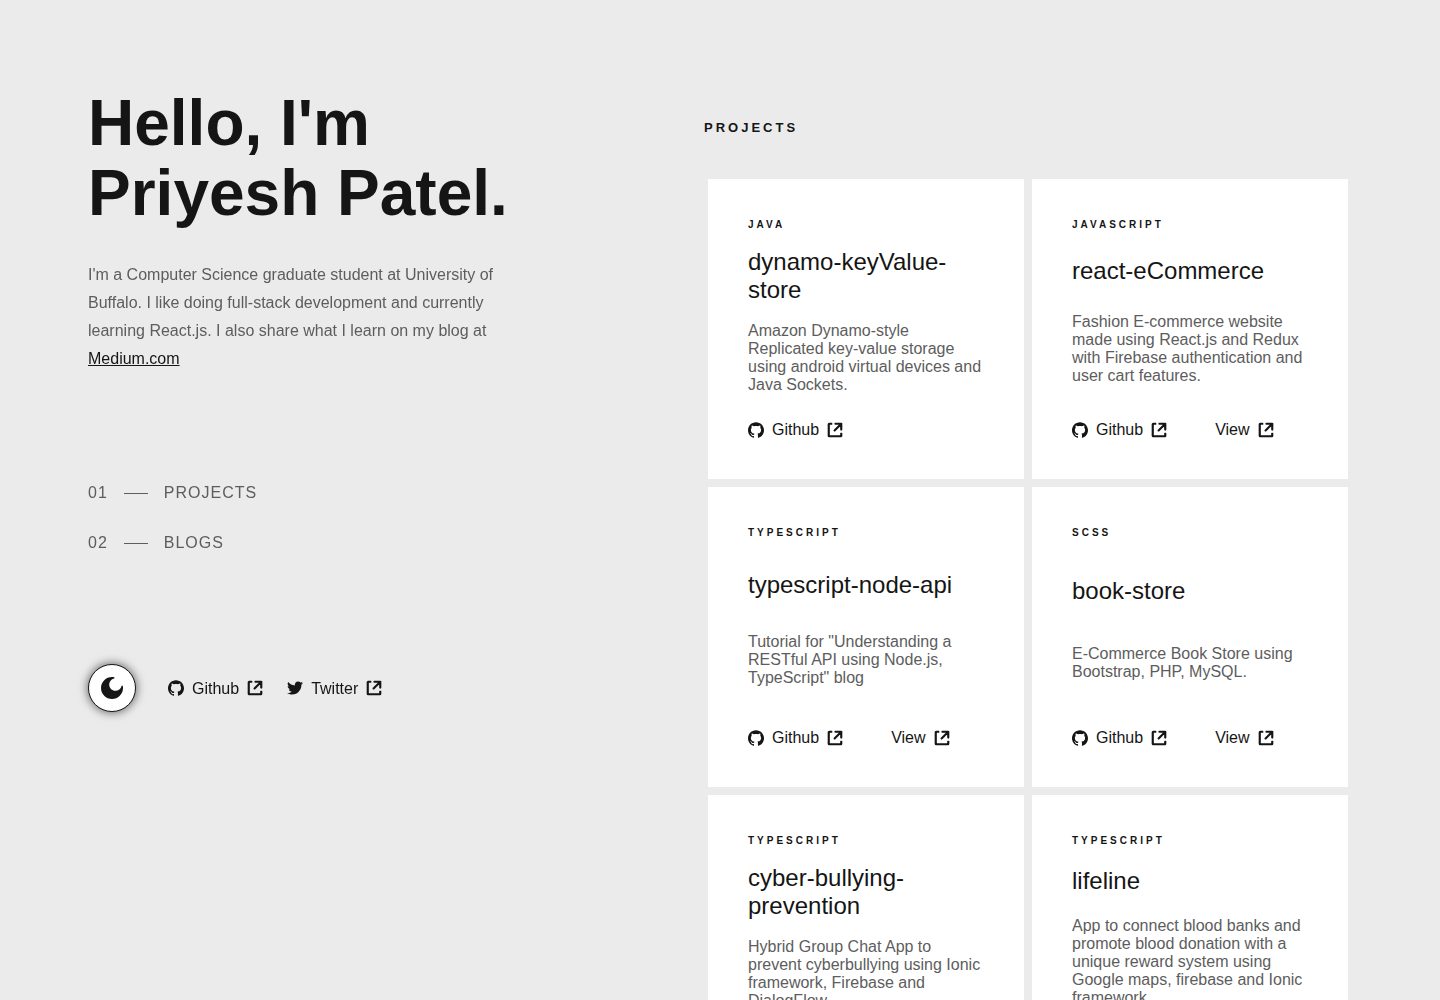
看看你的网站会是什么样
浏览真实页面截图,比较内容排版与手机效果。点击下方缩略图切换,放大查看整页细节。
全部页面与视图 2
截图用于了解视觉与布局,交互效果请以实际项目为准。
采集于 2026-09-30查看来源
值得关注的模板亮点
从已有项目资料中,快速了解它的特点。
样式采用 Bootstrap 与自定义 SCSS,主题色通过两个 SCSS 变量配置为渐变
页面内容集中在 src/mock/data.js,分首屏、关于、项目、联系、页脚五组数据对象
项目条目与页脚社交链接均可按需增删,缺少简历或仓库链接时对应按钮自动隐藏
使用 Gatsby 的图片优化能力,图片需放在 src/images/ 目录下
代码采用 MIT 许可,允许免费使用、修改、商用与分发
模板详细介绍
ben-portfolio 是 ben-redd 的个人作品集仓库,用于展示若干项目并介绍自己。它基于 Gatsby Simplefolio 模板构建,托管在 Netlify,线上地址为 benjamin-redd.com。
站点为单页布局,使用 React 编写,样式基于 Bootstrap 与自定义 SCSS,并借助 Gatsby 做图片优化。页面内容由 src/mock/data.js 中的若干数据对象驱动,分别对应首屏(heroData)、关于(aboutData)、项目列表(projectsData)、联系(contactData)与页脚社交链接(footerData)。项目条目可自行增减,未填写简历链接或仓库地址时对应按钮不显示;页脚社交图标同样可按需增删。主题色通过 src/styles/abstracts/_variables.scss 中的 $main-color 与 $secondary-color 两个变量调整,形成渐变配色。
README 中记录了本地开发的依赖前提(Git、Node.js、Gatsby CLI,也可用 Yarn 替代 NPM)与启动方式(npm install 后 npm run develop,默认访问 http://localhost:8000/),并针对 NPM 安装报错给出清理缓存、删除 node_modules 与 package-lock.json 后重装的排查步骤。部署方面,作者推荐使用 Netlify。
需要留意:仓库本身未提供关于性能、可访问性或浏览器兼容性的说明,模板资料中的功能描述来自上游 Simplefolio 模板,不代表本仓库的额外实现。演示图片、字体、图标等第三方素材的许可需单独核对,不能仅凭代码的 MIT 许可判断。
Gatsby作品集
适合你的项目吗?
适用场景
- 开发者搭建个人作品集页面,集中展示若干项目与自我介绍
- 需要单页、可配置渐变主题色的静态个人站点
- 以 Gatsby 为技术栈、并计划部署到 Netlify 的个人项目
- 作为学习 Gatsby + React + Bootstrap/SCSS 组合的起步模板
适合人群
- 希望快速起步个人作品集的开发者
- 熟悉或愿意使用 Gatsby、React 与 SCSS 的前端使用者
- 需要 MIT 许可、可自由修改与商用的模板使用者
- 准备用 Netlify 托管静态站点的个人用户
上手与定制指南
结合仓库当前版本的说明,按下面的资料检查内容、配置与运行要求。
- 1
需预先安装 Git、Node.js(含 NPM)与 Gatsby CLI,也可用 Yarn 替代 NPM
- 2
克隆仓库后执行 npm install 安装依赖,再用 npm run develop 启动开发服务器,默认地址为 http://localhost:8000/
- 3
若 NPM 安装报错,README 建议先清理 npm 缓存,删除 node_modules 与 package-lock.json 后重新安装
- 4
在 src/mock/data.js 中填写首屏、关于、项目、联系与页脚数据;图片须放入 src/images/ 目录
- 5
完成配置后将 githubButtons 的 isEnabled 设为 false,以隐藏 GitHub 星标与 fork 按钮
授权与来源资料
使用条件与限制
免费使用 · 保留许可声明本次收录的是公开仓库中采用 MIT 许可的免费版本;免费范围为该版本代码,不代表外部服务或第三方素材免费。
使用时需要遵守
- 允许免费使用、修改、商用和分发该版本代码。
- 分发代码副本或实质性部分时,保留原作者版权声明和完整 MIT 许可声明。
- 代码按现状提供;担保与责任限制以原许可证及适用法律为准。
额外费用与待核对事项
- 使用前需自行安装 Gatsby CLI 命令行工具,属于外部开发依赖,非项目自带。
- 部署推荐使用 Netlify 等第三方托管服务,可能涉及外部平台账号与费用。
- 图片必须放在 src/images/ 目录下,否则 Gatsby 无法正确显示。
- 完成配置后需将 githubButtons 的 isEnabled 设为 false,以隐藏 GitHub 星标与 fork 按钮。
- 演示图片、字体、图标及其他第三方素材需按各自许可核对,不能仅凭代码的 MIT 许可判断。
- 域名、托管、数据库、支付或 AI 等外部服务可能另外收费。
查看原文依据
Permission is hereby granted, free of charge
许可证原文
Also you need to have installed [Gatsby CLI](https://www.gatsbyjs.org/docs/quick-start/)
README 原文
I highly recommend to use [Netlify](https://netlify.com) to achieve this on the EASIEST WAY
README 原文
All the images must live inside the `src/images/` folder in order for Gatsby to show the images correctly.
README 原文
https://github.com/ben-redd/ben-portfolio/blob/master/LICENSE.mdhttps://github.com/ben-redd/ben-portfolio/blob/master/README.mdSet `isEnabled` to `false` once you finish setup your portfolio.
README 原文
DeepSeek 根据仓库许可证和 README 整理 ·2026-10-01。结果仅覆盖已读取资料,依赖、图片、字体及后续条款变更以各自原文为准。
项目核对记录与介绍依据
模板资料
- 来源平台
- GitHub
- 资料与维护参考分
- 资料较完整 · 80 / 100
- 技术栈
- Gatsby · React
- 网站类型
- 作品集
这个分数如何计算
本站按许可资料(最高30分)、演示链接(12分)、预览图(10分)、Star数(15分)、记录的维护时间(15分)、描述完整度(8分)、功能记录(5分)和分类资料(5分)计算。它不是代码、安全或性能测试,也不是 Google 评分;有链接不代表已实测可用。
这个项目需要核对什么
- 记录的仓库更新时间
- 2026-09-29
- 截图检查日期
- 2026-10-01
已收录演示链接。请用你的内容与屏幕尺寸检查;有演示不代表表单、认证或支付已经可用。
目录记录的主要技术栈是 Gatsby。请通过依赖清单和锁文件核对实际版本与托管要求。这些说明基于收录资料,不代表代码审计或部署实测。
查看具体选型方法 →介绍的制作与核对状态
介绍由 AI 辅助整理目录与仓库资料。仓库作者不等于这篇介绍的审核者。
已完成服务器许可规则与 AI 来源核对;未经过人工编辑审核。
查看当时使用的来源资料
SHA-256: 27fe5e01d509c523c131d14fe23a58a4e6abc05e9ea577db6d8338f7e1c25401
2026-10-01T14:23:31.797Z
来源文件 / 仓库### Note: if you run into error code 1 when installing packages via npm, run the following to fix it or see this thread https://github.com/gatsbyjs/gatsby/issues/27548 $ npm cache clean or npm cache clean --force then $ rm -rf node_modules package-lock.json then $ npm install if Socket timeout again use command npm install $ npm run develop # Gatsby Simplefolio ⚡️ [](https://github.com/cobidev/gatsby-simplefolio/blob/master/LICENSE.md)   ## A clean, beautiful and responsive portfolio template for Developers <h2 align="center"> <img src="https://github.com/cobidev/gatsby-simplefolio/blob/master/examples/example.gif" alt="Gatsby Simplefolio" width="600px" /> <br> </h2> ## Features ⚡️ Modern UI Design + Reveal Animations\ ⚡️ One Page Layout built with React\ ⚡️ Styled with Bootstrap v4.3 + Custom SCSS\ ⚡️ Fully Responsive\ ⚡️ Configurable color scheme\ ⚡️ Image optimization with Gatsby\ ⚡️ Easy site customization\ ⚡️ Well organized documentation To view a demo example, **[click here](https://gatsby-simplefolio.netlify.com/)**\ To view a live example, **[click here](https://cobidev.com/)** --- ## Getting Started 🚀 These instructions will get you a copy of the project up and running on your local machine for development and testing purposes. See deployment for notes on how to deploy the project on a live system. ### Prerequisites 📋 You'll need [Git](https://git-scm.com) and [Node.js](https://nodejs.org/en/download/) (which comes with [NPM](http://npmjs.com)) installed on your computer.\ Also you need to have installed [Gatsby CLI](https://www.gatsbyjs.org/docs/quick-start/) ``` [email protected] or higher [email protected] or higher [email protected] or higher [email protected] or higher ``` Also, you can use [Yarn](https://yarnpkg.com/) instead of NPM ☝️ ``` [email protected] or higher ``` --- ## How To Use 🔧 From your command line, first clone Simplefolio: ```bash # Clone this repository $ git clone https://github.com/cobidev/gatsby-simplefolio # Go into the repository $ cd gatsby-simplefolio # Remove current origin repository $ git remote remove origin ``` Then you can install the dependencies either using NPM or Yarn: Using NPM: ```bash # Install dependencies $ npm install # Start development server $ npm run develop ``` Using Yarn: ```bash # Install dependencies $ yarn # Start development server $ yarn develop ``` **NOTE**: If your run into issues installing the dependencies with NPM, use this command: ```bash # Install dependencies with all permissions $ sudo npm install --unsafe-perm=true --allow-root ``` Once your server has started, go to this url `http://localhost:8000/` and you will see the website running on a Development Server: <h2 align="center"> <img src="https://github.com/cobidev/gatsby-simplefolio/blob/master/examples/example.png" alt="Gatsby Simplefolio" width="100%"> </h2> --- ## Instructions: ### Step 1 - STRUCTURE Go to `/src/mock/data.js` and fill your information, they are 5 objects: ### Hero Section ```javascript export const heroData = { title: '', // Hello, my name is name: '', // John subtitle: '', // I'm the Unknown Developer. cta: '', // Know more }; ``` ### About Section **_Important Note_**: All the images must live inside the `src/images/` folder in order for Gatsby to show the images correctly. ```javascript export const aboutData = { img: 'profile.jpg', // put your profile image (recommended aspect radio: square) paragraphOne: '', paragraphTwo: '', paragraphThree: '', resume: 'https://www.resumemaker.online/es.php', // if no resume, the button will not show up }; ``` ### Projects Section **_Important Note_**: All the images must live inside the `src/images/` folder in order for Gatsby to show the images correctly. Put as many projects object you want inside the `array`. ```javascript export const projectsData = [ { id: nanoid(), img: 'project.jpg', title: '', info: '', info2: '', url: '', repo: 'https://github.com/cobidev/react-simplefolio', // if no repo, the button will not show up }, { id: nanoid(), img: 'project.jpg', title: '', info: '', info2: '', url: '', repo: 'https://github.com/cobidev/react-simplefolio', // if no repo, the button will not show up }, ... ]; ``` ### Contact Section ```javascript export const contactData = { cta: '', // call to action text for the contact section btn: '', // text inside the button email: '', }; ``` ### Footer Section You can remove or add as many you social-media icons you want.\ Just put an object with the corresponding values inside the networks `array` or remove it from there. ```javascript export const footerData = { networks: [ { id: nanoid(), name: 'twitter', url: '', // your twitter url }, { id: nanoid(), name: 'codepen', url: '', // your codepen url }, { id: nanoid(), name: 'linkedin', url: '', // your linkedin url }, { id: nanoid(), name: 'github', url: '', // your github url }, ], }; ``` ### Required - Disable GitHub buttons Set `isEnabled` to `false` once you finish setup your portfolio.\ By setting to `false` it will hide the GitHub stars/fork buttons ```javascript export const githubButtons = { isEnabled: true, // true is the default value }; ``` ### Step 2 - STYLES Change the color theme of the website ( choose 2 colors to create a gradient ): Go to `src/styles/abstracts/_variables.scss` and only change the values on this classes `$main-color` and `$secondary-color` to your prefered HEX color ```scss // Default values $main-color: #02aab0; $secondary-color: #00cdac; ``` **_Note_**: I highly recommend to checkout gradients variations on [UI Gradient](https://uigradients.com/#BrightVault) --- ## Deployment 📦 Once you have done with your setup. You need to put your website online! I highly recommend to use [Netlify](https://netlify.com) to achieve this on the EASIEST WAY ## Others versions 👥 [Simplefolio](https://github.com/cobidev/simplefolio) by [Jacobo Martinez](https://github.com/cobidev)\ [Ember.js Simplefolio](https://github.com/sernadesigns/simplefolio-ember) by [Michael Serna](https://github.com/sernadesigns) ## Technologies used 🛠️ - [Gatsby](https://www.gatsbyjs.org/) - Static Site Generator - [GraphQL](https://graphql.org/) - Query language for APIs - [React](https://es.reactjs.org/) - Front-End JavaScript library - [Bootstrap 4](https://getbootstrap.com/docs/4.3/getting-started/introduction/) - Front-End UI library - [Sass](https://sass-lang.com/documentation) - CSS extension language ## Authors - **Jacobo Martinez** - [https://github.com/cobidev](https://github.com/cobidev) ## Status [](https://app.netlify.com/sites/gatsby-simplefolio/deploys) ## License 📄 This project is licensed under the MIT License - see the [LICENSE.md](LICENSE.md) file for details ## Acknowledgments 🎁 I was motivated to create this project because I wanted to contribute on something useful for the dev community, thanks to [ZTM Community](https://github.com/zero-to-mastery) and [Andrei](https://github.com/aneagoie)
看看同类模板
对比同技术栈与用途的模板,找到更适合的视觉与内容结构。
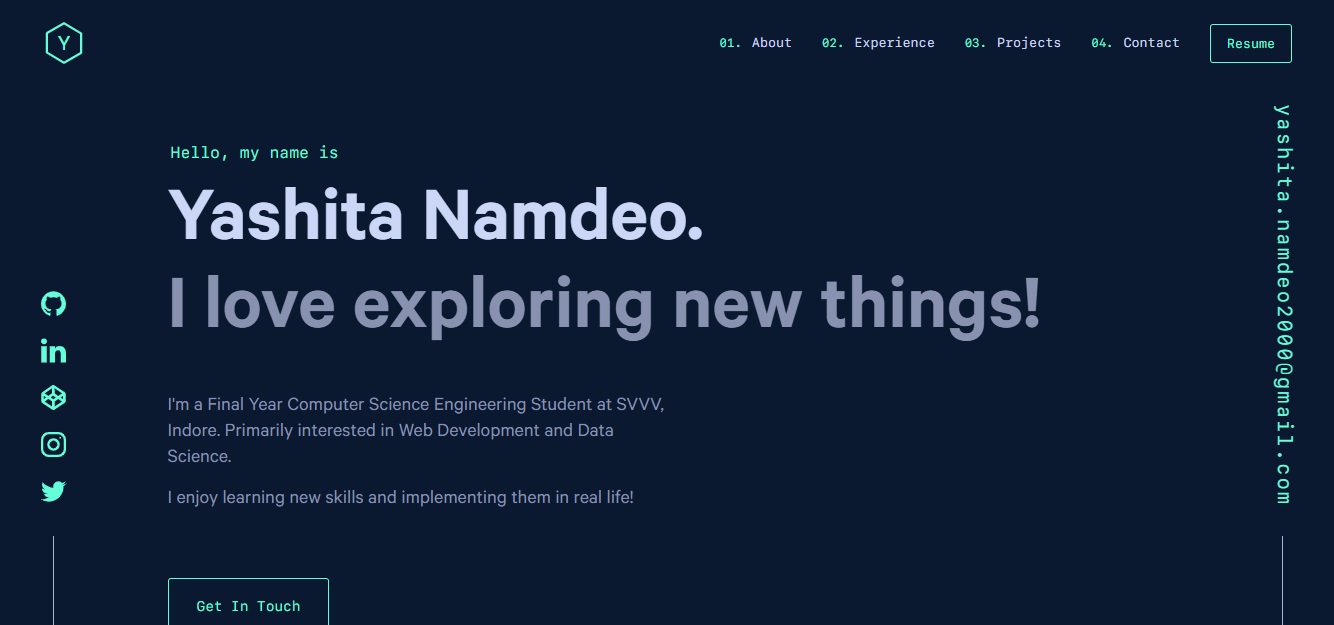
yashitanamdeo.github.io
yashitanamdeo.github.io 是一个基于 Gatsby 和 React 构建的个人作品集网站模板,源自开发者 Yashita Namdeo 的第一版个人主页。
Gatsby · 作品集

clay-theme
Image-centric Gatsby theme for publishers, portfolios, photographers blogs and more.
Gatsby · 作品集
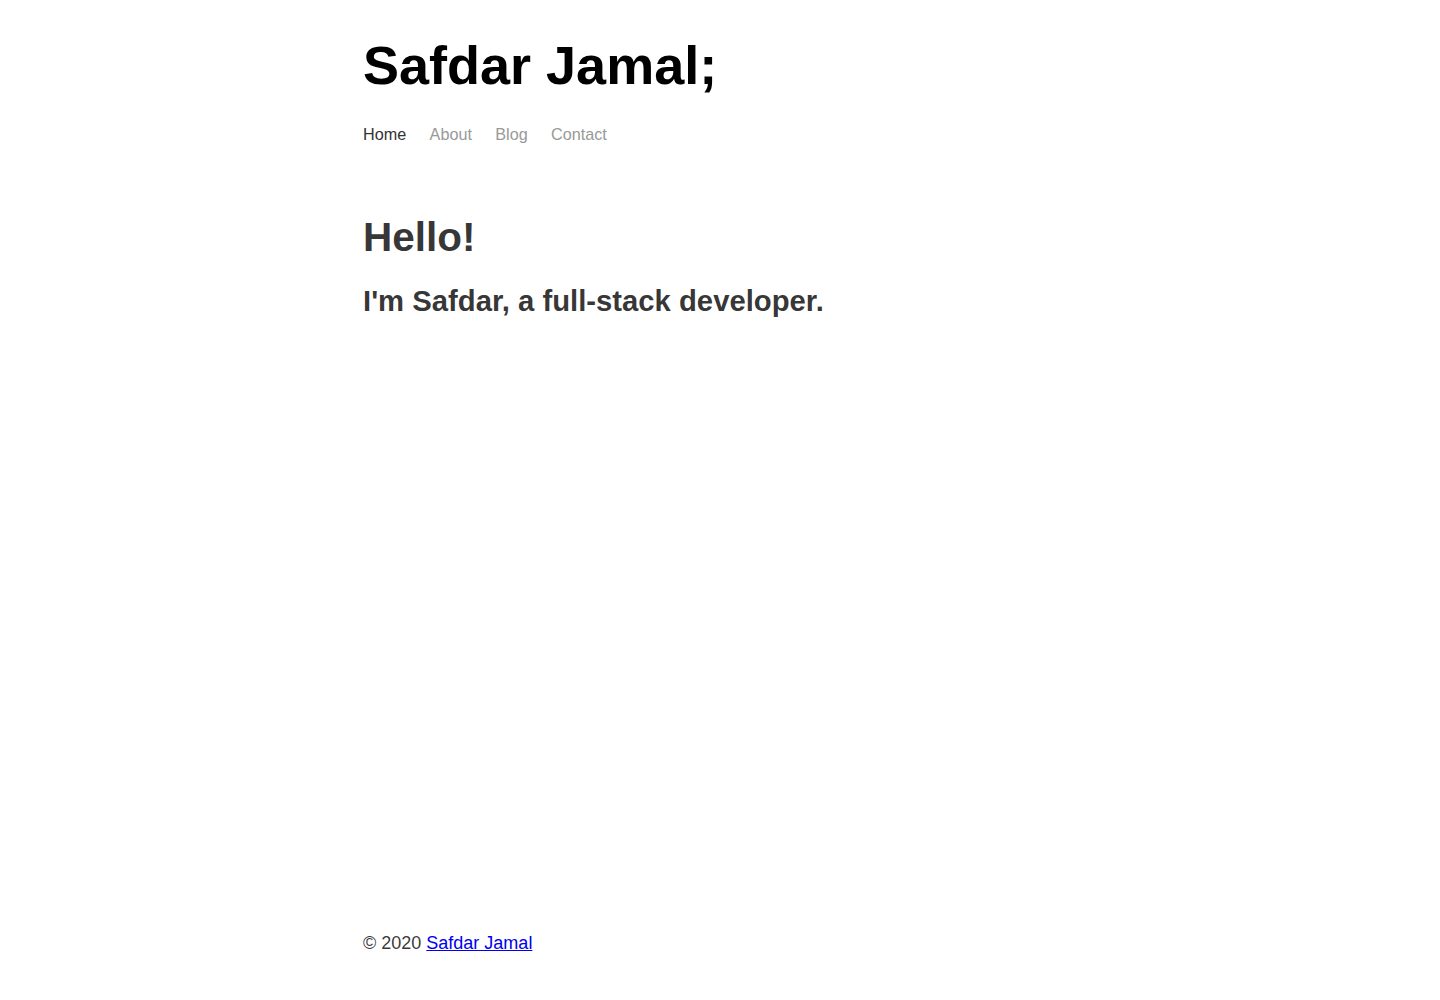
gatsby-markdown-blog
A minimal starter template for building personal/blogging websites with Gatsby, Markdown, and Netlify.
Gatsby · 作品集
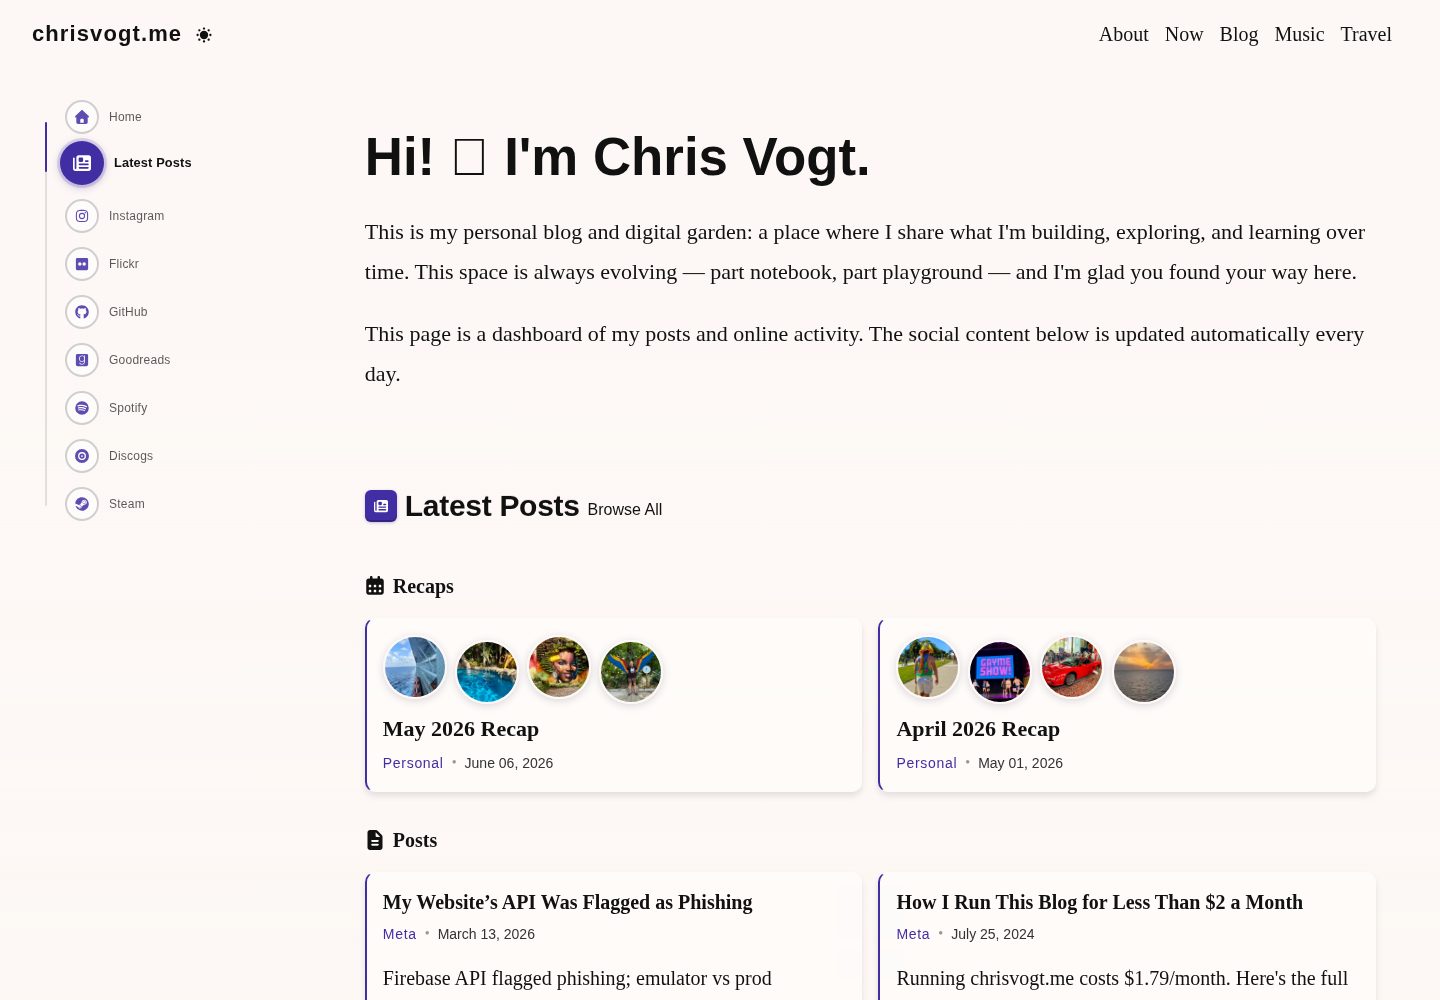
gatsby-theme-chronogrove
A homemade GatsbyJS theme for my personal blog and website.
Gatsby · 作品集
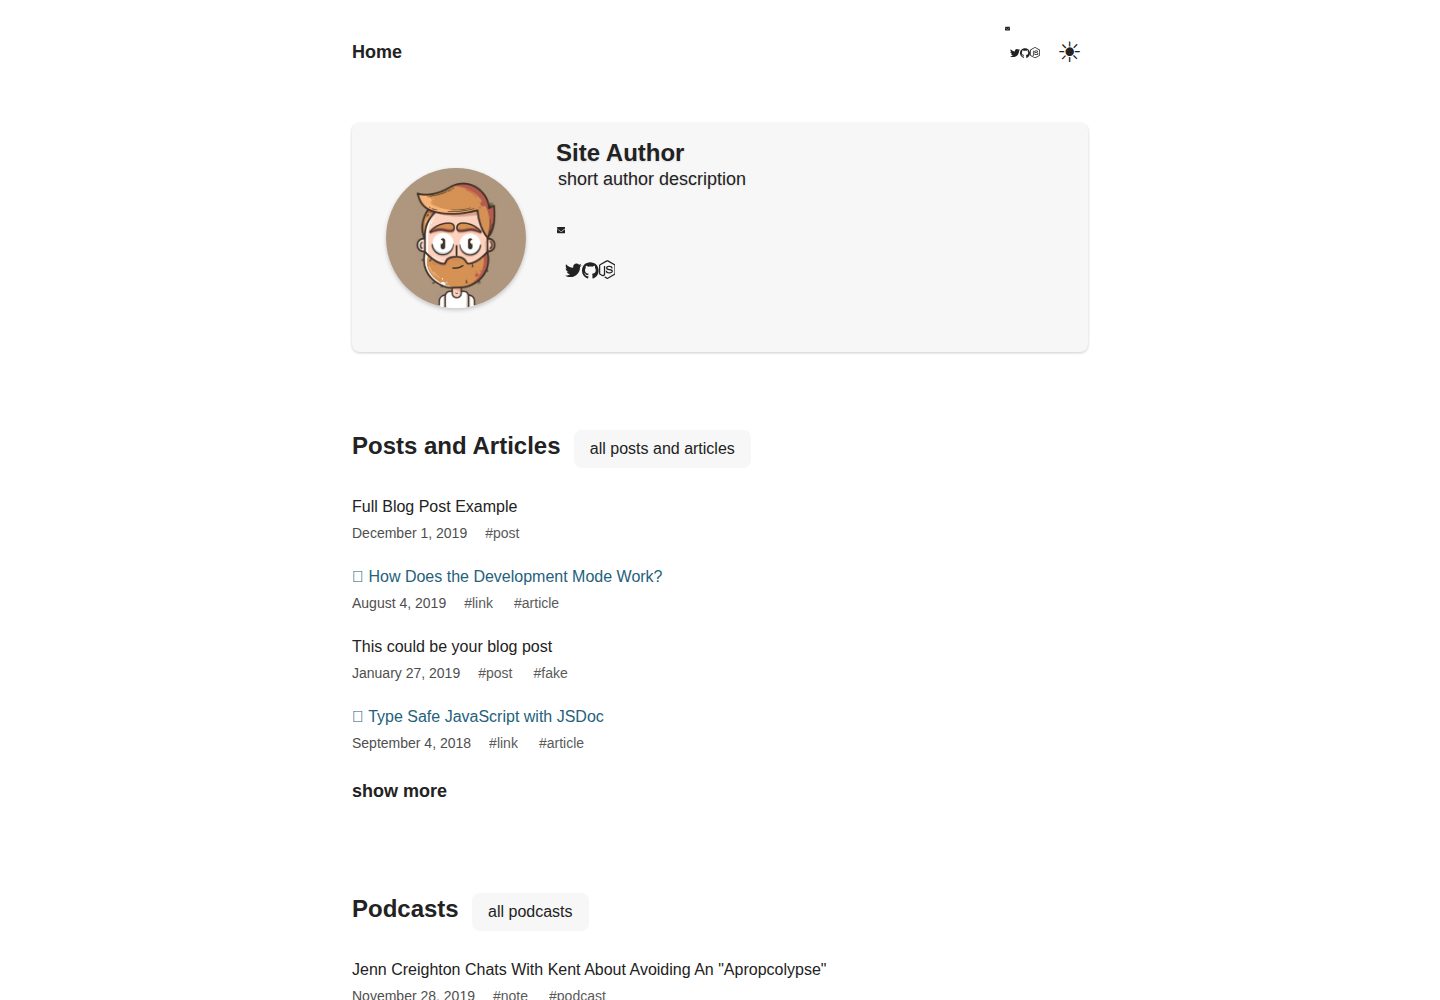
gatsby-starter-chronoblog-profile
Chronoblog Gatsby Theme Starter. This starter will help you launch a personal website with a simple text feed …
Gatsby · 作品集
gatsby-portfolio
Personal website using gatsby.js
Gatsby · 作品集