以 Notion 数据库作为内容源,文章在 Notion 中撰写和发布
Eleventy博客启动器
eleventy-notion-starter-blog — Eleventy 博客模板
作者 carlknutson
基于 Eleventy 的博客启动器,通过 Notion 数据库管理文章,并用 GitHub Actions 将内容生成为 Markdown 文件。
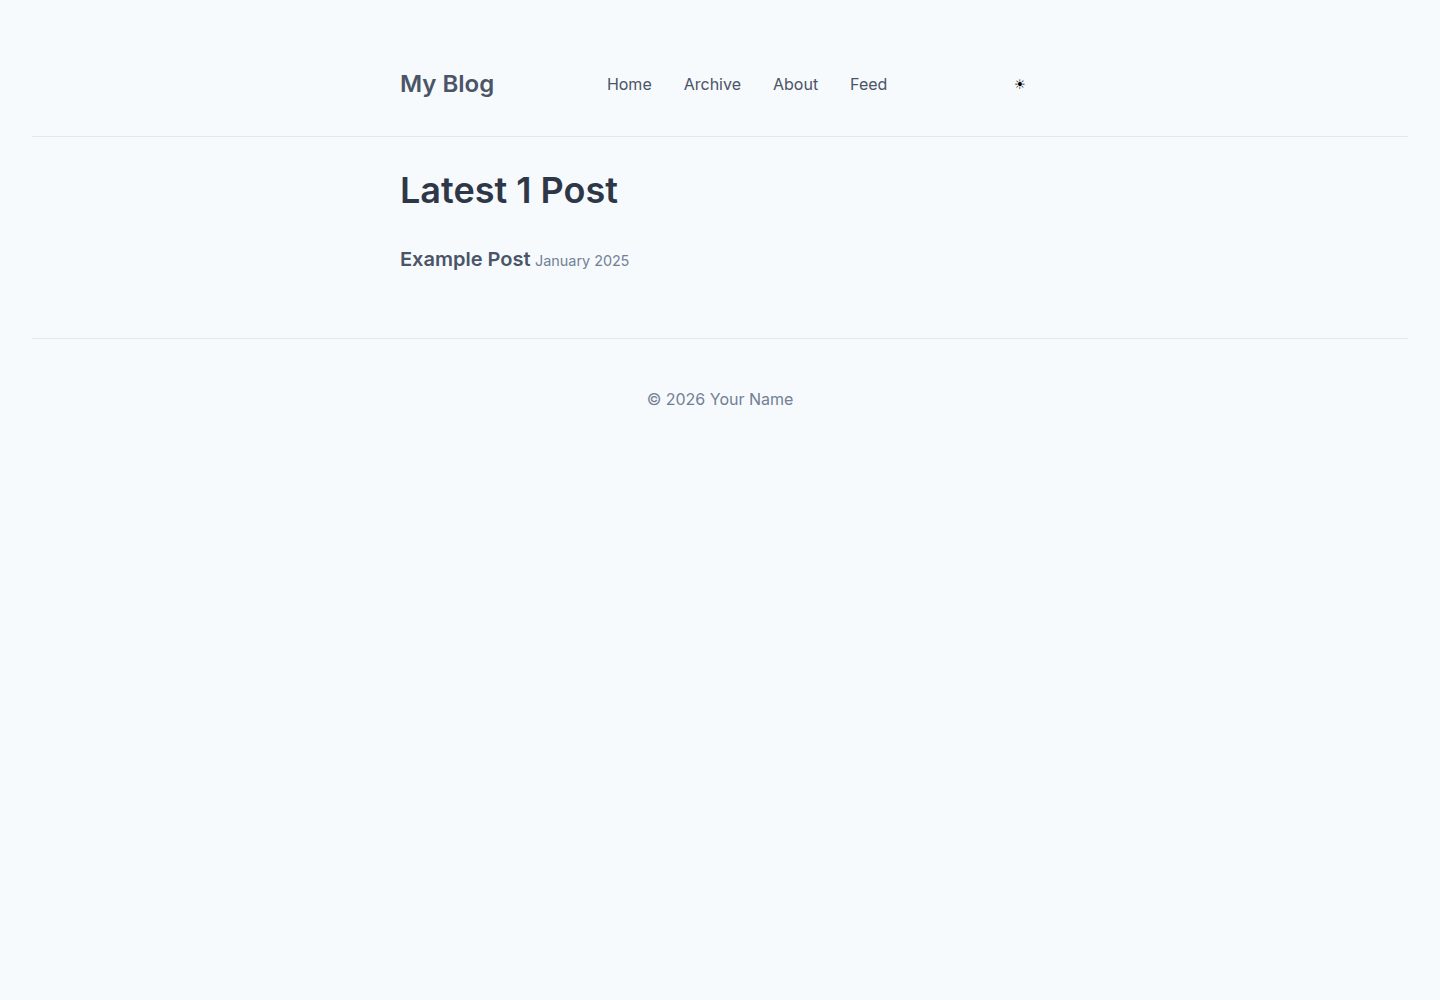
看看你的网站会是什么样
浏览真实页面截图,比较内容排版与手机效果。点击下方缩略图切换,放大查看整页细节。
全部页面与视图 3
截图用于了解视觉与布局,交互效果请以实际项目为准。
采集于 2026-09-30查看来源
值得关注的模板亮点
从已有项目资料中,快速了解它的特点。
通过 GitHub Actions 手动触发 notion-to-md.js,将 Notion 内容转换为 Markdown 并提交到仓库
自动下载 Notion 页面内嵌图片到本地,并用图片替代文本作为文件名
Notion 数据库使用 Title、Description、Tags、Publish、Published 五个固定属性
包含 gh-pages.yml 工作流,可部署到 GitHub Pages
基于 Eleventy 官方 eleventy-base-blog 修改,使用 Nunjucks 模板
模板详细介绍
这是一个基于 Eleventy 的博客模板,核心特点是把 Notion 作为内容管理后台。文章在 Notion 数据库中维护,通过 .github/scripts/notion-to-md.js 脚本抓取并转换为 Markdown,写入 content/blog/ 目录;该脚本通过 GitHub Actions 工作流 generate-md.yml 手动触发,运行后会把生成的 Markdown 提交回仓库。Notion 数据库需要包含 Title、Description、Tags、Publish、Published 五个属性,其中 Publish 复选框控制是否生成或更新对应 Markdown,取消勾选不会删除已有内容。页面内嵌的图片会在工作流运行时下载到本地,并以 Notion 中设置的图片替代文本作为文件名,同时替换 Markdown 中的图片链接。本地开发需要 Node.js 18 或更高版本,npm install 安装依赖后 npm start 启动开发服务器。
模板的 Eleventy 配置位于 eleventy.config.js,布局与可复用组件在 _includes/ 目录下使用 Nunjucks 模板,样式集中在 public/css/,全局数据放在 _data/。部署方面,仓库包含 gh-pages.yml 工作流,在 GitHub Pages 设置中选择 GitHub Actions 作为来源后,推送到 main 分支即可自动构建和部署。该模板基于 Eleventy 官方的 eleventy-base-blog 修改而来。
Eleventy博客启动器
适合你的项目吗?
适用场景
- 希望在 Notion 中写作、由脚本同步到静态博客的站点
- 需要把 Notion 内容生成 Markdown 并纳入 Git 版本管理的博客
- 计划将博客部署到 GitHub Pages 的个人站点
- 需要本地开发服务器并支持热重载的 Eleventy 项目
适合人群
- 熟悉 Node.js 与 GitHub Actions 基本操作的开发者
- 使用 Notion 作为写作工具并希望保留 Markdown 文件的用户
- 需要基于 Eleventy 快速搭建博客结构的项目
上手与定制指南
结合仓库当前版本的说明,按下面的资料检查内容、配置与运行要求。
- 1
需要 Node.js 18 或更高版本,安装依赖后使用 npm start 启动本地开发服务器
- 2
在 Notion 创建集成并获取 Internal Integration Token,配置为环境变量 NOTION_KEY
- 3
创建 Notion 数据库并共享给集成,将数据库 ID 配置为环境变量 NOTION_BLOG_ID
- 4
Notion 数据库需包含 Title、Description、Tags、Publish、Published 五个属性
- 5
在 GitHub 仓库设置中把 NOTION_KEY 和 NOTION_BLOG_ID 添加为 secrets,并手动触发 generate-md.yml 工作流
授权与来源资料
使用条件与限制
免费使用 · 保留许可声明本次收录的是公开仓库中采用 MIT 许可的免费版本;免费范围为该版本代码,不代表外部服务或第三方素材免费。
使用时需要遵守
- 允许免费使用、修改、商用和分发该版本代码。
- 分发代码副本或实质性部分时,保留原作者版权声明和完整 MIT 许可声明。
- 代码按现状提供;担保与责任限制以原许可证及适用法律为准。
额外费用与待核对事项
- 使用该模板需自行创建 Notion 集成并获取 Internal Integration Token,将其配置为环境变量 NOTION_KEY,否则无法拉取内容。
- 需在 Notion 中创建数据库并共享给集成,把数据库 ID 配置为环境变量 NOTION_BLOG_ID,模板依赖该外部服务。
- GitHub Actions 工作流需在仓库 secrets 中配置 NOTION_KEY 与 NOTION_BLOG_ID 才能正常运行。
- 内容生成脚本需通过 GitHub Actions 手动触发 workflow_dispatch 运行,不会自动同步 Notion 内容。
- 取消勾选 Notion 的 Publish 属性只会停止更新对应 Markdown,不会删除已生成的内容。
- 本地运行需安装 Node.js 18 或更高版本。
- 演示图片、字体、图标及其他第三方素材需按各自许可核对,不能仅凭代码的 MIT 许可判断。
- 域名、托管、数据库、支付或 AI 等外部服务可能另外收费。
查看原文依据
Permission is hereby granted, free of charge
许可证原文
Set this token as an environment variable named `NOTION_KEY`
README 原文
Set this database ID as an environment variable named `NOTION_BLOG_ID`
README 原文
ensure you have set `NOTION_KEY` and `NOTION_BLOG_ID` as repository secrets
README 原文
This script is designed to be run manually via a GitHub Actions workflow
README 原文
Unchecking this property will prevent further updates to the Markdown file, but will not delete existing content.
README 原文
https://github.com/carlknutson/eleventy-notion-starter-blog/blob/main/LICENSEhttps://github.com/carlknutson/eleventy-notion-starter-blog/blob/main/README.mdMake sure you have [Node.js](https://nodejs.org/en/) (version 18 or higher) installed.
README 原文
DeepSeek 根据仓库许可证和 README 整理 ·2026-10-01。结果仅覆盖已读取资料,依赖、图片、字体及后续条款变更以各自原文为准。
项目核对记录与介绍依据
模板资料
- 来源平台
- GitHub
- 资料与维护参考分
- 资料较完整 · 85 / 100
- 技术栈
- Eleventy
- 网站类型
- 博客 · 启动器
这个分数如何计算
本站按许可资料(最高30分)、演示链接(12分)、预览图(10分)、Star数(15分)、记录的维护时间(15分)、描述完整度(8分)、功能记录(5分)和分类资料(5分)计算。它不是代码、安全或性能测试,也不是 Google 评分;有链接不代表已实测可用。
这个项目需要核对什么
- 记录的仓库更新时间
- 2026-06-11
- 截图检查日期
- 2026-10-01
已收录演示链接。请用你的内容与屏幕尺寸检查;有演示不代表表单、认证或支付已经可用。
目录记录的主要技术栈是 Eleventy。请通过依赖清单和锁文件核对实际版本与托管要求。这些说明基于收录资料,不代表代码审计或部署实测。
查看具体选型方法 →介绍的制作与核对状态
介绍由 AI 辅助整理目录与仓库资料。仓库作者不等于这篇介绍的审核者。
已完成服务器许可规则与 AI 来源核对;未经过人工编辑审核。
查看当时使用的来源资料
SHA-256: 0eb4081699ab1466f093248edbe344421cb43162e41dfa34bd27a1e78abee2d8
2026-10-01T15:16:59.381Z
来源文件 / 仓库# Eleventy Notion Starter Blog
This is a blog template built with [Eleventy](https://www.11ty.dev/), designed to be easily integrated with Notion for content management.
## Table of Contents
- [Getting Started](#getting-started)
- [Prerequisites](#prerequisites)
- [Installation](#installation)
- [Running Locally](#running-locally)
- [Notion Integration](#notion-integration)
- [Setting up Notion API Key](#setting-up-notion-api-key)
- [Creating Your Notion Database](#creating-your-notion-database)
- [Generating Content from Notion](#generating-content-from-notion)
- [Deployment](#deployment)
- [Customization](#customization)
- [GitHub Pages Setup](#github-pages-setup)
- [Original Template](#original-template)
- [Eleventy Resources](#eleventy-resources)
## Getting Started
### Prerequisites
Make sure you have [Node.js](https://nodejs.org/en/) (version 18 or higher) installed. You can check your version with:
```bash
node --version
```
### Installation
1. **Create a new repository from this template:**
On GitHub, click the "Use this template" button to create a new repository based on this one. Then, clone your newly created repository:
```bash
git clone https://github.com/your-username/your-new-repo.git
cd your-new-repo
```
2. Install the dependencies:
```bash
npm install
```
### Running Locally
To start a local development server with hot-reloading:
```bash
npm start
```
This will typically run the site at `http://localhost:8080/`.
## Notion Integration
This blog template is pre-configured to pull content directly from a Notion database. This allows you to manage your blog posts in Notion and generate static Markdown files for your Eleventy site.
### Setting up Notion API Key
1. Go to [Notion Developers](https://www.notion.so/my-integrations) and create a new integration.
2. Give your integration a name (e.g., "My Blog Integration").
3. Copy the "Internal Integration Token" (this is your API key).
4. Set this token as an environment variable named `NOTION_KEY` in your deployment environment or in a `.env` file for local development.
### Creating Your Notion Database
1. Create a new database in Notion.
2. Share your database with the integration you created in the previous step. Click the "Share" button in the top right corner of your Notion database, then invite your integration.
3. Copy your database ID. You can find this in the URL of your Notion database. It's the string of characters between `notion.so/` and `?v=`.
4. Set this database ID as an environment variable named `NOTION_BLOG_ID` in your deployment environment or in a `.env` file for local development. For local development, add `NOTION_BLOG_ID=your_notion_database_id_here` to your `.env` file.
Your Notion database should have the following properties (case-sensitive):
- `Title` (Type:Title)
- `Description` (Type: Text)
- `Tags` (Type: Multi-select)
- `Publish` (Type: Checkbox) - If checked, the corresponding Markdown file will be created or updated. Unchecking this property will prevent further updates to the Markdown file, but will not delete existing content.
- `Published` (Type: Date)
### Generating Content from Notion
The `notion-to-md.js` script (located in `.github/scripts/`) is responsible for fetching content from your Notion database and converting it into Markdown files. This script is designed to be run manually via a GitHub Actions workflow (`.github/workflows/generate-md.yml`) using `workflow_dispatch`. When triggered, it generates the Markdown files and commits them to your repository. **For this GitHub Action to function correctly, ensure you have set `NOTION_KEY` and `NOTION_BLOG_ID` as repository secrets in your GitHub repository settings.**
### Handling Images in Notion
Images embedded directly within your Notion pages will be automatically downloaded and saved locally when the `generate-md.yml` workflow runs. The `save-images.cjs` script (also in `.github/scripts/`) handles this process by replacing the Notion image URLs in the generated Markdown with local file paths.
To include images:
1. **Embed images directly in your Notion page content.** You can drag and drop images, paste them, or use Notion's image block.
2. **Add alt text to your images in Notion.** The alt text you provide for an image in Notion will be used as the filename when the image is downloaded and saved locally by the `save-images.cjs` script. This is crucial for proper image mapping and organization.
3. When the `generate-md.yml` workflow is triggered, the images will be downloaded to a directory alongside your Markdown file, and the Markdown will be updated to reference these local images.
**Note on Image Metadata:** Before uploading images to Notion, you might want to remove any sensitive metadata (like location data) from them. You can use online tools like [verexif.com](https://www.verexif.com/en/index.php) for this purpose.
You can also run the script locally to generate content:
```bash
node .github/scripts/notion-to-md.js
```
This will create Markdown files in the `content/blog/` directory.
## Customization
This template is designed to be easily customizable. Here are some key areas you might want to explore:
- **Eleventy Configuration:** The main Eleventy configuration is in `eleventy.config.js`. Here you can adjust collections, add plugins, and define global data.
- **Layouts and Includes:** The `_includes/` directory contains Nunjucks templates for your site's layout (`_includes/layouts/`) and reusable components (`_includes/`).
- **CSS Styling:** All the main CSS is located in the `public/css/` directory. You can modify `index.css` or create new CSS files to change the look and feel of your blog.
- **Data Files:** The `_data/` directory holds global data that can be accessed throughout your templates, such as `metadata.js`.
## GitHub Pages Setup
To publish your blog to GitHub Pages:
1. Go to your repository on GitHub.
2. Navigate to **Settings** > **Pages**.
3. Under "Build and deployment", select **GitHub Actions** as the source.
4. The `gh-pages.yml` workflow will automatically build and deploy your site whenever changes are pushed to the `main` branch.
## Original Template
This template was originally based on the [Eleventy Base Blog](https://github.com/11ty/eleventy-base-blog) by the Eleventy team.
## Eleventy Resources
- [Eleventy Documentation](https://www.11ty.dev/docs/)
- [Eleventy Getting Started Guide](https://www.11ty.dev/docs/getting-started/)
- [Eleventy on GitHub](https://github.com/11ty/eleventy)
看看同类模板
对比同技术栈与用途的模板,找到更适合的视觉与内容结构。
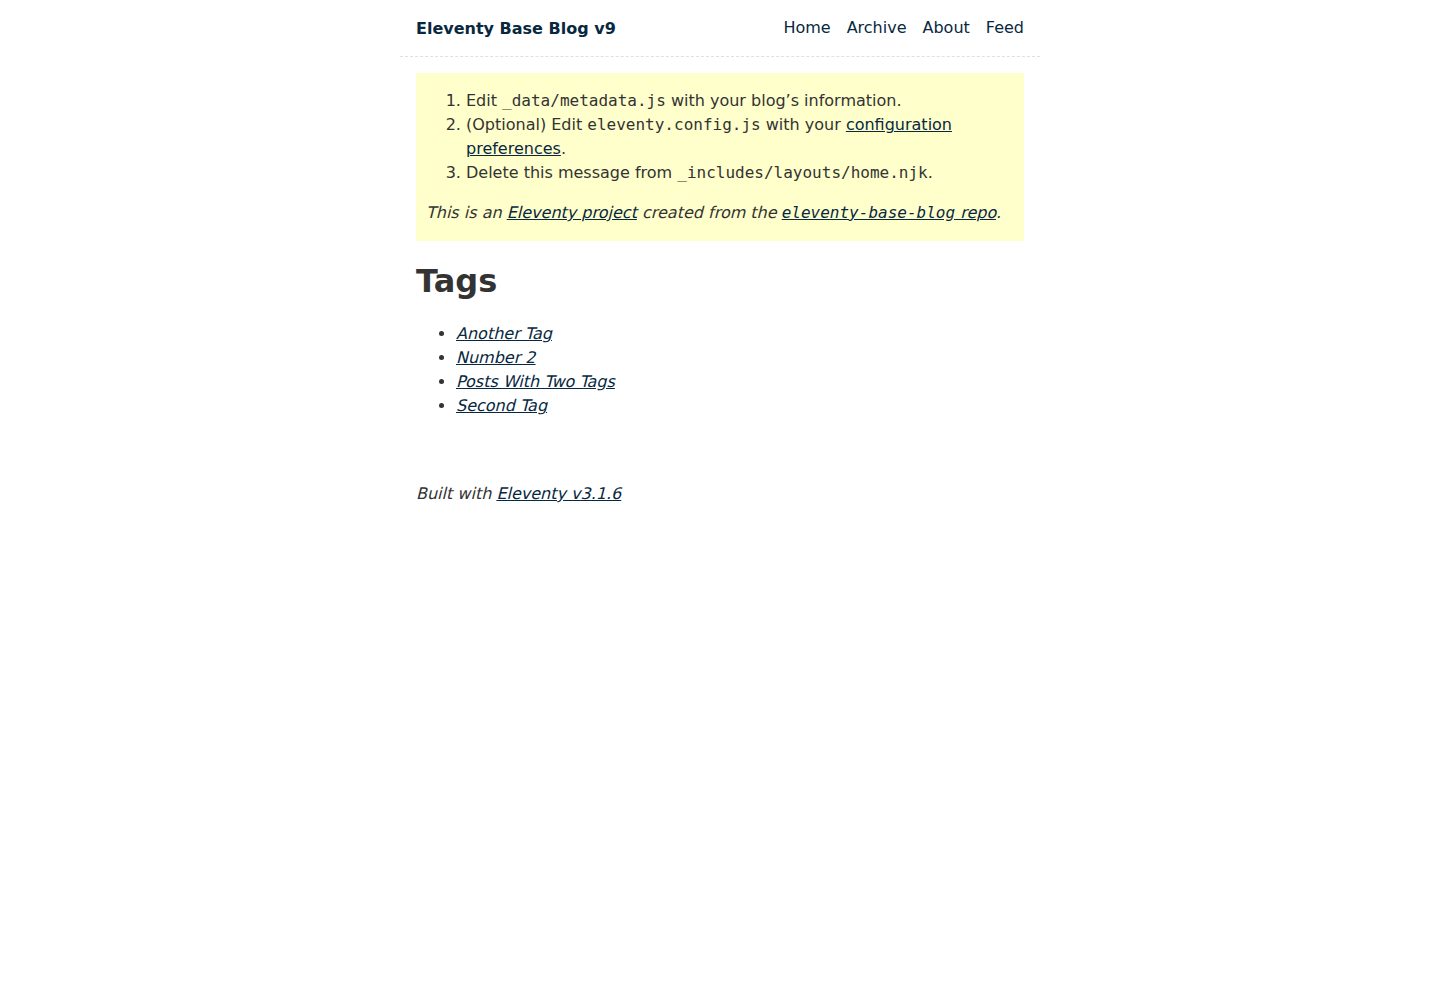
eleventy-base-blog
A starter repository for a blog web site using the Eleventy static site generator.
Eleventy · 博客
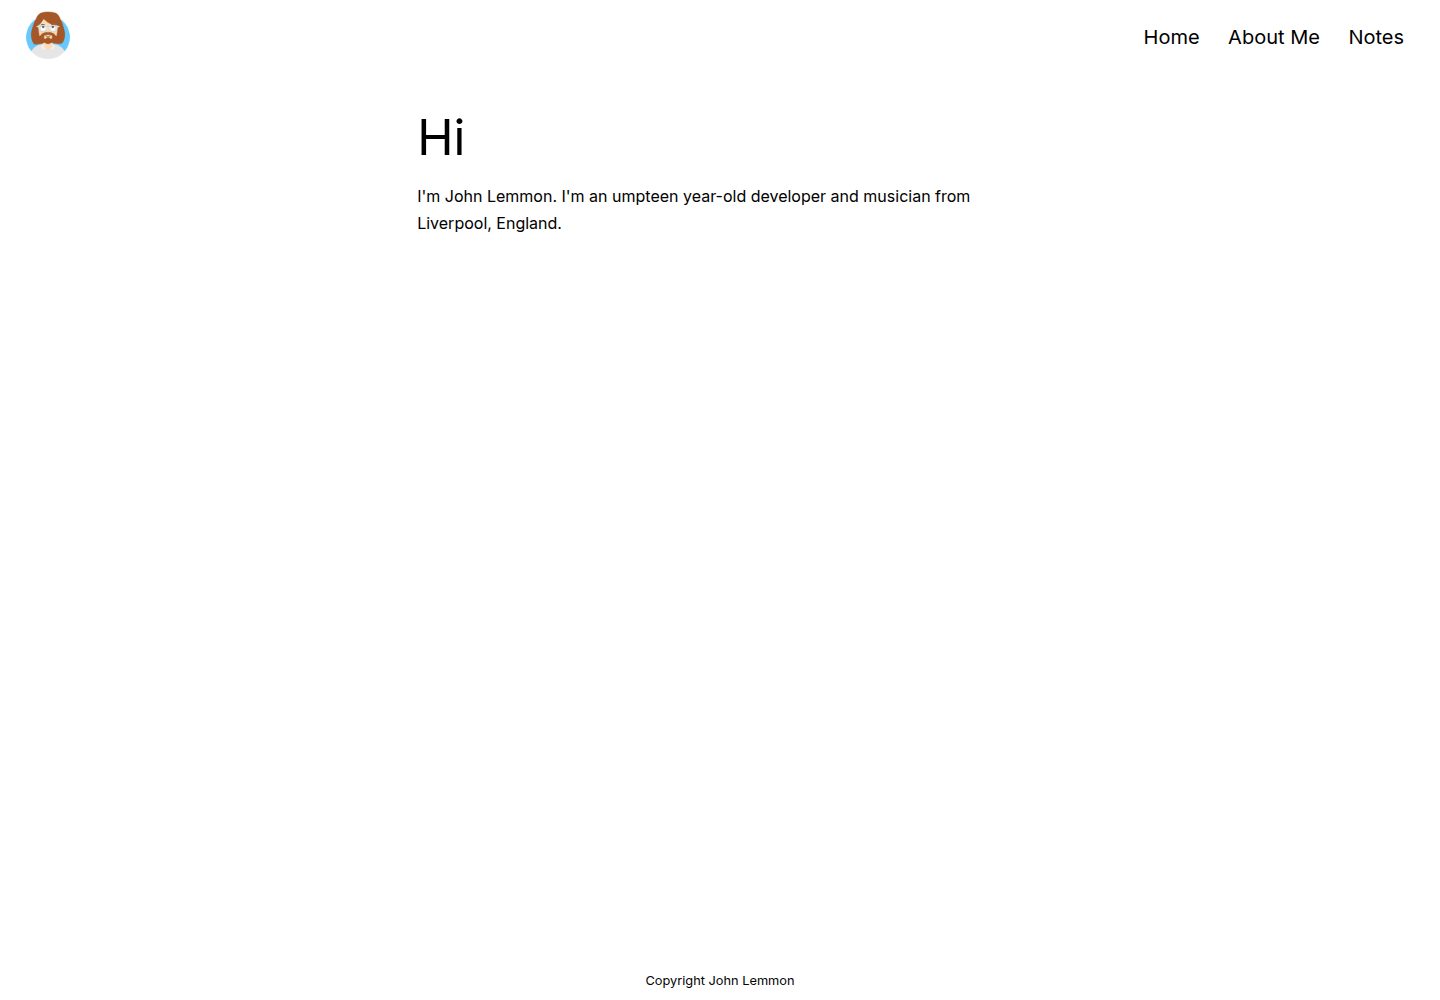
eleventy-garden
:seedling: A starter site for building a mind garden with eleventy
Eleventy · 启动器
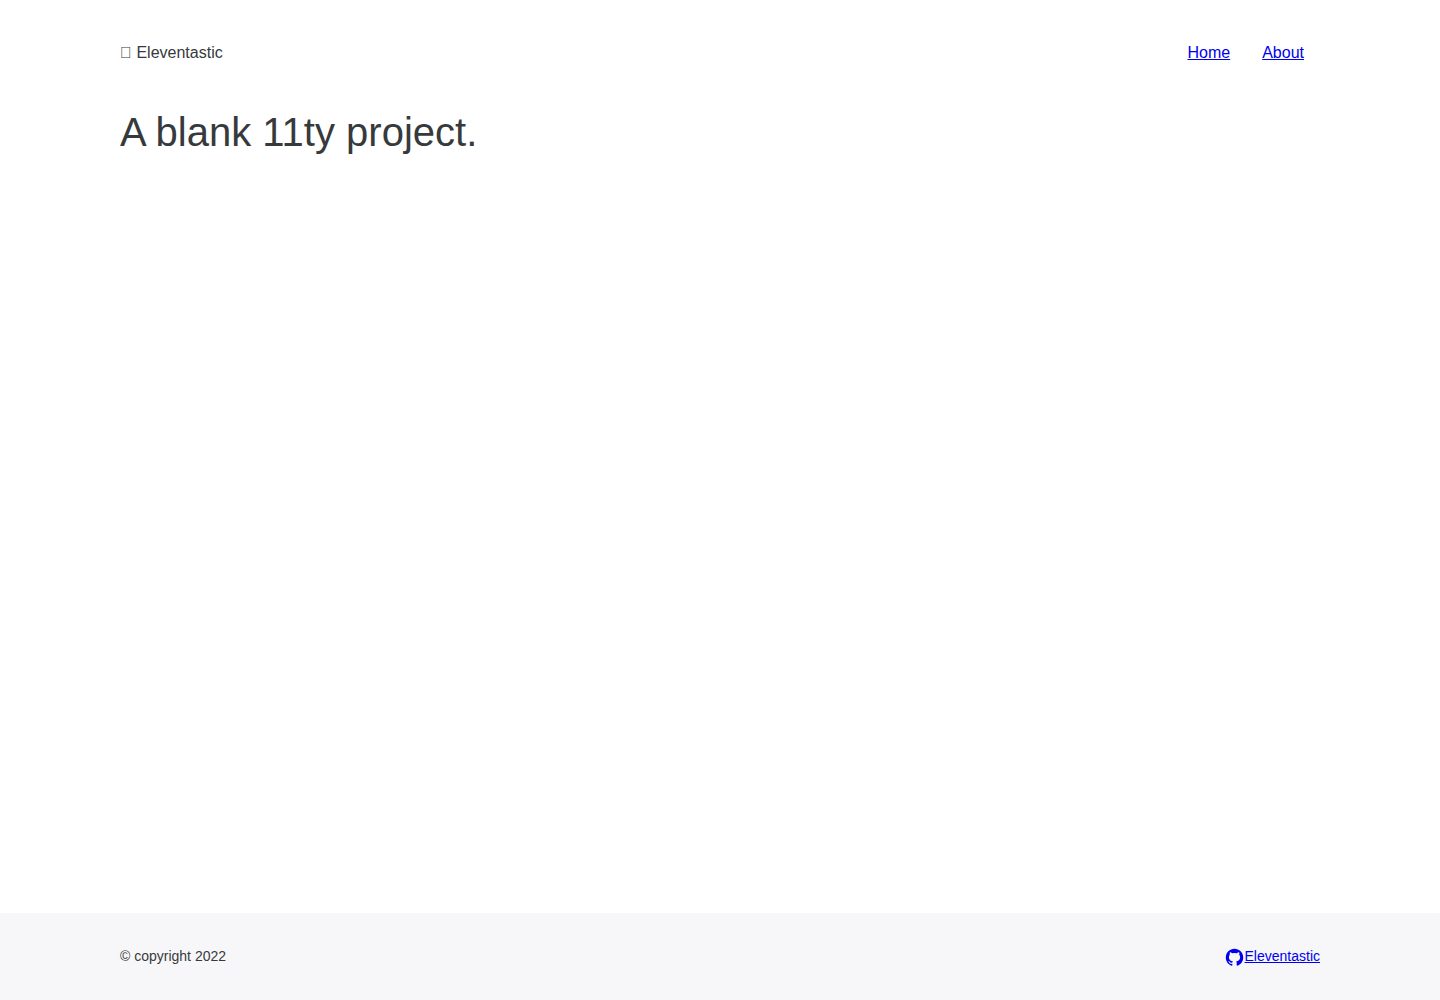
eleventastic
An Eleventy Starter Kit
Eleventy · 启动器
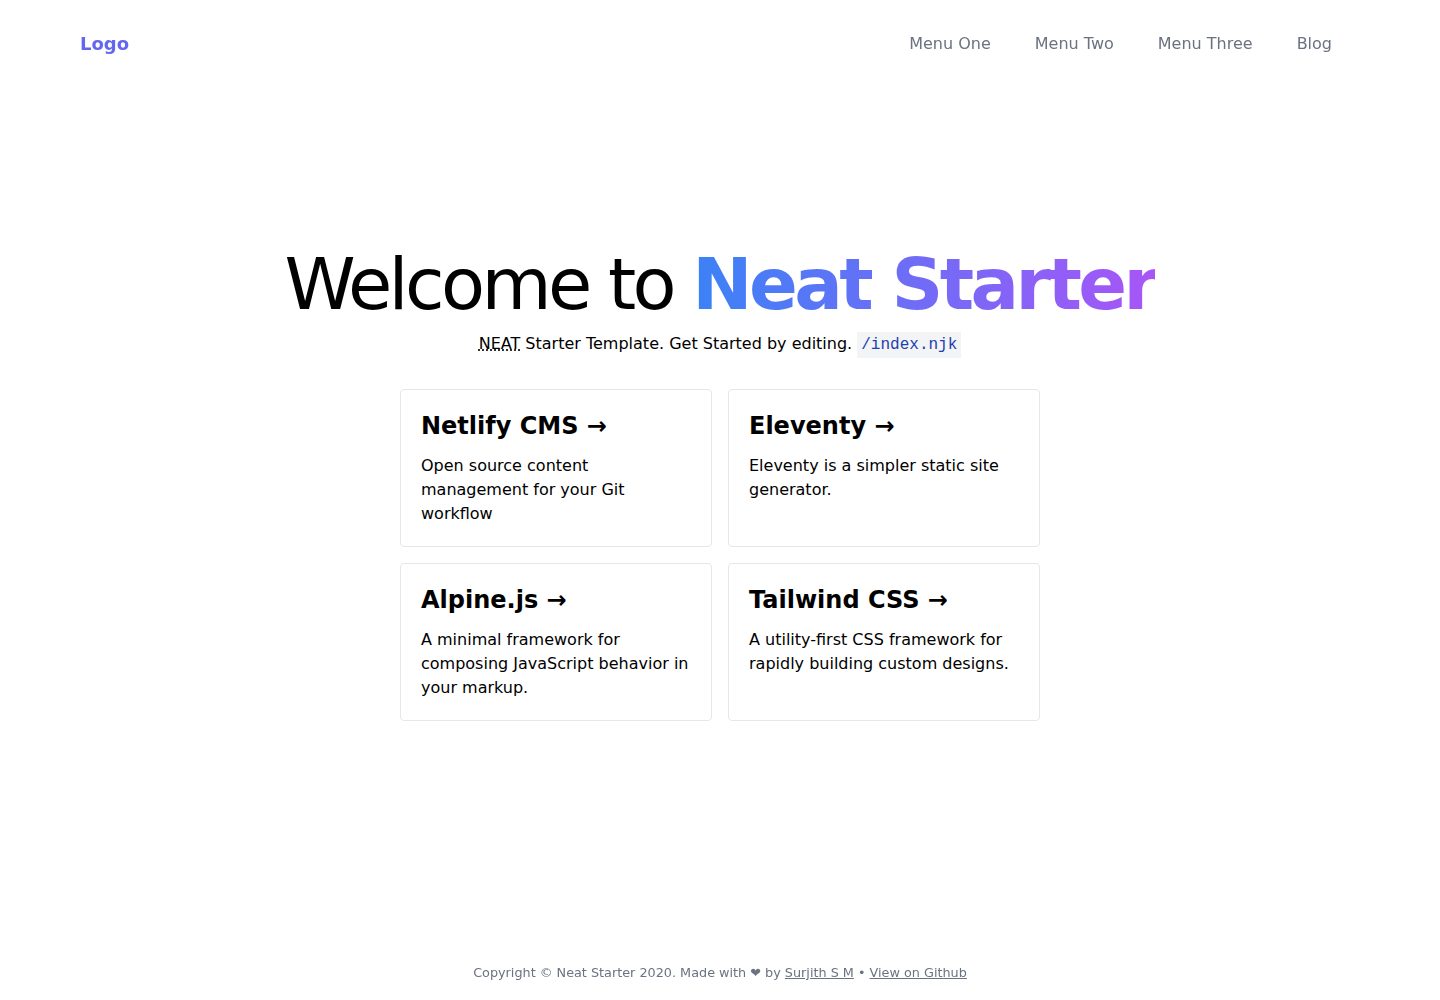
neat-starter
Starter Template for Netlify CMS, Eleventy, Alpine JS & Tailwind CSS
Eleventy · 启动器
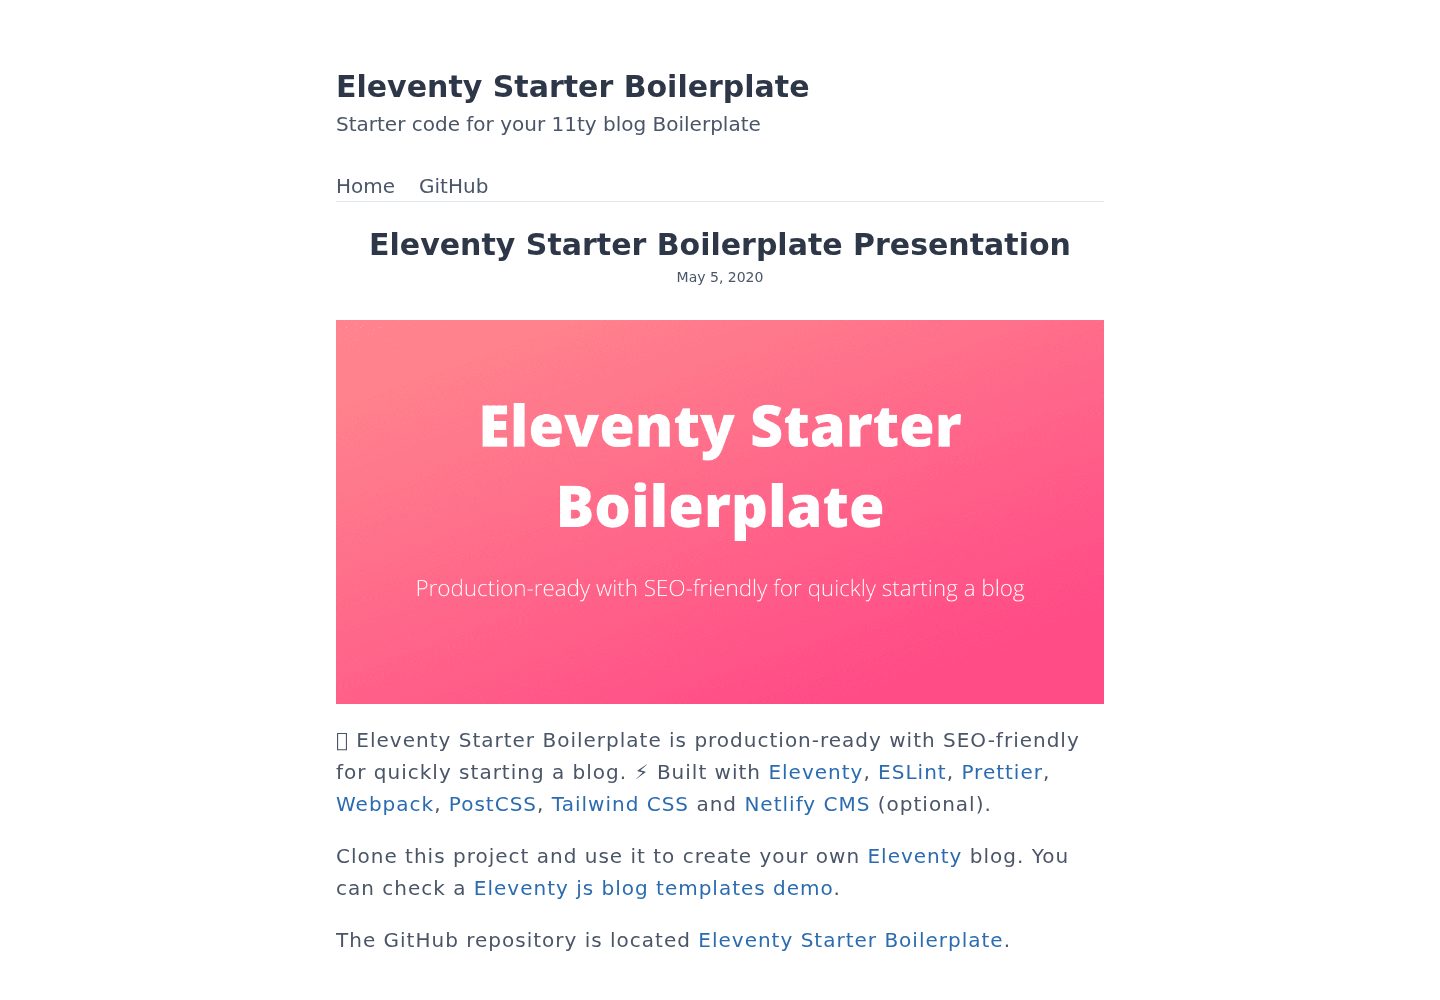
Eleventy-Starter-Boilerplate
🚀 Eleventy Starter is production-ready with SEO-friendly for quickly starting a blog. ⚡ Built with Eleventy, …
Eleventy · 博客
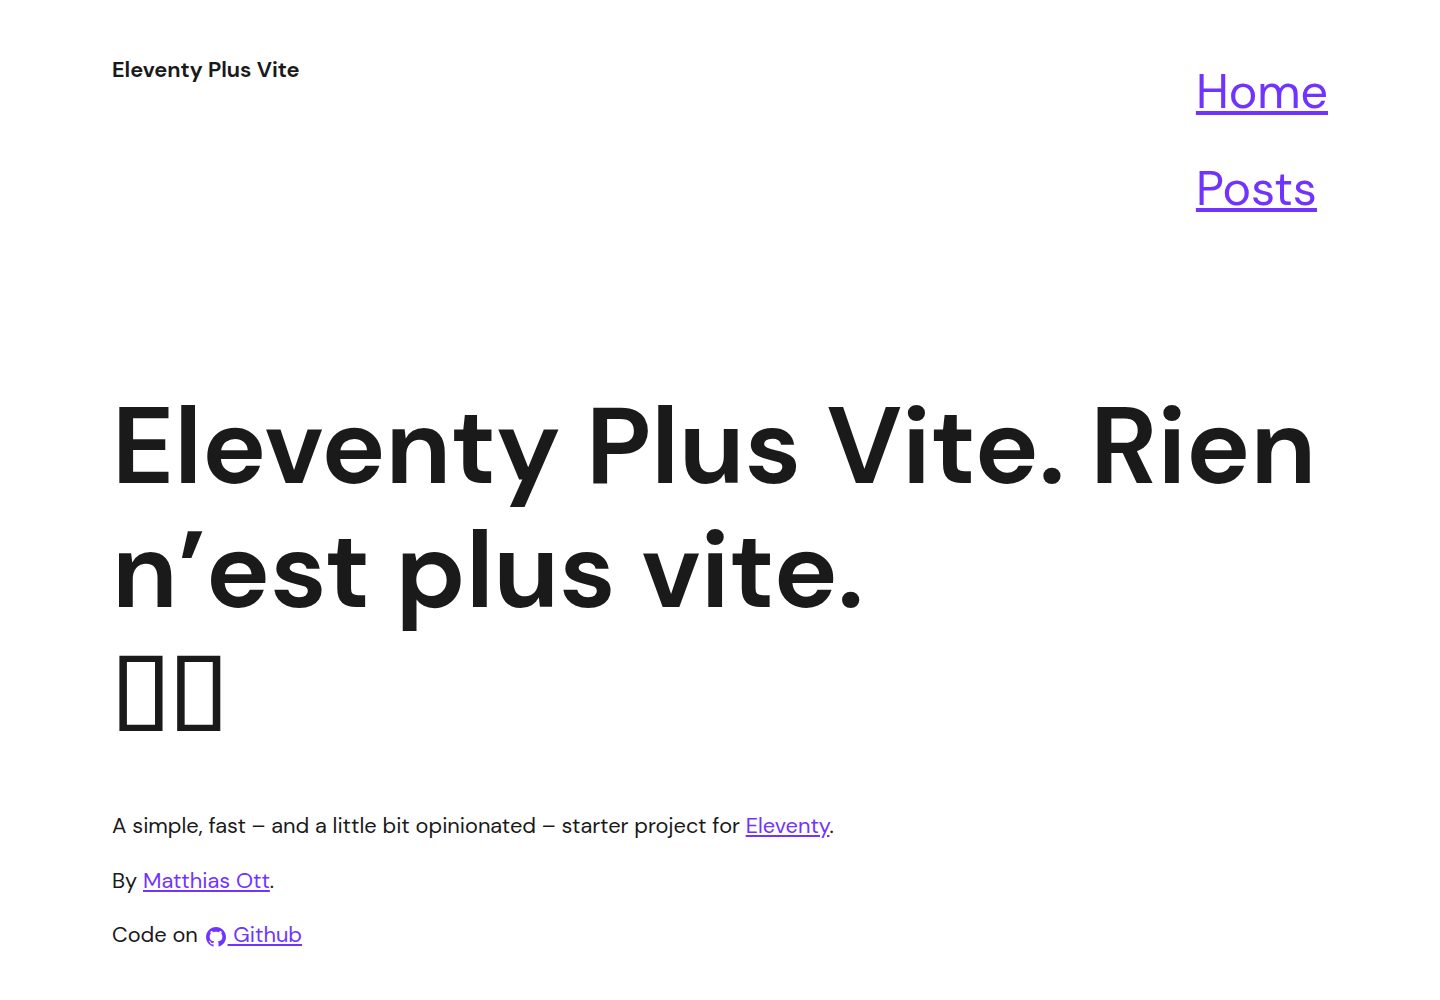
eleventy-plus-vite
A clean and fast Eleventy Starter Project with Vite
Eleventy · 启动器