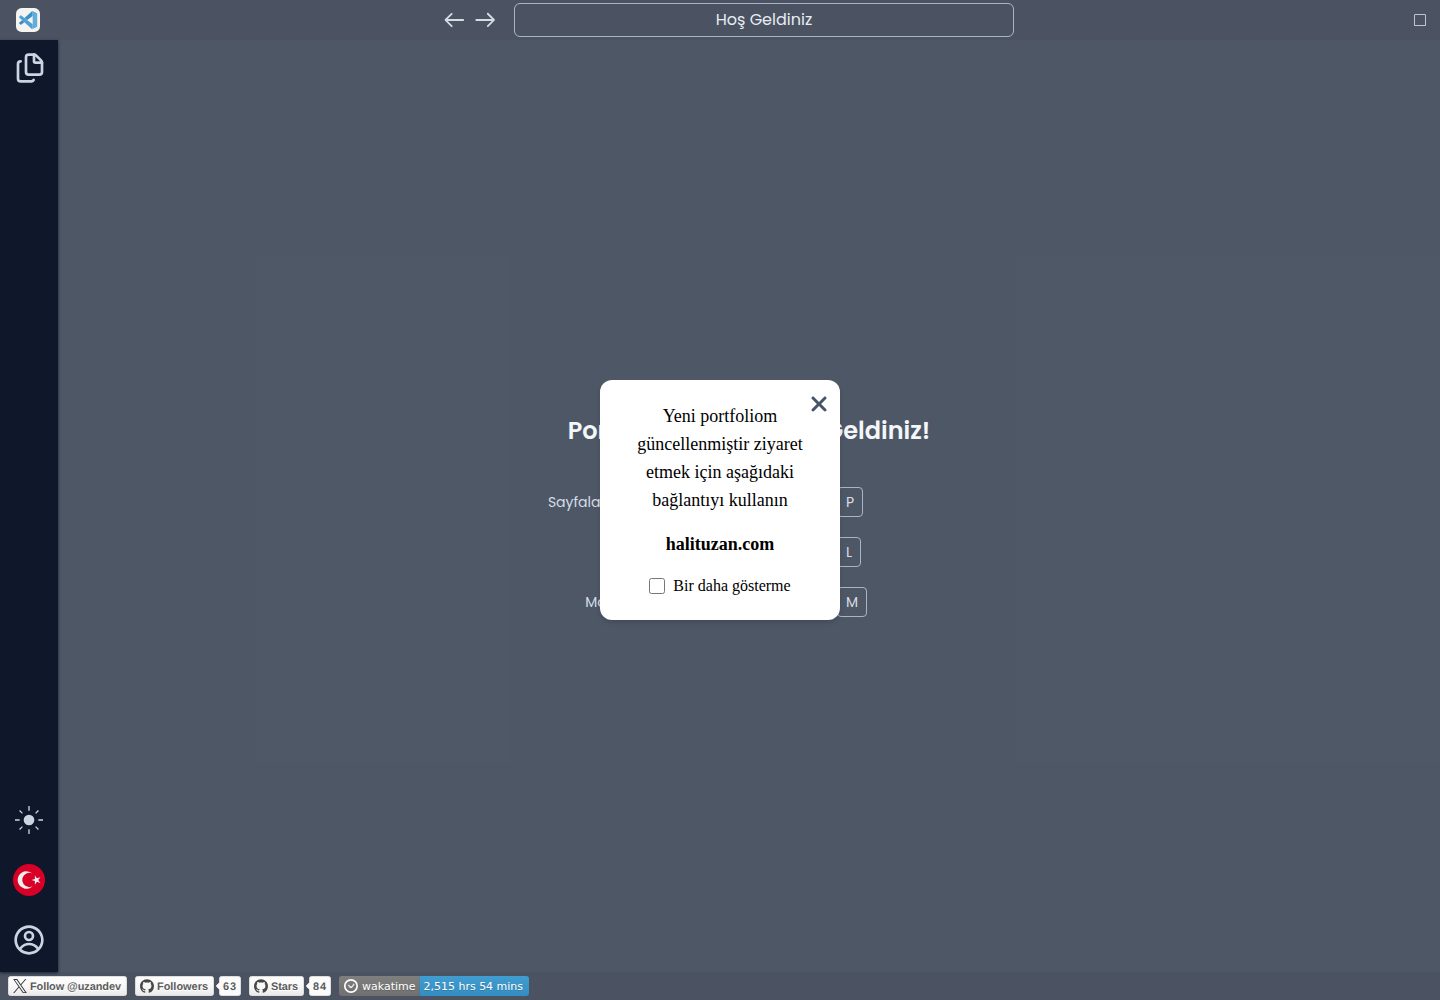
以 VS Code 编辑器界面为视觉主题的开发者作品集布局
Next.jsReactHTML作品集
VS-Code-NextJS-Portfolio — Next.js 作品集模板
作者 halituzan
以 VS Code 编辑器界面为视觉主题的开发者作品集模板,基于 Next.js 与 React,信息静态写入,支持土耳其语和英语双语切换。
看看你的网站会是什么样
浏览真实页面截图,比较内容排版与手机效果。点击下方缩略图切换,放大查看整页细节。
全部页面与视图 2
截图用于了解视觉与布局,交互效果请以实际项目为准。
采集于 2026-10-02查看来源
值得关注的模板亮点
从已有项目资料中,快速了解它的特点。
基于 Next.js 与 React 构建,README 说明创建时使用 Next.js 14.2.3
通过 i18n 提供土耳其语和英语两种语言,语言文件为 public/locales 下的 JSON
内容静态写入代码,无数据库连接
Config.tsx 集中管理个人信息、社交链接、工作经历与作品集项目
tailwind.config.ts 定义深色与浅色模式各 6 个颜色变量,默认 slate 色系
模板详细介绍
这是一个把 VS Code 编辑器界面作为视觉框架的软件开发者作品集网站模板。页面结构、侧边栏与内容区模仿代码编辑器,用于展示个人信息、技能、工作经历和作品集项目。项目基于 Next.js 与 React 构建,README 说明其创建时使用 Next.js 14.2.3 版本。
模板不连接数据库,所有展示内容以静态方式写在代码中。作者计划在后续版本中把信息迁移到数据库结构,但当前版本仍要求静态提供数据。
多语言方面,模板通过 i18n 提供土耳其语和英语两种语言,语言文件放在 public/locales 下按语言分目录的 JSON 文件中。README 明确说明目前不支持阿拉伯语等 RTL 语言的基础设施,需要自行 fork 后做语言优化。
配置集中在 Config.tsx 与 tailwind.config.ts:前者控制默认模式、About 页关键词高亮、技能分类与图标、个人信息、社交链接、工作经历和作品集项目;后者定义深色与浅色模式各 6 个颜色变量,默认使用 slate 色系。若要在工作经历或作品集字段之外做更多定制,需要修改对应页面组件文件。
Next.jsReactHTML作品集
适合你的项目吗?
适用场景
- 软件开发者搭建个人作品集网站,展示技能、工作经历与项目
- 需要土耳其语和英语双语切换的开发者个人站点
- 希望以代码编辑器界面作为视觉风格的简历或作品展示页
- 作为 Next.js 与 React 项目练习或二次开发的起点
适合人群
- 熟悉 Next.js 与 React、能直接修改代码和配置文件的开发者
- 接受内容静态写入、暂不需要后台或数据库的个人作品集
- 需要土耳其语和英语双语展示的开发者
- 希望以 VS Code 界面风格呈现个人信息的开发者
上手与定制指南
结合仓库当前版本的说明,按下面的资料检查内容、配置与运行要求。
- 1
语言文件放在 public/locales 下按语言分目录,并在 app/Configs/i18n.tsx 中注册资源
- 2
个人信息、社交链接、工作经历和作品集项目在 Config.tsx 中配置,字段结构需遵循模板
- 3
深色与浅色模式颜色变量在 tailwind.config.ts 中定义,默认使用 slate 色系
- 4
如需展示 Wakatime 工作时长,需在 .env 中设置 NEXT_PUBLIC_WAKATIME_API_KEY
- 5
页脚社交徽章需手动修改 app/Layout/Footer.tsx
授权与来源资料
使用条件与限制
免费使用 · 保留许可声明本次收录的是公开仓库中采用 MIT 许可的免费版本;免费范围为该版本代码,不代表外部服务或第三方素材免费。
使用时需要遵守
- 允许免费使用、修改、商用和分发该版本代码。
- 分发代码副本或实质性部分时,保留原作者版权声明和完整 MIT 许可声明。
- 代码按现状提供;担保与责任限制以原许可证及适用法律为准。
额外费用与待核对事项
- 如需在页面上展示 Wakatime 工作时长徽章,必须自行注册 Wakatime 账号并获取 API Key,写入 .env 的 NEXT_PUBLIC_WAKATIME_API_KEY;不配置则无法显示该徽章。
- 模板当前不提供阿拉伯语等 RTL 从右到左语言的支持,仅内置土耳其语和英语;如需 RTL 语言需自行 fork 并改造。
- 技能图标需使用 Iconify 图标库的图标名称,不能随意使用其他来源的图标。
- 工作经历字段必须遵循模板既定结构;如需超出模板的定制,必须直接修改 WorkHistory.tsx 组件源码。
- 作品集项目字段必须遵循模板既定结构;如需超出模板的定制,必须直接修改 Portfolio.tsx 组件源码。
- 页脚社交徽章无法通过配置文件修改,必须手动编辑 app/Layout/Footer.tsx 组件源码。
- 演示图片、字体、图标及其他第三方素材需按各自许可核对,不能仅凭代码的 MIT 许可判断。
- 域名、托管、数据库、支付或 AI 等外部服务可能另外收费。
查看原文依据
Permission is hereby granted, free of charge
许可证原文
you must add your wakatime api key to your .env file
README 原文
The infrastructure for RTL languages such as Arabic is not currently available.
README 原文
For icons you should use the [Iconify](https://icon-sets.iconify.design/) Library.
README 原文
It's important to stick to the template here. If you want to do more customization. You will need to make changes to the *app/Components/Main/Pages/WorkHistory.tsx* file.
README 原文
It's important to stick to the template here. If you want to do more customization. You will need to make changes to the *app/Components/Main/Pages/Portfolio.tsx* file.
README 原文
https://github.com/halituzan/VS-Code-NextJS-Portfolio/blob/main/LICENSEhttps://github.com/halituzan/VS-Code-NextJS-Portfolio/blob/main/README.mdFor social media badges in the footer component, you must manually change them within the component.
README 原文
DeepSeek 根据仓库许可证和 README 整理 ·2026-10-02。结果仅覆盖已读取资料,依赖、图片、字体及后续条款变更以各自原文为准。
项目核对记录与介绍依据
模板资料
- 来源平台
- GitHub
- 资料与维护参考分
- 资料较完整 · 92 / 100
- 技术栈
- Next.js · React · HTML
- 网站类型
- 作品集
这个分数如何计算
本站按许可资料(最高30分)、演示链接(12分)、预览图(10分)、Star数(15分)、记录的维护时间(15分)、描述完整度(8分)、功能记录(5分)和分类资料(5分)计算。它不是代码、安全或性能测试,也不是 Google 评分;有链接不代表已实测可用。
这个项目需要核对什么
- 记录的仓库更新时间
- 2026-09-20
- 截图检查日期
- 2026-10-02
已收录演示链接。请用你的内容与屏幕尺寸检查;有演示不代表表单、认证或支付已经可用。
目录记录的主要技术栈是 Next.js。请通过依赖清单和锁文件核对实际版本与托管要求。这些说明基于收录资料,不代表代码审计或部署实测。
查看具体选型方法 →介绍的制作与核对状态
介绍由 AI 辅助整理目录与仓库资料。仓库作者不等于这篇介绍的审核者。
已完成服务器许可规则与 AI 来源核对;未经过人工编辑审核。
查看当时使用的来源资料
SHA-256: 6e9f11dd0fb26162075aae1da908fe42fff75f95e123ab3ed8d68da057f8152c
2026-10-02T10:39:28.464Z
来源文件 / 仓库

# VS Code Template NextJS Portfolio
It is a software developer portfolio site designed based on the VS Code editor. Created with Next.js 14.2.3 Version. Information is added statically inside. There is no database connection.
## 1. Language Configuration
Multi-language configuration has been added to the theme with i18n. There are two different languages available: Turkish and English. In addition to these languages, you can also add your own languages. The infrastructure for RTL languages such as Arabic is not currently available. However, you can also do your own language optimization by forking. I am waiting for your support for RTL languages.
Configuring the language configuration is very easy. While you can separate language files for each of your components, you can also provide this control from a single file.
### Language Files
You should keep your language files under public/locales. Like the "en" folder for English and the "tr" folder for Turkish. Language files must be in JSON format, but you can shape them according to your wishes. It is set like this by default.
Example:
```
// public/locales/tr/skills.json
{
"title.software": "Yazılım Teknolojileri",
"title.ui": "UI ve CSS Kütüphaneleri",
"title.design": "Tasarım Programları"
}
// public/locales/en/skills.json
{
"title.software": "Software Technologies",
"title.ui": "UI And CSS Libraries",
"title.design": "Design Programs"
}
```
Configuration i18n: In order to use your language files throughout the project, you need to configure your i18n.tsx file.
```
// app/Configs/i18n.tsx
import trSkills from "../../public/locales/tr/skills.json";
import enSkills from "../../public/locales/en/skills.json";
const defaultLang = "tr";
const resources = {
tr: {skills: trSkills},
en: {skills: enSkills}
};
const initLanguage = () => {
i18n.use(initReactI18next).init({
compatibilityJSON: "v3",
lng: window.localStorage.getItem("lng") ?? defaultLang,
fallbackLng: window.localStorage.getItem("lng") ?? defaultLang,
resources,
interpolation: {
escapeValue: false,
},
});
};
export default { initLanguage };
```
After completing the configuration, you can use the code example below to use throughout the project.
```
// app/Components/Main/Pages/Skills.tsx
// Other imports...
import { useTranslation } from "react-i18next";
const Skills = (props: Props) => {
const { t } = useTranslation("skills");
return (
<div className='w-full p-5 h-[calc(100vh-107px)] overflow-auto'>
<h2>{t("title.software")}</h2>
// Other codes...
)}
export default Skills;
```
## 2. Configuration of General Information
I tried to control this information from a single area by keeping some basic information in the Config file, and I tried to control this information dynamically from a single point by adding it to the language configuration.
I plan to increase the dynamism by inserting this information into the database structure during version updates, but for now, this information should be provided statically.
### Config.tsx Configuration
Various information is written in our config file. The information you write in the relevant fields in this file goes to the places where it should be among the codes. Various options are also presented in this file.
Via this file:
- You can determine which is the default mode of your site.
- On the About page, you can let us know which keywords should be highlighted in your description section.
- For the Skills page, you can categorize your skills according to which field you have and give them the icons you want. For icons you should use the [Iconify](https://icon-sets.iconify.design/) Library.
- You must add information about yourself in the Information field.
- You can add your social media links from the social area.
- You can add your work history from the workHistories field. It's important to stick to the template here. If you want to do more customization. You will need to make changes to the *app/Components/Main/Pages/WorkHistory.tsx* file.
- You can add the projects in your portfolio from the portfolio field. It's important to stick to the template here. If you want to do more customization. You will need to make changes to the *app/Components/Main/Pages/Portfolio.tsx* file.
## 3. Color Configuration
For the color scheme, you can specify the colors for dark mode and light mode. You should use these codes and the color scheme in the *tailwind.config.ts* file. 6 colors were selected for dark mode and 6 colors for light mode. The selected codes were taken from the tailwindcss color scheme, but you can add any color codes you want here. The theme has slate codes by default.
Sample code template:
```
// tailwind.config.ts
import type { Config } from "tailwindcss";
const config: Config = {
content: [
"./pages/**/*.{js,ts,jsx,tsx,mdx}",
"./app/**/*.{js,ts,jsx,tsx,mdx}",
],
theme: {
extend: {
colors: {
dark1: "#020617", // slate-950
dark2: "#0f172a", // slate-900
dark3: "#1e293b", // slate-800
dark4: "#334155", // slate-700
dark5: "#475569", // slate-600
dark6: "#64748b", // slate-500
light1: "#cbd5e1", // slate-400
light2: "#e2e8f0", // slate-300
light3: "#e2e8f0", // slate-200
light4: "#f1f5f9", // slate-100
light5: "#f8fafc", // slate-50
light6: "#ffffff", // white
},
},
},
plugins: [],
};
export default config;
```
## 4. Wakatime Badge
If you want your [Wakatime](https://wakatime.com/) working hours to be visible, you must add your wakatime api key to your .env file. The env.example file was created for this.
```
// .env
NEXT_PUBLIC_WAKATIME_API_KEY=YOUR_WAKATIME_API_KEY
```
For social media badges in the footer component, you must manually change them within the component.
path: *app/Layout/Footer.tsx*
看看同类模板
对比同技术栈与用途的模板,找到更适合的视觉与内容结构。
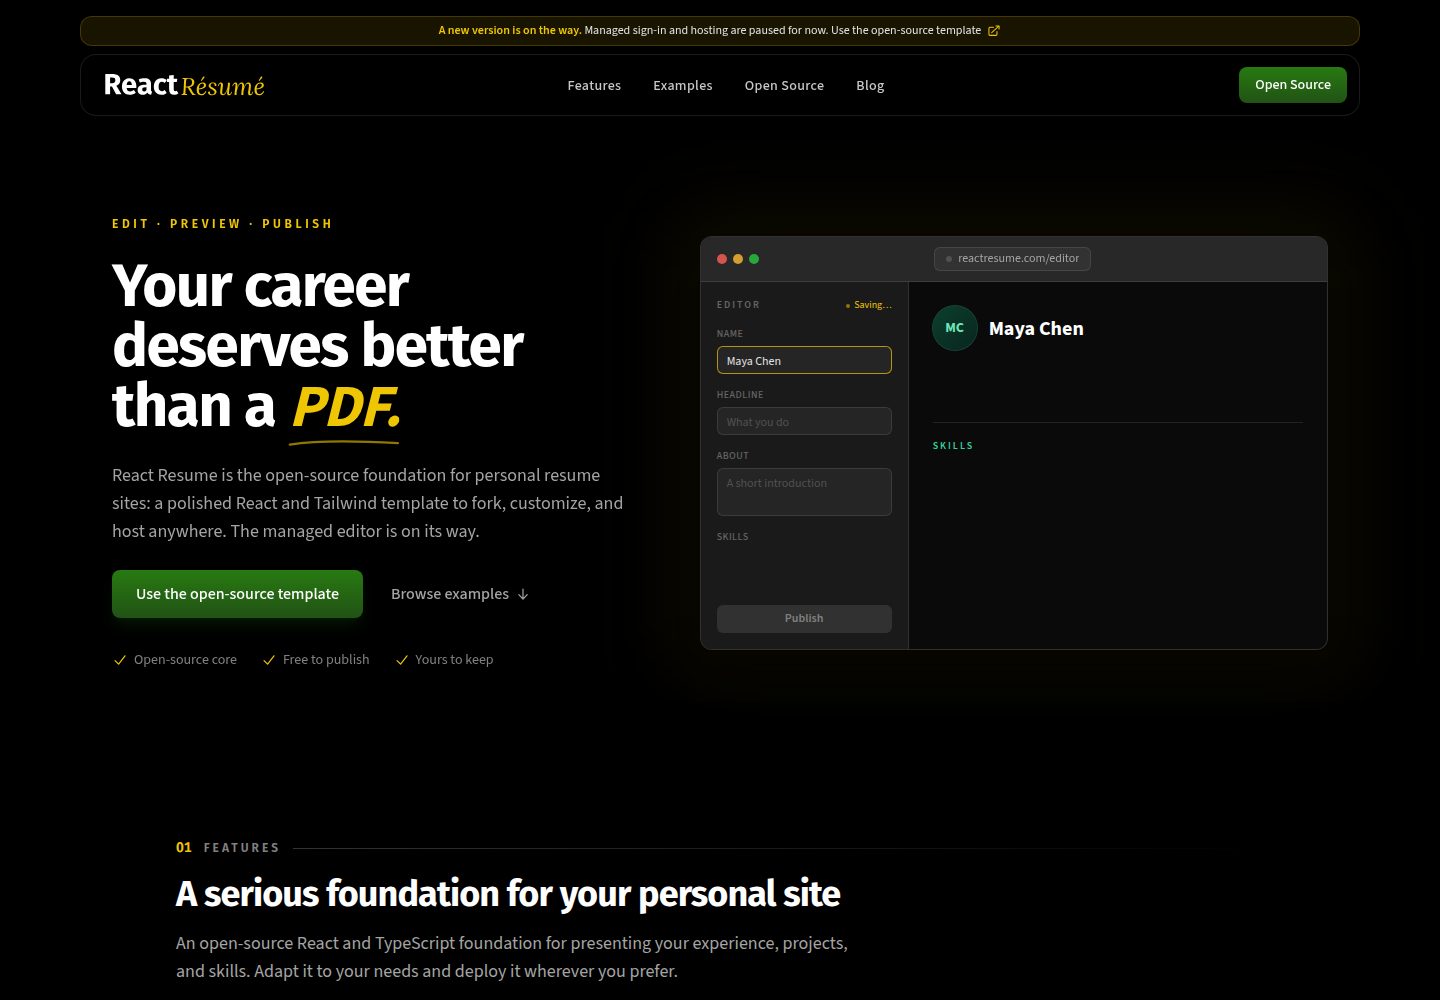
react-resume-template
A personal resume website template built with React.js, Typescript, Next.js, and styled with Tailwind css
Next.js · 作品集
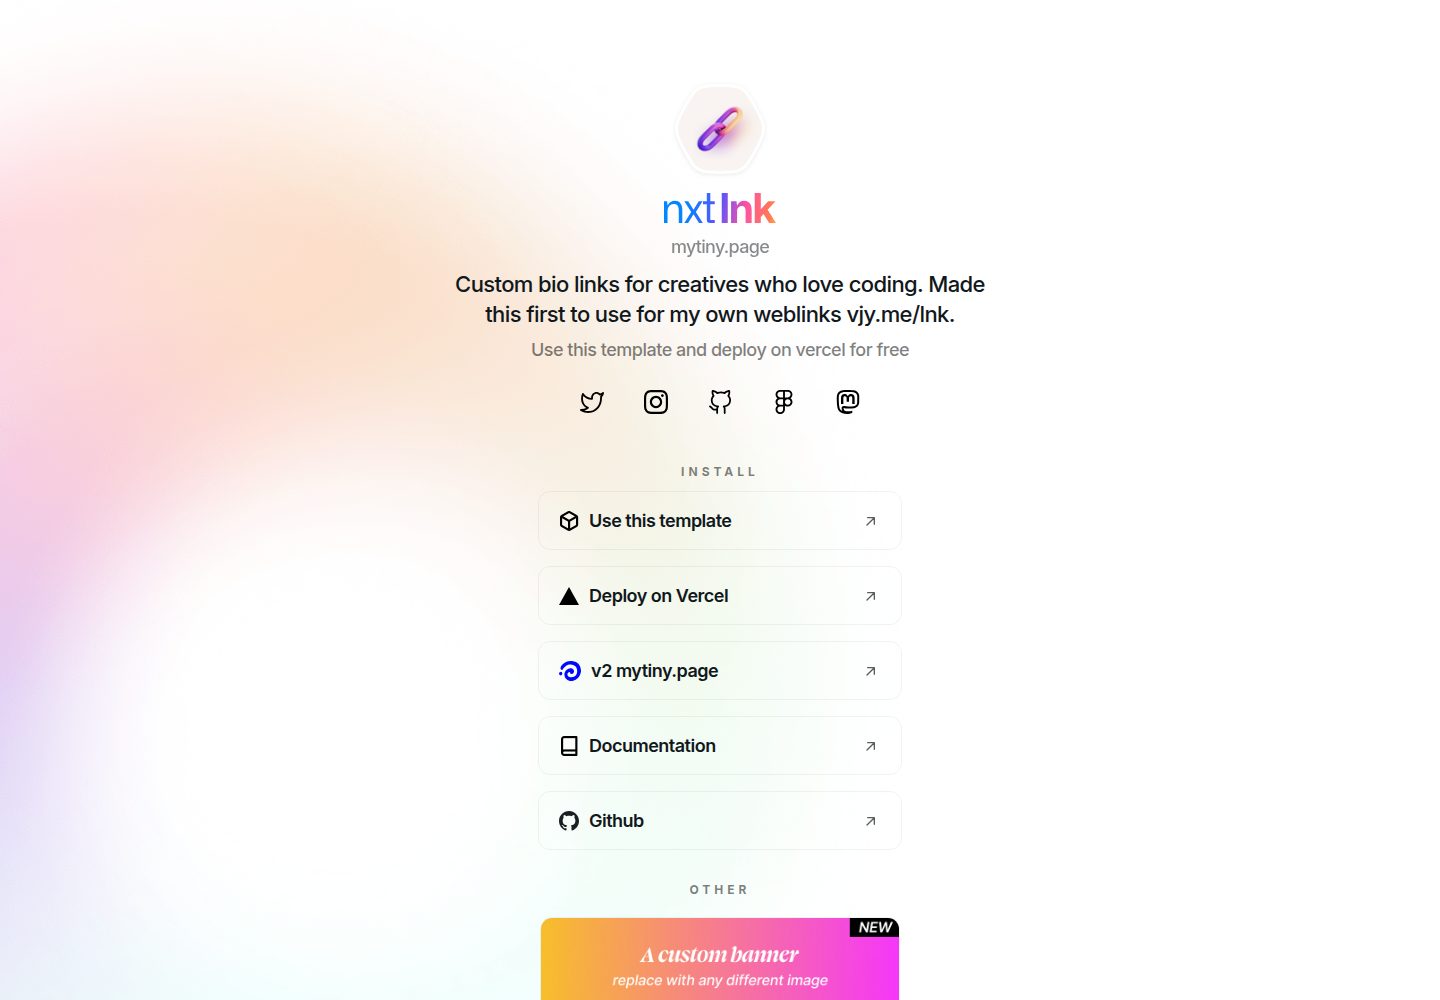
nxt-lnk
Custom bio links for creatives who love coding. A perfect custom alternative for linktree, bio and other short…
Next.js · 作品集
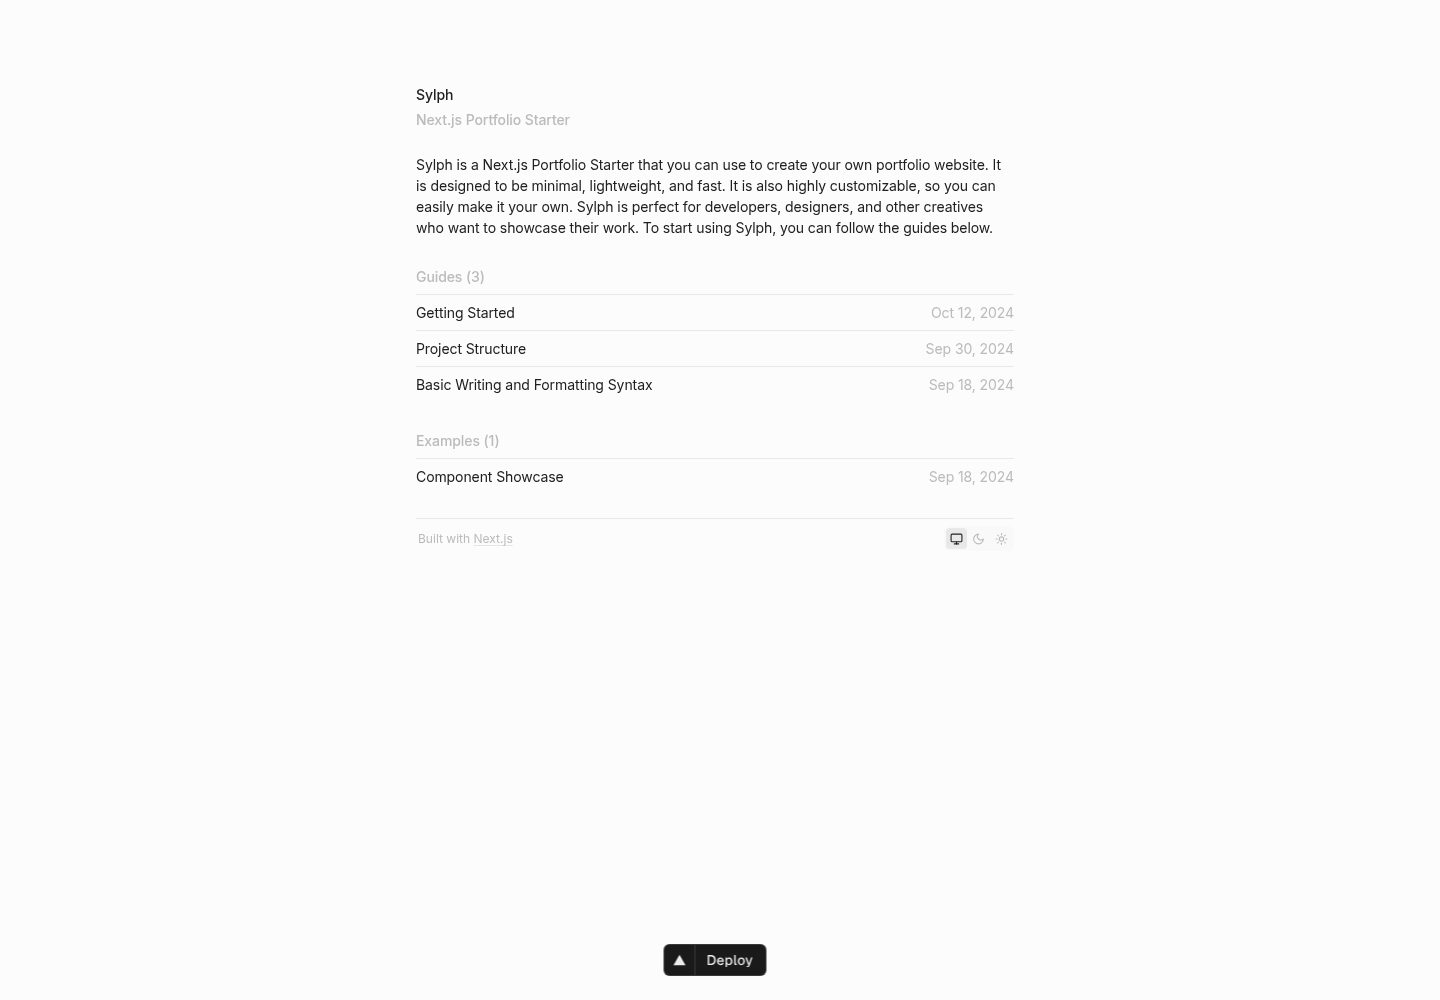
sylph
A minimal portfolio template.
Next.js · 作品集
sleek-portfolio
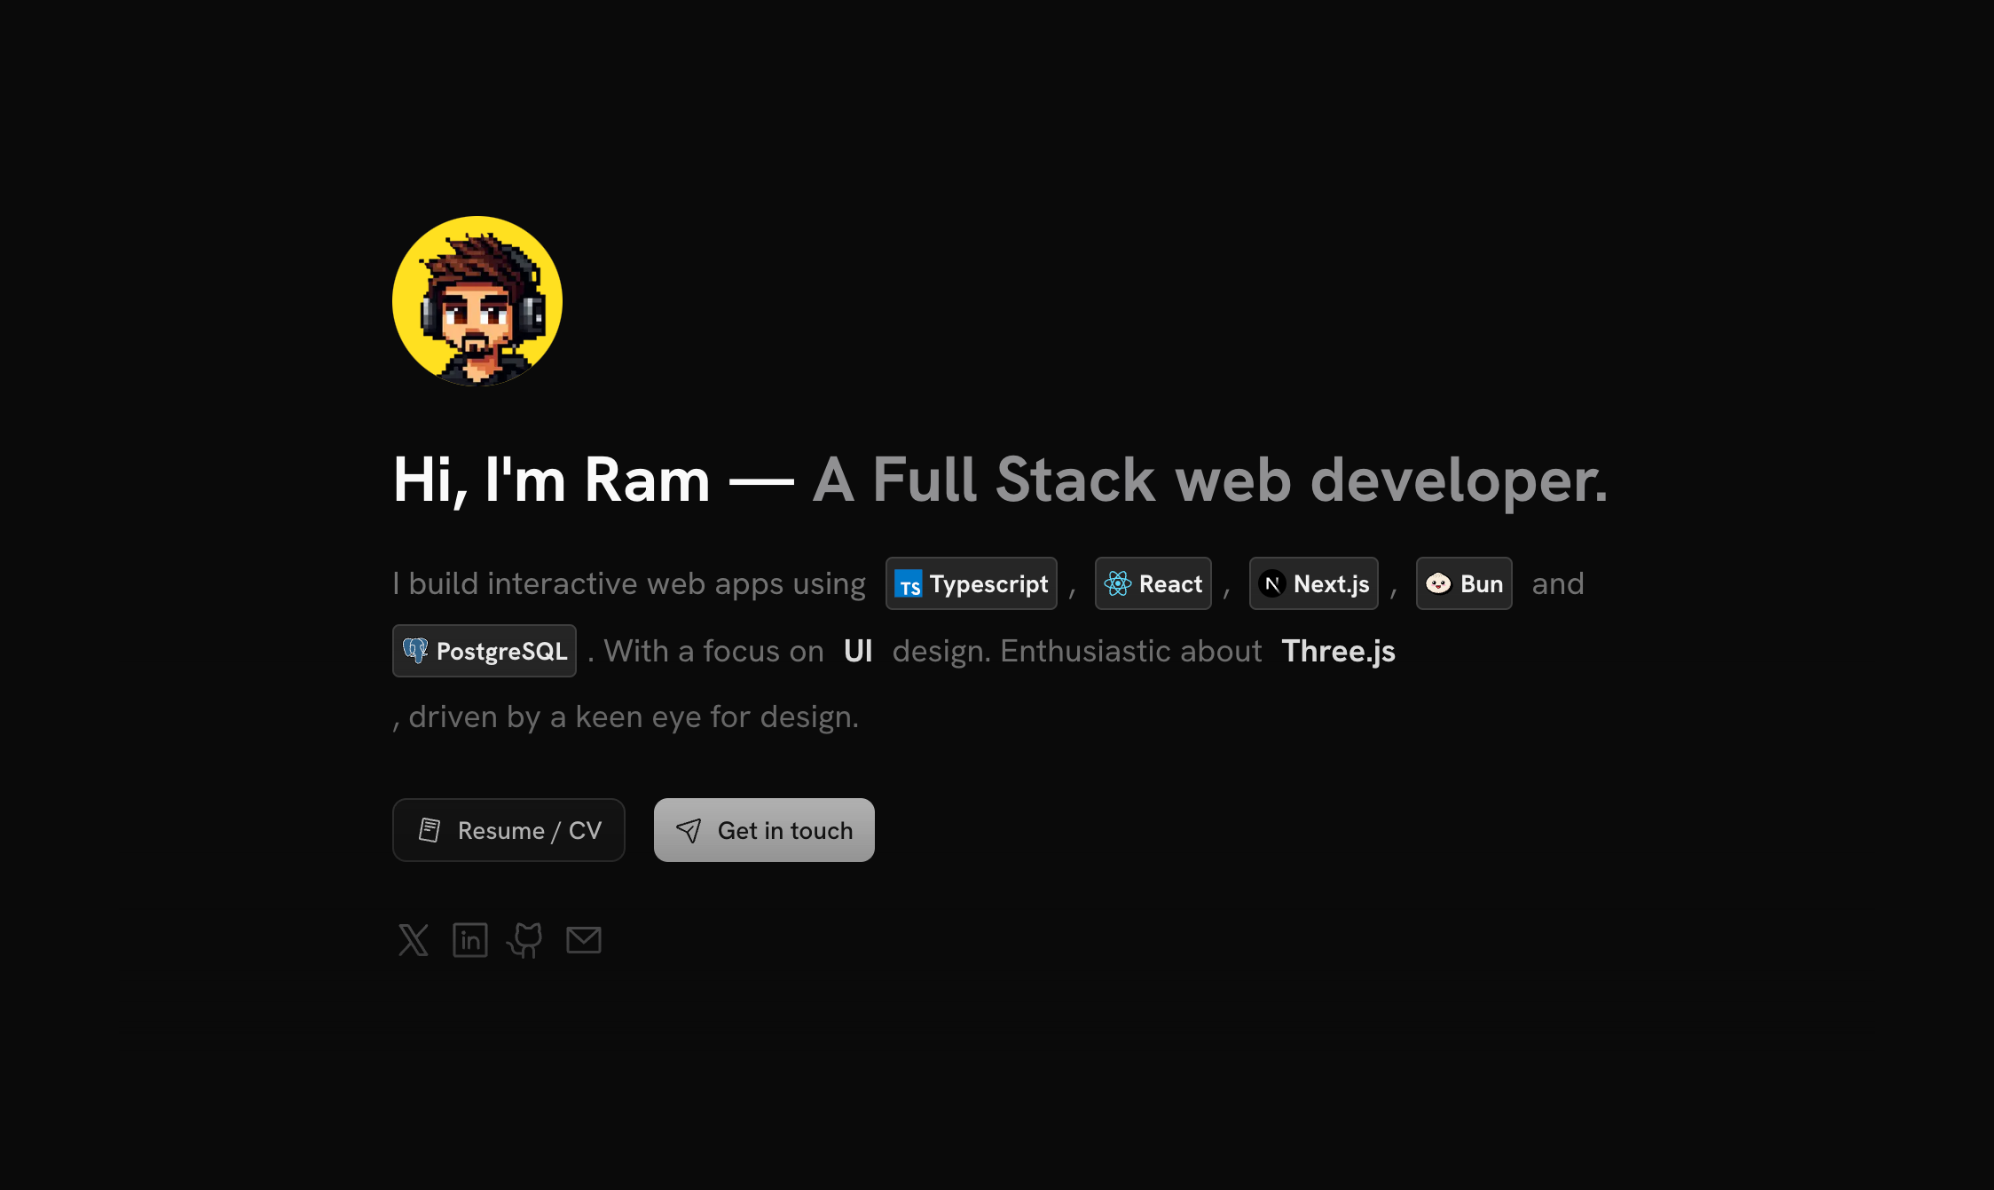
sleek-portfolio 是一个面向开发者个人品牌展示的现代作品集模板,基于 Next.js 15、TypeScript、Tailwind CSS 和 Shadcn UI 构建。
Next.js · 作品集
research-website-template
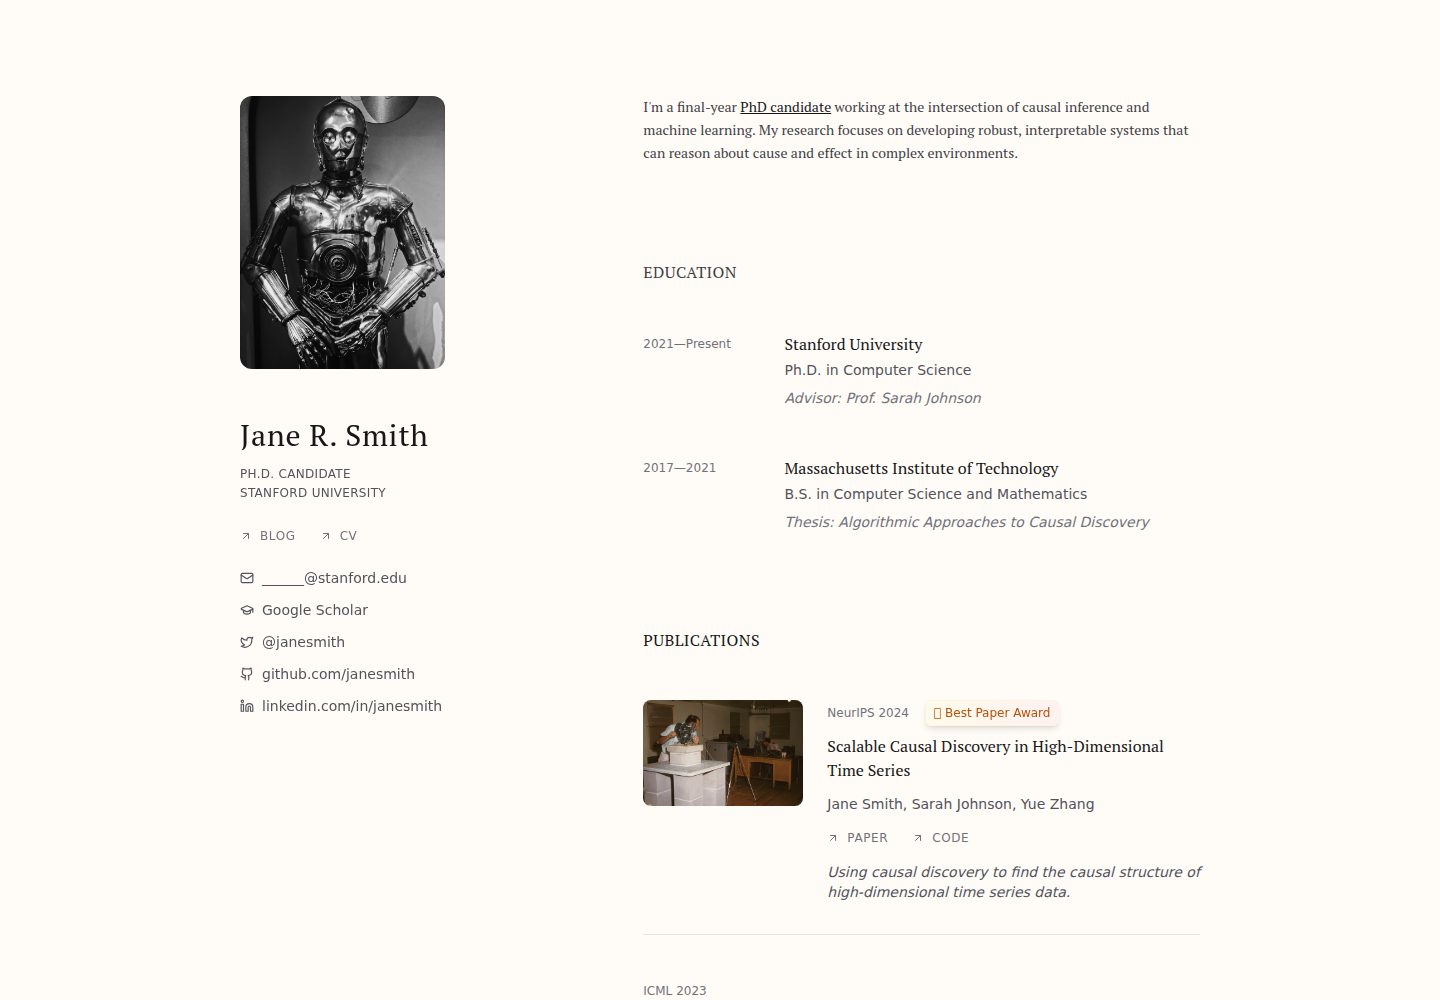
React + Next.js template for research websites (for PhD students, researchers, etc)
Next.js · 作品集
shadcn-portfolio
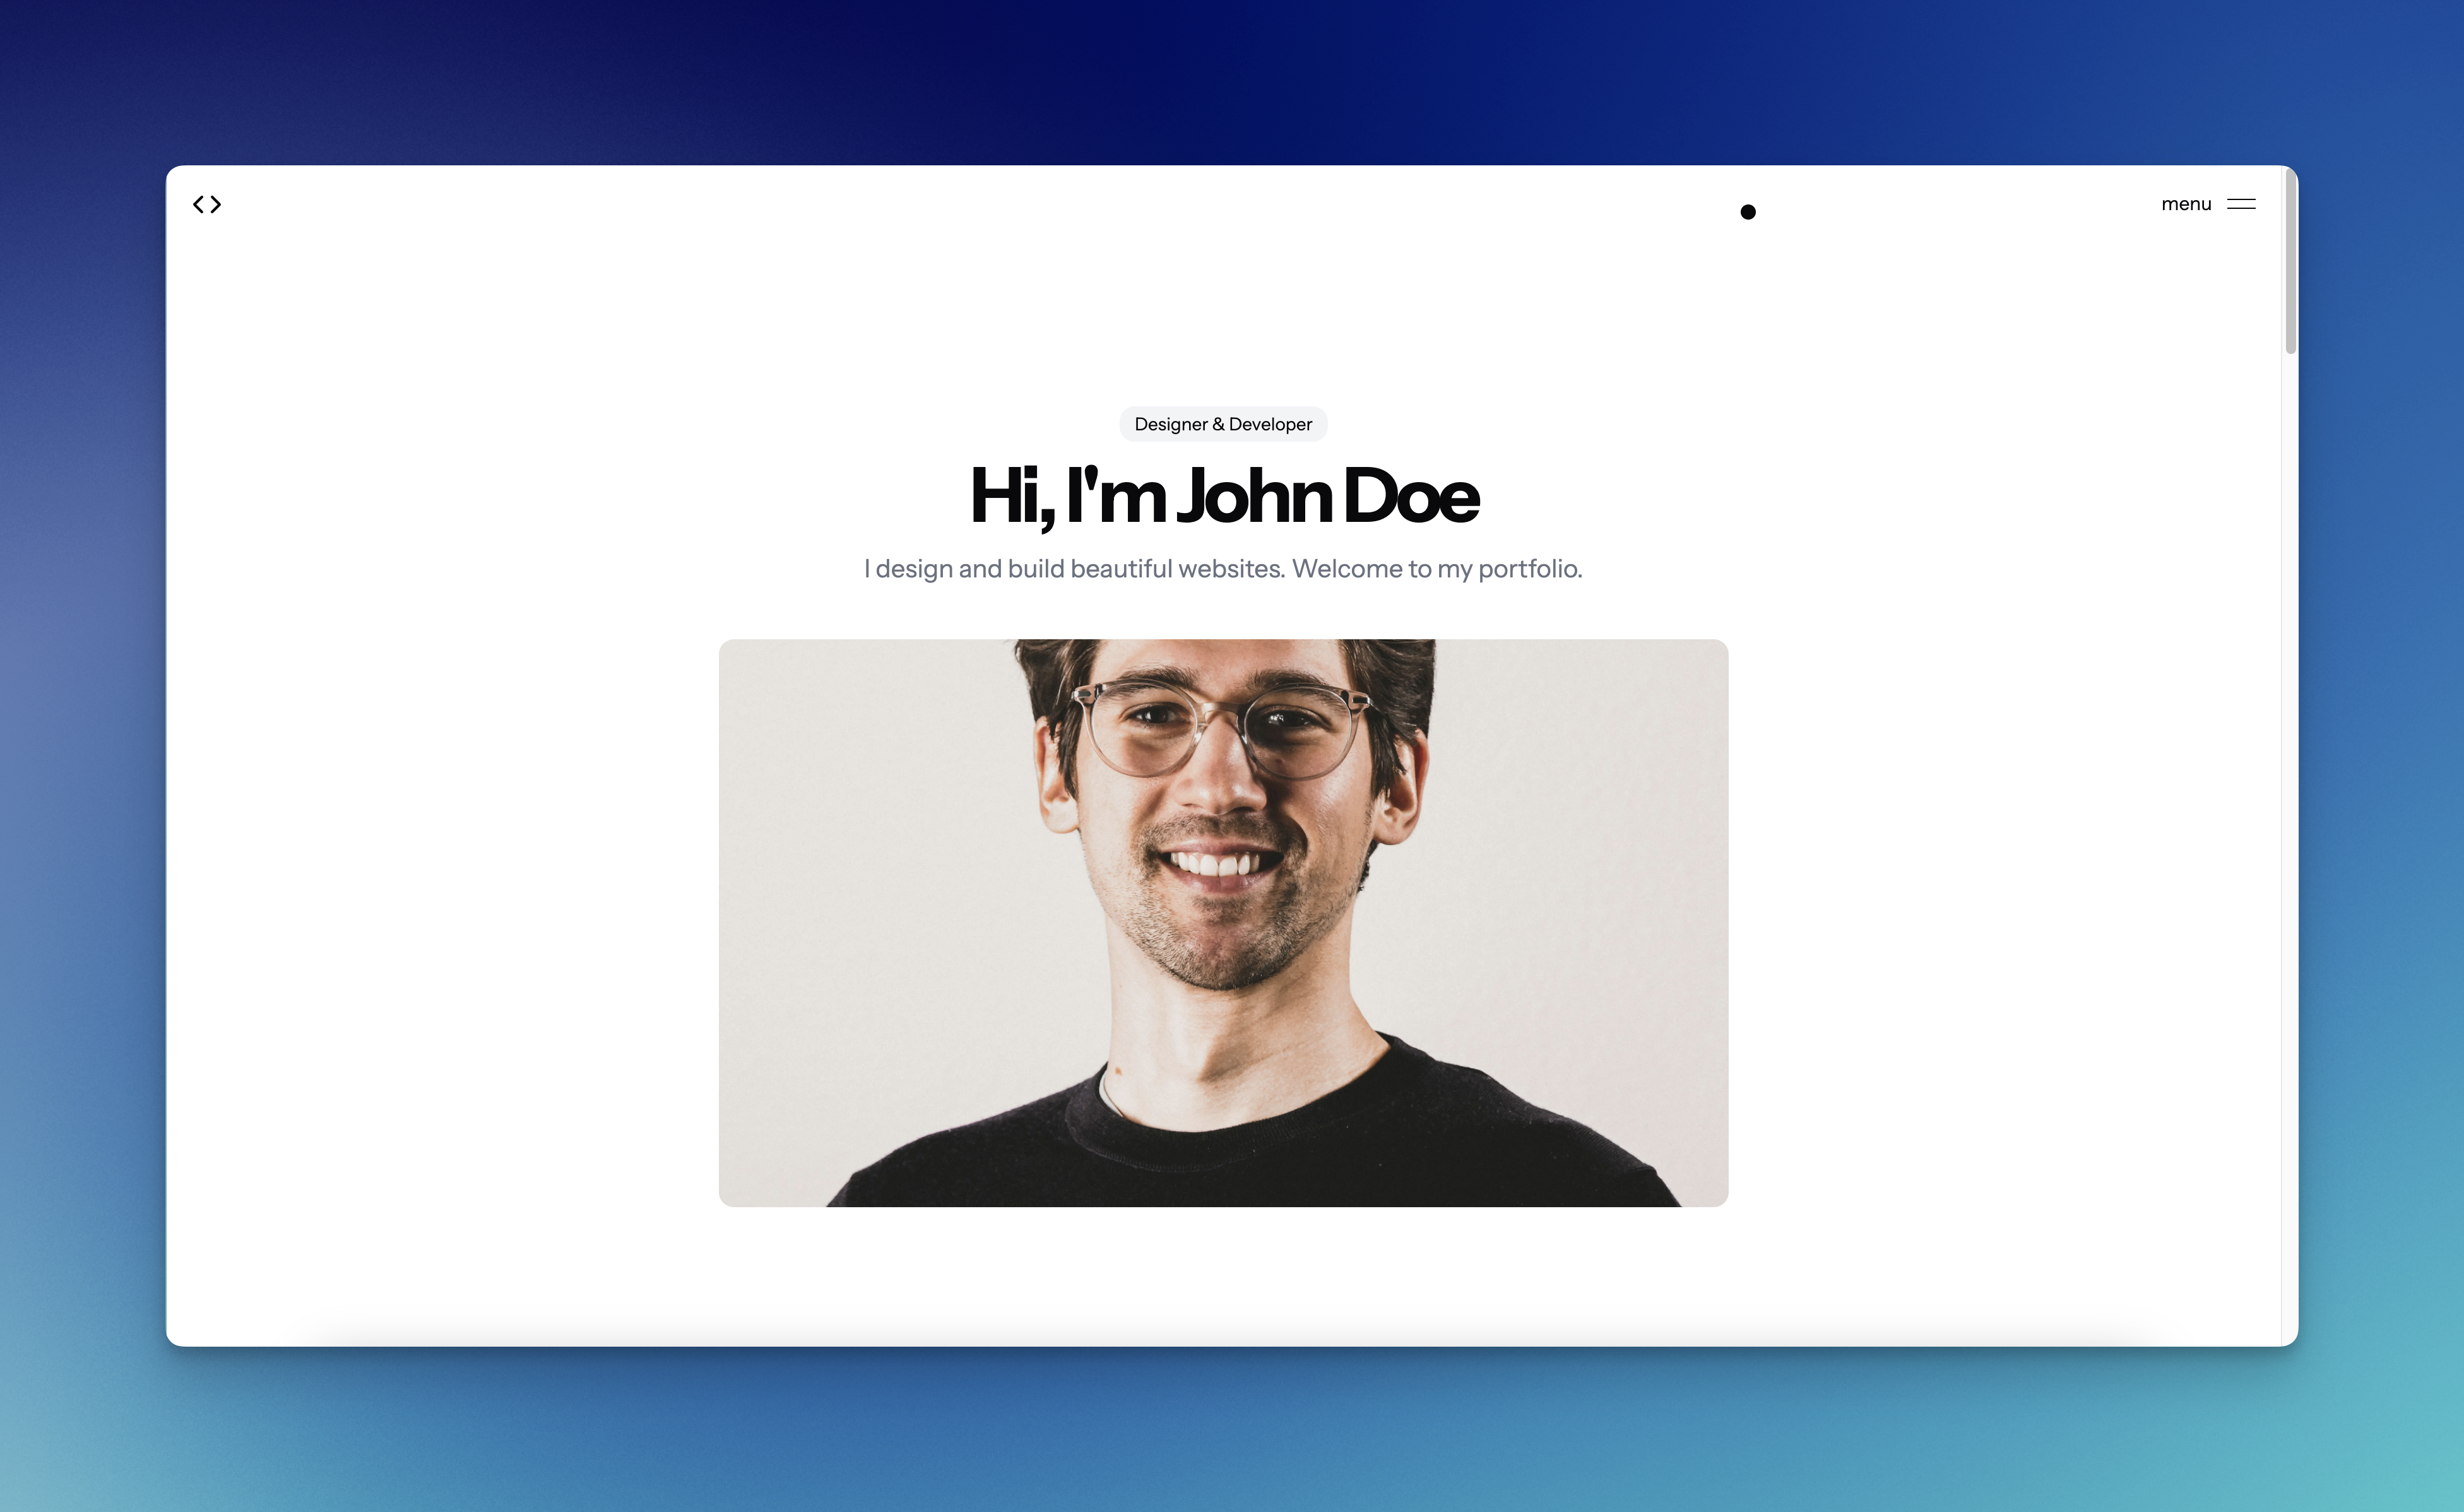
shadcn-portfolio 是一个面向开发者的作品集模板,技术栈为 Next.js 15、shadcn/ui、Tailwind CSS 和 Framer Motion。
Next.js · 作品集