基于 Next.js 与 React 构建,使用 Tailwind CSS 编写样式
Next.jsReact作品集
NextJS-Portfolio — Next.js 作品集模板
作者 iamshiv007
基于 Next.js 与 React 的个人作品集网站模板,包含首页、技能、项目、博客、成长经历与应用等板块,支持明暗主题、移动端适配、Tawk.to 在线聊天与 Nodemailer 邮件发送。
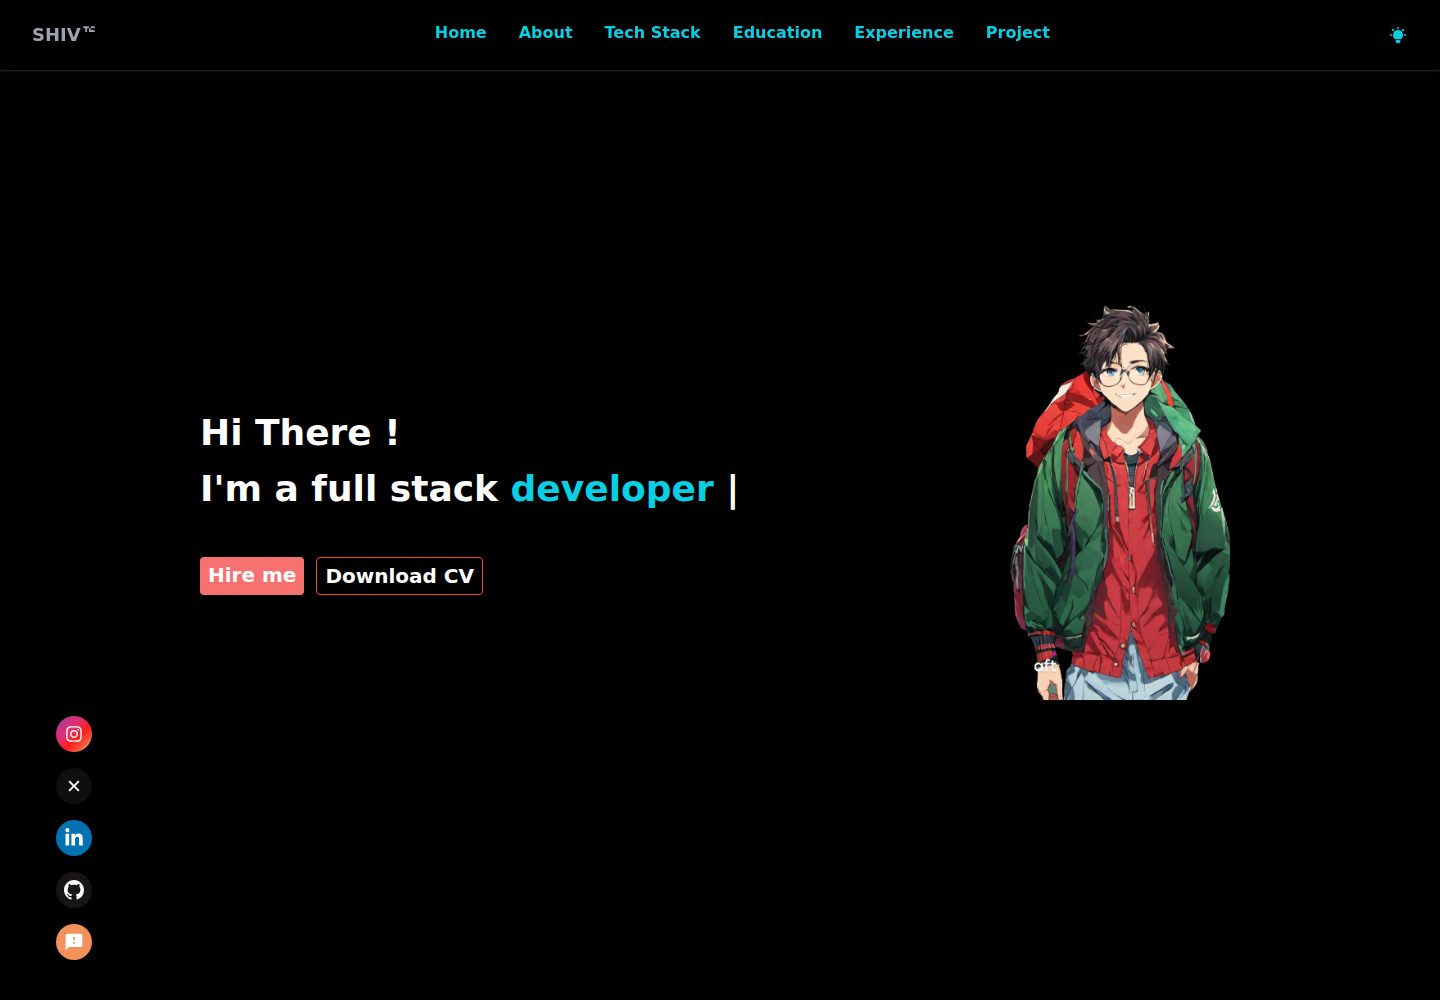
看看你的网站会是什么样
浏览真实页面截图,比较内容排版与手机效果。点击下方缩略图切换,放大查看整页细节。
全部页面与视图 3
截图用于了解视觉与布局,交互效果请以实际项目为准。
采集于 2026-10-02查看来源
值得关注的模板亮点
从已有项目资料中,快速了解它的特点。
包含首页、技能、项目、博客、成长经历、应用六个单页板块
支持深色与浅色主题切换,并适配移动端显示
集成 Tawk.to 在线聊天与 Nodemailer 邮件发送
通过 mongoose 连接 MongoDB,并接入多个外部 API
README 提供面向初学者的内容替换与本地运行步骤
模板详细介绍
这是一个可直接运行的个人作品集网站模板,作者 Shivraj Gurjar 使用 Next.js 与 React 构建,并采用 Tailwind CSS 编写样式。页面按单页锚点组织,包含首页介绍、技能、项目、博客、我的成长经历和应用六个板块,支持深色与浅色主题切换,并针对移动端做了适配。模板内置 Tawk.to 在线聊天组件与基于 Nodemailer 的邮件发送功能,同时使用 mongoose 连接 MongoDB,并集成了 ChatGPT、微软翻译、Google News、Trivia 问答和 Pexels 图片等外部 API。
使用前需要自行申请上述 API 密钥,并在项目根目录创建 .env.local 文件写入 RAPID_API_KEY、GOOGLE_NEWS_API_KEY、PEXELS_API_KEY 和 MONGODB_CONNECTION_STRING 等变量。README 提供了面向初学者的修改指引:在 sections/Intro.jsx 中替换姓名、职业与头像,在 constants 目录下的 SkillsData.jsx、ProjectsData.js、JourneyData.jsx 和 AppsData.jsx 中分别维护技能、项目、成长经历和应用数据。
该仓库采用 MIT 许可,允许免费使用、修改、商用和分发代码,但需保留版权声明与许可声明。演示图片、字体、图标等第三方素材需按各自许可单独核对;域名、托管、数据库及外部 API 服务可能产生额外费用。
Next.jsReact作品集
适合你的项目吗?
适用场景
- 开发者快速搭建个人作品集网站并替换为自己的信息
- 前端初学者通过修改现有组件学习 Next.js 项目结构
- 需要展示技能、项目、博客与成长经历的求职者
- 希望集成在线聊天、邮件联系与外部 API 的个人站点
适合人群
- 具备基础 React 或 Next.js 使用经验的开发者
- 希望以现成模板快速起步的个人作品集需求者
- 愿意自行申请并配置外部 API 密钥的使用者
- 需要 MIT 许可下可自由修改与分发代码的项目
上手与定制指南
结合仓库当前版本的说明,按下面的资料检查内容、配置与运行要求。
- 1
克隆仓库后进入项目目录,执行 npm i 安装依赖,再运行 npm run dev 启动本地开发环境
- 2
在项目根目录创建 .env.local,填入 RAPID_API_KEY、GOOGLE_NEWS_API_KEY、PEXELS_API_KEY 和 MONGODB_CONNECTION_STRING
- 3
按 README 指引修改 sections/Intro.jsx 与 constants 目录下的数据文件,替换姓名、头像、技能、项目、成长经历和应用内容
- 4
在线聊天需先注册 Tawk.to 账号,并将获取的代码片段粘贴到 Components/ChatSystem.jsx 的 useEffect 中
- 5
演示图片、字体、图标等第三方素材需按各自许可核对,外部 API 与托管服务可能另行收费
授权与来源资料
使用条件与限制
免费使用 · 保留许可声明本次收录的是公开仓库中采用 MIT 许可的免费版本;免费范围为该版本代码,不代表外部服务或第三方素材免费。
使用时需要遵守
- 允许免费使用、修改、商用和分发该版本代码。
- 分发代码副本或实质性部分时,保留原作者版权声明和完整 MIT 许可声明。
- 代码按现状提供;担保与责任限制以原许可证及适用法律为准。
额外费用与待核对事项
- 使用在线聊天功能需先注册 Tawk.to 账号,并将获取的代码片段手动粘贴到 Components/ChatSystem.jsx 的 useEffect 中,属于外部服务依赖。
- 项目需自行申请 ChatGPT、微软翻译、Google News、Pexels 等外部 API 密钥,并配置 RAPID_API_KEY、GOOGLE_NEWS_API_KEY、PEXELS_API_KEY 与 MONGODB_CONNECTION_STRING 后才能完整运行。
- 需自备 MongoDB 连接字符串,数据库服务可能产生额外费用或需自行部署。
- 演示图片、字体、图标及其他第三方素材需按各自许可核对,不能仅凭代码的 MIT 许可判断。
- 域名、托管、数据库、支付或 AI 等外部服务可能另外收费。
查看原文依据
Permission is hereby granted, free of charge
许可证原文
Sign up on [tawk.to](https://dashboard.tawk.to/signup).
README 原文
After obtaining the above mentioned API, create a `.env.local` file and put values and restart your project.
README 原文
https://github.com/iamshiv007/NextJS-Portfolio/blob/master/LICENSEhttps://github.com/iamshiv007/NextJS-Portfolio/blob/master/README.mdconst MONGODB_CONNECTION_STRING = VALUE_XXXX
README 原文
DeepSeek 根据仓库许可证和 README 整理 ·2026-10-02。结果仅覆盖已读取资料,依赖、图片、字体及后续条款变更以各自原文为准。
项目核对记录与介绍依据
模板资料
- 来源平台
- GitHub
- 资料与维护参考分
- 资料较完整 · 77 / 100
- 技术栈
- Next.js · React
- 网站类型
- 作品集
这个分数如何计算
本站按许可资料(最高30分)、演示链接(12分)、预览图(10分)、Star数(15分)、记录的维护时间(15分)、描述完整度(8分)、功能记录(5分)和分类资料(5分)计算。它不是代码、安全或性能测试,也不是 Google 评分;有链接不代表已实测可用。
这个项目需要核对什么
- 记录的仓库更新时间
- 2023-10-12
- 截图检查日期
- 2026-10-02
已收录演示链接。请用你的内容与屏幕尺寸检查;有演示不代表表单、认证或支付已经可用。
目录记录的主要技术栈是 Next.js。请通过依赖清单和锁文件核对实际版本与托管要求。这些说明基于收录资料,不代表代码审计或部署实测。
查看具体选型方法 →介绍的制作与核对状态
介绍由 AI 辅助整理目录与仓库资料。仓库作者不等于这篇介绍的审核者。
已完成服务器许可规则与 AI 来源核对;未经过人工编辑审核。
查看当时使用的来源资料
SHA-256: f7df36b1fe72917d2aa5fb2775559586217c478f6370b7eb3db01b310c05d962
2026-10-02T16:04:30.688Z
来源文件 / 仓库# Shiv's Portfolio [Live](https://shiv-s-portfolio.vercel.app) - 👌 Best NextJS Portfolio 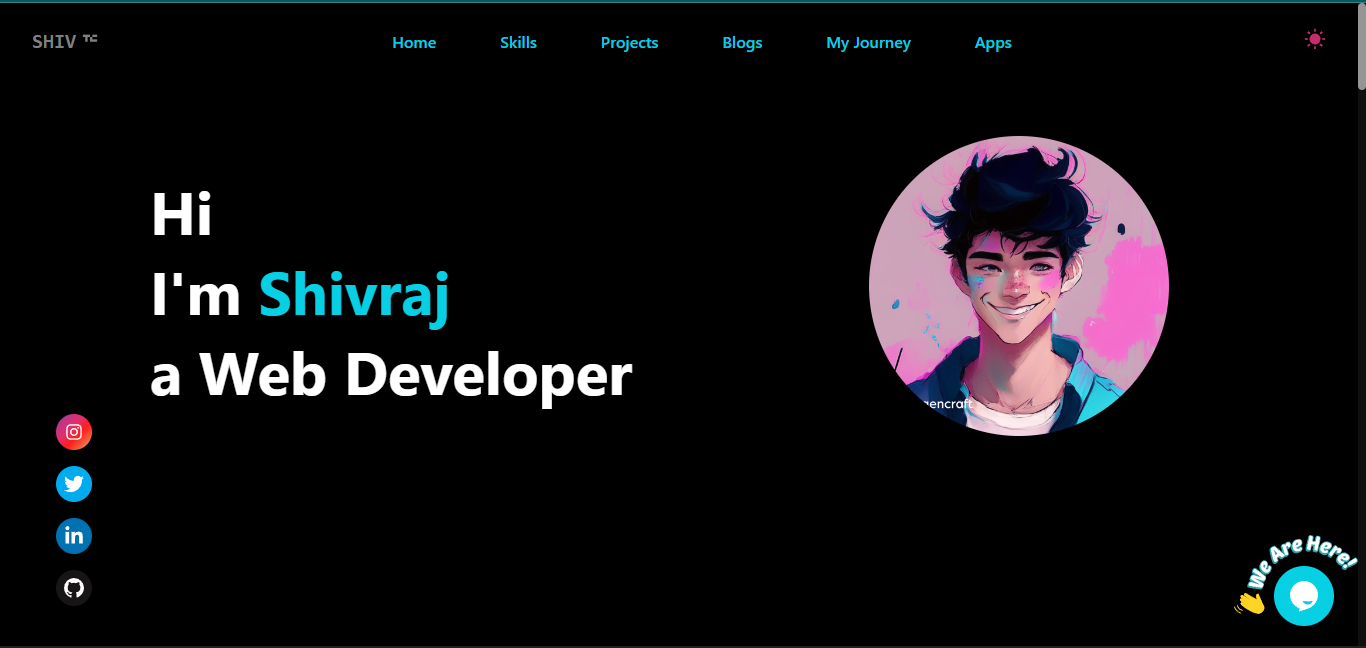 ## Table of content 1. Features 2. Sections 3. Tech Stacks 4. Getting Started 5. How to Edit This Portfolio (Make It Your's) 6. How to Implement a Live Chat System Using [Tawk.to](https://www.tawk.to/) 7. Required APIs for This Project (All Are Free APIs) 8. .env.local - file 9. Contribute ## 1. Features ✅ - Simple and Clean Design - Dark and Light Theme - Mobile Responsiveness - Chat System - [tawk.to](https://www.tawk.to/) - Message by gmail - [nodemailer](https://nodemailer.com/about/) ## 2. Sections 🧱 1. [Home | Intro | Welcome](https://shiv-s-portfolio.vercel.app) 2. [Skills](https://shiv-s-portfolio.vercel.app/#skills) 3. [Projects](https://shiv-s-portfolio.vercel.app/#projects) 4. [Blogs](https://shiv-s-portfolio.vercel.app/#blogs) 5. [My Journey](https://shiv-s-portfolio.vercel.app/#myJourney) 6. [Apps](https://shiv-s-portfolio.vercel.app/#apps) ## 3. Tech Stack 💻 - [Next JS](https://nextjs.org/) - [Tailwind CSS](https://tailwindcss.com/) - Libraries: - [react-icons](https://react-icons.github.io/react-icons/search) - [framer-motion](https://www.framer.com/) - [axios](https://axios-http.com/docs/intro) - [mongoose](https://mongoosejs.com/) - [nodemailer](https://nodemailer.com/about) - [react-responsive-carousel](https://react-responsive-carousel.js.org/) - [react-responsive-masonry](https://www.npmjs.com/package/react-responsive-masonry) - [react-syntax-highlighter](https://react-syntax-highlighter.github.io/react-syntax-highlighter/demo/) ## 4. Getting Started ▶️ Follow these steps to set up and run the project on your local machine. #### 1. Clone the Repository To get a local copy of this repository, run the following command in your terminal: ```sh git clone https://github.com/iamshiv007/Next-Portfolio.git ``` #### 2. Navigate to the Project Change your working directory to the project folder: ```sh cd next-portfolio ``` #### 3. Install Dependencies Install the required packages using npm: ```sh npm i ``` #### 4. Start the Project Run the following command to launch the Next.js project in your local environment: ```sh npm run dev ``` #### 5. Access the Project Open your web browser and go to [http://localhost:3000](http://localhost:3000) to view the project. That's it! You're now ready to explore the project locally. Happy coding! 🚀 ## 5. How to Edit This Portfolio (Make It Your's) *Note :-This is a beginner's guide for those who have never worked on a Next.js project before. If you can understand the project, it's in your hands to make changes and create a portfolio that's 10 times better. You can use its clone for a quick start.* ### 1. Your Name and Photo In the `root` directory, you'll find a `sections` folder. Inside this folder, locate the `Intro.jsx` file. Within the `intro` file, update the following details: - Shivraj - Your Name - Web Developer - Profession - /images/cartoon0.png - Your Photo Remember to have your photo uploaded in the `images` folder located within the `public` directory. ### 2. Skills In the `root` directory, you'll find a `constants` folder. Inside this folder, locate the `SkillsData.jsx` - Add or remove skills according to your preferences. - Use Desire icon from `react-icons` library. - Give desire color to icon. ### 3. Projects Just like with Skills, we have a `ProjectsData.js` file located in the `constants` folder. All you need to do is replace the existing data with your own (name: Your project name, url: Project Live URL, imageUrl: Image URL from the `images` folder in the public `directory`). ### 4. My Journey Similar to Skills and Projects, you only need to customize the data in the `JourneyData.jsx` file according to yourself. ### 5. Apps You don't need to change the app data, but if you want, you can create similar easy apps and replace the data in the `AppsData.jsx` file. Suggetion for apps :- To-do List App, Weather App, Random Quote Generator, Random Jokes Generator, Basic Calculator, Countdown Timer, Recipe Finder etc. > Note :- If you're not able to customize the portfolio or run the project in your local environment, **don't worry**. It's not a journey of just 1 or 2 days, it takes time. For me, I was able to create it after 1 year of consistent learning. If you're not able to use its clone, just leave it and keep learning. You'll create a better portfolio or project one day. <div align="center"> <h4>⭐️ If You want to show your appreciation, please give this repository a star.</h4> </div> ## 6. How to Implement a Live Chat System Using [Tawk.to](https://www.tawk.to/) I'm excited to introduce you to this amazing feature, and the best part is, it's completely free! Follow these steps to set up your live chat system: **Step 1:** Sign up on [tawk.to](https://dashboard.tawk.to/signup). **Step 2:** Complete the simple 4-step process to create your free account. **Step 3:** Once you've completed the process, copy the code snippet provided at the end. **Step 4:** Now, integrate the copied code into your application: Navigate to the `Components` directory, locate the `ChatSystem.jsx` file, and inside the `useEffect` function, paste the copied code. By following these steps, you'll have an efficient live chat system up and running in no time, enhancing your user experience and engagement. ## 7. Required APIs for This Project (All Are Free APIs) 1. **ChatGPT API** from RapidAPI - [Details](https://rapidapi.com/haxednet/api/chatgpt-api8) 2. **Microsoft Translator API** from RapidAPI - [Details](https://rapidapi.com/microsoft-azure-org-microsoft-cognitive-services/api/microsoft-translator-text) 3. **Google News API** from Google - [Details](https://newsapi.org/s/google-news-api) 4. **Quiz API** from Trivia API (No API Key Required) - [Details](https://opentdb.com/api_config.php) 5. **Images API** from Pexels API - [Details](https://www.pexels.com/api/) ## 8. .env.local - file After obtaining the above mentioned API, create a `.env.local` file and put values and restart your project. ```sh const RAPID_API_KEY = VALUE_XXXX const GOOGLE_NEWS_API_KEY = VALUE_XXXX const PEXELS_API_KEY = VALUE_XXXX const MONGODB_CONNECTION_STRING = VALUE_XXXX ``` ## 9. Contribute 🎁 Thank you for checking out my portfolio! I invite you to join in and make it your own. Feel free to contribute by editing the information, images, and name to personalize it according to your skills and achievements. ### How to Contribute: 1. **Fork the Repository:** Start by forking this repository to your GitHub account. This will create a copy of the portfolio project in your account. 2. **Make Your Changes:** Edit the portfolio content, update images, and customize details like your name, skills, projects, and journey. 3. **Preview Your Portfolio:** You can locally preview your changes by following the setup instructions mentioned in the repository's README. 4. **Create a Pull Request:** Once you're satisfied with your changes, submit a pull request back to the original repository. I'll review your contributions and, if everything looks good, merge your changes. ### Why Contribute: - Showcase Your Work: Share your accomplishments and projects with the world through your personalized portfolio. - Learn and Improve: Practice your coding skills while experimenting with HTML, CSS, and JavaScript. - Join the Community: Connect with others who are also building their portfolios, and receive feedback and support. Remember, your portfolio is a reflection of your unique skills and experiences. Personalize it to make it truly yours! Happy coding and designing! 🚀🎨
看看同类模板
对比同技术栈与用途的模板,找到更适合的视觉与内容结构。
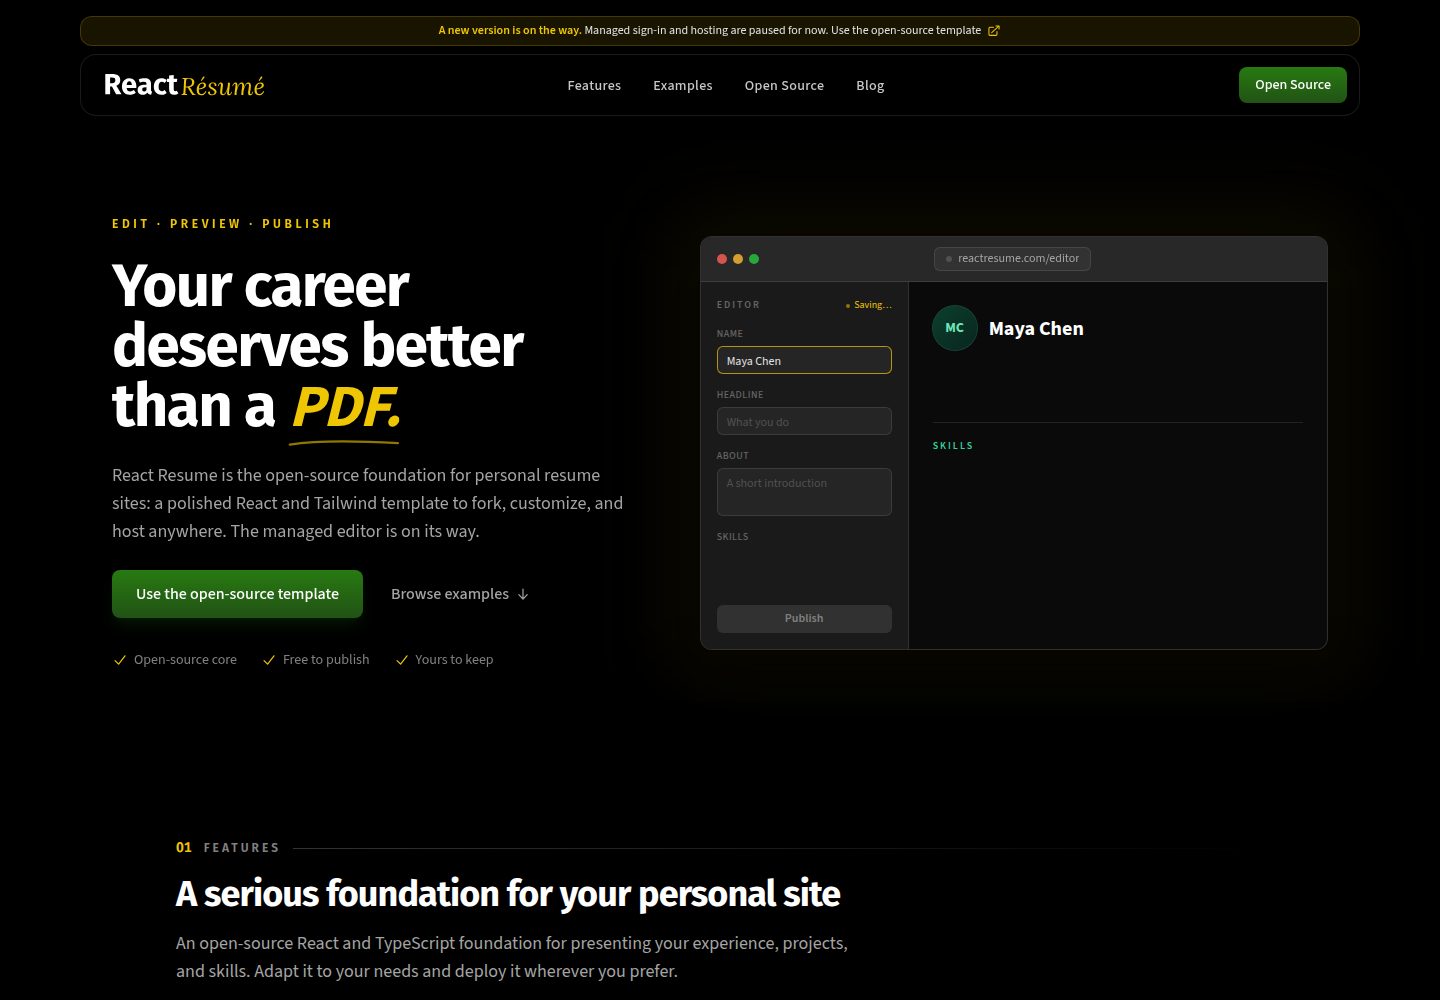
react-resume-template
A personal resume website template built with React.js, Typescript, Next.js, and styled with Tailwind css
Next.js · 作品集
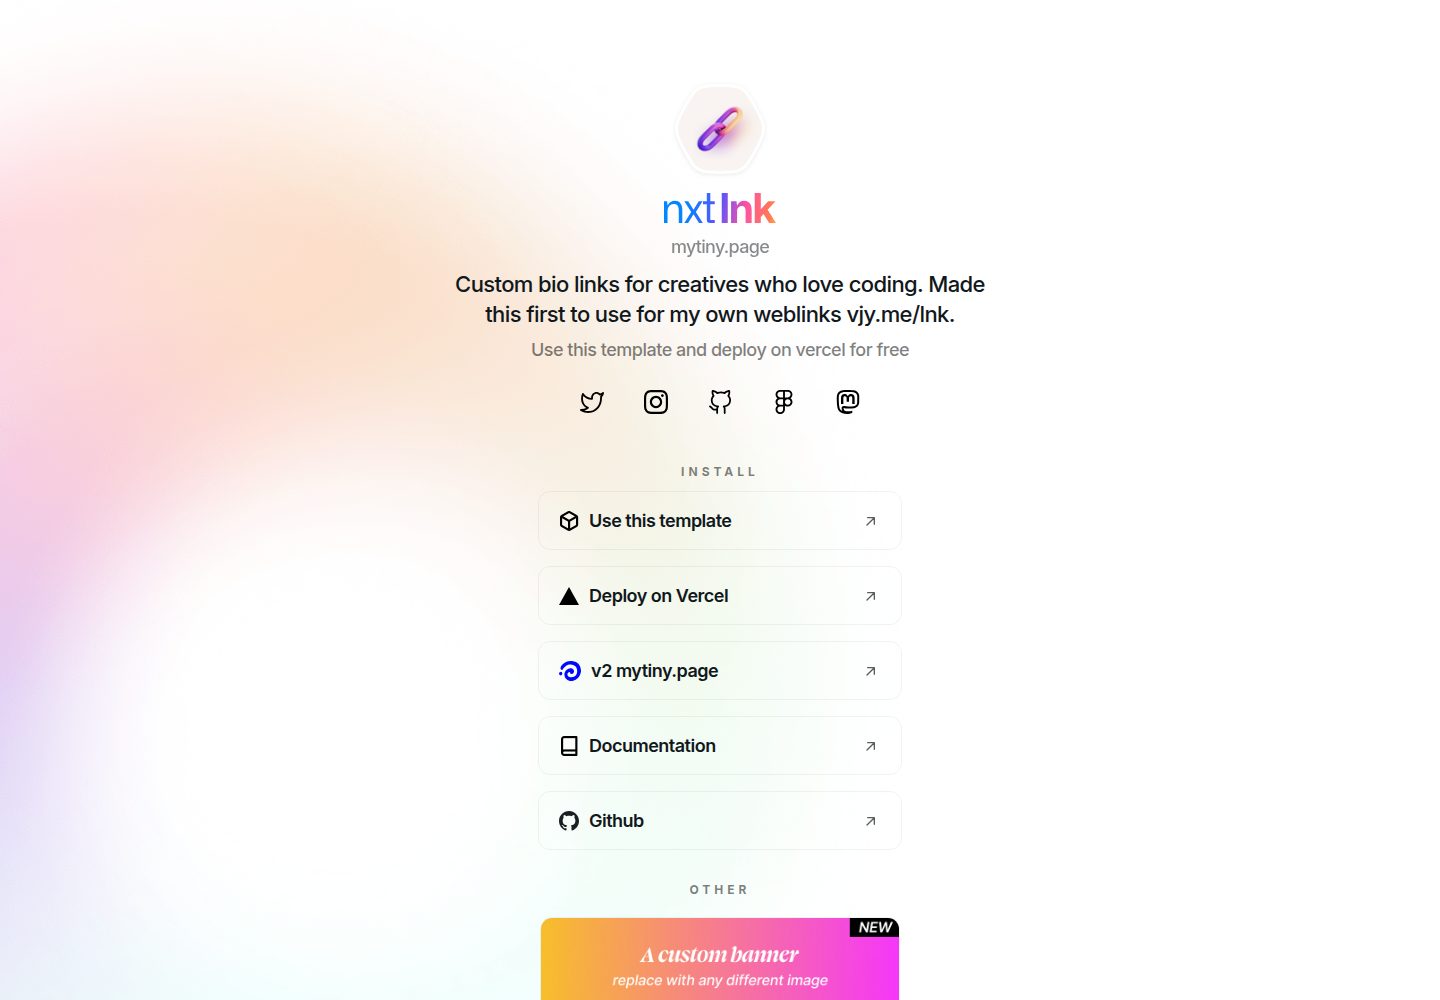
nxt-lnk
Custom bio links for creatives who love coding. A perfect custom alternative for linktree, bio and other short…
Next.js · 作品集
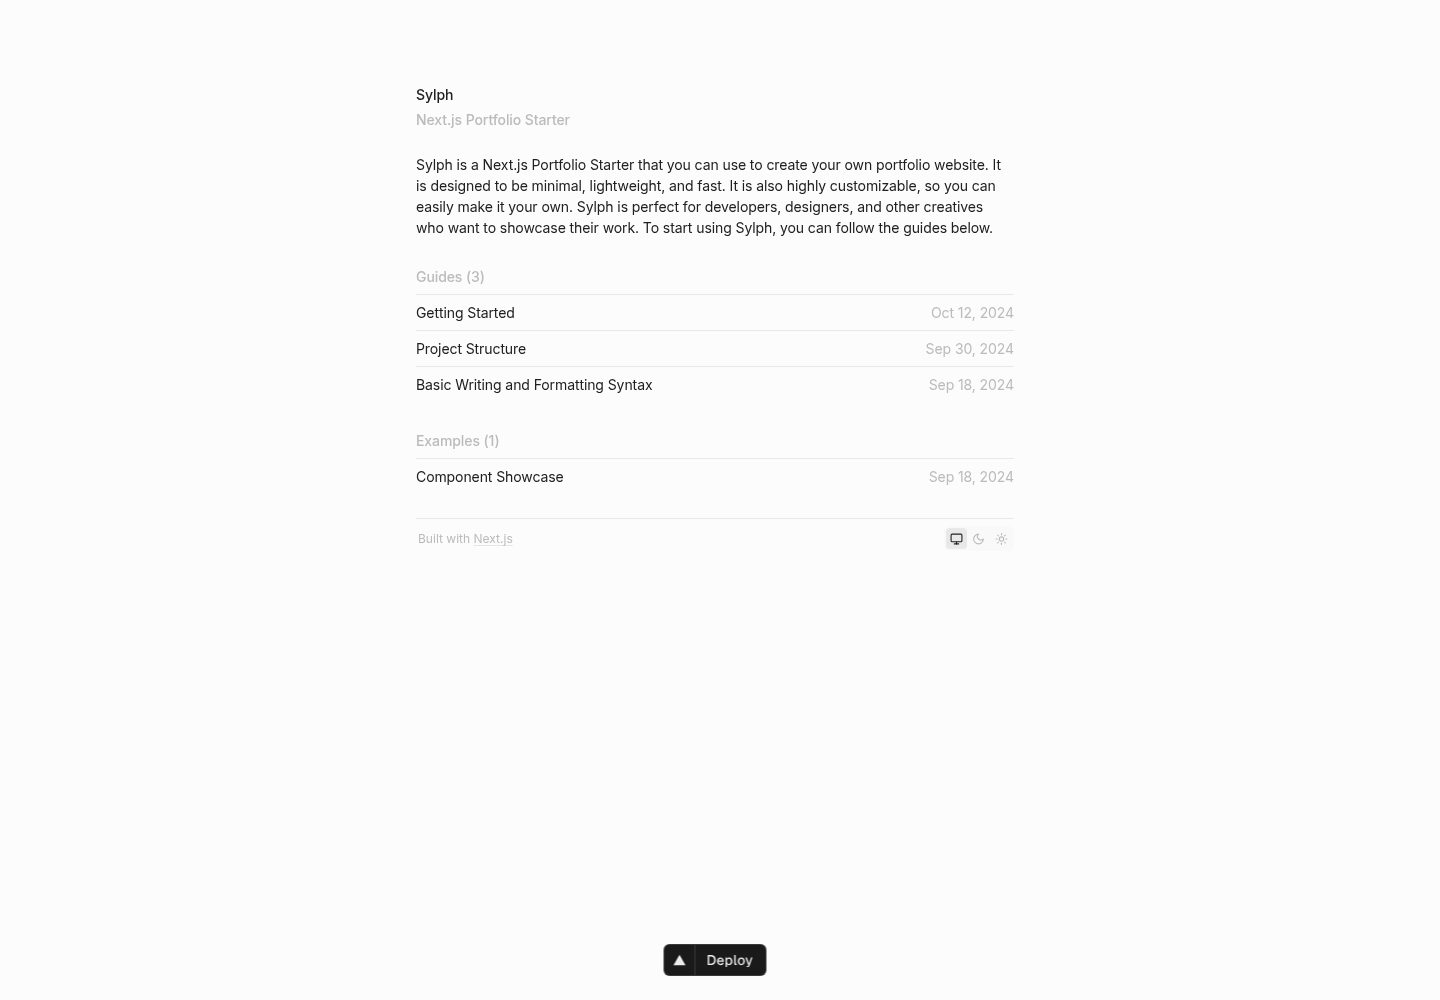
sylph
A minimal portfolio template.
Next.js · 作品集
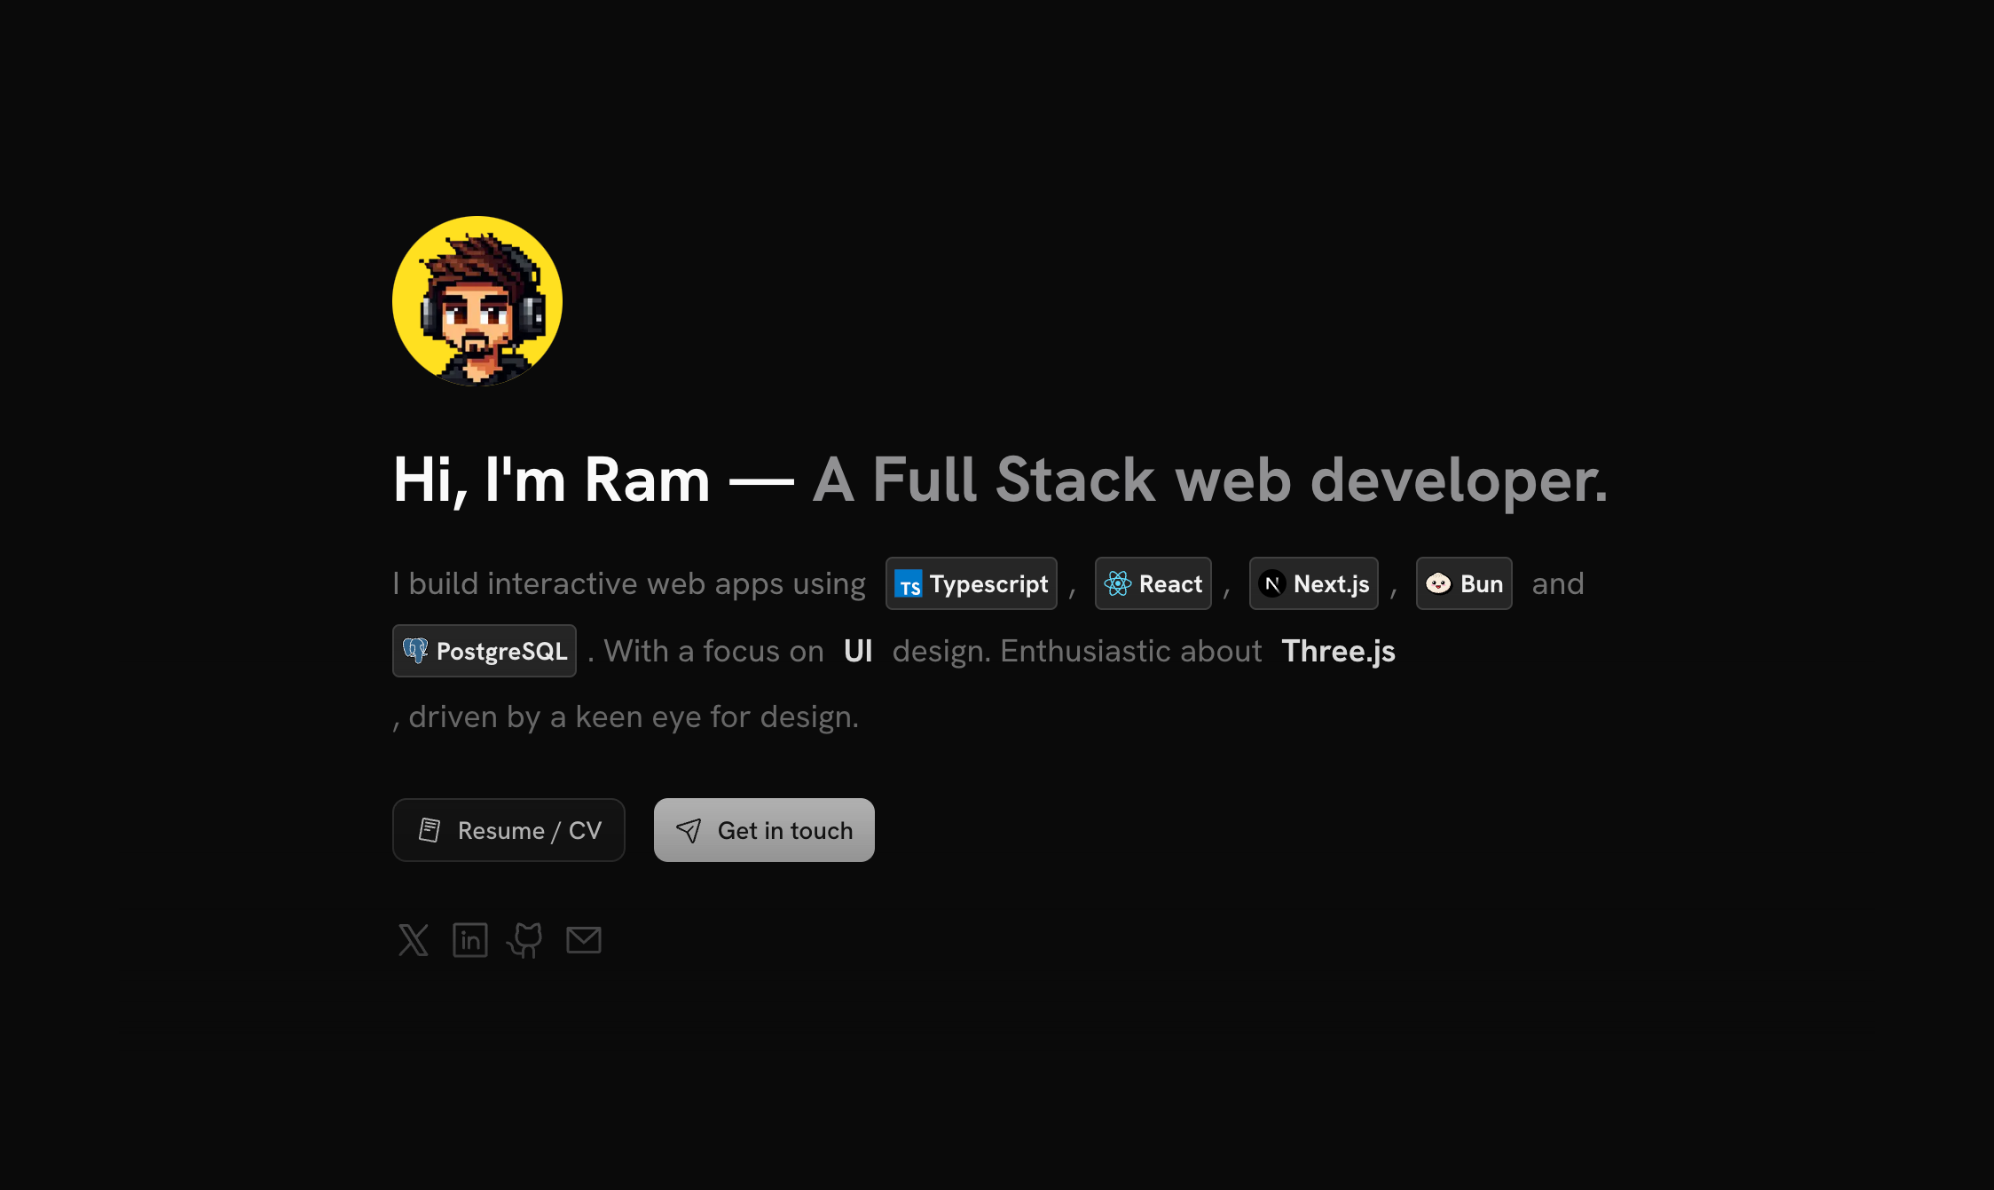
sleek-portfolio
sleek-portfolio 是一个面向开发者个人品牌展示的现代作品集模板,基于 Next.js 15、TypeScript、Tailwind CSS 和 Shadcn UI 构建。
Next.js · 作品集
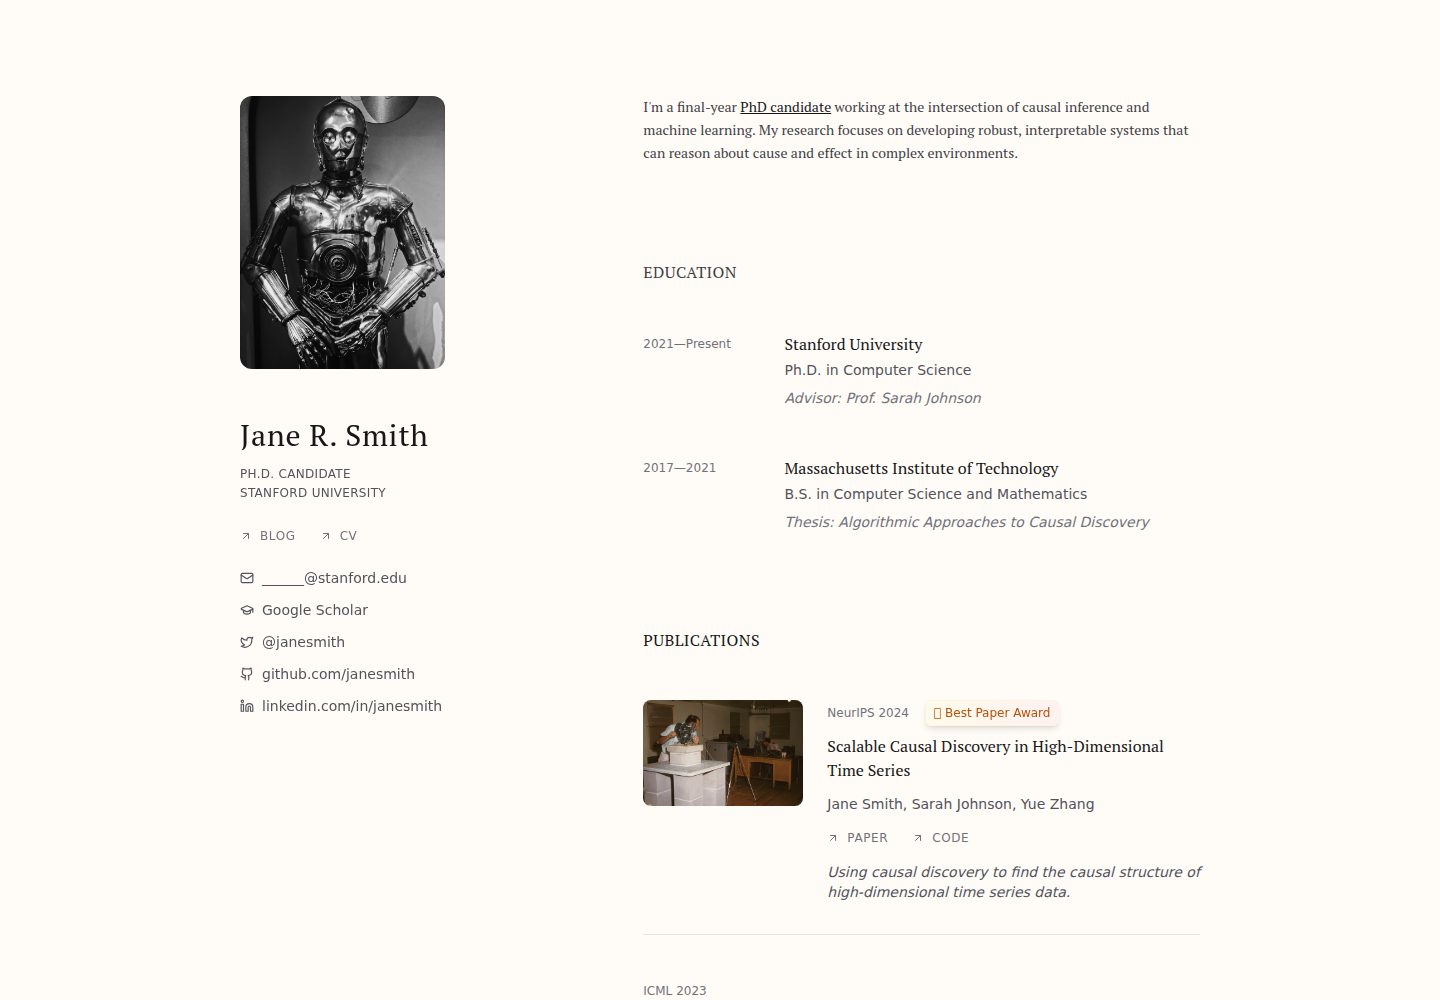
research-website-template
React + Next.js template for research websites (for PhD students, researchers, etc)
Next.js · 作品集
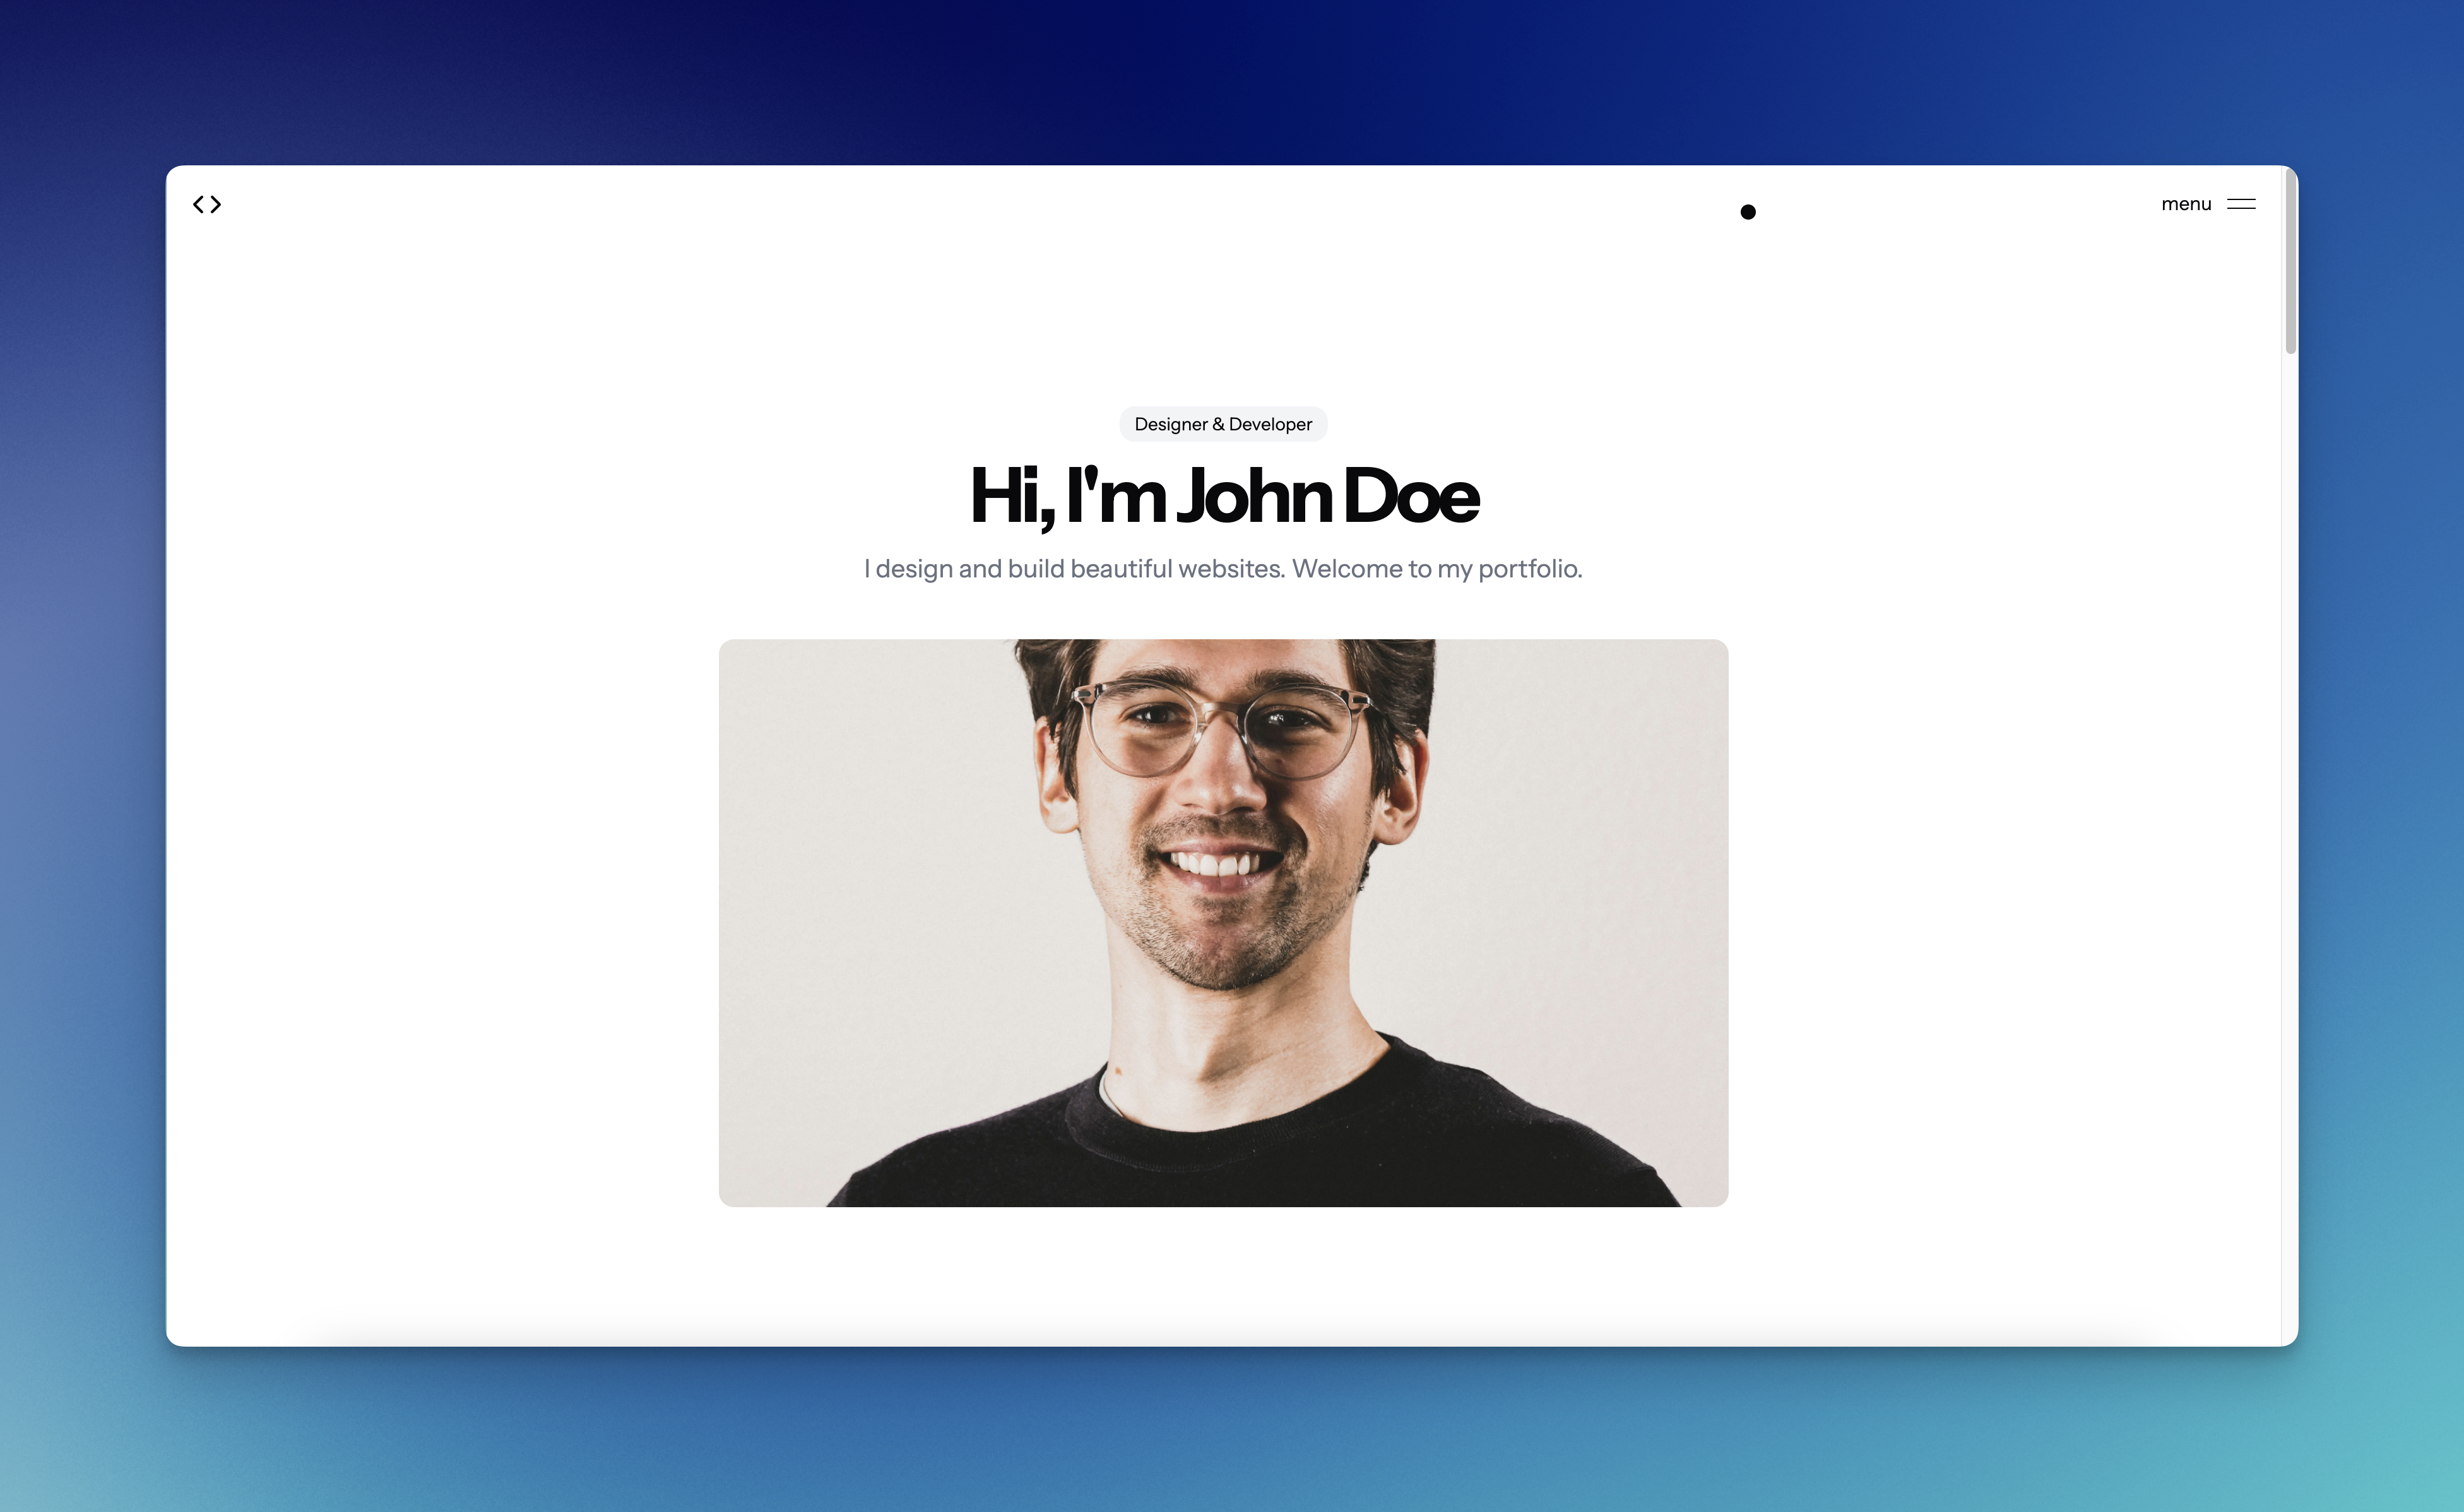
shadcn-portfolio
shadcn-portfolio 是一个面向开发者的作品集模板,技术栈为 Next.js 15、shadcn/ui、Tailwind CSS 和 Framer Motion。
Next.js · 作品集