内置 Keystatic CMS,可在 /keystatic 路径下可视化编辑内容,内容以文件形式存入仓库
Astro作品集博客
bloomfolio — Astro 作品集模板
作者 lauroguedes
Bloomfolio 是一个基于 Astro 的作品集与博客模板,使用 DaisyUI 组件库,内置 Keystatic CMS 与多套内容集合,适合搭建个人作品展示与文章发布站点。
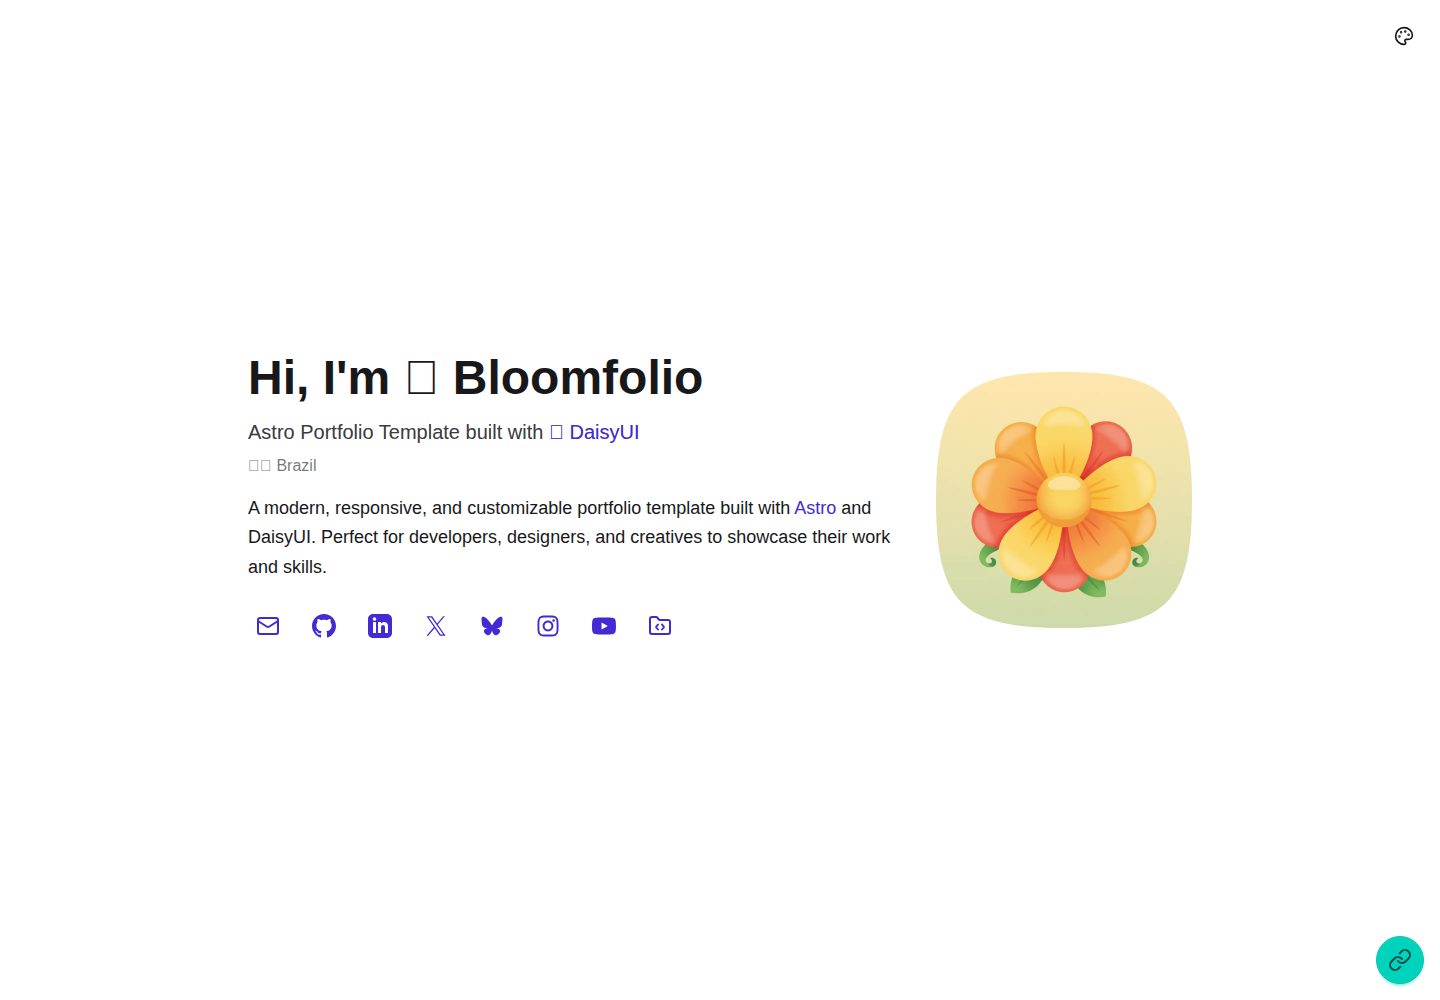
看看你的网站会是什么样
浏览真实页面截图,比较内容排版与手机效果。点击下方缩略图切换,放大查看整页细节。
全部页面与视图 3
截图用于了解视觉与布局,交互效果请以实际项目为准。
采集于 2026-10-04查看来源
值得关注的模板亮点
从已有项目资料中,快速了解它的特点。
预置 Blog、Projects、Work、Education、Hackathons、About 等内容集合,并使用 TypeScript schema 校验
项目列表页提供 Grid、Horizontal Tabs、Sidebar 三种布局,可在 General Settings 中切换
博客与项目详情页自动生成基于 H1/H2/H3 的 On this page 侧边导航,支持全局默认与单页覆盖
内置 light、dark、synthwave、retro、valentine、dim 六套 DaisyUI 主题,支持下拉选择或明暗切换
桌面端 FAB 浮动菜单与移动端底部 Dock 导航,可通过 extraLinks 配置链接及显示位置
模板详细介绍
Bloomfolio 是一个面向开发者、设计师与创意工作者的作品集模板,仓库采用 MIT 许可,同时覆盖作品集与博客两类用途。模板使用 Astro 构建,样式层由 Tailwind CSS 与 DaisyUI 提供,内容类型通过 TypeScript 与内容集合 schema 校验。
内容管理提供两种方式:一是内置的 Keystatic CMS,在开发服务器下访问 /keystatic 即可用可视化界面编辑内容,内容以文件形式存放在仓库中;二是直接编辑 src/content/ 下的文件。模板预置了 Hero、About、Blog、Projects、Work、Education、Hackathons 等内容集合,首页各区块的显示与否可在 General Settings 中控制,Hero 区块始终显示。
项目列表页提供 Grid、Horizontal Tabs、Sidebar 三种布局,项目可按自定义分类分组,未分类项目归入 Other。博客与项目详情页会根据 H1、H2、H3 标题自动生成 On this page 侧边导航,支持全局默认与单页覆盖,并可选择左侧或右侧位置。Hero 标题与描述支持使用 [link:<url>]text[/link] 语法插入行内链接。
主题方面内置 light、dark、synthwave、retro、valentine、dim 六套 DaisyUI 主题,可在下拉选择器与明暗切换之间切换。桌面端提供可展开的浮动按钮菜单(FAB),移动端提供底部 Dock 导航,额外链接可通过 extraLinks 配置并指定显示位置。
使用前需注意:运行环境要求 Node.js 22.12.0 或更新版本;README 中提到的 Astro 7、Vite 8、Tailwind CSS 4、DaisyUI 5、TypeScript 6 等版本号未与依赖清单逐项核对,实际版本以仓库 package.json 为准。演示图片、字体、图标等第三方素材的许可需单独确认,代码的 MIT 许可不覆盖这些素材。
Astro作品集博客
适合你的项目吗?
适用场景
- 搭建个人作品集网站,用 Projects 集合展示项目并按自定义分类分组
- 发布技术文章或随笔,用 Blog 集合管理文章、封面图与草稿
- 在同一站点中呈现工作经历、教育背景与黑客松参与记录的时间线
- 通过 Keystatic CMS 以可视化方式维护内容,而不直接编辑 Markdown 文件
- 在 Hero 标题或描述中插入指向外部站点的行内链接
适合人群
- 需要作品集与博客合一的个人站点开发者
- 偏好 Astro 与 Tailwind CSS/DaisyUI 技术栈的前端开发者
- 希望通过 Git 仓库存储内容、并借助可视化 CMS 编辑的用户
- 需要在项目列表页选择不同布局与分类展示方式的创作者
上手与定制指南
结合仓库当前版本的说明,按下面的资料检查内容、配置与运行要求。
- 1
环境要求 Node.js 22.12.0 或更新版本,仓库包含 .nvmrc 用于选择该最低版本
- 2
克隆仓库后执行 npm install 安装依赖,再运行 npm run dev 启动开发服务器(默认 localhost:4321)
- 3
内容既可通过 /keystatic 可视化编辑,也可直接修改 src/content/ 下的文件
- 4
修改组件或内容后建议运行 npm run check 与 npm run build,以检查模板与 schema 错误
- 5
README 中列出的框架版本号未与依赖清单逐项核对,请以仓库 package.json 为准
授权与来源资料
使用条件与限制
免费使用 · 保留许可声明本次收录的是公开仓库中采用 MIT 许可的免费版本;免费范围为该版本代码,不代表外部服务或第三方素材免费。
使用时需要遵守
- 允许免费使用、修改、商用和分发该版本代码。
- 分发代码副本或实质性部分时,保留原作者版权声明和完整 MIT 许可声明。
- 代码按现状提供;担保与责任限制以原许可证及适用法律为准。
额外费用与待核对事项
- 运行环境要求 Node.js 22.12.0 或更新版本,低于该版本无法使用。
- 默认使用 Vercel 适配器进行服务端渲染部署;部署到其他平台需自行安装对应适配器并替换 astro.config.mjs 中的适配器。
- 远程内容编辑(GitHub 模式)为可选功能,需自行创建 GitHub OAuth App 并配置客户端 ID、密钥等环境变量。
- Spotify、YouTube、Twitter 媒体嵌入组件仅适用于博客文章,且文件必须使用 .mdoc 扩展名而非 .md。
- 演示图片、字体、图标及其他第三方素材需按各自许可核对,不能仅凭代码的 MIT 许可判断。
- 域名、托管、数据库、支付或 AI 等外部服务可能另外收费。
查看原文依据
Permission is hereby granted, free of charge
许可证原文
Astro 7 requires Node.js 22.12.0 or newer.
README 原文
Bloomfolio uses `output: "server"` with `@astrojs/vercel` because Keystatic needs on-demand routes. To deploy elsewhere, install that platform's Astro 7-compatible adapter, replace the Vercel adapter in `astro.config.mjs`
README 原文
For remote content editing from anywhere, you can enable Keystatic's GitHub mode
README 原文
https://github.com/lauroguedes/bloomfolio/blob/main/LICENSEhttps://github.com/lauroguedes/bloomfolio/blob/main/README.mdMedia components (Spotify, YouTube, Twitter) are only available in blog posts. Files must use the `.mdoc` extension (not `.md`).
README 原文
DeepSeek 根据仓库许可证和 README 整理 ·2026-10-04。结果仅覆盖已读取资料,依赖、图片、字体及后续条款变更以各自原文为准。
项目核对记录与介绍依据
模板资料
- 来源平台
- Astro Themes
- 资料与维护参考分
- 资料较完整 · 92 / 100
- 技术栈
- Astro
- 网站类型
- 作品集 · 博客
这个分数如何计算
本站按许可资料(最高30分)、演示链接(12分)、预览图(10分)、Star数(15分)、记录的维护时间(15分)、描述完整度(8分)、功能记录(5分)和分类资料(5分)计算。它不是代码、安全或性能测试,也不是 Google 评分;有链接不代表已实测可用。
这个项目需要核对什么
- 记录的仓库更新时间
- 2026-08-14
- 截图检查日期
- 2026-10-04
已收录演示链接。请用你的内容与屏幕尺寸检查;有演示不代表表单、认证或支付已经可用。
目录记录的主要技术栈是 Astro。请通过依赖清单和锁文件核对实际版本与托管要求。这些说明基于收录资料,不代表代码审计或部署实测。
查看具体选型方法 →介绍的制作与核对状态
介绍由 AI 辅助整理目录与仓库资料。仓库作者不等于这篇介绍的审核者。
审核声明: [email protected] · 2026-10-04
查看当时使用的来源资料
SHA-256: b38a47b7f0b727b85b4a8d5ef4b6b838e97e87aae6ec7c3cdcd23059ac0d9803
2026-10-04T03:48:34.210Z
来源文件 / 仓库# 🌻 Bloomfolio
<div align="center">
A modern, customizable portfolio template built with **Astro 7** and **DaisyUI 5**. A beautiful, fast, and highly customizable portfolio template for developers, designers, and creatives.
[](https://opensource.org/licenses/MIT)
[](https://astro.build)
[](https://tailwindcss.com)
[](https://daisyui.com)
[](https://www.typescriptlang.org/)
</br>
<img width="1920" height="1080" alt="img1" src="https://github.com/user-attachments/assets/b882118c-2070-4b12-85f4-8491ea9517ee" />
</div>
## ✨ Features
- 🎨 **6 Built-in Themes** - Light, Dark, Synthwave, Retro, Valentine, and Dim
- 📝 **6 Content Collections** - Blog, Projects, Work, Education, Hackathons, and About
- 🎨 **Keystatic CMS** - Visual content editor with live preview, GitHub integration, and Astro 7 support
- 🔒 **Type-Safe Content** - Full TypeScript support with validated schemas
- 📱 **Fully Responsive** - Mobile-first design with DaisyUI components
- ⚡ **Fast & Optimized** - Server rendering with automatic image optimization
- 🎭 **Smooth Transitions** - Page transitions using Astro's View Transitions API
- 📦 **Markdoc Support** - Enhanced markdown with custom Spotify, YouTube, and Twitter tags
- 🎯 **Configuration-Driven** - Customize everything through a central config file
- 🌸 **FAB Flower Menu** - Expandable floating action button for extra links (desktop)
- 📱 **Mobile Dock Navigation** - Bottom navigation bar for mobile devices
- ⭐ **Featured Projects** - Highlight your best work on the homepage
- 🏷️ **Project Categories** - Organize projects by custom categories (managed via Keystatic CMS)
- 📐 **3 Projects Page Layouts** - Grid, Horizontal Tabs, or Sidebar layout (configurable in General Settings)
- 🧭 **Content Sidebar** - Sticky H1/H2 article navigation with collapsible H3 sublevels, global defaults, per-page overrides, and a responsive mobile outline
- 📝 **Blog Drafts** - Keep unfinished posts in Keystatic without listing them or exposing their public page
- 🔗 **Inline Links in Hero** - Add clickable links inside Hero title and description using `[link:<url>]text[/link]` syntax
- 🎨 **Modern Stack** - Astro 7 + Vite 8 + Tailwind CSS 4 + DaisyUI 5 + TypeScript 6
- 🔍 **SEO Optimized** - Meta tags, Open Graph, and semantic HTML
- ♿ **Accessible** - Built with accessibility in mind
## 🚀 Quick Start
### Prerequisites
- Node.js 22.12.0 or newer
- npm, pnpm, or yarn
Astro 7 requires Node.js 22.12.0 or newer. The included `.nvmrc` selects that minimum version, and `@keystatic/astro` 5.2 declares Astro 7 compatibility.
Astro 7 uses Vite 8 and its stricter Rust compiler. Run `npm run check` and `npm run build` after changing components or content to catch invalid templates and schema errors.
### Installation
```bash
# Clone the repository
git clone https://github.com/lauroguedes/bloomfolio.git
# Navigate to the project directory
cd bloomfolio
# Install dependencies
npm install
# Start the development server
npm run dev
```
Visit `http://localhost:4321` to see your portfolio!
## 📋 Commands
All commands are run from the root of the project:
| Command | Action |
| :--- | :--- |
| `npm install` | Install dependencies |
| `npm run dev` | Start dev server at `localhost:4321` |
| `npm run build` | Build production site to `./dist/` |
| `npm run preview` | Preview production build locally |
| `npm run check` | Run TypeScript, Astro, and content checks |
| `npm run astro ...` | Run Astro CLI commands |
## ⚙️ Configuration
All site configuration is managed through **Keystatic CMS** or by editing content files directly in `src/content/`.
### Using Keystatic CMS
1. Start the development server: `npm run dev`
2. Navigate to `http://localhost:4321/keystatic`
3. Edit **General Settings** to configure:
- Theme selector (dropdown vs toggle)
- Section visibility
- Extra links (FAB & Dock)
- Content sidebar visibility and left/right position
### Section Visibility
Control which sections appear on your homepage through **General Settings** in Keystatic:
- About section
- Projects showcase (shows up to 3 featured projects)
- Blog posts (shows 3 most recent)
- Work experience timeline
- Education history
- Hackathon participation
- Contact section
The Hero section is always visible.
### Project Categories
Organize your projects by custom categories. Categories are managed via Keystatic CMS as a dedicated collection:
1. Go to `/keystatic` → **Project Categories**
2. Create categories with a name, description, emoji icon, and sort order
3. When editing a **Project**, select its category from the dropdown
Three default categories are included: **🤖 AI Made**, **🚀 Real Projects**, **🧪 Experiments**.
On the `/projects` page, projects are grouped under their category heading. Uncategorized projects appear in an "Other" section.
### Projects Page Layout
Choose from 3 layout styles for the projects listing page in **General Settings** → **Projects Page Layout**:
| Layout | Description |
| :--- | :--- |
| **Grid** (default) | Stacked category sections with card grids |
| **Horizontal Tabs** | DaisyUI `tabs-border` with an **All** tab followed by category tabs |
| **Sidebar** | DaisyUI `menu` with an **All** item followed by category items |
### Content Sidebar
Blog posts and project detail pages automatically build an **On this page** menu from H1, H2, and H3 headings. H3 links are grouped beneath their nearest H2 and start collapsed; use the chevron beside an H2 to reveal them. On desktop the menu stays sticky beside the article and scrolls internally when it reaches its maximum height. On mobile it becomes a compact, collapsible outline above the content.
Configure the defaults in **General Settings**:
- **Show Content Sidebar**: enabled by default
- **Content Sidebar Position**: `right` by default; `left` is also available
Each Blog Post and Project includes **Override Global Content Sidebar** in Keystatic. Enable it to replace both global values for that page. When editing files manually, use:
```yaml
contentSidebar:
discriminant: true
value:
show: true
position: left
```
Omit `contentSidebar` to use the global settings.
### Inline Links in Hero
You can add clickable links inside the Hero section's **Title** and **Description** fields using a simple syntax:
```
[link:<url>]visible text[/link]
```
**Example:**
```
Astro Portfolio Template built with [link:https://daisyui.com]🌼 DaisyUI[/link]
```
Renders as: Astro Portfolio Template built with [🌼 DaisyUI](https://daisyui.com)
### Theme Settings
Choose between a theme selector dropdown or a simple light/dark toggle in General Settings.
**Available Themes**: light, dark, synthwave, retro, valentine, dim
### Extra Links (FAB Flower & Dock)
Configure the floating action button (desktop) and mobile dock navigation:
```yaml
extraLinks:
- link: /blog/guide
icon: BookOpen
label: Guide
displayOn: both # Options: both, dock, fab
- link: /resume.pdf
icon: FileText
label: Resume
displayOn: fab # Only show on desktop FAB
```
The `displayOn` option controls where each link appears:
- `both` - Shows on both FAB (desktop) and Dock (mobile)
- `fab` - Only shows on the floating action button (desktop)
- `dock` - Only shows on the bottom dock (mobile)
## 📂 Project Structure
```
bloomfolio/
├── public/ # Static assets
│ └── favicon.svg
├── src/
│ ├── assets/ # Images and media
│ │ └── bloomfolio.png
│ ├── components/ # Reusable components
│ │ ├── About.astro
│ │ ├── Blog.astro
│ │ ├── BlogCard.astro
│ │ ├── Contact.astro
│ │ ├── Dock.astro # Mobile bottom navigation
│ │ ├── FabFlower.astro # Desktop floating action button
│ │ ├── Hackathons.astro
│ │ ├── Hero.astro
│ │ ├── ProjectCard.astro
│ │ ├── Projects.astro
│ │ ├── ProjectsLayoutGrid.astro # Grid layout (default)
│ │ ├── ProjectsLayoutTabsHorizontal.astro # Horizontal tabs layout
│ │ ├── ProjectsLayoutTabsVertical.astro # Sidebar menu layout
│ │ ├── SkillBadge.astro
│ │ ├── Spotify.astro
│ │ ├── ThemeSelector.astro
│ │ ├── ThemeToggle.astro
│ │ ├── Timeline.astro
│ │ ├── Twitter.astro
│ │ └── YouTube.astro
│ ├── content/ # Content collections
│ │ ├── about/ # About section (1 file)
│ │ ├── blog/ # Blog posts (.md or .mdoc)
│ │ ├── education/ # Education history
│ │ ├── general/ # General settings
│ │ ├── hackathons/# Hackathon entries
│ │ ├── projectCategories/ # Project category definitions
│ │ ├── projects/ # Portfolio projects
│ │ └── work/ # Work experience
│ ├── layouts/ # Page layouts
│ │ ├── Layout.astro
│ │ ├── BlogLayout.astro
│ │ └── ProjectLayout.astro
│ ├── pages/ # File-based routing
│ │ ├── index.astro
│ │ ├── blog/
│ │ │ ├── index.astro
│ │ │ └── [...slug].astro
│ │ └── projects/
│ │ ├── index.astro
│ │ └── [...slug].astro
│ ├── styles/
│ │ └── global.css # Tailwind + DaisyUI + Typography
│ ├── utils/
│ │ ├── iconMapper.ts
│ │ └── parseInlineLinks.ts # [link:<url>]text[/link] parser
│ └── content.config.ts # Content schemas
├── astro.config.mjs # Astro configuration
├── keystatic.config.ts # Keystatic CMS configuration
├── package.json
├── tsconfig.json
└── README.md
```
## 📝 Content Management
Bloomfolio offers two powerful ways to manage your content: the **Keystatic CMS** for a visual editing experience, or **direct file editing** for developers who prefer working with code.
### Option 1: Keystatic CMS (Recommended)
Keystatic is a modern, Git-based headless CMS that provides a user-friendly interface for managing your content without touching code.
#### Accessing the Editor
1. Start the development server:
```bash
npm run dev
```
2. Navigate to the admin panel:
```
http://localhost:4321/keystatic
```
3. Start creating and editing content through the visual interface!
#### What is Keystatic?
Keystatic is a **Git-based CMS** that:
- Stores content as files in your repository (not in a database)
- Provides a beautiful visual editor with live preview
- Works with local development and GitHub/GitLab workflows
- Generates type-safe content with full TypeScript support
- Integrates seamlessly with Astro's Content Collections
**Learn more:** [Keystatic Documentation](https://keystatic.com/docs)
#### Content Types in Keystatic
**Singletons** (one-per-site content):
- **Hero Section** - Your name, title, avatar, social links
- **About Section** - Personal bio with photo (supports Markdown)
**Collections** (multiple entries):
- **Blog Posts** - Published articles and unlisted drafts with cover images, tags, and rich media embeds
- **Projects** - Portfolio items with screenshots, descriptions, and tech stacks
- **Work Experience** - Timeline of employment history
- **Education** - Academic background
- **Hackathons** - Competitive coding events and achievements
#### Using the Keystatic Editor
1. **Create New Entries**
- Click "Create entry" in any collection
- Fill out the form fields (Keystatic validates required fields)
- For Blog Posts, leave **Published** unchecked until the article is ready
- Use the rich text editor for Markdown content
- Upload images directly through the interface
2. **Edit Existing Content**
- Select any entry from the collection list
- Make changes in the visual editor
- See live preview of your content
3. **Rich Media Embeds** (Blog posts only)
- Click the "+" button in the content editor
- Select from available components: Spotify, YouTube, Twitter
- Paste the URL and Keystatic handles the rest
> **⚠️ Important:** Media components (Spotify, YouTube, Twitter) are only available in blog posts. Files must use the `.mdoc` extension (not `.md`). To extend components to other collections, see the technical guide in [CLAUDE.md](CLAUDE.md).
4. **Save Changes**
- All changes are saved as file edits in `src/content/`
- Changes are automatically detected by Astro's dev server
- Commit and push your changes like any other code
#### Deployment Modes
**Local Mode (Current Setup)**
- Content stored in `src/content/` directory
- Changes saved as file system edits
- Perfect for personal portfolios and single-user sites
**GitHub/Cloud Mode** (Future upgrade)
- Content synced with GitHub repository
- Enable collaboration with non-technical users
- Manage content from anywhere via hosted admin panel
- See [Keystatic Cloud documentation](https://keystatic.com/docs/cloud) for setup
### Option 2: Direct File Editing
If you prefer working directly with files, all content is stored in `src/content/` as Markdown, YAML, or Markdoc files.
#### Blog Posts
Create a new file in `src/content/blog/`:
```markdown
---
title: "Your Post Title"
description: "Brief description for SEO"
image: "./featured-image.png"
published: true
publishDate: "2024-01-25"
tags: ["Tag1", "Tag2"]
---
Your content here...
```
Set `published: false` to keep the article as a draft. Drafts remain editable in Keystatic but are excluded from the homepage, the Blog page, and direct public access.
**File Extensions:**
- `.md` - Standard Markdown for regular blog posts
- `.mdoc` - Markdoc with component support (required for media embeds)
**Rich Media Embeds** (`.mdoc` files only):
> **Note:** Media components only work in blog collection currently.
```markdown
# Spotify Embed
{% Spotify url="https://open.spotify.com/track/..." /%}
# YouTube Video
{% YouTube url="https://youtube.com/watch?v=..." /%}
# Twitter/X Post
{% Twitter url="https://x.com/username/status/..." /%}
```
#### Projects
Create a new file in `src/content/projects/`:
```markdown
---
featured: true # Show on homepage (max 3 featured projects)
category: real-projects # Category slug (managed in Project Categories)
title: "Project Name"
description: "Brief description"
image: "./screenshot.png"
startDate: "2023-01-15"
endDate: "2023-06-30" # Optional (omit for ongoing)
skills: ["React", "Node.js", "MongoDB"]
demoLink: "https://demo.example.com" # Optional
sourceLink: "https://github.com/..." # Optional
---
Detailed project description...
```
Set `featured: true` to display the project on the homepage. Up to 3 featured projects are shown, sorted by most recent. The `category` field references a slug from the **Project Categories** collection.
#### Work Experience
Create a new file in `src/content/work/`:
```markdown
---
title: "Company Name"
subtitle: "Job Title"
location: "City, Country" # Optional
startDate: "2020-01-15"
endDate: "2023-06-30" # Optional (omit for current position)
logo: "https://company-logo-url.com" # Optional
link: "https://company-website.com" # Optional
skills: ["React", "TypeScript", "Node.js"] # Optional
---
Job description and achievements...
```
The timeline displays duration automatically and skills are shown in modal dialogs.
#### Education
Create a new file in `src/content/education/`:
```markdown
---
title: "Institution Name"
subtitle: "Degree/Course"
startDate: "2015-09-01"
endDate: "2019-06-30" # Optional
logo: "https://institution-logo-url.com" # Optional
link: "https://institution.edu" # Optional
---
Educational details and achievements...
```
#### Hackathons
Create a new file in `src/content/hackathons/`:
```markdown
---
title: "Hackathon Name"
location: "City, State or Virtual"
description: "Brief hackathon summary"
startDate: "2023-11-23"
endDate: "2023-11-25" # Optional
logo: "https://hackathon-logo-url.com" # Optional
sourceLink: "https://github.com/..." # Optional
---
Detailed information about the hackathon and your project...
```
#### Singletons (Hero & About)
**Hero** (`src/content/hero/index.yaml`):
```yaml
name: Your Name
title: "Your Title with [link:https://example.com]a link[/link]"
description: Brief description of your portfolio
avatar: "./avatar.png"
location: 🌍 Your Location
socialLinks:
- url: https://github.com/username
icon: GitHub
label: GitHub
# ... other social links
```
**About** (`src/content/about/index.md`):
```markdown
---
title: "About Me"
photo: "./photo.png"
link: "https://linkedin.com/in/username" # Optional - used for "More Work Experience" button
---
Your about content with **Markdown** formatting...
```
### Content Tips
**Image Paths:**
- Use relative paths like `"./image.png"` for local images
- Images are automatically optimized by Astro
- Supported formats: PNG, JPG, WEBP, AVIF, SVG
**Dates:**
- Format: `YYYY-MM-DD` (e.g., "2024-01-15")
- Leave `endDate` empty for ongoing positions/projects
**Skills/Tags:**
- Arrays of strings: `["React", "TypeScript", "Node.js"]`
- Display as badges in the UI
### Resources
- **[Keystatic Documentation](https://keystatic.com/docs)** - Complete CMS guide
- **[Keystatic Content Components](https://keystatic.com/docs/content-components)** - Creating custom components
- **[Astro Content Collections](https://docs.astro.build/en/guides/content-collections/)** - Type-safe content schemas
- **[Markdoc Syntax](https://markdoc.dev/docs/syntax)** - Enhanced Markdown format
### Setting Up GitHub Mode (Optional)
For remote content editing from anywhere, you can enable Keystatic's GitHub mode:
#### Prerequisites
- GitHub account
- Repository hosted on GitHub
#### Steps
1. **Create GitHub OAuth App**
Visit [GitHub Developer Settings](https://github.com/settings/apps) and create a new Github App:
- **Application name:** Bloomfolio Keystatic
- **Homepage URL:** `http://localhost:4321` (for local development)
- **Authorization callback URL:** `http://localhost:4321/api/keystatic/github/oauth/callback`
For production, use your deployed URL instead.
2. **Set Environment Variables**
Copy `.env.example` to `.env`:
```bash
cp .env.example .env
```
Fill in your values:
```bash
KEYSTATIC_GITHUB_CLIENT_ID=your_client_id_here
KEYSTATIC_GITHUB_CLIENT_SECRET=your_client_secret_here
KEYSTATIC_SECRET=$(openssl rand -base64 32)
PUBLIC_KEYSTATIC_REPO_OWNER=your-github-username
PUBLIC_KEYSTATIC_REPO_NAME=bloomfolio
PUBLIC_KEYSTATIC_GITHUB_APP_SLUG=your-github-app-slug
```
3. **Restart Development Server**
```bash
npm run dev
```
4. **Access Keystatic**
Navigate to `http://localhost:4321/keystatic` and sign in with GitHub.
#### Production Setup
For production deployment (Vercel, Netlify, etc.):
1. Add all environment variables to your hosting platform's environment settings
2. Update OAuth App callback URL to your production domain
3. Set `PUBLIC_KEYSTATIC_GITHUB_APP_SLUG` (optional, for GitHub App mode)
**Learn more:** [Keystatic GitHub Mode Documentation](https://keystatic.com/docs/github-mode)
#### Switching Between Modes
- **GitHub Mode:** Set environment variables (content synced with GitHub)
- **Local Mode:** Remove/unset environment variables (content stored locally)
The configuration automatically detects which mode to use based on environment variables.
## 🎨 Customization
### Changing Themes
Edit theme settings via Keystatic CMS at `/keystatic` or directly in `src/content/general/index.yaml`:
```yaml
enableThemeSelector: true # Dropdown with 6 themes (false = simple toggle)
```
To change available themes, edit `src/styles/global.css`:
```css
@plugin "daisyui" {
themes: light --default, dark --prefersdark, synthwave, retro, valentine, dim;
}
```
### Adding Custom Styles
Add custom CSS in component `<style>` tags or extend `src/styles/global.css`:
```css
@import "tailwindcss";
@plugin "@tailwindcss/typography";
@plugin "daisyui" { ... };
/* Your custom styles here */
```
### Creating New Sections
1. Create a new component in `src/components/`
2. Import and add to `src/pages/index.astro`
3. Add a visibility toggle in `keystatic.config.ts` (general singleton)
4. Update `src/content.config.ts` schema to match
## 🚀 Deployment
### Build for Production
```bash
npm run build
```
Output is generated in `dist/` directory.
### Deploy to Vercel
[](https://vercel.com/new/clone?repository-url=https://github.com/lauroguedes/bloomfolio)
1. Connect your GitHub repository
2. Vercel auto-detects Astro
3. Deploy!
### Other Platforms
Bloomfolio uses `output: "server"` with `@astrojs/vercel` because Keystatic needs on-demand routes. To deploy elsewhere, install that platform's Astro 7-compatible adapter, replace the Vercel adapter in `astro.config.mjs`, and follow the platform's server-rendered deployment instructions.
## 🛠️ Tech Stack
- **[Astro 7](https://astro.build)** - Server-rendered web framework with component islands
- **[Tailwind CSS 4](https://tailwindcss.com)** - Utility-first CSS framework
- **[Tailwind Typography](https://tailwindcss.com/docs/typography-plugin)** - Beautiful prose styling
- **[DaisyUI 5](https://daisyui.com)** - Component library for Tailwind
- **[TypeScript](https://www.typescriptlang.org/)** - Type safety
- **[Markdoc](https://markdoc.dev/)** - Enhanced Markdown with components
- **[Keystatic](https://keystatic.com)** - Git-based CMS with Astro 7 support
- **[Lucide Icons](https://lucide.dev/)** - Icon library
## 📚 Documentation
- **[Complete Guide](https://bloomfolio-astro.vercel.app/blog/guides/bloomfolio-complete-guide-building-your-portfolio)** - Comprehensive setup and customization guide
- **[Content Collections Guide](https://bloomfolio-astro.vercel.app/blog/guides/content-collections-guide)** - Learn about Astro Content Collections
- **[Markdown Guide](https://bloomfolio-astro.vercel.app/blog/guides/markdown-guide)** - Master Markdown and Markdoc syntax
- **[Astro Docs](https://docs.astro.build)** - Official Astro documentation
- **[Tailwind CSS Docs](https://tailwindcss.com/docs)** - Tailwind CSS documentation
- **[DaisyUI Docs](https://daisyui.com/docs)** - DaisyUI component documentation
## 🤝 Contributing
Contributions are welcome! Please feel free to submit a Pull Request.
1. Fork the repository
2. Create your feature branch (`git checkout -b feature/AmazingFeature`)
3. Commit your changes (`git commit -m 'Add some AmazingFeature'`)
4. Push to the branch (`git push origin feature/AmazingFeature`)
5. Open a Pull Request
## 📄 License
This project is licensed under the MIT License - see the [LICENSE](LICENSE) file for details.
## 🙏 Acknowledgments
- Built with [Astro](https://astro.build)
- Styled with [Tailwind CSS](https://tailwindcss.com) and [DaisyUI](https://daisyui.com)
- Icons from [Lucide](https://lucide.dev)
- Inspired by modern portfolio designs and the developer community
## 💬 Support
- 📖 [Documentation](https://bloomfolio-astro.vercel.app/blog/guides/bloomfolio-complete-guide)
- 🐛 [Report Issues](https://github.com/lauroguedes/bloomfolio/issues)
- 💬 [Discussions](https://github.com/lauroguedes/bloomfolio/discussions)
---
Please if you find this project helpful, consider giving it a ⭐ on GitHub!
Crafted by an Artisan ⛏️ [Lauro Guedes](https://lauroguedes.dev)
看看同类模板
对比同技术栈与用途的模板,找到更适合的视觉与内容结构。
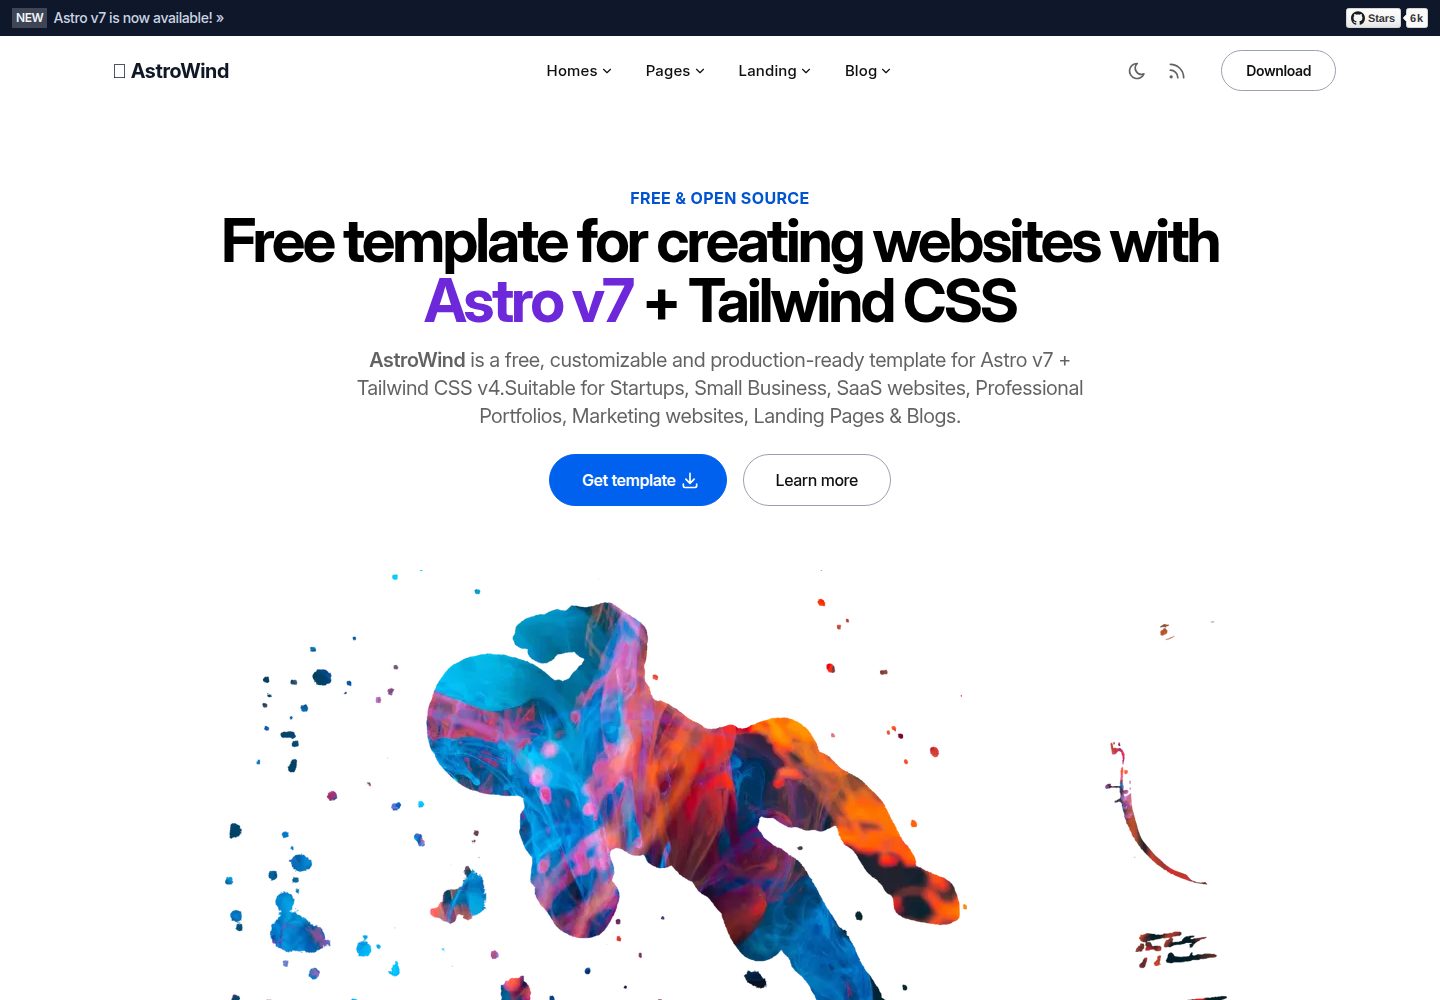
astrowind
⭕️ AstroWind: A free template using Astro v7 and Tailwind CSS v4. Astro starter theme.
Astro · 博客
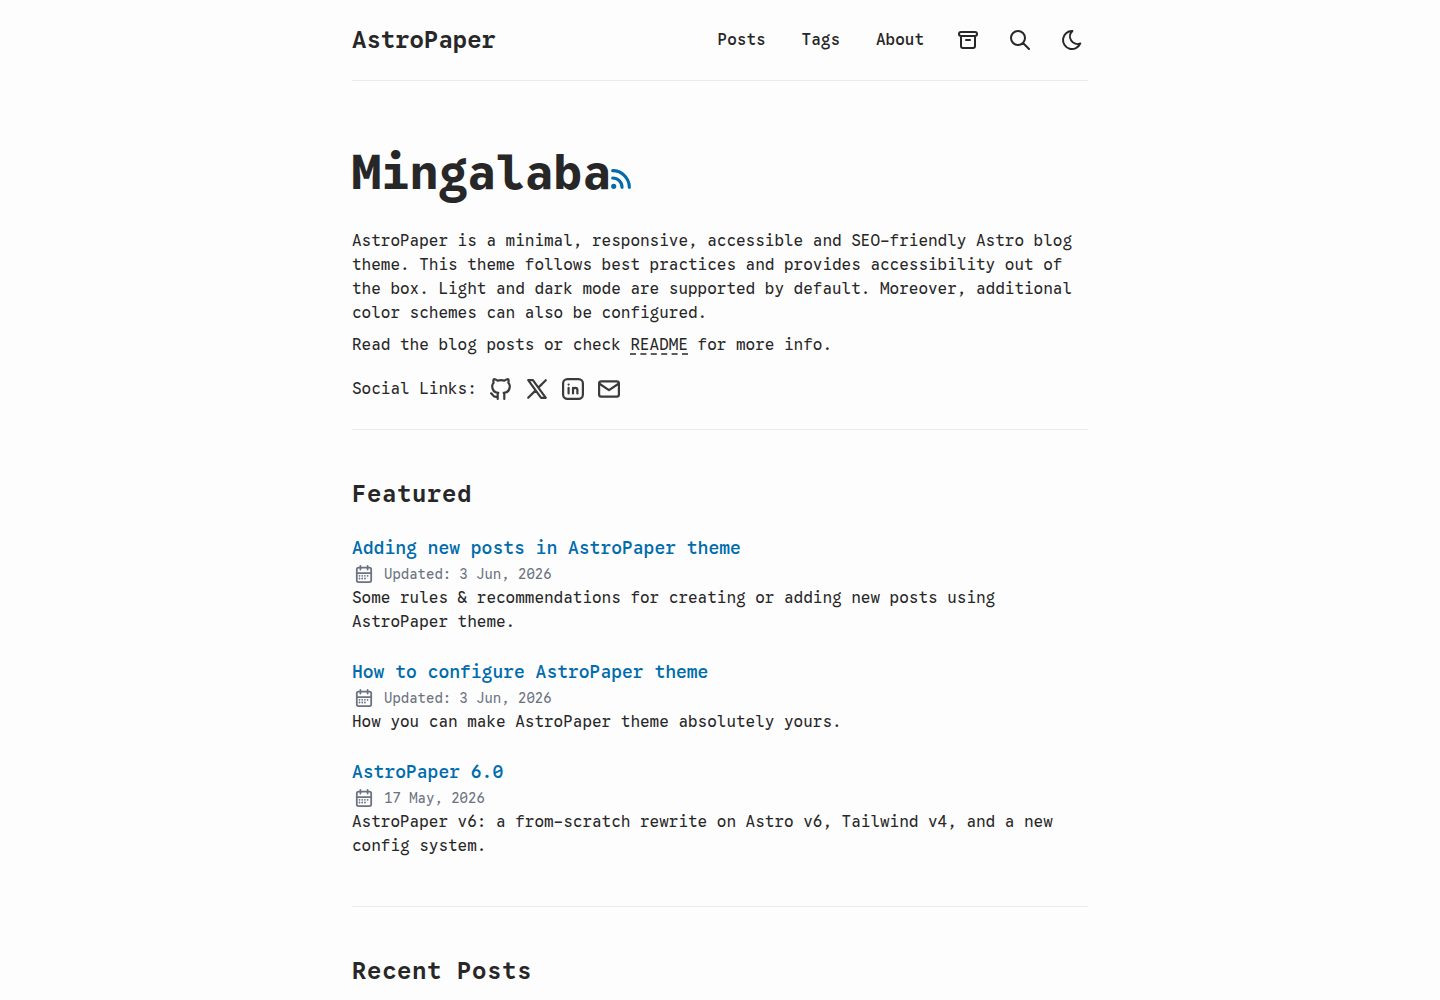
astro-paper
A minimal, accessible and SEO-friendly Astro blog theme.
Astro · 博客
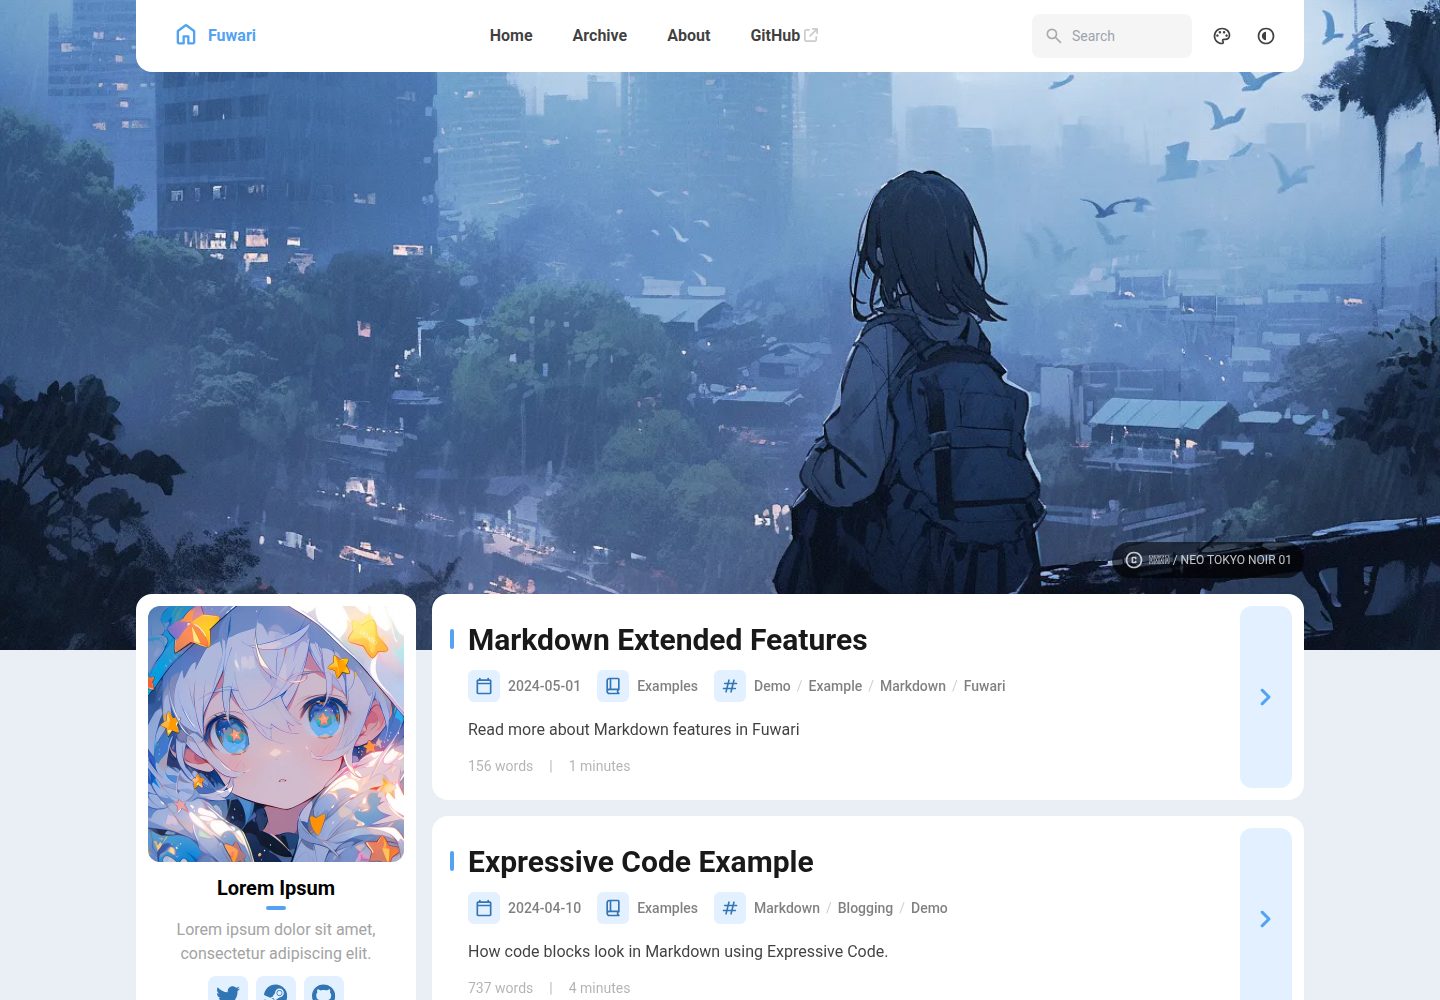
fuwari
✨A static blog template built with Astro.
Astro · 博客
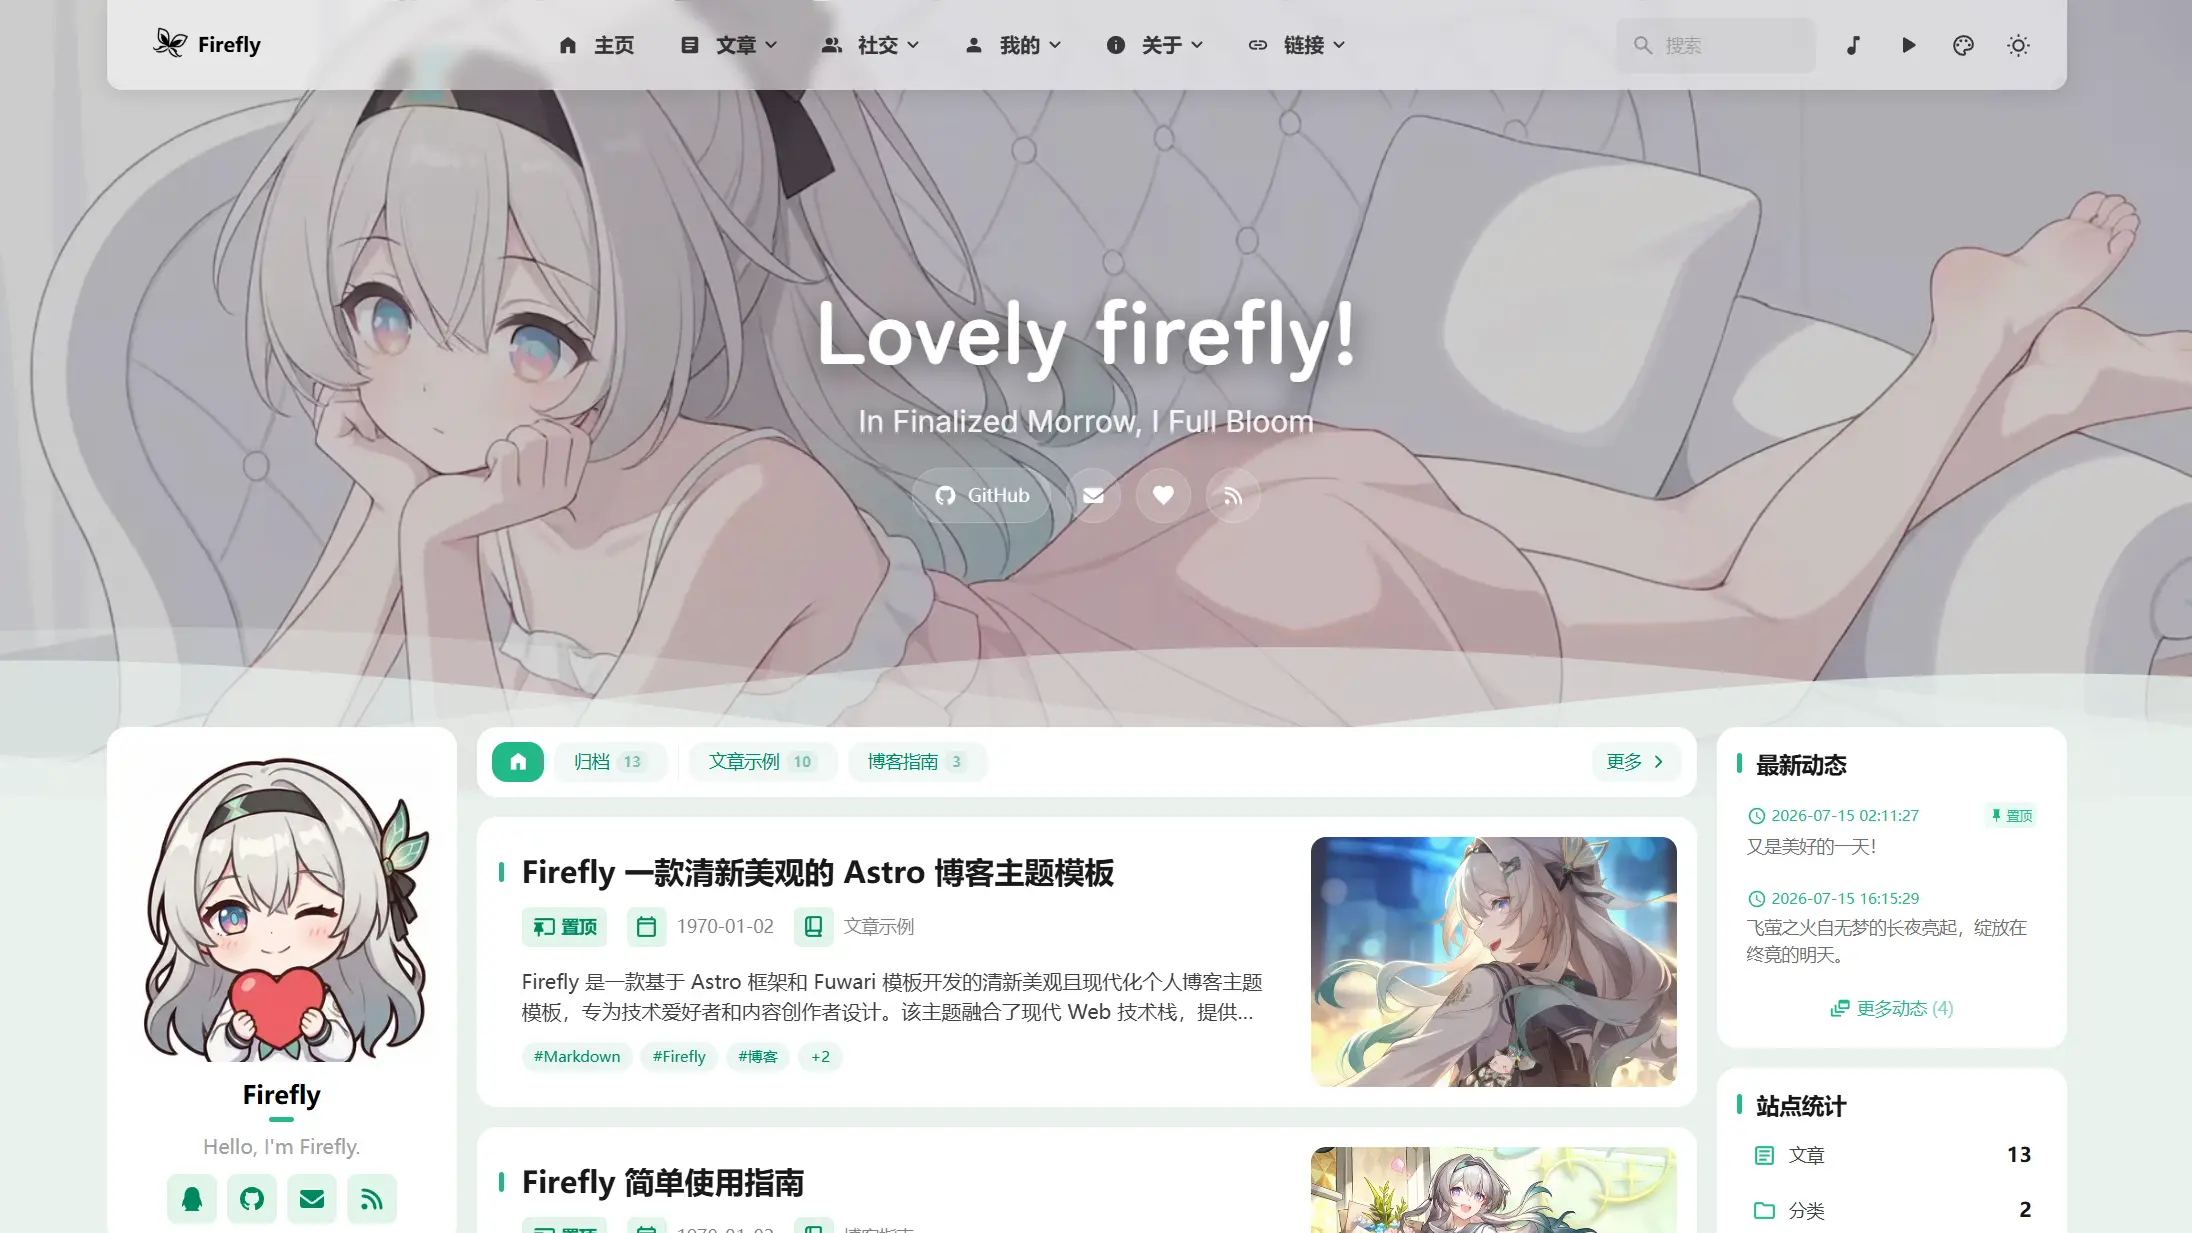
Firefly
Firefly 是一款基于 Astro 的静态博客主题,由 CuteLeaf 在 saicaca 的 Fuwari 模板基础上二次开发,主打清新美观的视觉风格。
Astro · 博客
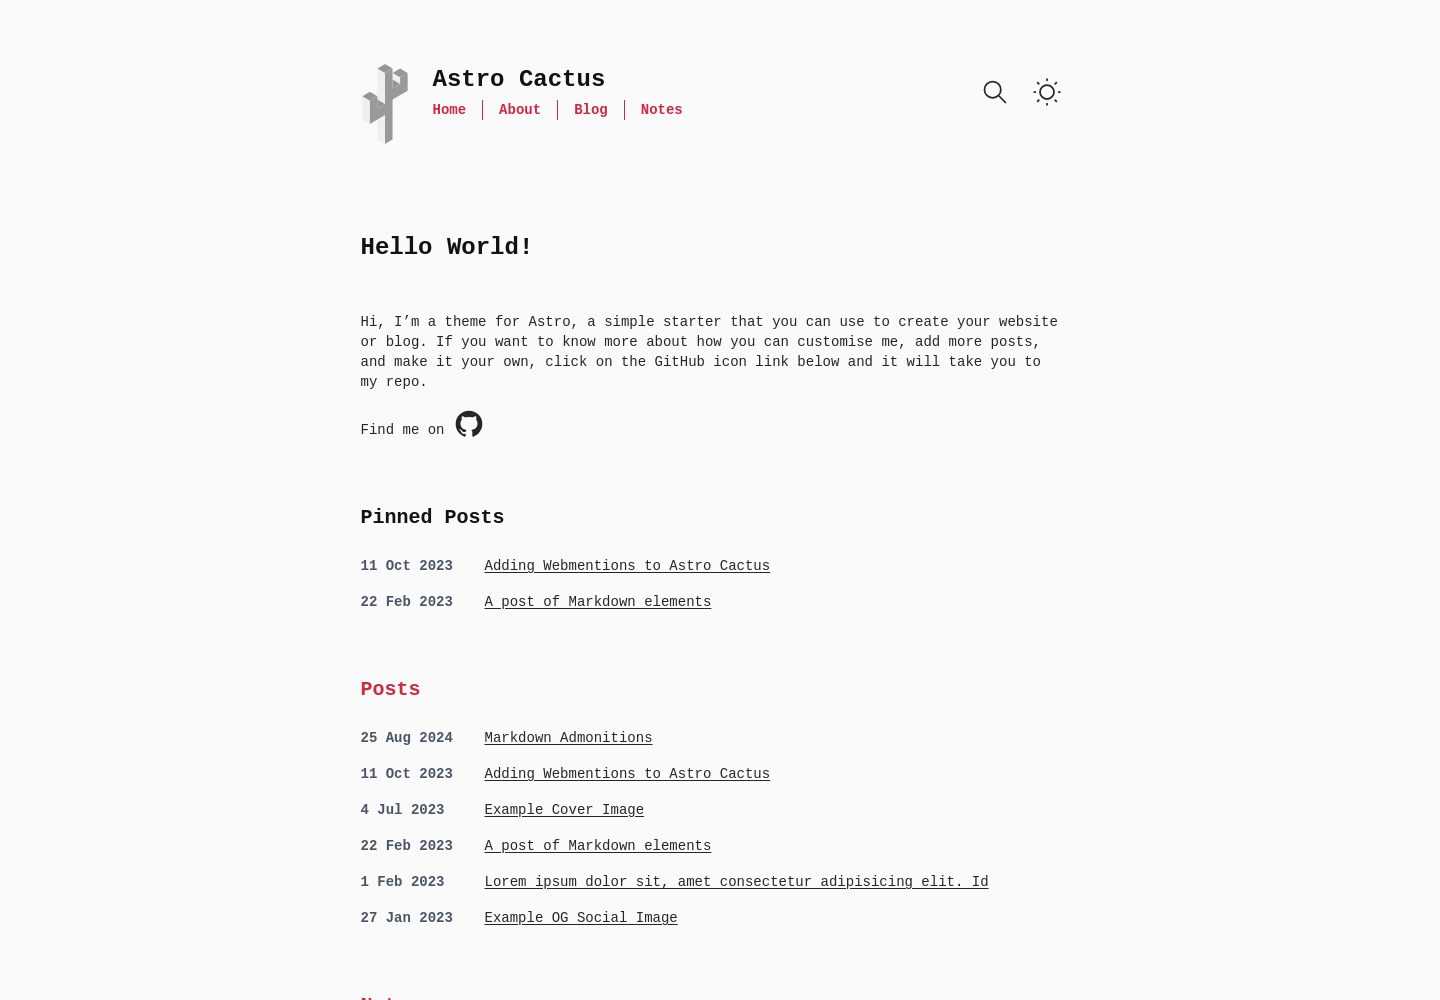
astro-theme-cactus
A simple Astro theme. Use it to create your blog or website.
Astro · 作品集
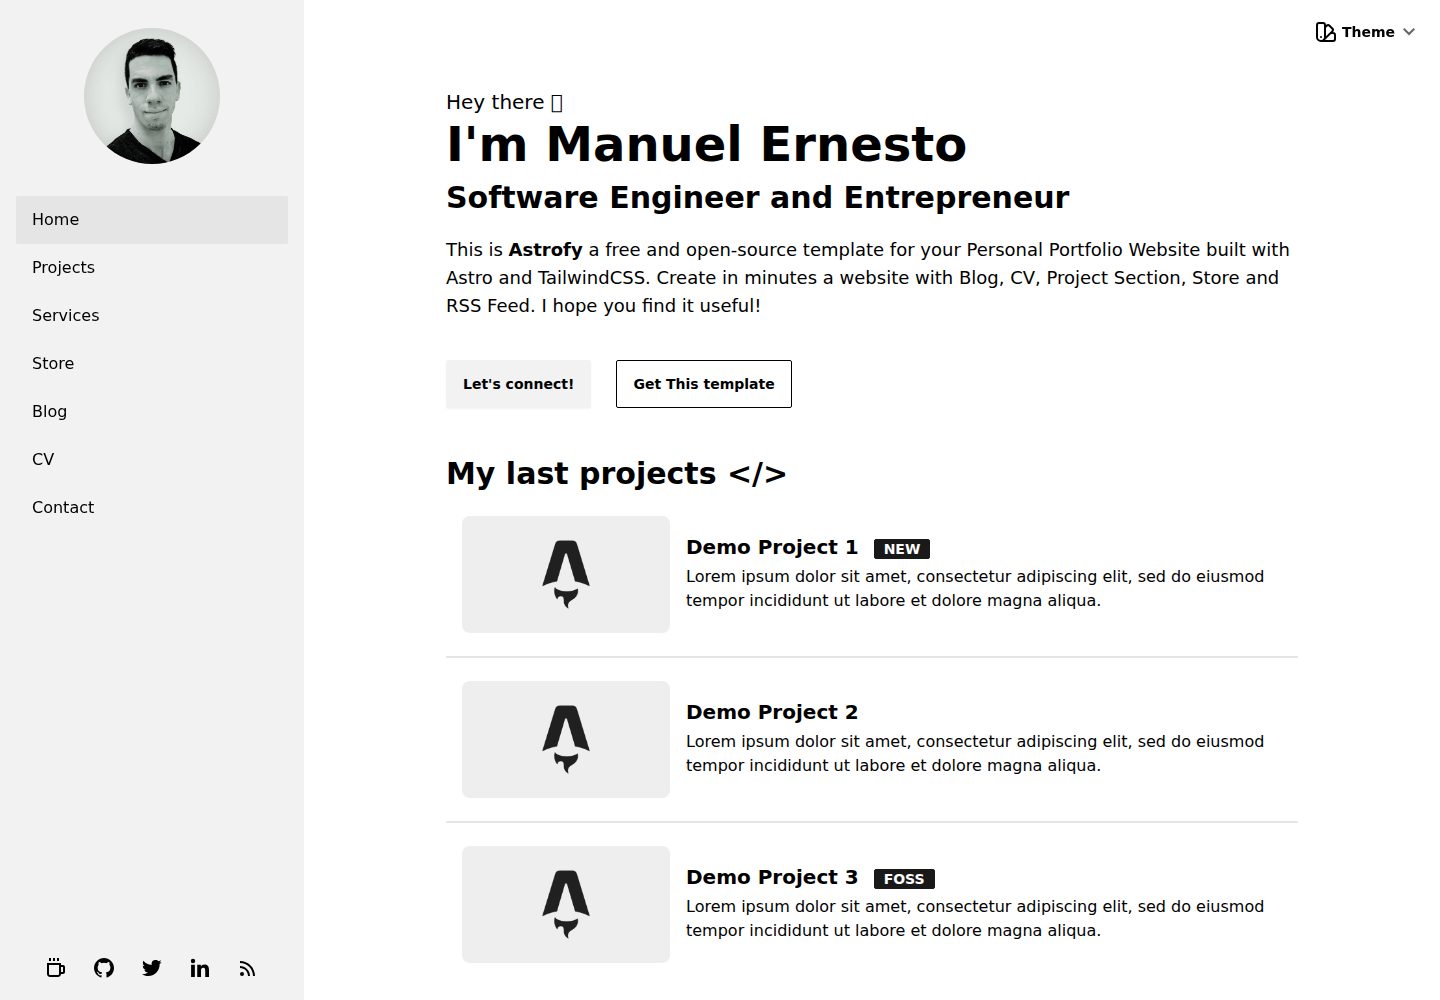
astrofy
Astrofy is a free and open-source template for your Personal Portfolio Website built with Astro and TailwindCS…
Astro · 作品集