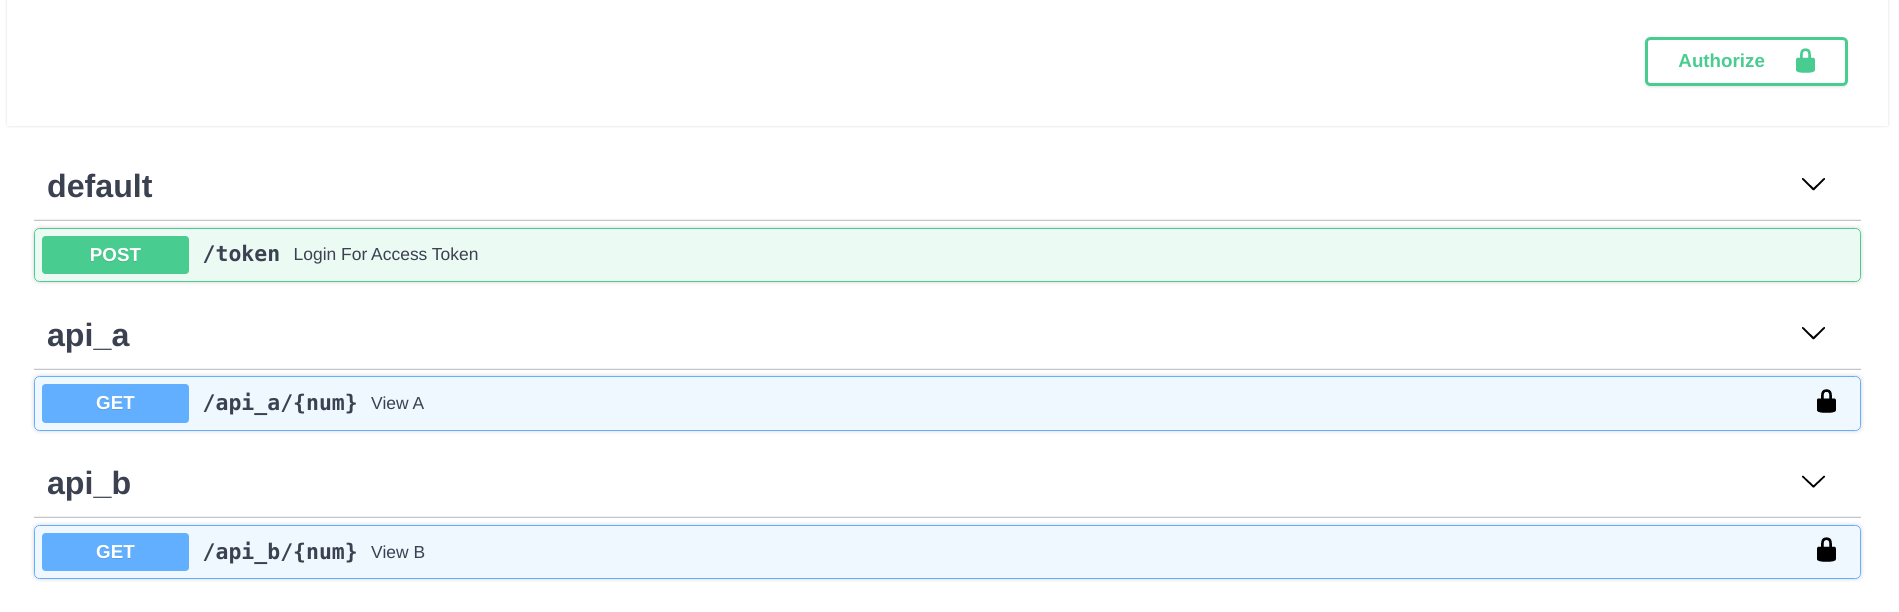
采用 Flask 蓝图式的分区目录结构,把各 API 逻辑拆成独立包后在 routes 中统一暴露
Flask目录站
fastapi-nano — Flask 目录站模板
作者 rednafi
rednafi/fastapi-nano 是一个采用 Flask 蓝图式目录结构的 FastAPI 后端模板,包含 OAuth2 认证、Caddy 反向代理与容器化配置。
看看你的网站会是什么样
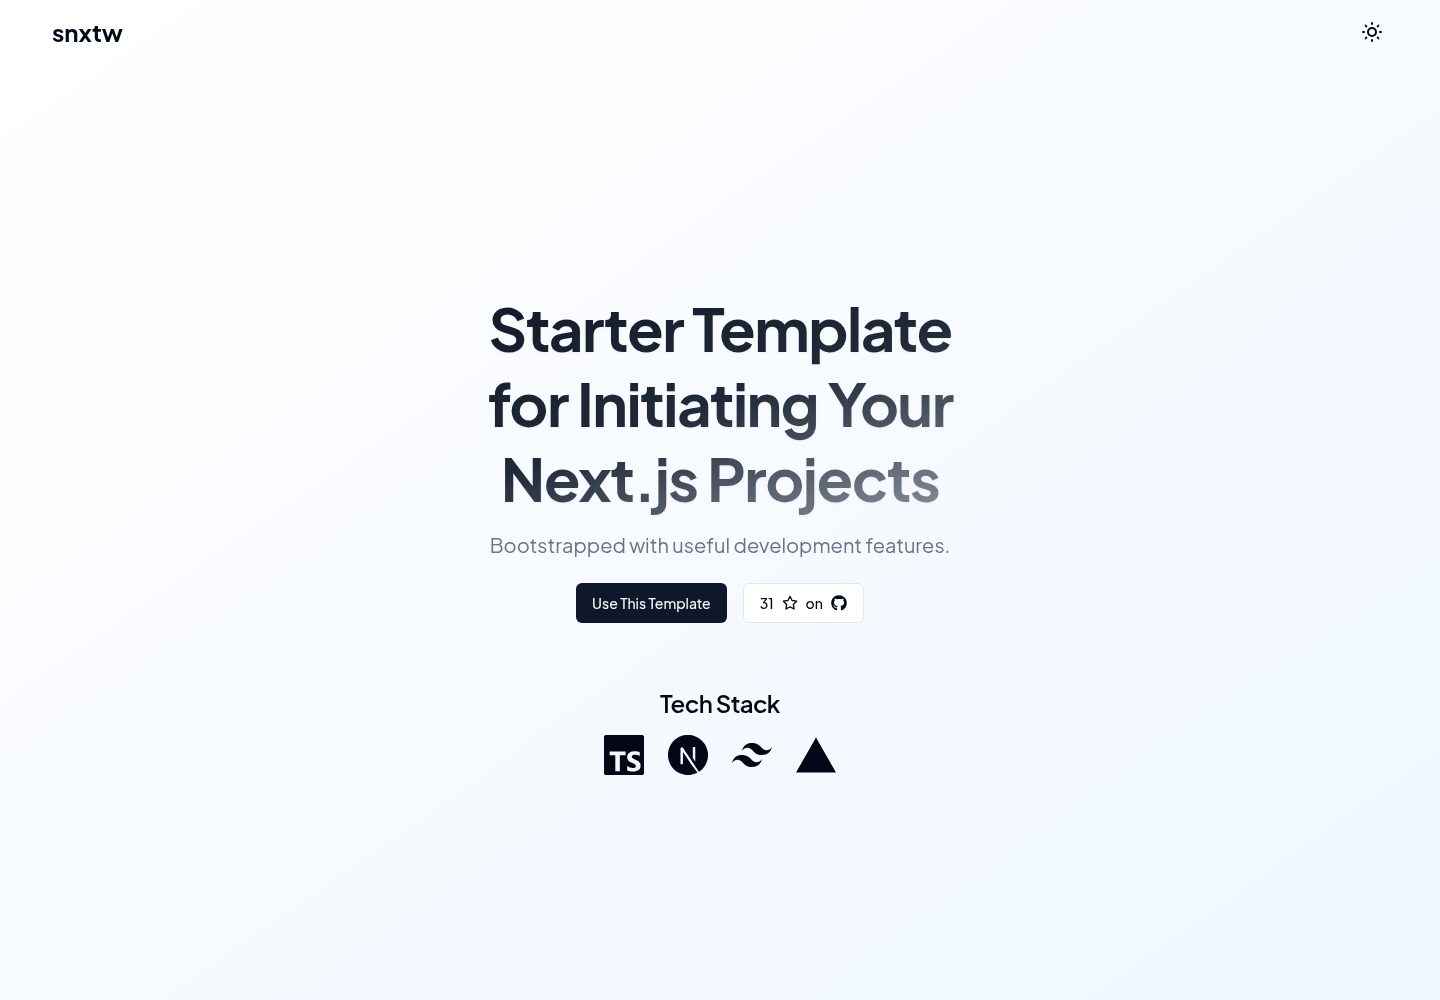
浏览真实页面截图,比较内容排版与手机效果。点击下方缩略图切换,放大查看整页细节。
目前有 1 张原始预览,可打开完整图片查看设计细节。
截图用于了解视觉与布局,交互效果请以实际项目为准。
采集于 2026-10-01查看来源
值得关注的模板亮点
从已有项目资料中,快速了解它的特点。
内置 OAuth2 密码模式认证,密码使用 Argon2 哈希,令牌为 Bearer JWT
提供 api_a 与 api_b 两个示例 API,演示多 API 逻辑解耦与端点组装
本地用 fastapi dev 启动,容器用 docker-compose 配合 Caddy 反向代理运行
使用 uv 管理依赖、Pydantic Settings 读取带类型的环境配置,并附带 pytest 测试与 ruff、mypy 检查
多阶段 Dockerfile 默认基于 python:3.14-slim,dockerfiles 目录另提供 3.13 版本
模板详细介绍
fastapi-nano 是一个 FastAPI 后端项目模板,核心特点是模仿 Flask 蓝图的分区目录结构,把不同 API 的逻辑拆成独立包,再在 routes 目录中统一暴露端点。模板自带两个示例 API(api_a 与 api_b),逻辑相同:接收一个整数,返回该整数作为 seed 以及两个介于 0 与该整数之间的随机整数,用于演示如何解耦多个 API 的逻辑并集中组装路由。
认证方面,模板使用 OAuth2 密码模式,密码通过 pwdlib 以 Argon2 哈希处理,令牌为 Bearer JWT(PyJWT),并启用了 CORS。配置使用 Pydantic Settings 做带类型的读取,依赖管理使用 uv,测试使用 pytest,代码检查使用 ruff 与 mypy。运行方式有两种:本地通过 FastAPI CLI 的 fastapi dev 启动(底层为 Uvicorn),默认地址为 http://localhost:5002;容器方式通过 docker-compose 启动,并在前面加一层 Caddy 反向代理。Dockerfile 为多阶段构建,默认基于 python:3.14-slim,dockerfiles 目录中同时提供 3.13 的版本,模板声明支持 Python 3.14 与 3.13。
目录结构上,svc 是主服务目录,apis 下放置各个 API 包,core 存放认证、配置与日志,routes/views.py 定义端点,tests 存放集成与单元测试;根目录包含 .env、Caddyfile、docker-compose.yml、pyproject.toml 与 uv.lock。示例凭据为用户名 ubuntu、密码 debian,交互式文档位于 /docs。
作为模板,它提供的是结构与示例逻辑,而非完整业务实现:示例 API 只做随机数演示,认证用户与密钥等需要替换,生产部署时还需按实际需求调整 Caddyfile 中的反向代理规则。
Flask目录站
适合你的项目吗?
适用场景
- 需要一个结构清晰、可直接改写的 FastAPI 后端起步项目
- 希望按 Flask 蓝图习惯组织多个 API 包与路由
- 需要在模板中直接获得 OAuth2 + JWT 的认证实现参考
- 想用 Docker 与 Caddy 搭建带反向代理的本地或部署环境
- 需要带 pytest 测试、ruff 与 mypy 检查的 Python 项目骨架
适合人群
- 熟悉 Flask 目录组织方式、想迁移到 FastAPI 的后端开发者
- 需要小型到中型后端项目结构参考的 Python 开发者
- 希望以容器方式运行并前置反向代理的团队
- 需要 OAuth2 与 JWT 认证示例代码的学习者
上手与定制指南
结合仓库当前版本的说明,按下面的资料检查内容、配置与运行要求。
- 1
本地运行需先安装 uv,然后执行 make run-local,服务默认监听 http://localhost:5002
- 2
容器运行需先安装 Docker,然后在项目根目录执行 make run-container
- 3
交互式文档位于 http://localhost:5002/docs,示例登录用户名为 ubuntu、密码为 debian
- 4
测试、检查与依赖更新分别使用 make test、make lint、make dep-update,停止容器使用 make kill-container
- 5
示例 API 与凭据仅用于演示,接入实际业务时需替换,并在部署时调整 Caddyfile 的反向代理规则
授权与来源资料
使用条件与限制
免费使用 · 保留许可声明本次收录的是公开仓库中采用 MIT 许可的免费版本;免费范围为该版本代码,不代表外部服务或第三方素材免费。
使用时需要遵守
- 允许免费使用、修改、商用和分发该版本代码。
- 分发代码副本或实质性部分时,保留原作者版权声明和完整 MIT 许可声明。
- 代码按现状提供;担保与责任限制以原许可证及适用法律为准。
额外费用与待核对事项
- 模板内置的示例登录凭据为用户名 ubuntu、密码 debian,仅用于演示,接入实际业务时必须替换。
- 生产部署时需自行调整 Caddyfile 中的反向代理规则,模板默认配置不保证可直接用于生产环境。
- 模板仅提供结构与示例逻辑,实际业务 API 需按 api_a/api_b 的形式自行编写。
- 演示图片、字体、图标及其他第三方素材需按各自许可核对,不能仅凭代码的 MIT 许可判断。
- 域名、托管、数据库、支付或 AI 等外部服务可能另外收费。
查看原文依据
Permission is hereby granted, free of charge
许可证原文
the username and password are `ubuntu` and `debian` respectively
README 原文
During prod deployment, you might need to fiddle with the reverse-proxy rules in the Caddyfile.
README 原文
https://github.com/rednafi/fastapi-nano/blob/master/LICENSEhttps://github.com/rednafi/fastapi-nano/blob/master/README.mdYou can put your own API logic following the shape of `api_a` and `api_b` packages.
README 原文
DeepSeek 根据仓库许可证和 README 整理 ·2026-10-01。结果仅覆盖已读取资料,依赖、图片、字体及后续条款变更以各自原文为准。
项目核对记录与介绍依据
模板资料
- 来源平台
- GitHub
- 资料与维护参考分
- 资料较完整 · 83 / 100
- 技术栈
- Flask
- 网站类型
- 目录站
这个分数如何计算
本站按许可资料(最高30分)、演示链接(12分)、预览图(10分)、Star数(15分)、记录的维护时间(15分)、描述完整度(8分)、功能记录(5分)和分类资料(5分)计算。它不是代码、安全或性能测试,也不是 Google 评分;有链接不代表已实测可用。
这个项目需要核对什么
- 记录的仓库更新时间
- 2026-09-28
- 截图检查日期
- 2026-10-01
目前没有记录演示链接。请依据仓库说明在本地评估;仅凭截图无法确认交互行为。
目录记录的主要技术栈是 Flask。请通过依赖清单和锁文件核对实际版本与托管要求。这些说明基于收录资料,不代表代码审计或部署实测。
查看具体选型方法 →介绍的制作与核对状态
介绍由 AI 辅助整理目录与仓库资料。仓库作者不等于这篇介绍的审核者。
已完成服务器许可规则与 AI 来源核对;未经过人工编辑审核。
查看当时使用的来源资料
SHA-256: 2197ab53c06d36d077ebb179404b6633cd954a661296b3be40d035699979e55d
2026-10-01T02:42:39.386Z
来源文件 / 仓库<div align="center">

[](https://github.com/mjhea0/awesome-fastapi#boilerplate)
[](https://github.com/rednafi/fastapi-nano/blob/master/LICENSE)
</div>
## Description
This is a simple [FastAPI][fastapi] template that follows Flask's [blueprint][blueprint]
directory structure.
## Features
- Uses [FastAPI][fastapi] to build the HTTP API endpoints.
- Served with the [FastAPI CLI][fastapi_cli] using `fastapi dev` locally and
`fastapi run` in the container, both running [Uvicorn][uvicorn] under the hood.
- Simple reverse-proxying with [Caddy][caddy].
- OAuth2 authentication with [Argon2][argon2] password hashing via [pwdlib][pwdlib]
and Bearer JWT tokens via [PyJWT][pyjwt].
- [CORS (Cross Origin Resource Sharing)][cors] enabled.
- Flask inspired divisional directory structure, suitable for small to medium backend
development.
- Uses [FastAPI standard dependencies][fastapi_standard] and [uv][uv] for dependency
management.
- Uses [Pydantic Settings][pydantic_settings] for typed environment configuration.
- Supports Python 3.14 and 3.13.
- Dockerized with multi-stage Dockerfiles based on **python:3.14-slim** by default.
Dockerfiles for Python 3.14 and 3.13 can be found in the `dockerfiles` directory.
## Quickstart
### Run in containers
- Clone the repo and navigate to the root folder.
- To run the app using Docker, make sure you've got [Docker][docker] installed on your
system. From the project's root directory, run:
```sh
make run-container
```
### Or, run locally
If you want to run the app locally, without using Docker, then:
- Clone the repo and navigate to the root folder.
- Install [uv][uv] for dependency management.
- Start the app. Run:
```sh
make run-local
```
This will use [uv][uv] and `.python-version` to create or sync a `.venv` with
Python 3.14 when needed, install dependencies, and start the FastAPI development
server on `http://localhost:5002`.
### Explore the endpoints
- To play around with the APIs, go to the following link on your browser:
```sh
http://localhost:5002/docs
```
This will take you to an UI like below:
![Screenshot from 2020-06-21 22-15-18][screenshot_1]
- Press the `authorize` button on the right and add _username_ and _password_. The APIs
use OAuth2 with Argon2 password hashing and Bearer JWT authentication. In this case,
the username and password are `ubuntu` and `debian` respectively.
![Screenshot from 2020-06-21 22-18-25][screenshot_2]
Clicking the `authorize` button will bring up a screen like this:
![Screenshot from 2020-06-21 22-18-59][screenshot_3]
- Then select any of the `api_a` or `api_b` APIs, put an integer in the number box,
and click the `Execute` button.
![Screenshot from 2020-06-21 22-31-19][screenshot_4]
- Hitting the API should give a json response with random integers.
![Screenshot from 2020-06-21 22-32-28][screenshot_5]
- Also, notice the `curl` section in the above screen shot. You can directly use the
highlighted curl command in your terminal. Make sure you've got `jq` installed in your
system.
```sh
curl -X GET "http://localhost:5002/api_a/22" \
-H "accept: application/json" \
-H "Authorization: Bearer $(curl -X POST "http://localhost:5002/token" \
-H "accept: application/x-www-form-urlencoded" \
-d "username=ubuntu&password=debian" | jq -r ".access_token")"
```
This should show a response like this. The random values will vary.
```json
{
"seed": 22,
"random_first": 5,
"random_second": 13
}
```
### Housekeeping
- Run tests with `make test` (uses [pytest][pytest]).
- Lint with [ruff] and check types with [mypy] using `make lint`.
- Update dependencies with `make dep-update`.
- Stop containers with `make kill-container`.
## Directory structure
This shows the folder structure of the default template.
```txt
fastapi-nano
├── svc # primary service folder
│ ├── apis # this houses all the API packages
│ │ ├── api_a # api_a package
│ │ │ ├── __init__.py # empty init file to make the api_a folder a package
│ │ │ ├── mainmod.py # main module of api_a package
│ │ │ └── submod.py # submodule of api_a package
│ │ └── api_b # api_b package
│ │ ├── __init__.py # empty init file to make the api_b folder a package
│ │ ├── mainmod.py # main module of api_b package
│ │ └── submod.py # submodule of api_b package
│ ├── core # this is where the configs live
│ │ ├── auth.py # authentication with OAuth2
│ │ ├── config.py # typed environment settings
│ │ ├── logger.py # logging configuration
│ │ └── __init__.py # empty init file to make the core folder a package
│ ├── __init__.py # configures logging when the svc package is imported
│ ├── main.py # main file where the FastAPI() class is called
│ ├── routes # this is where all the routes live
│ │ └── views.py # file containing the endpoints for api_a and api_b
│ └── tests # test package
│ ├── __init__.py # empty init file to make the tests folder a package
│ ├── test_apis.py # integration testing the API responses
│ ├── test_logger.py # unit testing logger configuration
│ └── test_functions.py # unit testing the underlying functions
├── dockerfiles # Dockerfiles for supported Python versions
├── .env # env file containing app variables and Docker Python target
├── Caddyfile # simple reverse-proxy with caddy
├── docker-compose.yml # docker-compose file
├── pyproject.toml # pep-518 compliant config file
└── uv.lock # pinned app and dev dependencies
```
In the above structure, `api_a` and `api_b` are the main packages where the code of the APIs
live and they are exposed by the endpoints defined in the `routes` folder. Here, `api_a` and
`api_b` have identical logic. These are dummy APIs that take an integer as input and return
two random integers between zero and the input value. The purpose of including two identical
APIs in the template is to demonstrate how you can decouple the logics of multiple APIs and
then assemble their endpoints in the routes directory. The following snippets show the logic
behind the dummy APIs.
This is a dummy submodule that houses a function called `rand_gen` which generates a
dictionary of random integers.
```python
# This is a dummy module.
# This gets called in mainmod.py.
from __future__ import annotations
import random
def rand_gen(num: int) -> dict[str, int]:
num = int(num)
d = {
"seed": num,
"random_first": random.randint(0, num),
"random_second": random.randint(0, num),
}
return d
```
The `main_func` in the primary module calls the `rand_gen` function from the submodule.
```python
from __future__ import annotations
from .submod import rand_gen
def main_func(num: int) -> dict[str, int]:
d = rand_gen(num)
return d
```
The endpoint is exposed like this:
```python
router = APIRouter()
logger = logging.getLogger(__name__)
CurrentUser = Annotated[UserInDB, Depends(get_current_user)]
# endpoint for api_a (api_b looks similar)
@router.get("/api_a/{num}", tags=["api_a"])
async def view_a(
num: int,
_auth: CurrentUser,
) -> dict[str, int]:
result = main_func_a(num)
logger.info(f"API A: {result}")
return result
```
So hitting the API with a random integer will give you a response like the following. The
random values will vary.
```json
{
"seed": 22,
"random_first": 5,
"random_second": 20
}
```
## Further modifications
- You can put your own API logic following the shape of `api_a` and `api_b` packages.
You'll have to add additional directories like `api_a` or `api_b` if you need to expose
more endpoints.
- Then expose the API URLs in the `routes/views.py` file. You may choose to create
multiple `views` files to organize your endpoint URLs.
- This template uses OAuth2 based authentication and it's easy to change that. FastAPI
docs has a comprehensive list of the available [authentication][fastapi_security]
options and instructions on how to use them.
- During prod deployment, you might need to fiddle with the reverse-proxy rules in the
Caddyfile.
## Resources
- [Flask divisional folder structure][blueprint]
- [Deploying APIs built with FastAPI](https://fastapi.tiangolo.com/deployment/)
- [Reverse proxying with Caddy](https://caddyserver.com/docs/caddyfile/directives/reverse_proxy)
[blueprint]: https://flask.palletsprojects.com/en/2.3.x/blueprints/
[caddy]: https://caddyserver.com/docs/
[cors]: https://fastapi.tiangolo.com/tutorial/cors/
[docker]: https://www.docker.com/
[fastapi]: https://fastapi.tiangolo.com/
[argon2]: https://argon2-cffi.readthedocs.io/
[fastapi_cli]: https://fastapi.tiangolo.com/fastapi-cli/
[fastapi_security]: https://fastapi.tiangolo.com/tutorial/security/oauth2-jwt/
[fastapi_standard]: https://fastapi.tiangolo.com/#standard-dependencies
[pydantic_settings]: https://fastapi.tiangolo.com/advanced/settings/
[pwdlib]: https://github.com/frankie567/pwdlib
[pyjwt]: https://pyjwt.readthedocs.io/
[pytest]: https://docs.pytest.org/en/stable/
[ruff]: https://astral.sh/ruff
[uvicorn]: https://uvicorn.org/
[uv]: https://docs.astral.sh/uv/
[screenshot_1]:
https://user-images.githubusercontent.com/30027932/85229723-5b721880-b40d-11ea-8f03-de36c07a3ce5.png
[screenshot_2]:
https://user-images.githubusercontent.com/30027932/85229725-5e6d0900-b40d-11ea-9c37-bbee546f84a8.png
[screenshot_3]:
https://user-images.githubusercontent.com/30027932/85229729-6036cc80-b40d-11ea-877e-7421b927a849.png
[screenshot_4]:
https://user-images.githubusercontent.com/30027932/85229992-fcad9e80-b40e-11ea-850d-9ca86259d463.png
[screenshot_5]:
https://user-images.githubusercontent.com/30027932/85230016-25359880-b40f-11ea-9196-c46fd72a760c.png
<div align="center">
✨ 🍰 ✨
</div>
看看同类模板
对比同技术栈与用途的模板,找到更适合的视觉与内容结构。
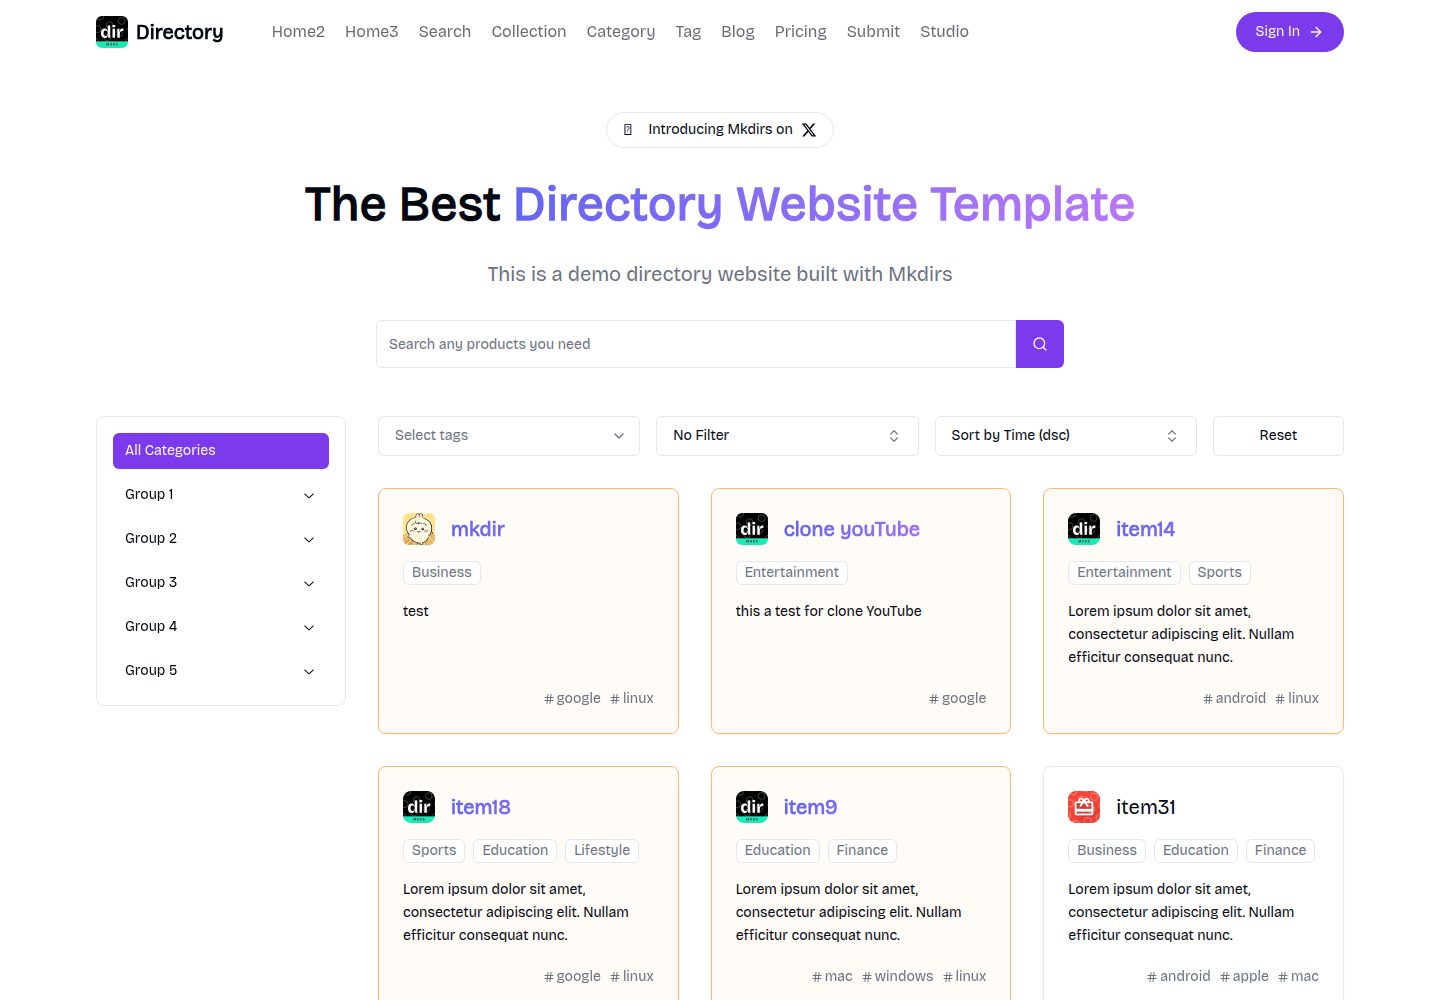
mkdirs
Open-source AI-powered directory website template built with Next.js
Next.js · 目录站

minted-directory-astro
Markdown driven directory template. Built with Astro and Tailwindcss. Optimized for SEO. Beautiful Customizabl…
Astro · 目录站
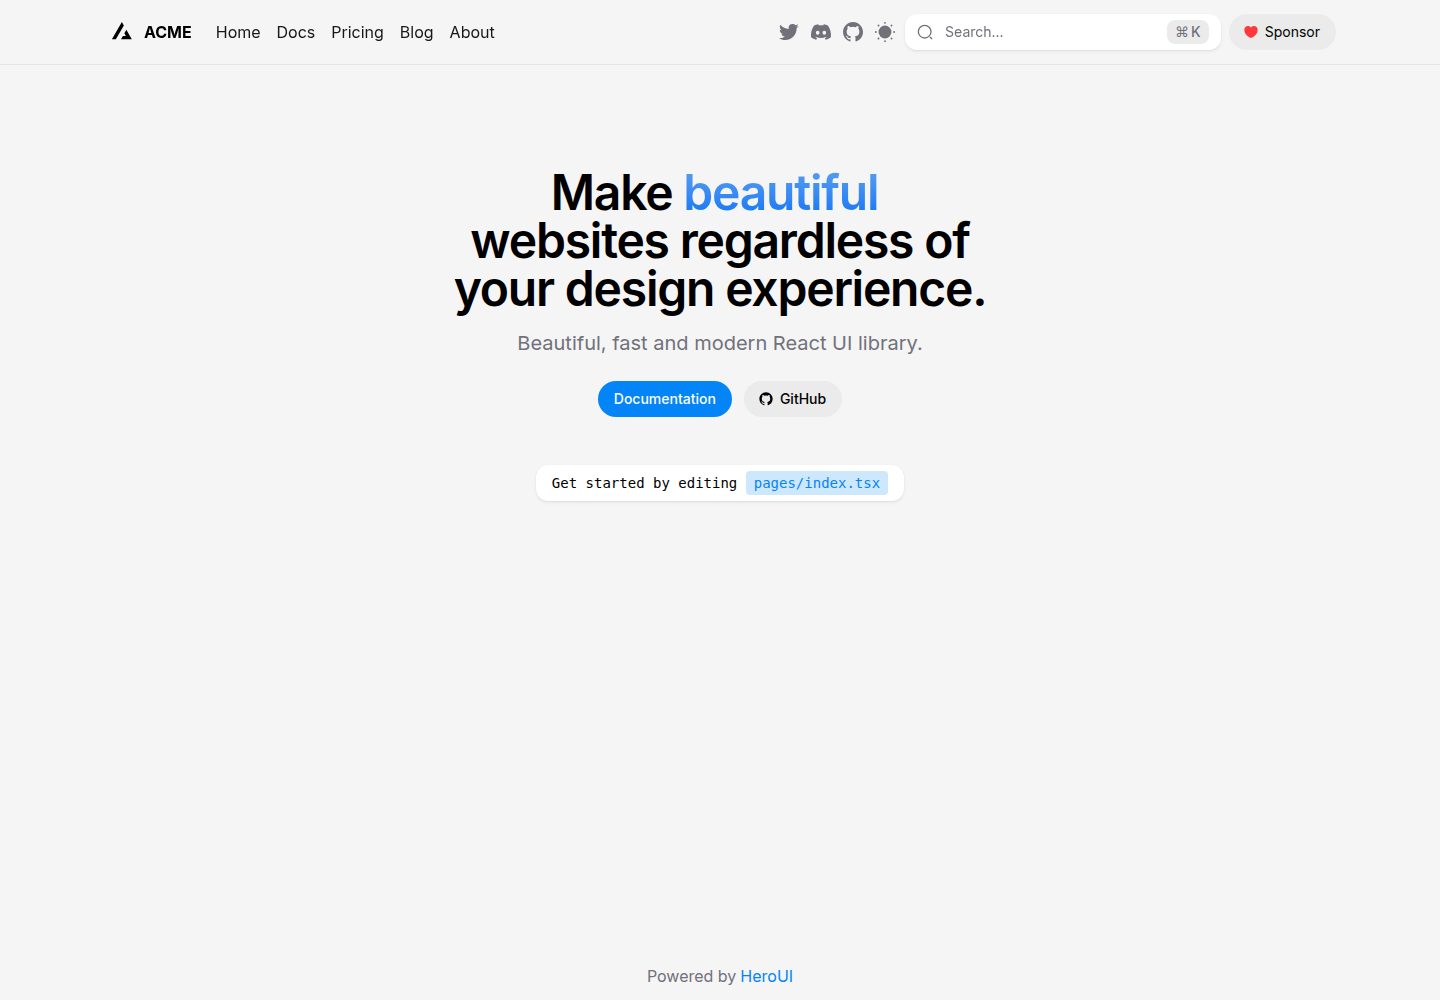
next-pages-template
A Next.js 16 with pages directory template pre-configured with HeroUI (v3) and Tailwind CSS (v4).
Next.js · 目录站

Nuxt_Mkdirs
🚀 Open-source directory website template built with Nuxt 4 + Sanity CMS. 3 layouts, OAuth, payments, blog & m…
Nuxt · 博客
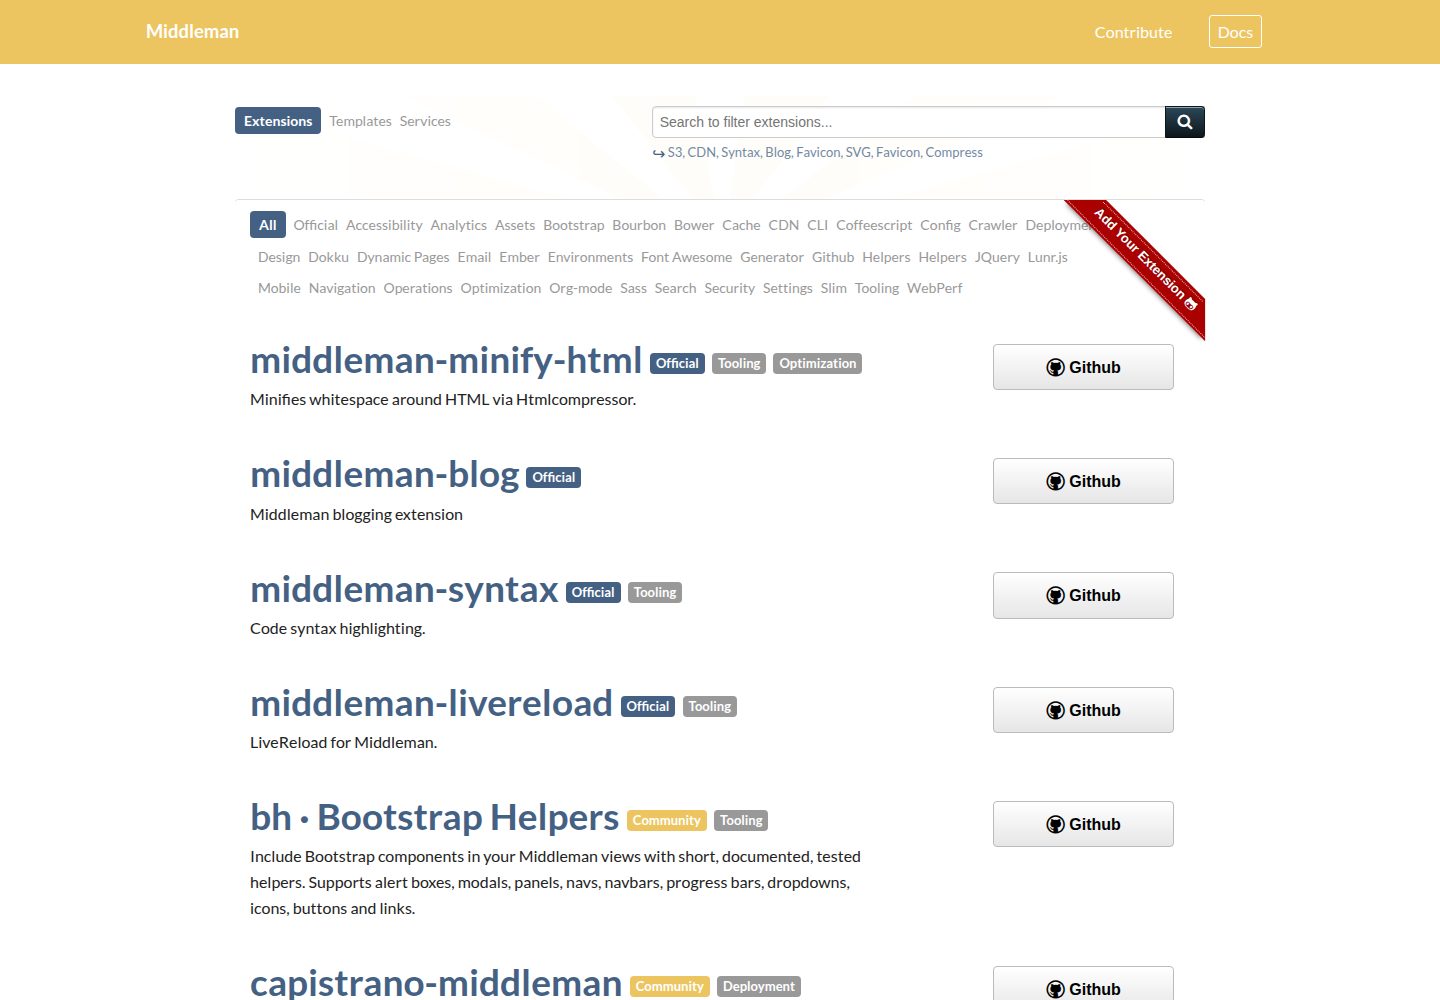
middleman-directory
Directory of Middleman extensions, templates and services
HTML · 目录站
snxtw
🔋 Next.js (App Router) + Tailwind CSS + Typescript Starter Template
Next.js · 目录站