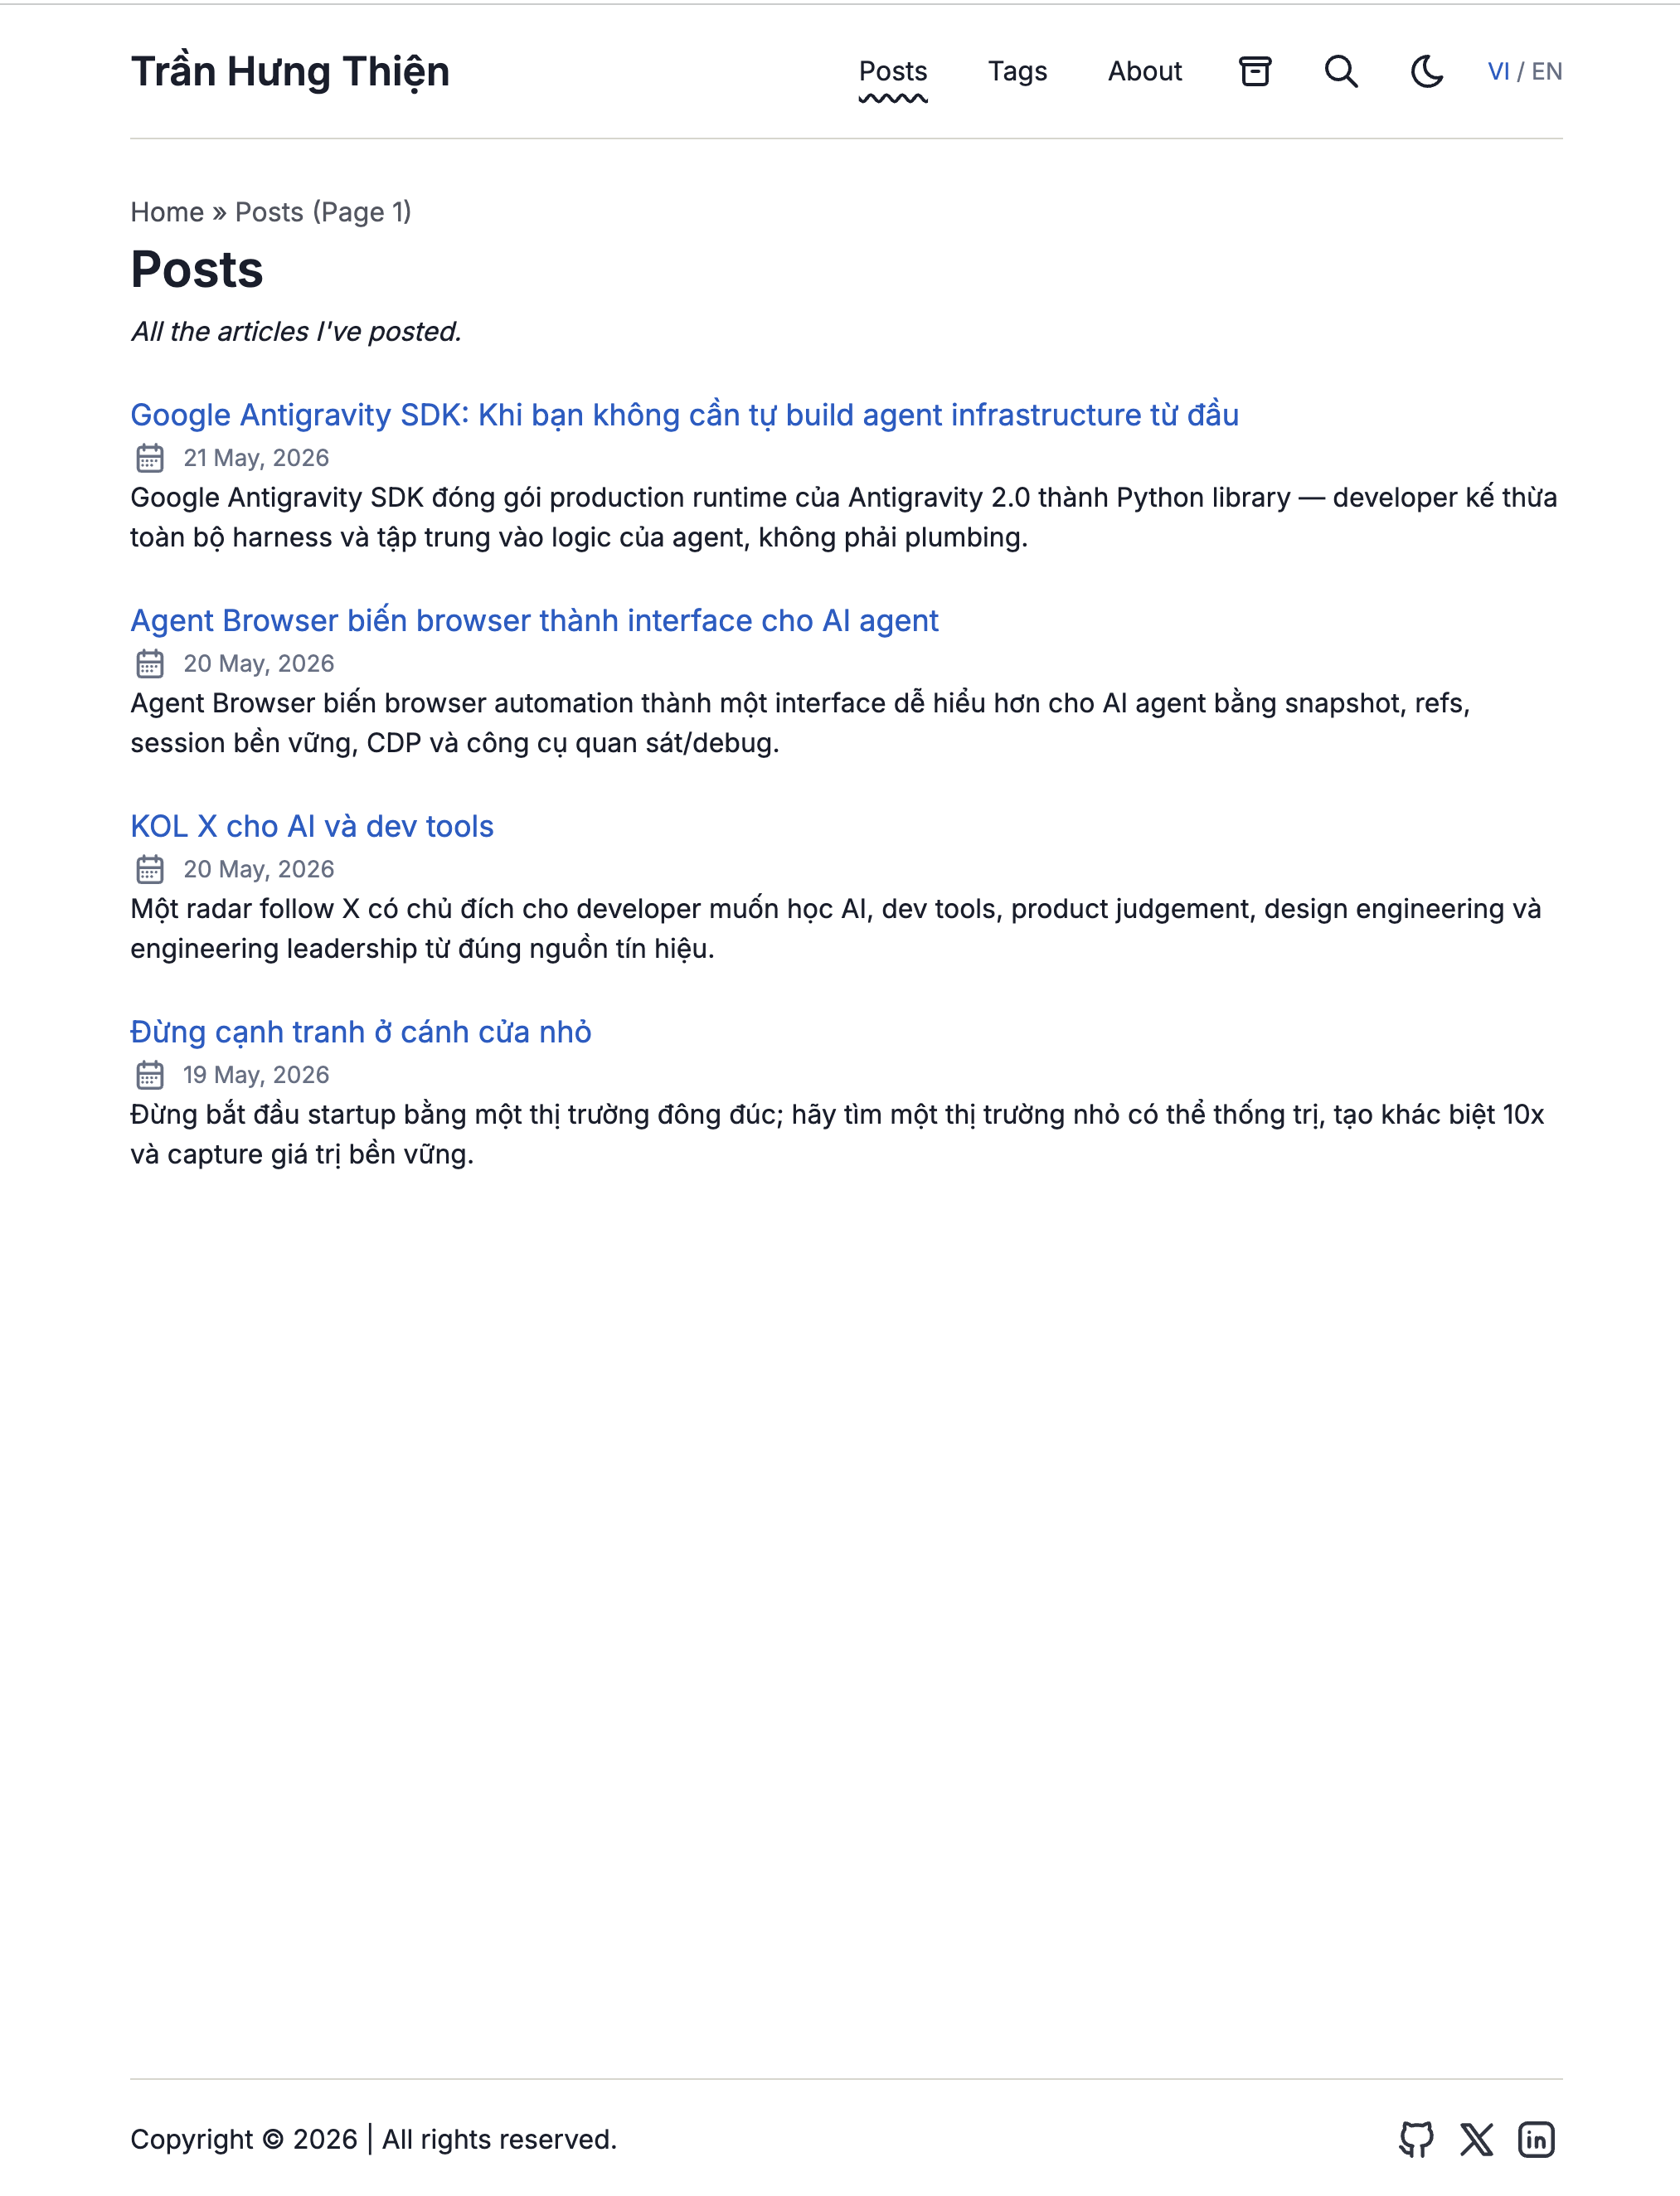
内容源为 Obsidian 仓库中的指定文件夹,通过 pnpm run sync 转换为 Astro 可读取的 Markdown 与 JSON
Astro博客启动器
blog-with-astro-boilerplate — Astro 博客模板
作者 thientranhung
基于 AstroPaper 主题的 Astro 博客模板,通过同步脚本把 Obsidian 笔记转换为站点内容,并支持部署到 Cloudflare Workers。
看看你的网站会是什么样
浏览真实页面截图,比较内容排版与手机效果。点击下方缩略图切换,放大查看整页细节。
目前有 1 张原始预览,可打开完整图片查看设计细节。
截图用于了解视觉与布局,交互效果请以实际项目为准。
采集于 2026-10-13查看来源
值得关注的模板亮点
从已有项目资料中,快速了解它的特点。
基于 AstroPaper 主题,站点元数据集中在 astro-paper.config.ts 中配置
支持 Obsidian 内部链接、callout、高亮、注释剥离、Mermaid 等语法转换
frontmatter 提供语言与翻译键字段,可关联越南语和英语文章版本
图片可上传到 Cloudflare R2,并提供部署到 Cloudflare Workers 的命令
模板详细介绍
这是一个面向个人博客的 Astro 启动器,主题基于 AstroPaper。它的核心特点是把写作放在 Obsidian 里完成:笔记存放在 Obsidian 仓库的指定文件夹(默认 50-Publish),运行同步命令后由转换流程生成 src/content/posts 下的 Markdown 和 src/content/generated 下的 JSON,Astro 只读取同步后的规范化内容,不直接访问 Obsidian 仓库。
发布一篇文章需要在笔记 frontmatter 中写入 publish_status: publish 或 published: true,然后依次执行同步与部署命令;本地预览则先同步再启动开发服务器。frontmatter 支持标题、slug、描述、封面、标签、系列、语言、翻译键、创建与更新时间、canonical 等字段,其中语言可选 vi(默认)或 en,翻译键用于关联同一篇文章的越南语与英语版本。
对 Obsidian 语法的转换覆盖内部链接与别名、页内锚点、图片嵌入、callout、高亮、注释剥离、块 ID 剥离,以及通过 GFM 处理的删除线、表格、任务列表和脚注,Mermaid 代码块在客户端渲染。图片可上传到 Cloudflare R2 并通过 CDN 基址引用。站点元数据在 astro-paper.config.ts 中配置,样式变量在 src/styles/theme.css 中调整。
使用前需要准备 Obsidian 仓库路径和发布文件夹,部署到 Cloudflare Workers 需要 API Token 与账户 ID,图片上传还需要 R2 的账户、密钥、桶名和端点等环境变量。模板采用 MIT 许可,可免费使用、修改、商用和分发,但演示图片、字体、图标等第三方素材需单独核对许可,域名、托管和 R2 等外部服务可能产生费用。
Astro博客启动器
适合你的项目吗?
适用场景
- 用 Obsidian 写作并希望保持笔记库与博客内容分离的个人博客
- 需要同时维护越南语和英语两个语言版本文章的站点
- 希望把博客部署到 Cloudflare Workers 并使用 R2 存放图片的用户
适合人群
- 习惯在 Obsidian 中撰写和整理笔记的写作者
- 使用 Astro 并接受 AstroPaper 主题默认结构的开发者
- 需要静态博客并愿意配置 Cloudflare Workers 与 R2 的用户
上手与定制指南
结合仓库当前版本的说明,按下面的资料检查内容、配置与运行要求。
- 1
复制 .env.example 为 .env,填写 VAULT_PATH 与 VAULT_POSTS_FOLDER,图片上传需补充 R2 相关变量
- 2
在 astro-paper.config.ts 中设置站点 URL、标题、描述、作者、个人链接与社交账号,并同步修改 package.json 的 name 和 description
- 3
发布文章前在 Obsidian 笔记 frontmatter 中写入 publish_status: publish 或 published: true
- 4
本地预览先执行 pnpm run sync 再运行 pnpm dev(默认端口 4322),部署使用 pnpm run deploy
授权与来源资料
使用条件与限制
免费使用 · 保留许可声明本次收录的是公开仓库中采用 MIT 许可的免费版本;免费范围为该版本代码,不代表外部服务或第三方素材免费。
使用时需要遵守
- 允许免费使用、修改、商用和分发该版本代码。
- 分发代码副本或实质性部分时,保留原作者版权声明和完整 MIT 许可声明。
- 代码按现状提供;担保与责任限制以原许可证及适用法律为准。
额外费用与待核对事项
- 演示图片、字体、图标及其他第三方素材需按各自许可核对,不能仅凭代码的 MIT 许可判断。
- 域名、托管、数据库、支付或 AI 等外部服务可能另外收费。
- 使用前必须提供本地 Obsidian 仓库的绝对路径,模板依赖该外部笔记库作为内容来源,无法脱离 Obsidian 独立写作。
- 需指定 Obsidian 仓库中用于发布的文件夹(默认 50-Publish),只有该文件夹内的笔记会被同步为博客内容。
- 部署到 Cloudflare Workers 需要提供具备 Workers Scripts: Edit 权限的 Cloudflare API Token,属于外部账号与密钥要求。
- 若要自动上传本地 Obsidian 图片到 Cloudflare R2 CDN,需配置 R2 账户 ID 等凭据,涉及外部付费服务。
- 文章发布需在 Obsidian 笔记 frontmatter 中写入 publish_status: publish(或 published: true)作为发布触发条件。
- 内容更新依赖手动执行 pnpm run sync 从 Obsidian 仓库拉取并转换,Astro 不直接读取仓库。
查看原文依据
Permission is hereby granted, free of charge
许可证原文
VAULT_PATH=/path/to/your/obsidian/vault
README 原文
VAULT_POSTS_FOLDER=50-Publish
README 原文
CF_API_TOKEN= # needs "Workers Scripts: Edit" permission
README 原文
R2_ACCOUNT_ID=
README 原文
publish_status: publish
README 原文
https://github.com/thientranhung/blog-with-astro-boilerplate/blob/main/LICENSEhttps://github.com/thientranhung/blog-with-astro-boilerplate/blob/main/README.mdpnpm run sync # pull from Obsidian vault
README 原文
DeepSeek 根据仓库许可证和 README 整理 ·2026-10-13。结果仅覆盖已读取资料,依赖、图片、字体及后续条款变更以各自原文为准。
项目核对记录与介绍依据
模板资料
- 来源平台
- GitHub
- 资料与维护参考分
- 资料一般 · 73 / 100
- 技术栈
- Astro
- 网站类型
- 博客 · 启动器
这个分数如何计算
本站按许可资料(最高30分)、演示链接(12分)、预览图(10分)、Star数(15分)、记录的维护时间(15分)、描述完整度(8分)、功能记录(5分)和分类资料(5分)计算。它不是代码、安全或性能测试,也不是 Google 评分;有链接不代表已实测可用。
这个项目需要核对什么
- 记录的仓库更新时间
- 2026-05-21
- 截图检查日期
- 2026-10-13
目前没有记录演示链接。请依据仓库说明在本地评估;仅凭截图无法确认交互行为。
目录记录的主要技术栈是 Astro。请通过依赖清单和锁文件核对实际版本与托管要求。这些说明基于收录资料,不代表代码审计或部署实测。
查看具体选型方法 →介绍的制作与核对状态
介绍由 AI 辅助整理目录与仓库资料。仓库作者不等于这篇介绍的审核者。
审核声明: [email protected] · 2026-10-13
查看当时使用的来源资料
SHA-256: 78c26f1a8eacd855bd5386d96f9b817477cfd3de1bef4b0d9c10703b2556c83a
2026-10-13T00:55:31.065Z
来源文件 / 仓库# Astro Obsidian Blog Boilerplate
**Preview:**
<img src="./home-blog.png" alt="Astro Obsidian Blog Preview" width="600" />
A professional, high-performance boilerplate for creating a personal blog with Astro (using the AstroPaper theme), syncing your content directly from an Obsidian vault, and deploying to Cloudflare Workers.
## Personalization & Customization
To turn this boilerplate into your own personal blog, follow these steps:
1. **Configure Site Metadata**:
Open [astro-paper.config.ts](file:///Users/tranthien/Documents/2.DEV/3.BLOGS/my-blog-with-astro-boilerplate/astro-paper.config.ts) and modify the `site` and `socials` properties to match your details:
- `url`: Your production website domain (e.g., `https://yourdomain.com`).
- `title`: The title of your blog.
- `description`: The meta description for SEO.
- `author`: Your name.
- `profile`: Your primary profile link (e.g. your GitHub profile).
- `socials`: Update URLs for GitHub, X, LinkedIn, etc.
2. **Configure package.json**:
Open [package.json](file:///Users/tranthien/Documents/2.DEV/3.BLOGS/my-blog-with-astro-boilerplate/package.json) and modify `name` and `description` to match your personal repository details.
3. **Configure Environment Variables**:
Copy `.env.example` to `.env` and fill in your settings:
- `VAULT_PATH`: The absolute path to your Obsidian vault.
- `VAULT_POSTS_FOLDER`: The folder name in Obsidian where your notes to publish are stored (default: `50-Publish`).
- (Optional) Configure Cloudflare R2 credentials if you want to automatically upload local Obsidian images to Cloudflare R2 CDN.
4. **Customize CSS and Styling**:
- Customize your theme colors, fonts, and CSS variables in [src/styles/theme.css](file:///Users/tranthien/Documents/2.DEV/3.BLOGS/my-blog-with-astro-boilerplate/src/styles/theme.css) or modify the layouts under `src/layouts/`.
## How it works
```
Obsidian Vault (50-Publish/)
└─→ pnpm run sync ← transform pipeline
├─→ src/content/posts/*.md
└─→ src/content/generated/*.json
Astro (AstroPaper theme)
└─→ pnpm run deploy ← build + deploy to Cloudflare Workers
```
Astro never reads the vault directly — it only sees the normalized output from `sync`.
## Publishing a post
1. In Obsidian, add to the note's frontmatter:
```yaml
publish_status: publish
```
2. Run sync + deploy:
```bash
pnpm run sync # pull from Obsidian vault
pnpm run deploy # build + deploy to Cloudflare
```
To preview locally before deploying:
```bash
pnpm run sync
pnpm dev # http://localhost:4322
```
## Frontmatter schema
```yaml
title: "Required"
# Publish trigger — either works:
publish_status: publish
published: true
# Optional fields:
slug: "custom-url-slug" # falls back to slugified filename
short_description: "..." # alias for description
description: "..."
featured_image: "https://..." # remote URL — alias for cover
cover: "/Assets/local.jpg" # local vault path
tags: [tag1, tag2]
series: "series-name"
lang: vi # "vi" (default) or "en"
translationKey: "some-key" # links VI/EN post pairs
created: 2026-05-20
updated: 2026-05-20
canonical: "https://..."
```
## Supported Obsidian syntax
| Syntax | Output |
|--------|--------|
| `[[note]]`, `[[note\|alias]]` | Internal link |
| `[[#heading\|alias]]` | In-page anchor link |
| `![[image.png]]` | Image (uploaded to R2) |
| `> [!note]`, `[!warning]`, `[!tip]`, etc. | Styled callout |
| `==highlight==` | `<mark>` yellow highlight |
| `%%comment%%` | Stripped (not rendered) |
| `^block-id` | Stripped |
| `~~strikethrough~~`, tables, `- [ ]` tasks, `[^footnote]` | Via GFM |
| Mermaid code blocks | Client-side rendered |
## Commands
| Command | Description |
|---------|-------------|
| `pnpm run sync` | Sync Obsidian vault → `src/content/` |
| `pnpm dev` | Dev server at localhost:4322 |
| `pnpm run build` | Build to `dist/` (for local preview/debug) |
| `pnpm preview` | Preview production build locally |
| `pnpm run deploy` | Build + deploy to Cloudflare Workers |
## Environment variables
Copy `.env.example` to `.env`:
```bash
VAULT_PATH=/path/to/your/obsidian/vault
VAULT_POSTS_FOLDER=50-Publish
# Cloudflare R2 (for image uploads)
R2_ACCOUNT_ID=
R2_ACCESS_KEY_ID=
R2_SECRET_ACCESS_KEY=
R2_BUCKET_NAME=
R2_ENDPOINT=
CDN_BASE_URL=
# Cloudflare Workers deploy
CF_API_TOKEN= # needs "Workers Scripts: Edit" permission
CF_ACCOUNT_ID=
```
## Tech stack
- **[Astro v6](https://astro.build)** + **[AstroPaper v6](https://github.com/satnaing/astro-paper)** — SSG framework + theme
- **[Cloudflare Workers](https://workers.cloudflare.com)** — hosting
- **[Cloudflare R2](https://developers.cloudflare.com/r2/)** — image storage
- **[Tailwind CSS v4](https://tailwindcss.com)** — styling
- **[Shiki](https://shiki.style)** — code syntax highlighting
- **[Pagefind](https://pagefind.app)** — static search
- **[rehype-callouts](https://github.com/lin-stephanie/rehype-callouts)** — Obsidian callout rendering
看看同类模板
对比同技术栈与用途的模板,找到更适合的视觉与内容结构。
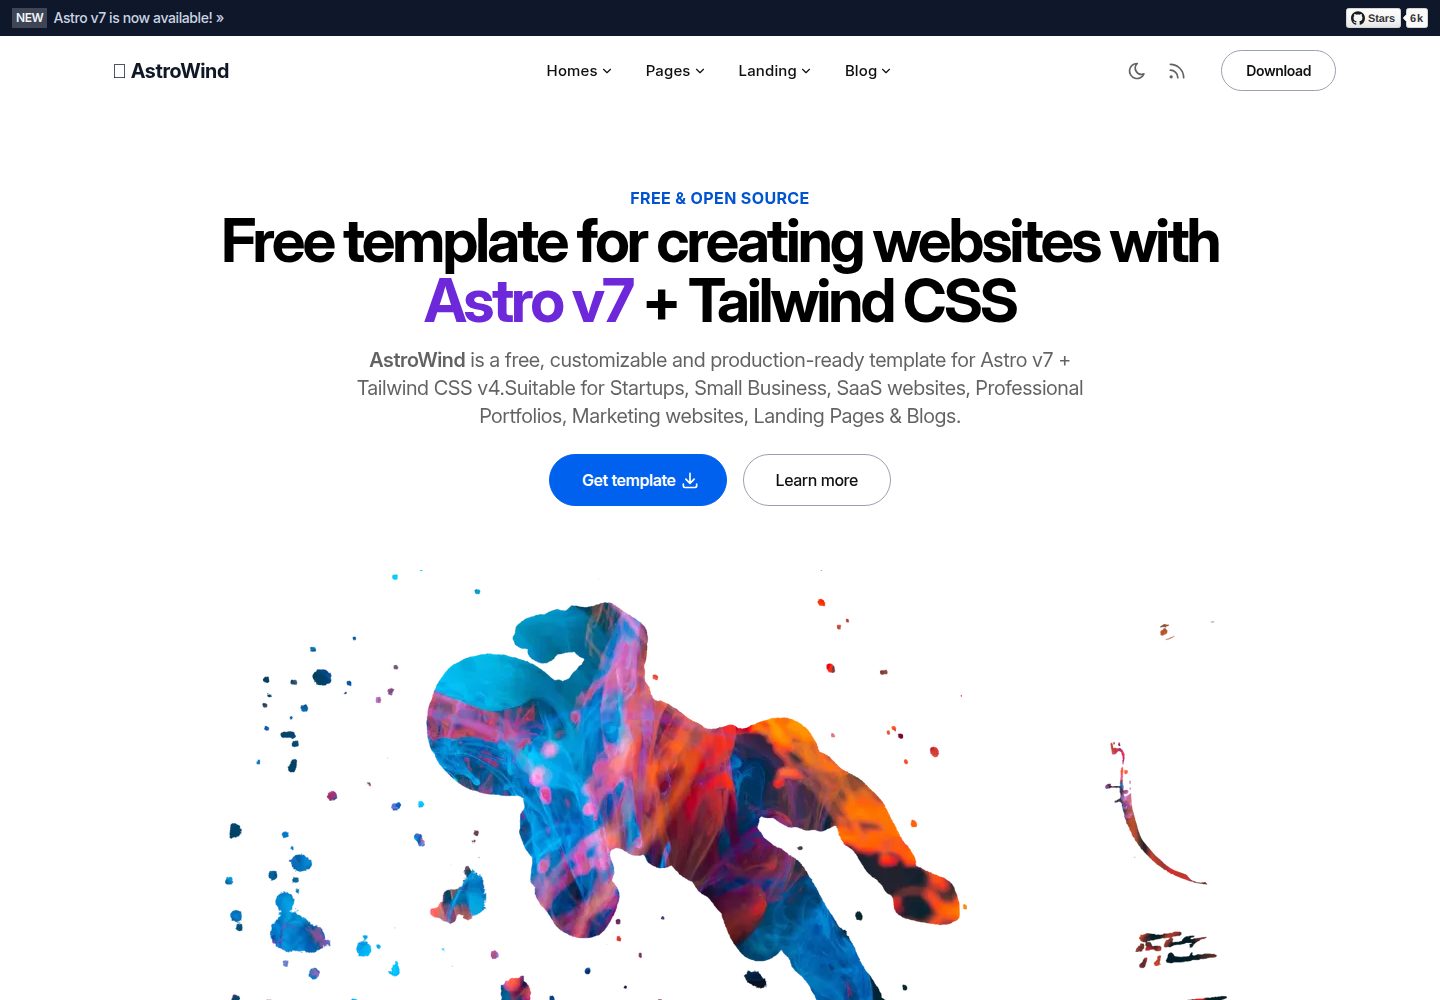
astrowind
⭕️ AstroWind: A free template using Astro v7 and Tailwind CSS v4. Astro starter theme.
Astro · 博客
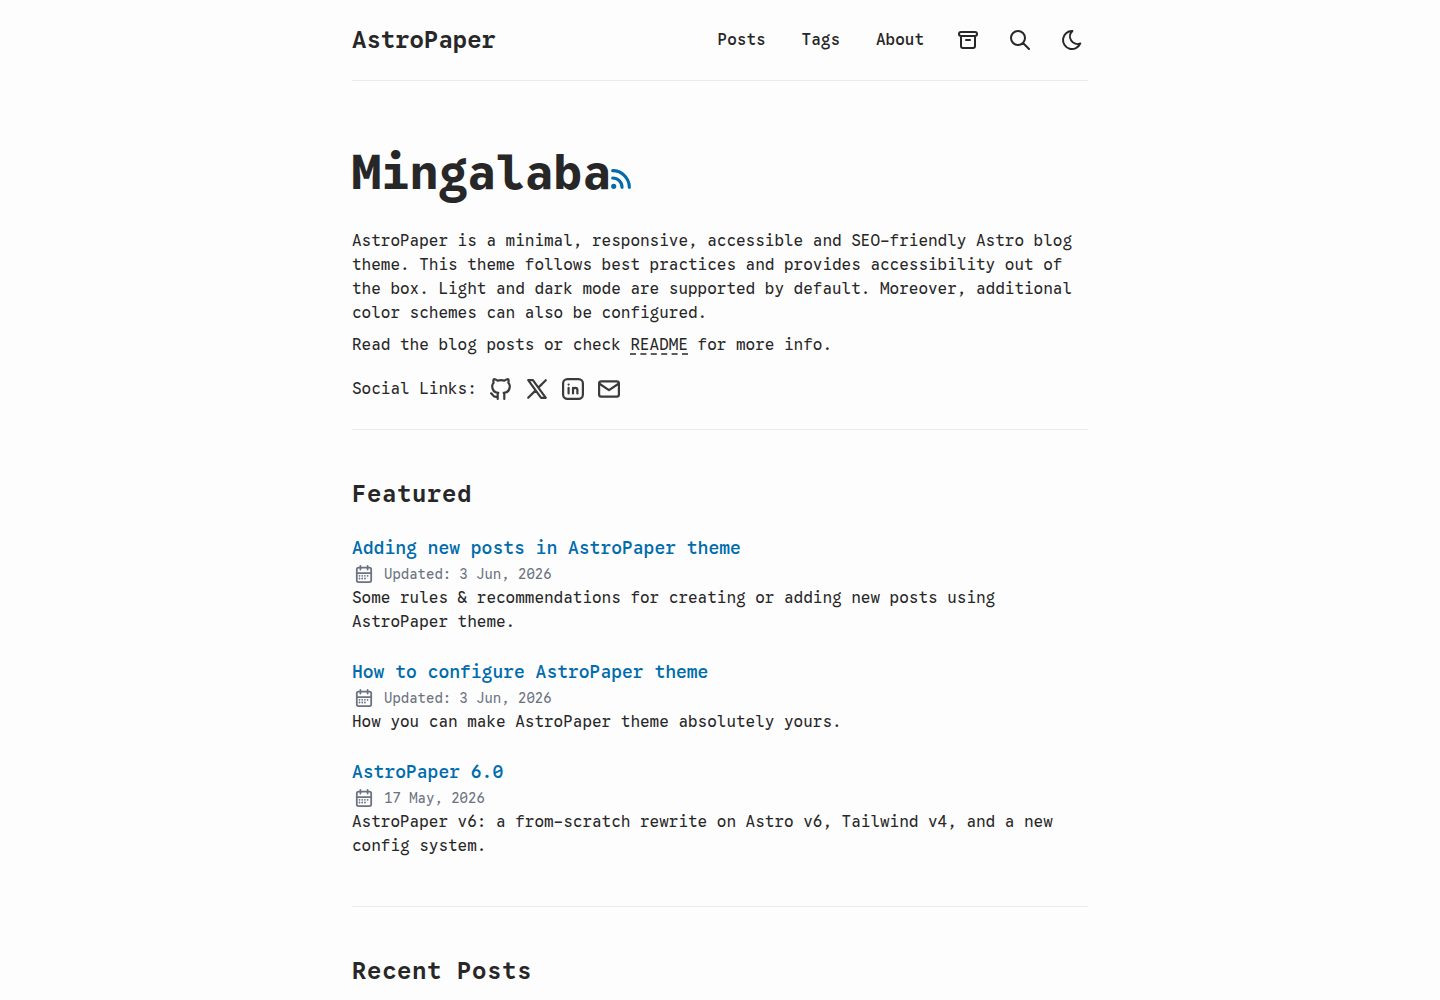
astro-paper
A minimal, accessible and SEO-friendly Astro blog theme.
Astro · 博客
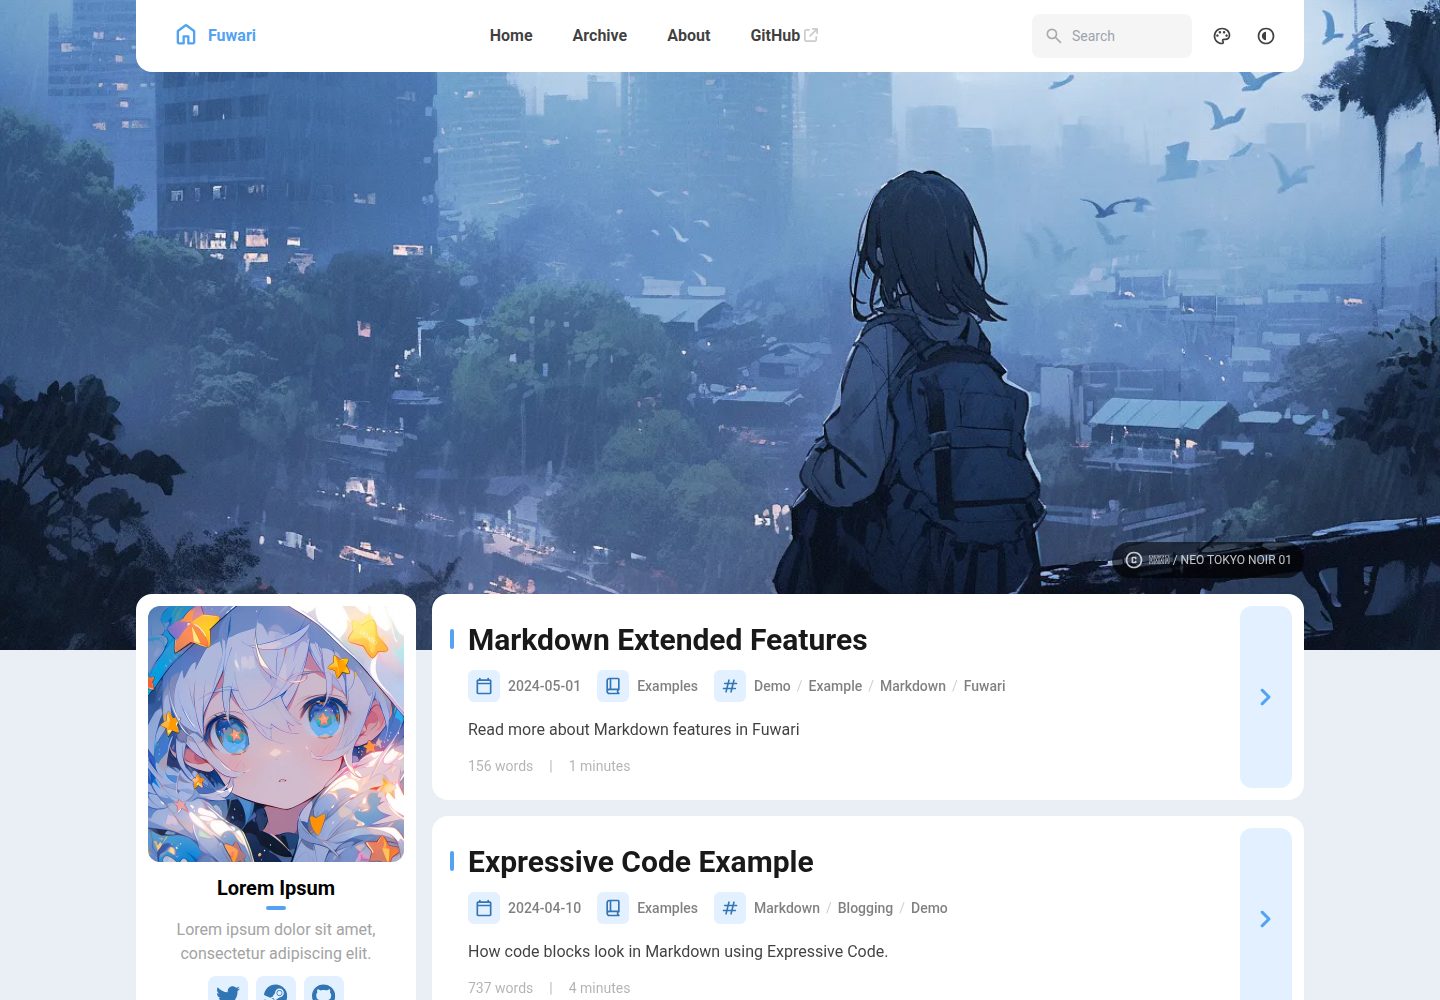
fuwari
✨A static blog template built with Astro.
Astro · 博客
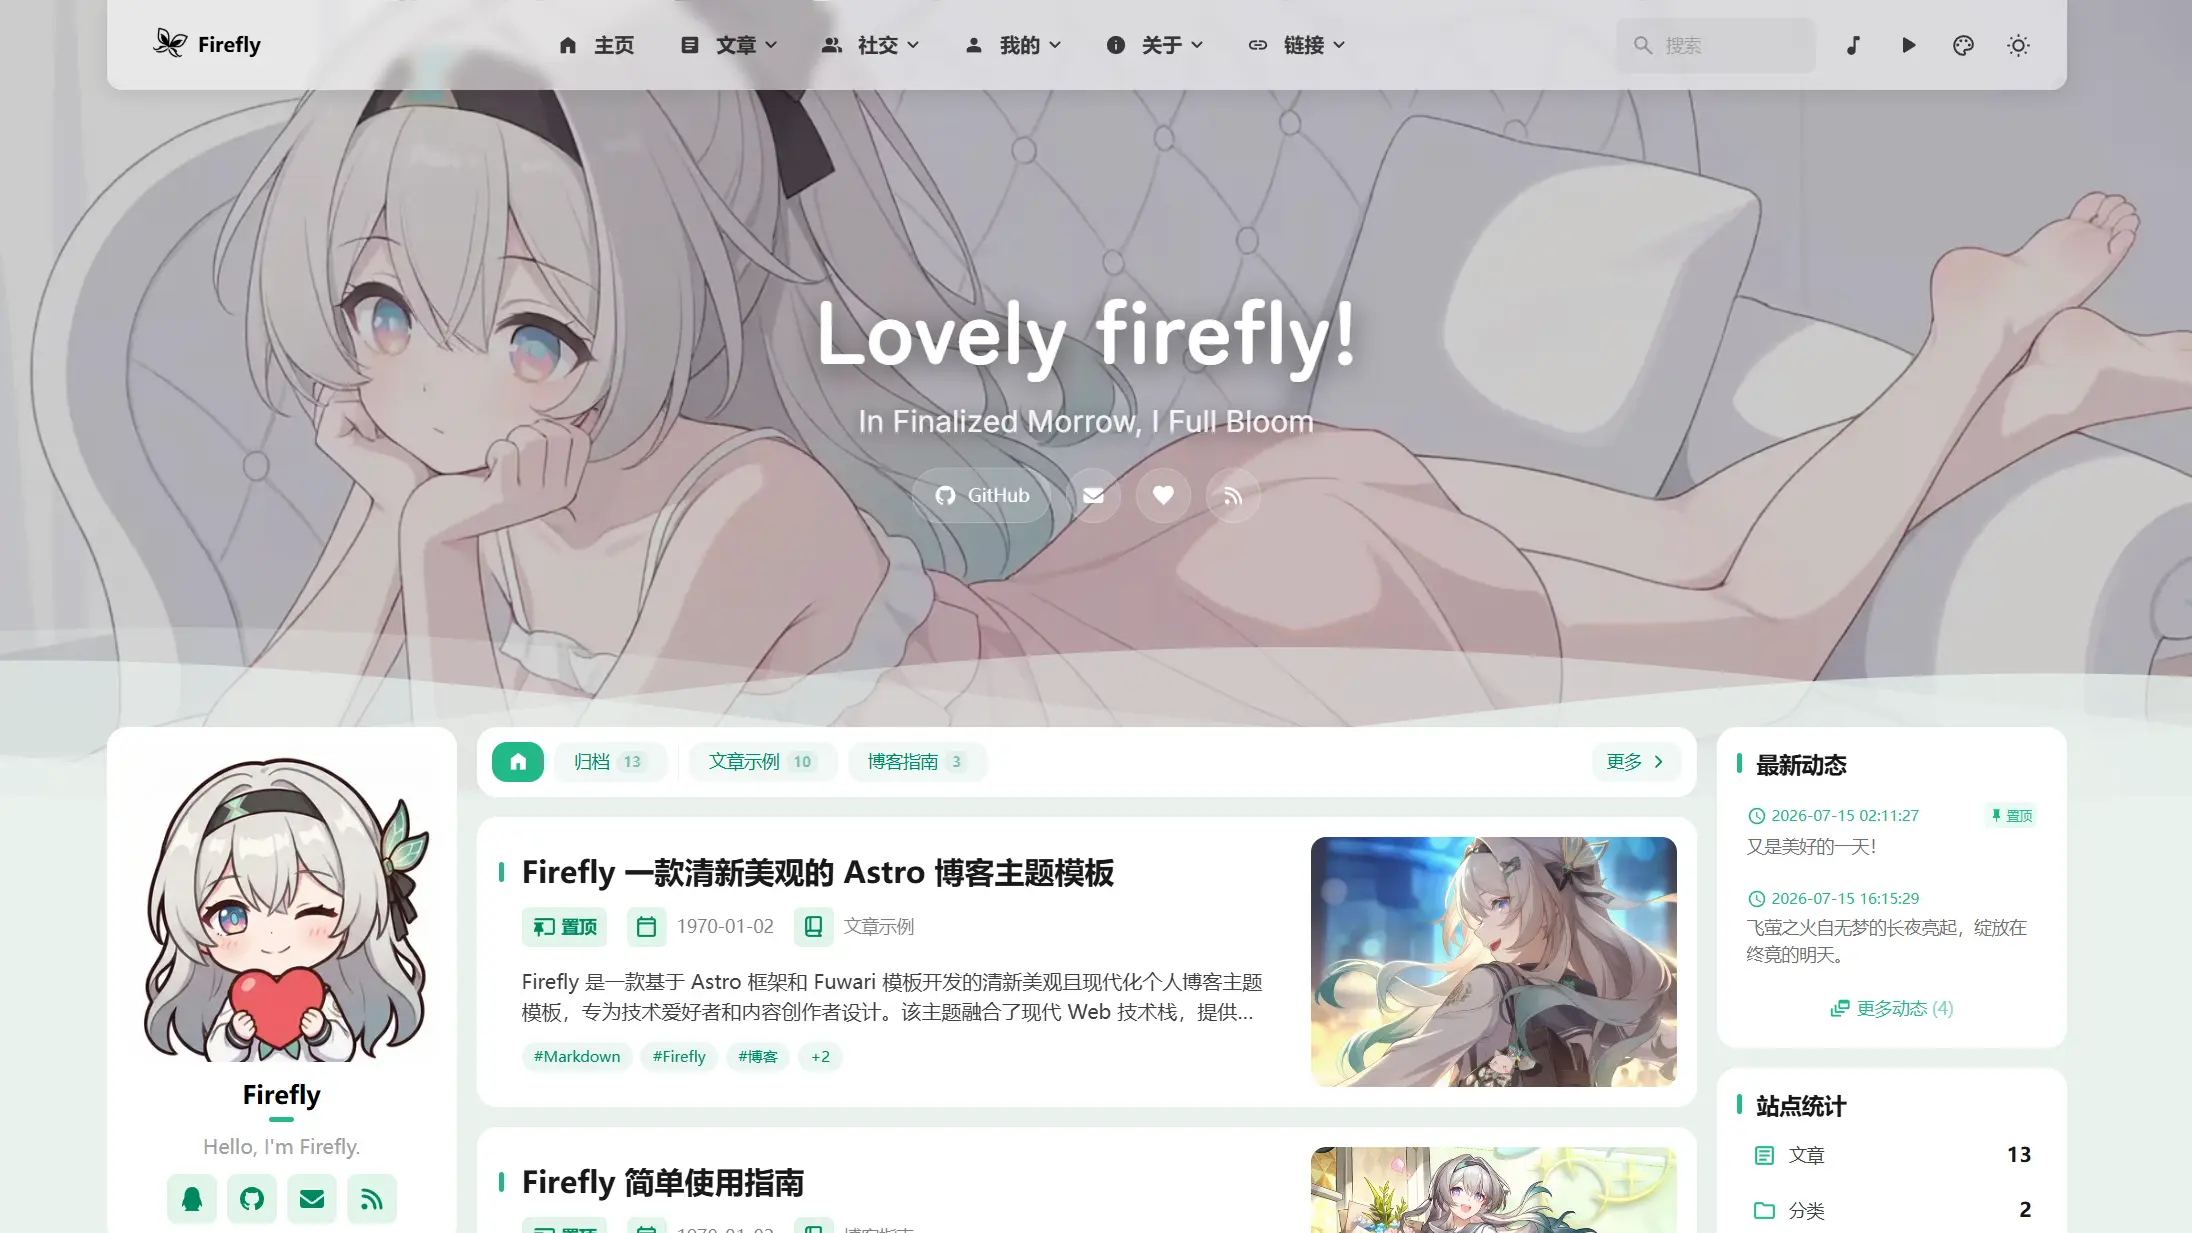
Firefly
Firefly 是一款基于 Astro 的静态博客主题,由 CuteLeaf 在 saicaca 的 Fuwari 模板基础上二次开发,主打清新美观的视觉风格。
Astro · 博客
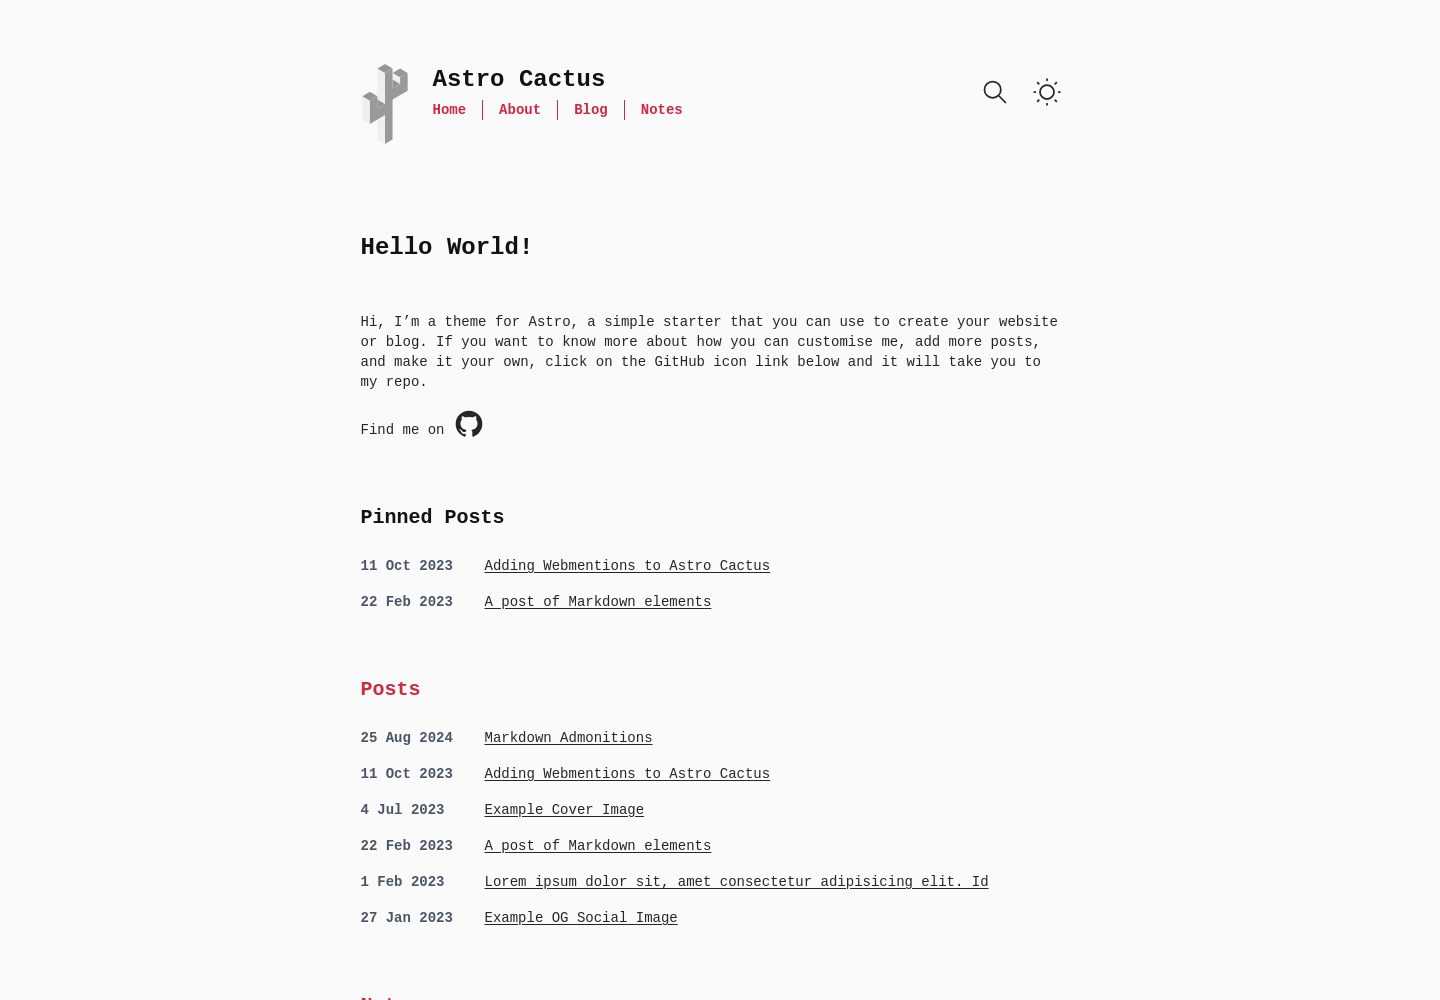
astro-theme-cactus
A simple Astro theme. Use it to create your blog or website.
Astro · 作品集
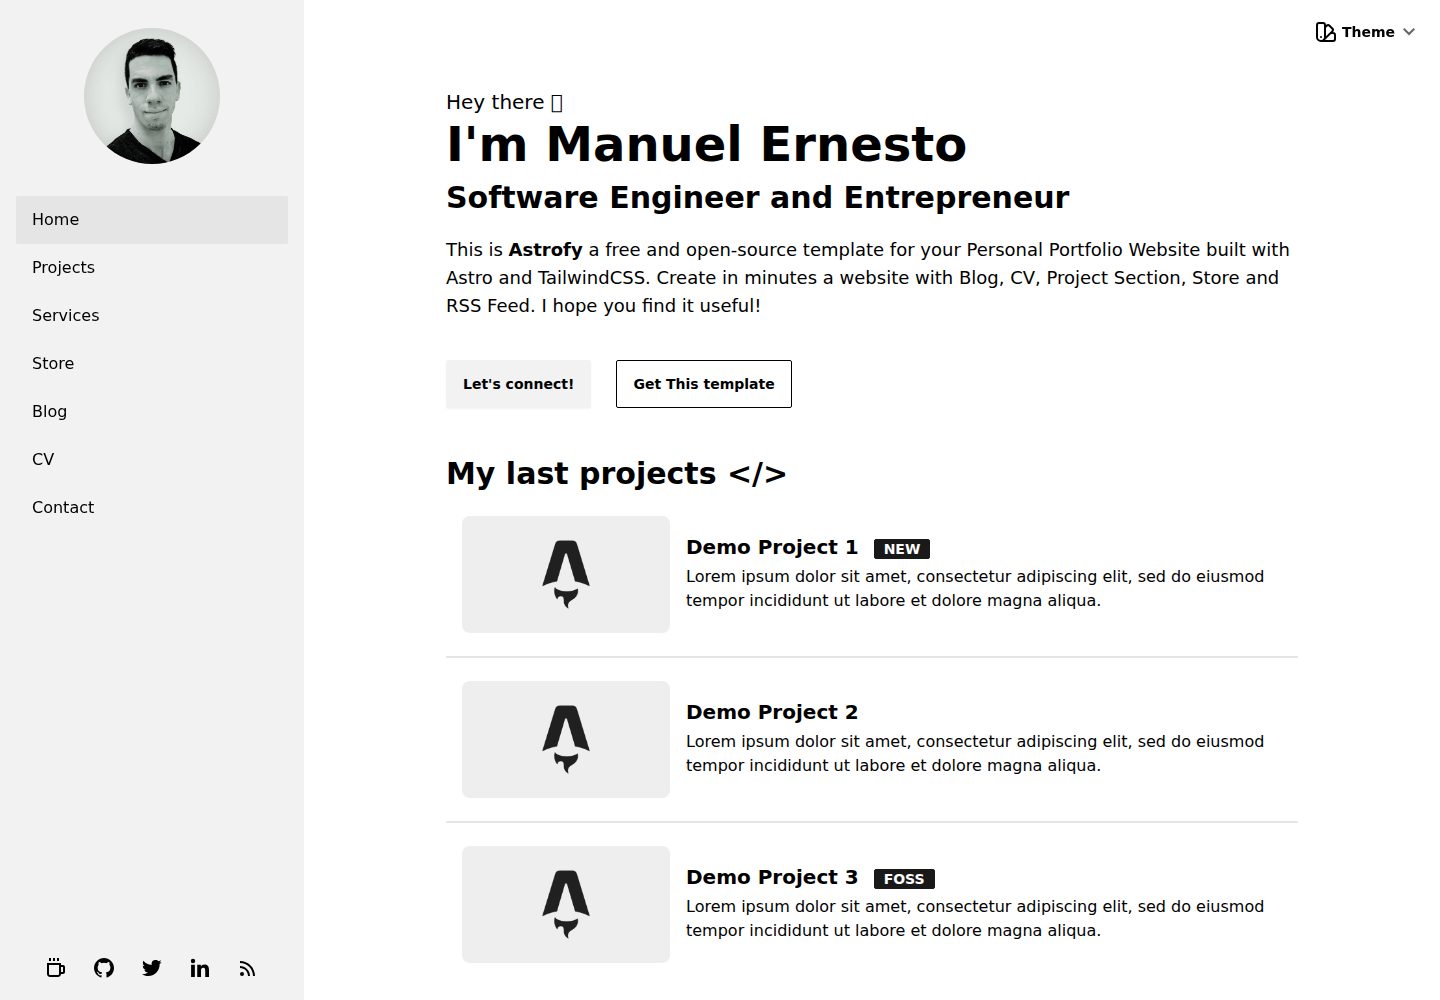
astrofy
Astrofy is a free and open-source template for your Personal Portfolio Website built with Astro and TailwindCS…
Astro · 作品集